Wine cap mushrooms, also called Stropharia rugosoannulata or garden giant, are one of the best species for home growers who want an outdoor patch. They thrive on wood chips, straw, and garden mulch, which makes them a natural fit for vegetable beds and landscaped areas. Unlike indoor oyster or shiitake projects, wine caps do not need a sterile workspace or a complicated fruiting chamber. You can start a bed near a hydrangea, under a tree, or between raised rows. Before building the bed, review the best mushroom substrate guide to understand how wood and straw feed the mycelium.
The first step is understanding how wine caps grow. The mycelium runs through damp organic matter and produces thick white ropey strands. When conditions turn cool and moist, clusters of round, wine-red mushrooms push through the surface. Penn State Extension has documented wine cap as a reliable outdoor cultivator for hardwood mulch and straw, so home growers have solid research behind this method. The key is to mimic a forest floor after rain.
This guide walks through selecting a site, building the bed, planting spawn, maintaining moisture, and harvesting safely. You also need to know how to identify wine caps from lookalikes, which the North American Mycological Association emphasizes. That safety step matters just as much as the growing technique. Never eat a wild mushroom unless an expert positively identifies it.
If you are new to mushroom cultivation, start with a small 4-by-4-foot bed and expand once you see white mycelium spreading. You can also compare this process with species like oyster mushrooms or shiitake to understand how outdoor beds differ from indoor blocks. Wine cap gives you a forgiving introduction to outdoor mushroom gardening.
What You’ll Need
- wine cap sawdust spawn (keep refrigerated)
- fresh hardwood chips (oak, maple, alder, or poplar)
- chopped straw, pasteurized
- garden fork or shovel
- soaker hose or watering can
- shade cloth
- clean harvesting knife
- soil moisture meter (optional)
How Do You Grow Wine Cap Mushrooms at Home?
- Choose a location with dappled shade and good drainage
Wine cap mycelium tolerates a range of light, but full hot sun dries beds fast and stresses fruiting. Aim for a spot with morning sun and afternoon shade, or dappled light under deciduous trees. Avoid low areas where water pools after rain. Standing water suffocates mycelium and invites anaerobic bacteria.
The site should be close enough to a hose or rain barrel that you will actually water it. A bed under a downspout can work if the soil drains well. If your yard is all sun, you can add shade cloth over the bed. The goal is stable moisture, not swampy soil.
Clear the area of weeds, grass, and debris before you build the bed. You do not need to dig deep, but remove roots so they do not compete with the mycelium. This step sets the foundation for the layered substrate in the next steps. Once you see how outdoor fruiting conditions work, you can adapt them using the mushroom fruiting conditions guide.
- Gather fresh hardwood chips, straw, and sawdust spawn
Wine caps grow on lignocellulose. A good substrate recipe is about 3 parts fresh hardwood chips to 1 part chopped straw by volume. You can also use a 50/50 mix of hardwood sawdust and straw if you want faster colonization, but chips give a longer lasting bed. Hardwood species such as oak, maple, poplar, and alder work well. Avoid cedar, redwood, and black walnut because their natural oils and compounds can inhibit mycelium.
Use fresh or pasteurized straw to reduce competing molds. This guide to pasteurizing straw covers a simple hot water soak method. Do not use hay, which is full of grass seeds and can rot into a slimy mess. The substrate should be damp enough to hold a squeezed handful together but not drip.
You need about 5 to 10 pounds of sawdust spawn per 100 square feet. More spawn speeds colonization and beats back contaminants. Buy spawn from a reliable supplier and keep it refrigerated until planting day. If you need a moisture meter to track bed conditions, check a basic soil moisture meter on Amazon. This step connects to building the bed because the material ratios depend on the amount of spawn you have.
- Build the bed in layers
Spread a base layer of hardwood chips about 4 to 6 inches deep over the cleared area. Wet this layer thoroughly until water runs through but does not pool. Next add a 2-inch layer of chopped straw. If you have aged compost or leaf mold, mix a thin layer into the straw. This creates a moisture reservoir and adds nutrients. Use a garden fork to fluff the layers instead of packing them down.
Break up the sawdust spawn into small clumps and distribute it evenly across the straw. Do not toss spawn in one big pile. The mycelium will spread from many points, which speeds colonization. You can also mix half the spawn into the top two inches of the straw layer and sprinkle the rest on top.
Cover the spawn with another 2 to 3 inches of hardwood chips. This protective cap keeps the spawn moist and dark. If you have extra straw, add a very thin top layer to shade the chips. For a source of clean hardwood chips, you can check hardwood fuel pellets on Amazon, but avoid pellets with additives or softwood blends. Your bed is now ready for its first deep watering.
- Water the bed deeply and maintain consistent moisture
Wine cap mycelium dies quickly in dry substrate. Water the bed immediately after planting until the bottom layers are wet. Use a gentle spray or soaker hose so you do not blow away the spawn. For the first two weeks, check the bed every day. Squeeze a handful of the top layer. It should feel like a wrung-out sponge.
Ideal moisture is 60 to 70 percent water content by weight in the substrate. The surface can look dry, but the zone where the mycelium runs should stay damp. In hot weather, water more often or add a shade cloth. In rainy periods, skip watering and make sure the bed drains.
A consistent moisture rhythm matters more than occasional deep soaks. If the bed dries out for several days, colonization stalls and competitor molds may move in. Use the squeeze test as your main guide. This step leads directly to the colonization phase, when you should see white threads within a few weeks.
- Monitor temperature and colonization progress
Wine cap spawn run happens between 55 and 80°F (13 to 27°C). In spring and fall, outdoor temperatures usually fall in this range. Colonization takes about 3 to 6 weeks under good conditions. In cooler soil, it may take up to 8 weeks. Do not expect mushrooms before the bed is fully colonized.
After 7 to 10 days, lift a small section of the top chip layer. Look for fine white mycelium or thick ropey strands. Healthy wine cap mycelium is white and smells clean, like fresh mushrooms. If you see green, black, or orange patches, that is a sign of contamination. This contamination guide explains what to do if a patch turns bad.
Temperature swings are normal outdoors, but prolonged heat above 90°F can stall growth. You can cool the bed by watering early in the morning and keeping the top layer shaded. Once the bed is fully colonized, fruiting often begins when temperatures drop or after a soaking rain. The next step covers how to trigger that flush.
- Trigger fruiting with moisture and temperature swings
Wine caps usually fruit in spring and fall, but you can encourage flushes by recreating natural conditions. Soak the bed deeply for several days in a row. A drop in temperature after rain often signals the mycelium to form primordia. You can also water with cold water from a hose to simulate a cool rain.
Fruiting requires high humidity at the bed surface, around 85 to 90 percent. This is easier outdoors if you maintain moist mulch and some overhead shade. Do not let the top layer crust over. A light, loose straw mulch can keep surface humidity high without blocking mushrooms.
Watch for small burgundy knobs pushing through the chips. They grow fast, often doubling in size daily. If the bed does not fruit after two weeks of deep watering, wait for a natural cool snap. Wine cap beds can fruit multiple times per season once established. The flush size depends on how much substrate the mycelium has colonized.
- Identify and harvest wine cap mushrooms safely
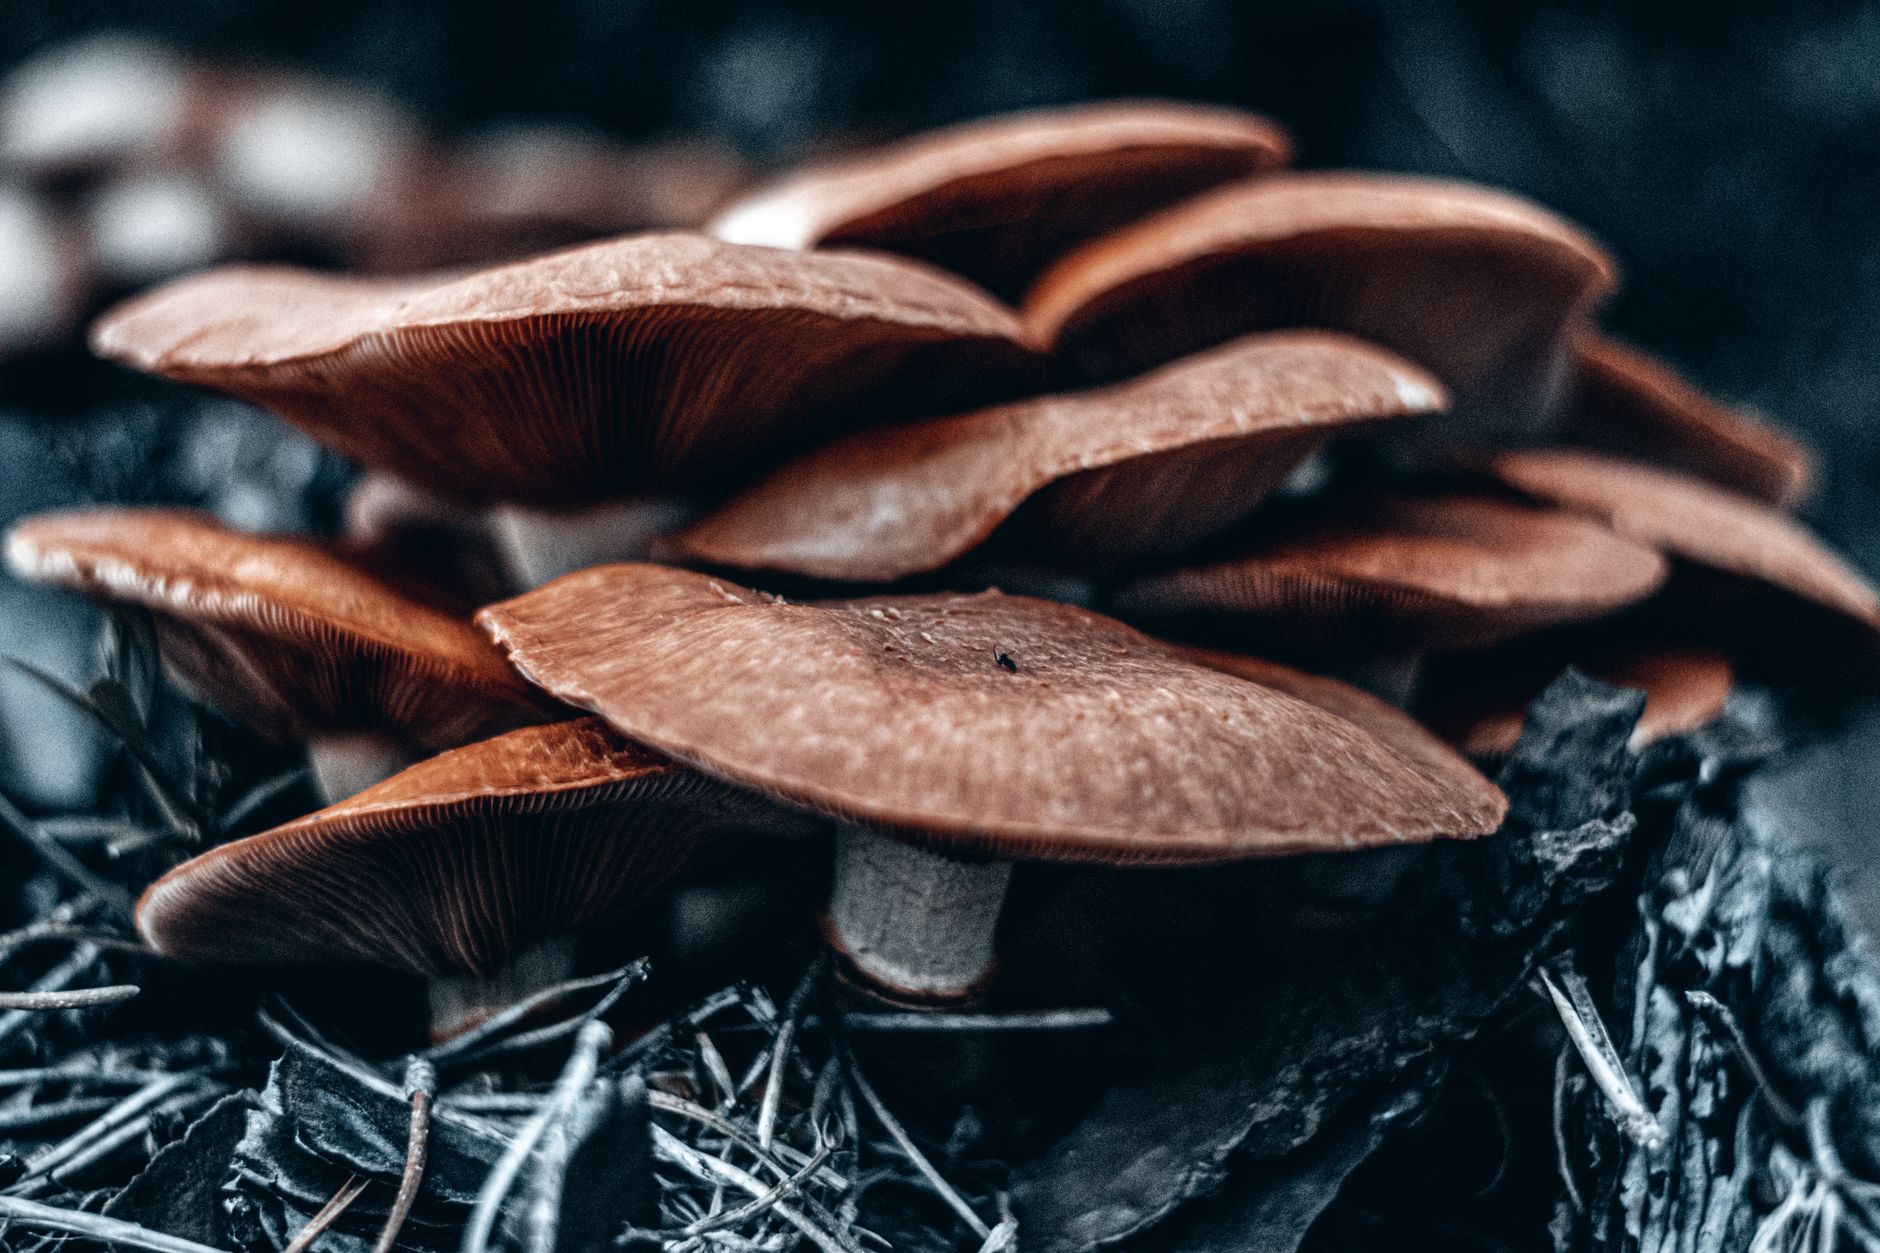
Wine cap mushrooms have a distinctive burgundy cap when young, fading to tan or wine-brown with age. The cap is often 2 to 6 inches across, with a partial veil that leaves a ring on the stalk. The gills start pale gray and darken to purple-brown with spores. The stalk is thick and white with a ring. Cut the stem at the base with a clean knife when the cap is still rounded and the veil is intact or just beginning to tear.
Use multiple features when identifying any mushroom. The North American Mycological Association advises that you never eat a wild mushroom unless an expert positively identifies it. Even though you planted the spawn, wild lookalikes can colonize your bed. Compare cap color, gill color, spore print, and smell. Wine cap spore prints are dark purple-brown.
Harvest by twisting gently or cutting. Twisting can pull up the mycelium if you are rough, so cut at soil level. Check the bed every day during flushes because slugs and insects move in fast. Rinse and cook harvested mushrooms thoroughly. Store extras in a paper bag in the refrigerator for up to a week. This safe identification step protects you and your family.
- Refresh the bed and expand your patch
After each flush, add a fresh 1 to 2 inches of hardwood chips to replenish food. Wine cap mycelium consumes wood chips over several months. If the bed shrinks, top it back up. You can also add a thin layer of pasteurized straw in fall to insulate the bed through winter.
In spring, remove any heavy compaction and add new chips. You can split a healthy bed into new areas by taking a shovel of colonized chips and moving them to a prepared site. This expands your patch without buying more spawn. Just keep the moved material moist and shaded for the first few weeks.
A well-maintained wine cap bed can produce for 2 to 4 years before the substrate is spent. At that point, use the old chips as compost and start a fresh bed. For more species-specific advice, see the wine cap growing guide and mushroom fruiting conditions guide. This is also a good time to compare with king oyster mushroom growing if you want indoor projects for winter.
Red Flags & Warnings
- 🚨 Never eat a wild mushroom unless an expert positively identifies it. Wine cap has a few lookalikes, and accidental contamination can introduce other fungi. Use the North American Mycological Association or a local mycological club for identification.
- 🚨 Avoid cedar, redwood, and black walnut chips. Their natural oils or compounds can inhibit wine cap mycelium. Stick with oak, maple, alder, or poplar.
- 🚨 Do not let the bed dry out during spawn run. Even 48 hours of bone-dry top layers can kill newly planted mycelium. Check moisture daily for the first two weeks.
- 🚨 If you see green, black, or slimy patches, remove them quickly. Contaminants can spread through the bed. Do not eat any mushrooms growing near contaminated spots.
- 🚨 Keep the bed away from treated lumber and lawn chemicals. Grass clippings treated with herbicide can harm mycelium and make mushrooms unsafe.
- 🚨 Harvest wine caps before they become flat and bug-eaten. Overripe mushrooms harbor insects and degrade quickly. Pick daily during a flush.
Frequently Asked Questions
How long does it take to grow wine cap mushrooms from spawn?
Under good conditions, wine caps colonize a bed in 3 to 6 weeks. Mushrooms typically appear 4 to 8 weeks after planting, but outdoor flushes depend on rain and temperature.
Can wine cap mushrooms grow indoors?
Wine cap is not a good indoor species. It prefers deep outdoor beds with natural light, soil microbes, and cool night temperatures. Indoor monotubs are better for oyster mushrooms.
What is the best substrate for wine cap mushrooms?
A mix of about 3 parts hardwood chips to 1 part chopped straw works well. Fresh oak or maple chips give the bed long-term structure, while straw holds moisture and speeds colonization.
How do I identify wine cap mushrooms safely?
Look for a burgundy cap when young, a thick white stalk with a ring, pale gills that darken to purple-brown, and a dark purple-brown spore print. Always get expert confirmation before eating.
Will wine cap mushrooms grow back every year?
Yes, if you refresh the bed with new wood chips each spring and fall. A healthy patch can produce for 2 to 4 years before the substrate needs replacing.
How do I store harvested wine cap mushrooms?
Brush off debris and store them in a paper bag in the refrigerator. They stay good for about 5 to 7 days. Do not store them in plastic, which traps moisture and speeds rot.
What Should You Remember?
- Site selection: Choose dappled shade with good drainage, never a low spot that pools water.
- Substrate recipe: Use 3 parts hardwood chips to 1 part chopped straw by volume, avoiding cedar and black walnut.
- Spawn rate: Plant 5 to 10 pounds of sawdust spawn per 100 square feet for fast colonization.
- Moisture target: Keep the bed as damp as a wrung-out sponge, about 60 to 70 percent water content.
- Temperature range: Keep spawn run between 55 and 80°F, and watch for colonization in 3 to 6 weeks.
- Harvest safety: Verify cap, gill, ring, and spore print features, and never eat without expert identification.
- Bed maintenance: Top-dress with fresh chips after flushes to get multiple years of production.
This article is for general information only. Mushroom identification and consumption carry health and safety risks , never eat a wild mushroom unless positively identified by an expert, and follow sterile technique and food-safety guidance for home grows.