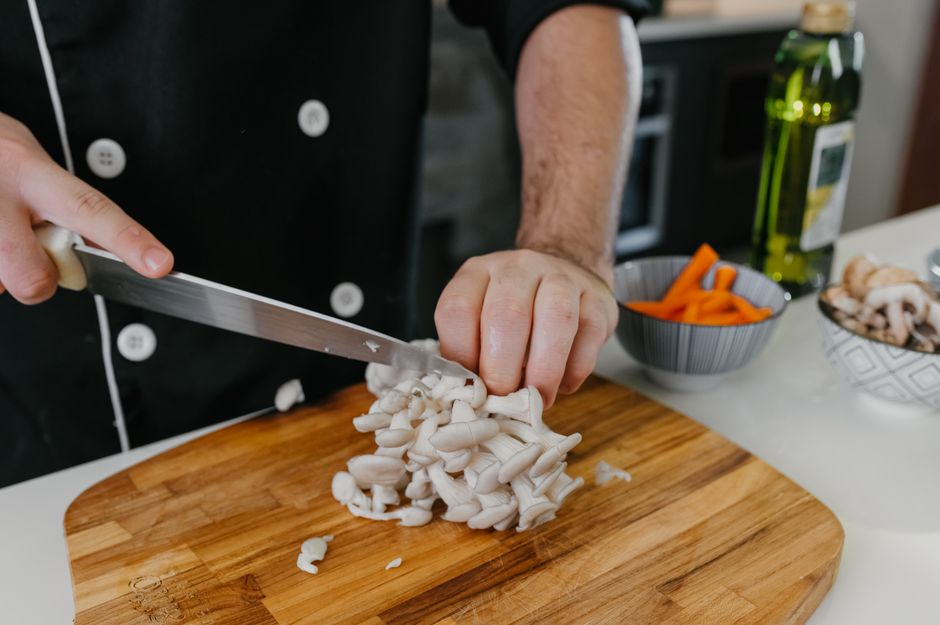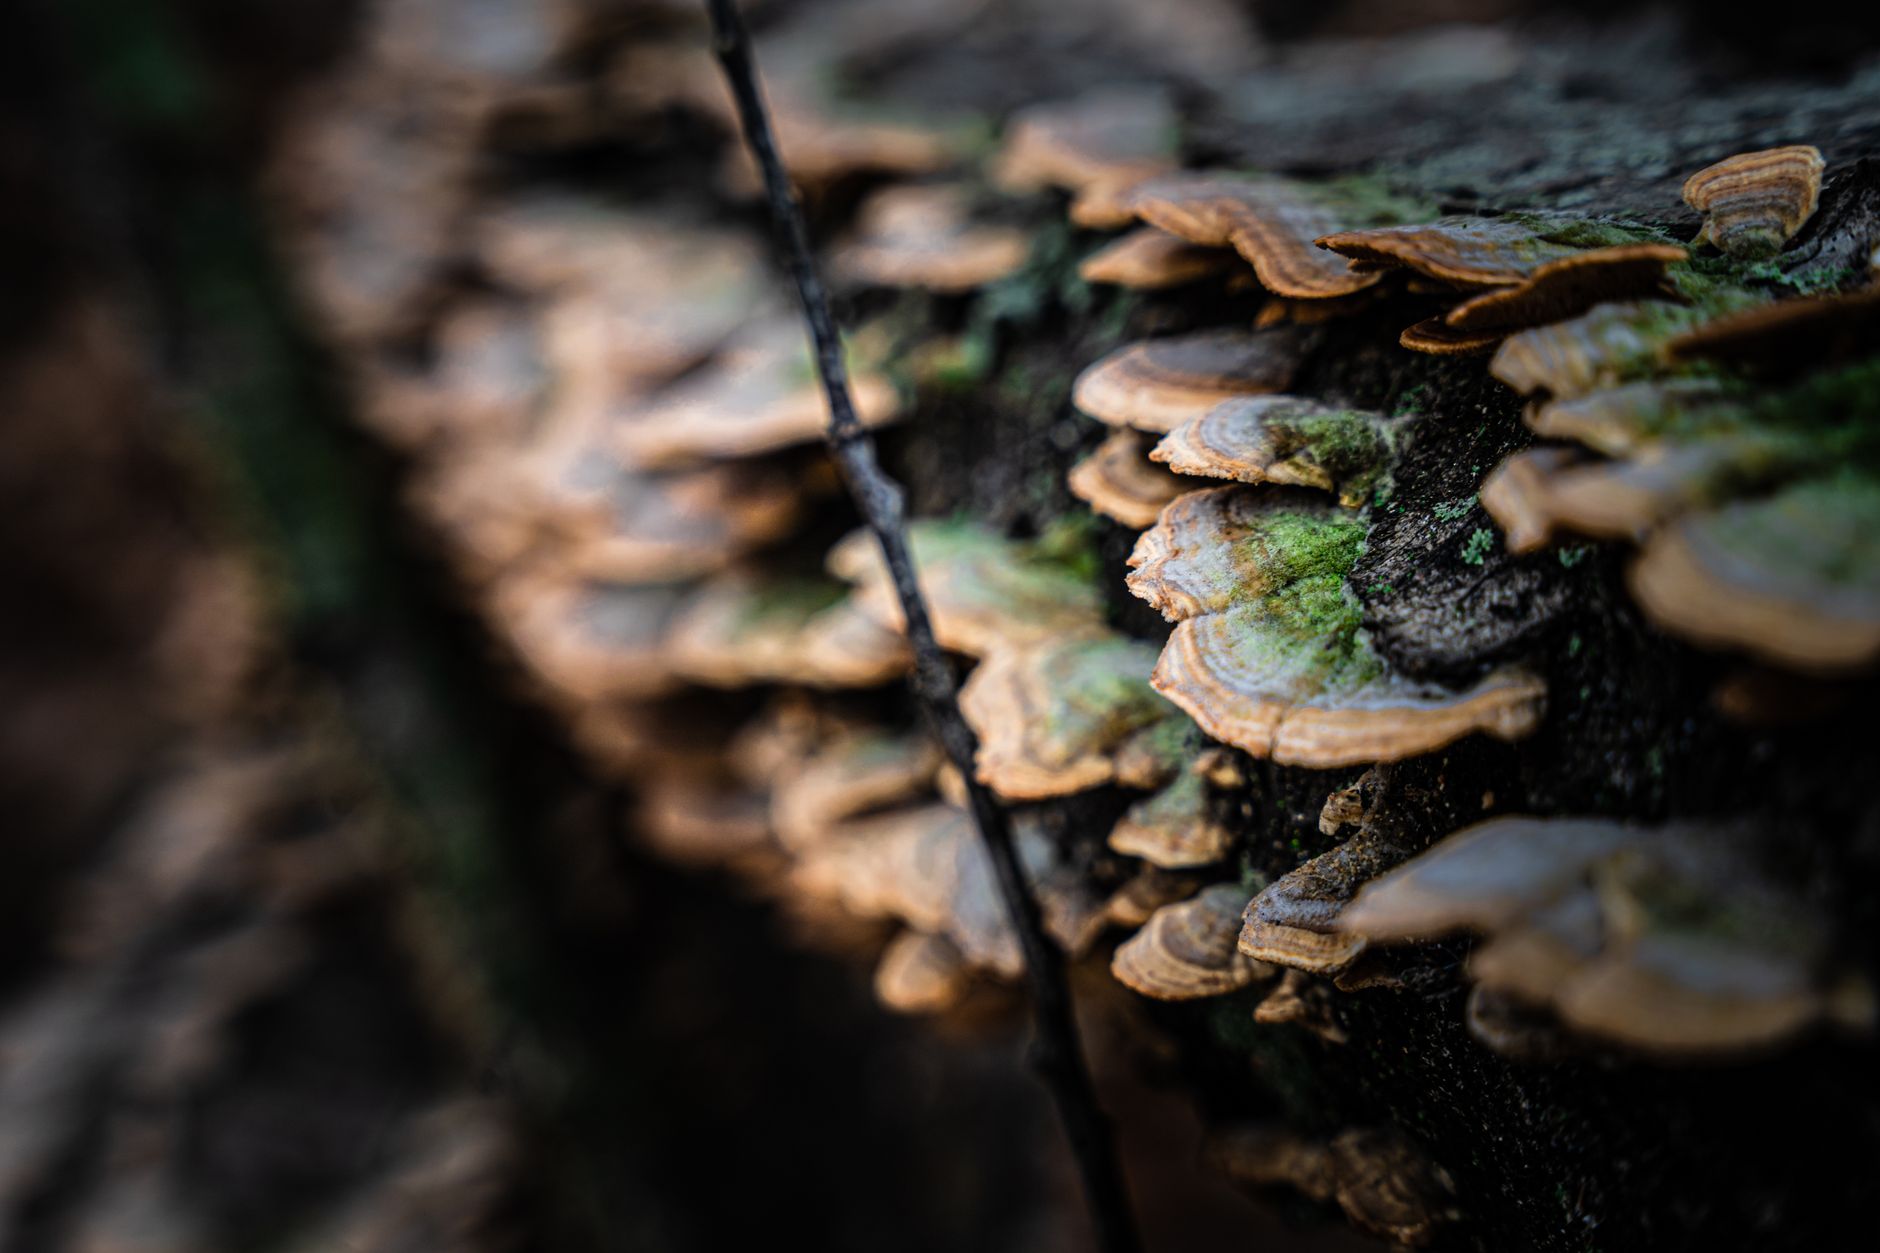
Wood ear mushrooms, also known as black fungus or cloud ear, are a chewy, mild-tasting species used in soups, stir-fries, and salads. The Latin name is Auricularia auricula-judae, and several close relatives are cultivated in Asia. They grow on dead hardwood, which makes them well suited for home cultivation on sawdust blocks. If you are new to indoor mushroom growing, first read the best mushroom substrate guide to understand base materials. Always follow safe identification practices from the North American Mycological Association if you ever compare your cultivated mushrooms to wild ones.
Home growers value wood ear because it colonizes quickly and tolerates a wide range of temperatures. The mushrooms do not need light during spawn run, but they do need fresh air and high humidity to form ears. A typical block can produce several flushes over a few weeks. Wood ear prefers fruiting temperatures around 60-75°F and relative humidity above 85 percent.
The basic process mirrors other wood-loving species. You prepare a supplemented hardwood sawdust block, sterilize it, inoculate with grain spawn, and wait. After colonization, you cut holes in the bag and move it to a humid fruiting space. Penn State Extension has long recommended hardwood sawdust as a reliable base for specialty mushrooms. The same principles apply to wood ear.
Wood ear is forgiving, but not immune to problems. Wet spots, green mold, and sour smells signal contamination. The biggest payoff comes from patience during colonization. Do not rush to fruit a block that is still white and loose; let it consolidate.
What You’ll Need
- Pressure cooker that reaches 15 PSI
- Autoclavable mushroom grow bags with filter patches
- Hardwood sawdust pellets
- Wheat bran
- Grain spawn or sawdust spawn
- Clear plastic tote or grow tent
- Humidity controller and humidifier
- Digital hygrometer
- Spray bottle
- 70 percent isopropyl alcohol
- Clean blade or scissors
How Do You Grow Wood Ear Mushrooms at Home?
- Gather supplies and choose a wood ear strain
Start with a clean workspace and the right equipment. You need a pressure cooker that reaches 15 PSI, autoclavable mushroom grow bags with filter patches, hardwood sawdust pellets, wheat bran or rice bran, and a reliable grain spawn. A Check the pressure cooker on Amazon that holds quart jars or small bags works well for home batches. You also need Check the mushroom grow bags on Amazon designed for high-temperature sterilization.
Choose a wood ear culture from a trusted supplier. Auricularia auricula-judae is the most common temperate species, while Auricularia polytricha is often grown in warmer climates. Order sawdust spawn or grain spawn; both work. If you have made your own spawn before, the process in how to make grain spawn will help. If not, buy ready-to-use grain spawn from a mushroom supplier.
The amount of spawn you need depends on substrate weight. A general rule is 5-10 percent spawn by wet weight. For a 5-pound block, that means about 4-8 ounces of spawn. More spawn leads to faster colonization. This reduces the window for competitors. Once supplies are ready, move to substrate preparation and sterilization.
- Prepare and sterilize hardwood sawdust substrate
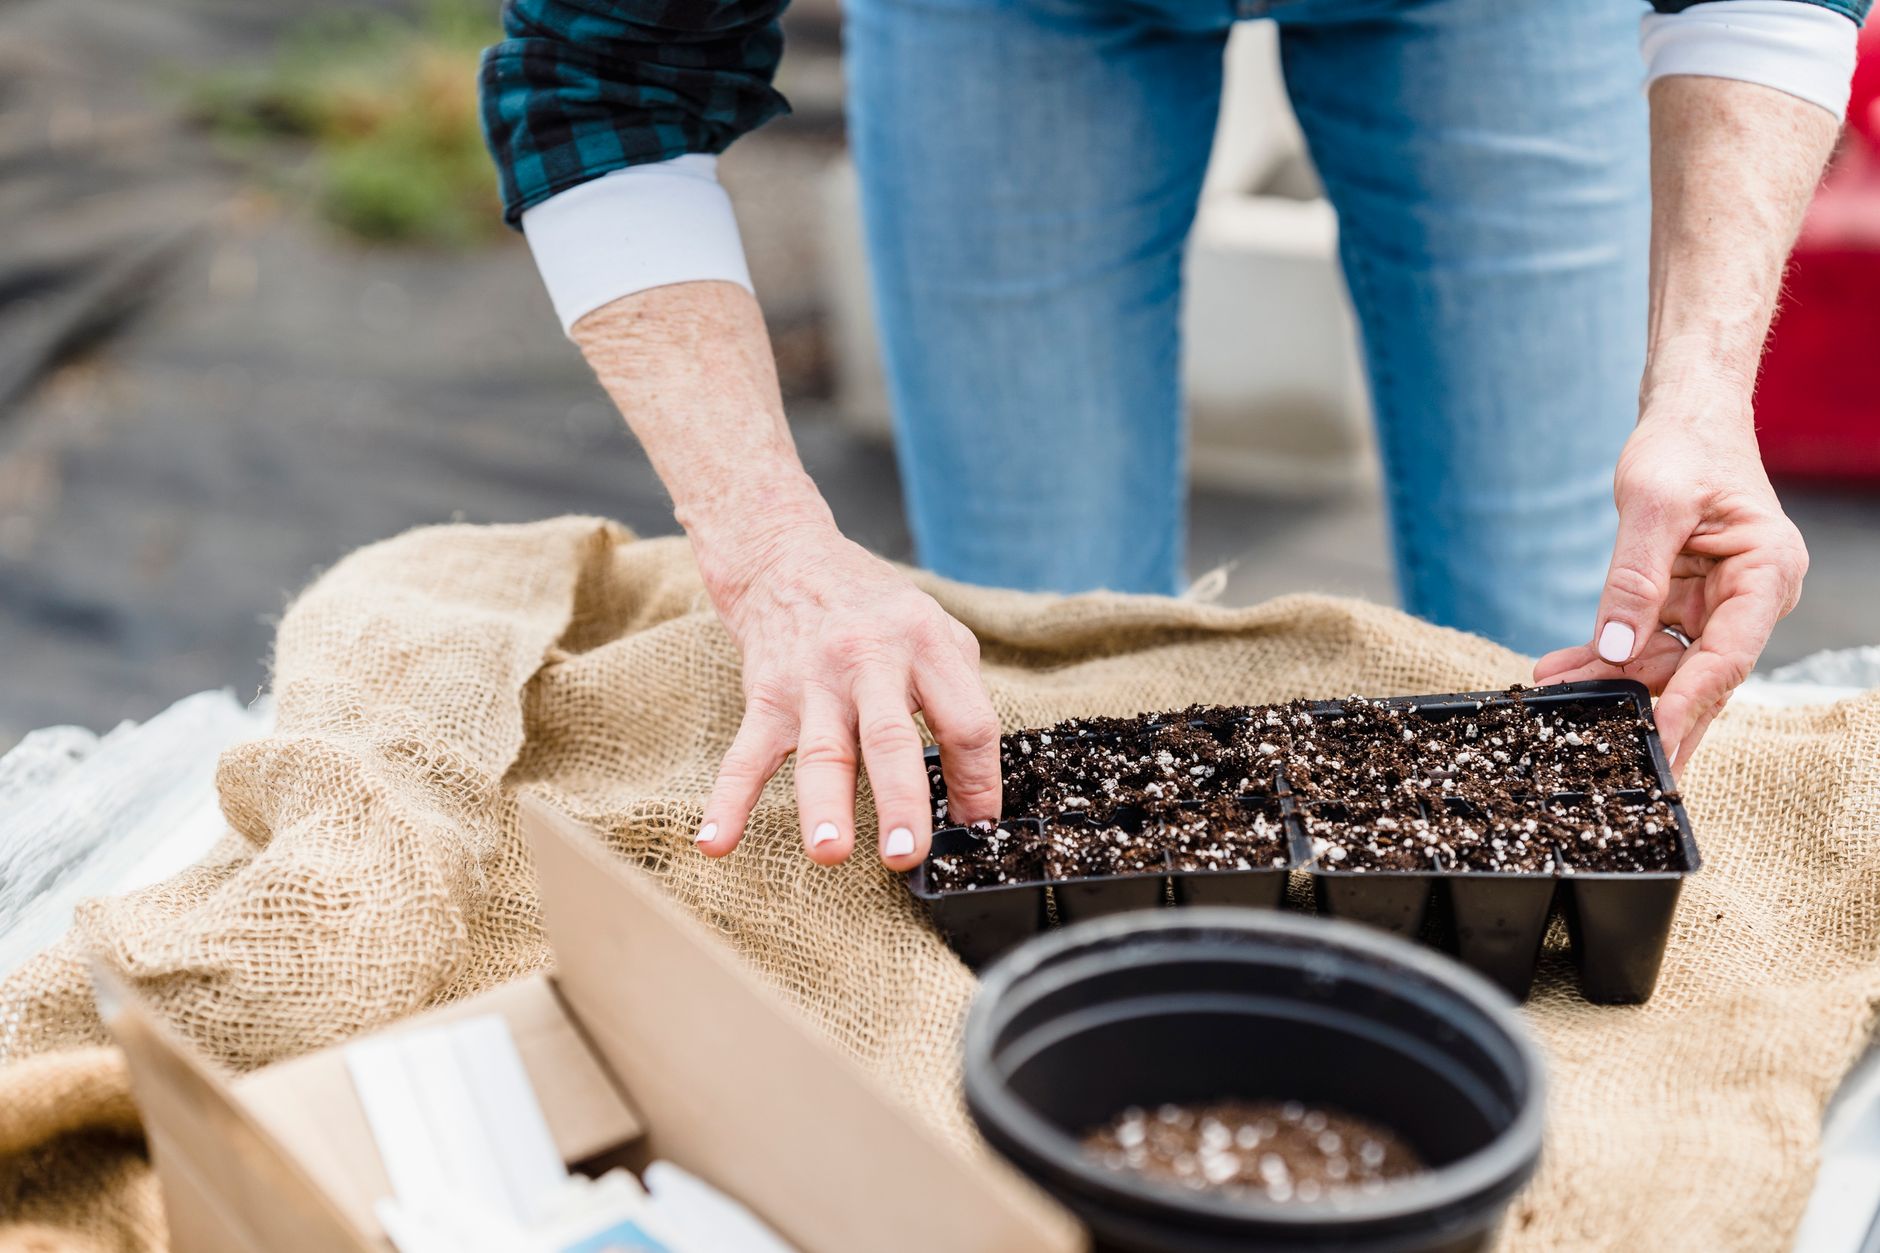
Mix a substrate recipe that wood ear loves. A proven formula is 80 percent hardwood sawdust pellets, 20 percent wheat bran, and water to reach 60-65 percent moisture. For a 5-pound block, use 4 cups of dry sawdust pellets, 1 cup of wheat bran, and roughly 1.2 liters of water. Check the hardwood sawdust pellets on Amazon before you start. Mix thoroughly until a squeezed handful drips only a few drops. This high-nutrient mix speeds colonization but also attracts mold, so sterilization is mandatory.
Load the mix into autoclavable bags. Fold the bag top over but do not seal it during pressure cooking. Sterilize at 15 PSI for 90 minutes. A standard pressure cooker or pressure canner works. Do not shorten this step. Wood ear substrate is dense and takes time for heat to penetrate. After the cycle, let the bags cool in the cooker or in a clean still air box until they reach room temperature.
If you prefer a lower-tech route, pasteurized straw can work. The how to pasteurize straw for mushrooms guide covers that method. Still, supplemented sawdust gives wood ear the best texture. Once bags are cool, move quickly to inoculation to keep contaminants out.
- Inoculate substrate with grain spawn
Inoculate inside a still air box or in front of a laminar flow hood. Wipe the bag surface and your hands with 70 percent isopropyl alcohol. Open the cooled bag, pour in the grain spawn, and reseal with an impulse sealer or fold and clip. Shake the bag gently to distribute spawn throughout the substrate. This step should take less than a minute per bag.
Evenly distributed spawn means even colonization. If spawn clumps in one spot, the block may colonize unevenly and stall. Break up any large grain clumps before adding spawn. Wear gloves and a mask. Remember that grain spawn is alive and should be used within a week or two of arrival unless refrigerated.
After sealing, mix the bag again through the plastic. Label each bag with strain name and date. Place bags in a dark, warm area. At this point the spawn begins to recover and spread. The next step is all about waiting and checking for contamination.
- Incubate and colonize the spawn run
Set the bags in a clean, dark space. Wood ear colonizes fastest at 70-78°F. At this temperature, a 5-pound supplemented sawdust block typically colonizes in 14-28 days. Lower temperatures slow growth; above 80°F can stress the mycelium and encourage thermophilic molds. Check bags every few days without opening them.
Look for white, ropey mycelium spreading from the spawn points. It will thicken and eventually cover the entire block. Wood ear mycelium can appear thinner than oyster or shiitake mycelium, so do not worry if it looks wispy. A healthy block smells like fresh mushrooms and damp sawdust. Sour, sweet, or alcoholic smells are red flags.
Contamination appears as green, black, or orange spots. If you see a small spot, isolate the bag immediately. The mushroom contamination identification guide can help confirm the problem. Do not open contaminated bags indoors. After the block is fully white and firm, wait an extra 3-5 days to consolidate before fruiting.
- Set up a fruiting chamber with high humidity
Wood ear mushrooms fruit best in a controlled chamber. You can use a clear plastic storage tote, a small greenhouse, or a modified grow tent. The space needs high humidity, fresh air exchange, and indirect light. A simple set up includes a humidity controller, a small humidifier, and a fan on a timer. Many home growers build a shotgun fruiting chamber with drilled holes.
Target 85-95 percent relative humidity during fruiting. Use a digital hygrometer to confirm. If humidity drops below 80 percent, developing ears may dry and become tough. Mist the inside walls of the chamber, not the mushrooms directly, to avoid water pooling. Good air exchange prevents carbon dioxide buildup, which can cause deformed, antler-like growth.
Wood ear does not need strong light, but 8-12 hours of indirect daylight or a low-watt LED helps trigger primordia. Keep the fruiting area at 60-75°F. A cooler spot near a basement window works well. Once the chamber is stable, move to cutting holes in the fruiting block.
- Trigger fruiting and maintain conditions
Cut two or three X-shaped slits in the bag with a clean blade. Each slit should be about 1-2 inches wide. Wood ear will form from these openings. Do not peel the bag away. The remaining plastic holds moisture inside the block. Place the block in the fruiting chamber with the slits facing open air.
During the first few days, small brown or translucent bumps appear. These are primordia. Keep the chamber at 85-95 percent humidity and fan it 2-3 times a day. If you use an automated setup, set the humidifier to cycle on for a few minutes every hour. Avoid constant dripping, which encourages bacterial blotch.
Primordia mature into ear-shaped mushrooms in 7-14 days. They grow quickly once conditions are right. If the ears stay small and hard, raise humidity and lower temperature slightly. If they become slimy, reduce misting. Use the mushroom fruiting conditions guide to troubleshoot common issues.
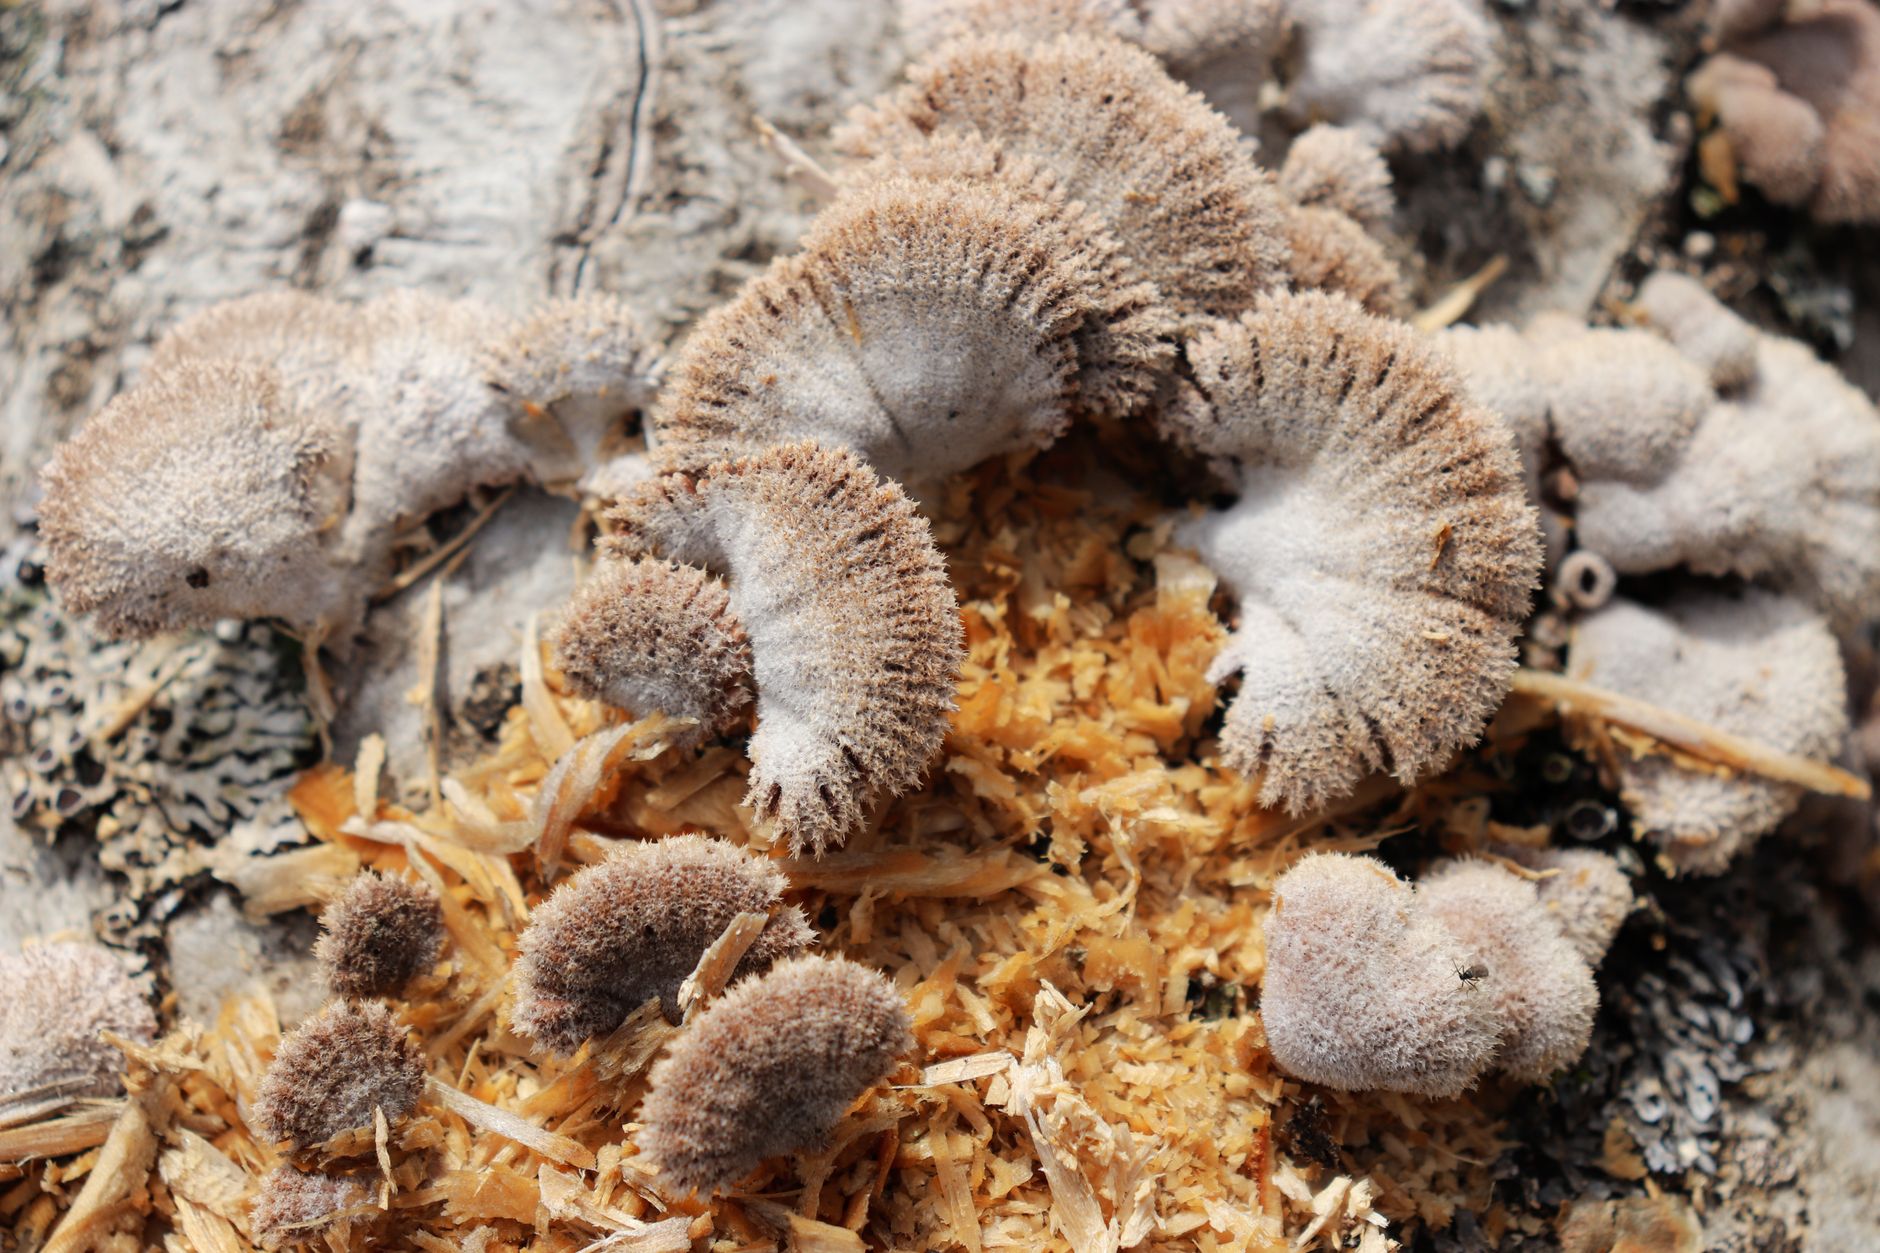
- Harvest wood ear mushrooms at the right time
Pick wood ears when the caps are 2-4 inches across and still pliable. They should feel rubbery, not floppy or soggy. Grasp the cluster at the base and twist gently. Use scissors or a clean knife if they resist. Harvest before the edges become thin and tattered, which signals overmaturity.
After harvest, clean the mushrooms by trimming any substrate or tough attachment points. Rinse briefly and pat dry. Wood ear can be eaten fresh, but it is often dried for longer storage. Fresh wood ear keeps in the refrigerator for up to a week in a paper bag. Dried wood ear rehydrates in warm water in 15-20 minutes.
The block can produce a second flush. After the first harvest, soak the block in cold water for 4-6 hours, drain, and return it to the fruiting chamber. Expect smaller flushes after the first. Dispose of the block when it becomes soft, overly wet, or contaminated.
- Store, use, and plan your next grow
Dried wood ear is a pantry staple in many Asian kitchens. Slice fresh ears into thin strips and dehydrate at 110-125°F for 6-8 hours. Store dried pieces in an airtight jar away from light. Rehydrated wood ear should be cooked thoroughly before eating. It adds a crisp-chewy texture to soups, salads, and stir-fries.
Never eat any mushroom that you cannot positively identify. Cultivated wood ear is distinct, but several wild jelly fungi can look similar. The North American Mycological Association stresses using multiple traits and expert confirmation before eating wild mushrooms. Stick to your cultivated blocks if there is any doubt.
Plan your next grow by ordering fresh spawn and preparing more substrate while your current block finishes. You can stagger blocks every two weeks for continuous harvests. If you enjoyed this process, try a related species like black pearl king oyster. Each one teaches you something new about mushroom cultivation.
Red Flags & Warnings
- 🚨 Do not forage wood ear from the wild unless an expert identifies it. Auricularia auricula-judae has jelly fungi lookalikes that can be difficult to distinguish.
- 🚨 Never skip sterilization for supplemented sawdust. The wheat bran in the recipe is very attractive to green mold and bacteria.
- 🚨 Keep humidity between 85 and 95 percent. Below 80 percent, wood ears turn tough and stop expanding.
- 🚨 Do not eat mushrooms from a block with visible green, black, or orange contamination. Toss the entire block outdoors.
- 🚨 Avoid over-misting. Water pooling on the mushrooms can cause bacterial blotch and make the harvest slimy.
- 🚨 Use only clean tools when cutting fruiting holes or harvesting. A dirty blade can introduce bacteria that ruin later flushes.
Frequently Asked Questions
What does wood ear mushroom taste like?
It has a mild, earthy flavor and a distinctive crunchy-chewy texture. It absorbs broth and sauce well, so it is often used in soups and stir-fries. Fresh wood ear is milder than the rehydrated dried form.
How long does it take to grow wood ear at home?
From inoculation to first harvest usually takes 5-8 weeks. Colonization takes 14-28 days at 70-78°F. Fruiting after cutting the bag takes 7-14 days.
Can I grow wood ear on logs?
Yes, wood ear naturally grows on dead hardwood logs. You can inoculate oak or elder logs with plug spawn. Logs can take 6-18 months to produce, but they fruit for years with seasonal rain.
Do I need a special fruiting chamber?
No. A clear plastic tote with holes, a small humidifier, and a hygrometer can work. Keep humidity at 85-95 percent and provide fresh air. Many home growers start with a simple shotgun fruiting chamber.
Why are my wood ear mushrooms small and hard?
Low humidity is the most common cause. Raise relative humidity to at least 85 percent and lower temperature to 60-70°F. Also check for too much air movement, which dries the primordia.
Is wood ear the same as black fungus?
Yes, the names are often used for the same culinary mushroom. Black fungus can refer to Auricularia auricula-judae or closely related species. The cultivation needs are nearly identical.
What Should You Remember?
- Substrate: Use 80% hardwood sawdust, 20% wheat bran, hydrated to 60-65% moisture.
- Temperature: Colonize at 70-78°F and fruit at 60-75°F for best results.
- Humidity: Maintain 85-95% relative humidity during fruiting to get pliable ears.
- Timing: Expect a 14-28 day spawn run and first harvest 7-14 days after fruiting.
- Harvest: Pick when caps are 2-4 inches and rubbery, before edges become tattered.
- Safety: Never eat wild lookalikes without expert identification from NAMA or a mycologist.
- Flushes: Soak the block for 4-6 hours after harvest to encourage a second flush.
This article is for general information only. Mushroom identification and consumption carry health and safety risks , never eat a wild mushroom unless positively identified by an expert, and follow sterile technique and food-safety guidance for home grows.