Black pearl king oyster is a meaty hybrid that behaves like a cross between a king oyster and a standard oyster mushroom. It forms thick, dense stems and dark caps in tight clusters. Home growers often pick it for its yield and texture. The flavor is mild but savory. Compared with the true king oyster mushroom growing guide, this strain tends to produce more mushrooms per block. It also colonizes slightly faster. You still need patience and clean technique. This guide walks through the full indoor cycle.
The black pearl variety is a good second project after basic oyster mushrooms. The block recipe is simple and the fruiting window is forgiving. You control the environment. There is no outdoor season to wait for. If you have seen blue oyster mushrooms, you already know the general look. Black pearl grows darker caps and a firmer stem. The mycelium responds well to standard supplementation. Get the substrate right and the crop usually follows. This guide covers a 50/50 sawdust and soy hull mix. Choose a recipe that fits your local supply.
Growing mushrooms indoors means you manage moisture, gas exchange, and temperature. Black pearl king oyster needs a cool shift to pin. That is the main detail beginners miss. A room at normal house temperature can support colonization, but fruiting needs cooler air. You can use a basement, a cool closet, or a small grow tent with a temperature controller. Clean spawn and sterile substrate matter more than fancy equipment. Penn State Extension documentation covers sterilization basics for supplemented blocks. This article applies those principles to a specific crop.
This method works for grain spawn bags or pre-inoculated kits. If you want to skip sterilizing, a mushroom grow kit can shorten the process. But a kit costs more per pound than making your own blocks. Most home growers start with a kit, then buy a pressure cooker and spawn. The steps below give you both paths. You will learn how to prepare a block, inoculate it, fruit it, and stretch it for a second flush. Take notes as you go.
What You’ll Need
- 70% isopropyl alcohol
- Still air box or clean tote
- Filter patch grow bags
- Hardwood sawdust pellets
- Soy hulls or wheat bran
- Grain spawn
- Pressure cooker
- Spray bottle or humidifier
- Fruiting chamber or grow tent
How Do You Grow Black Pearl King Oyster Mushrooms at Home?
- Learn the strain before you buy spawn
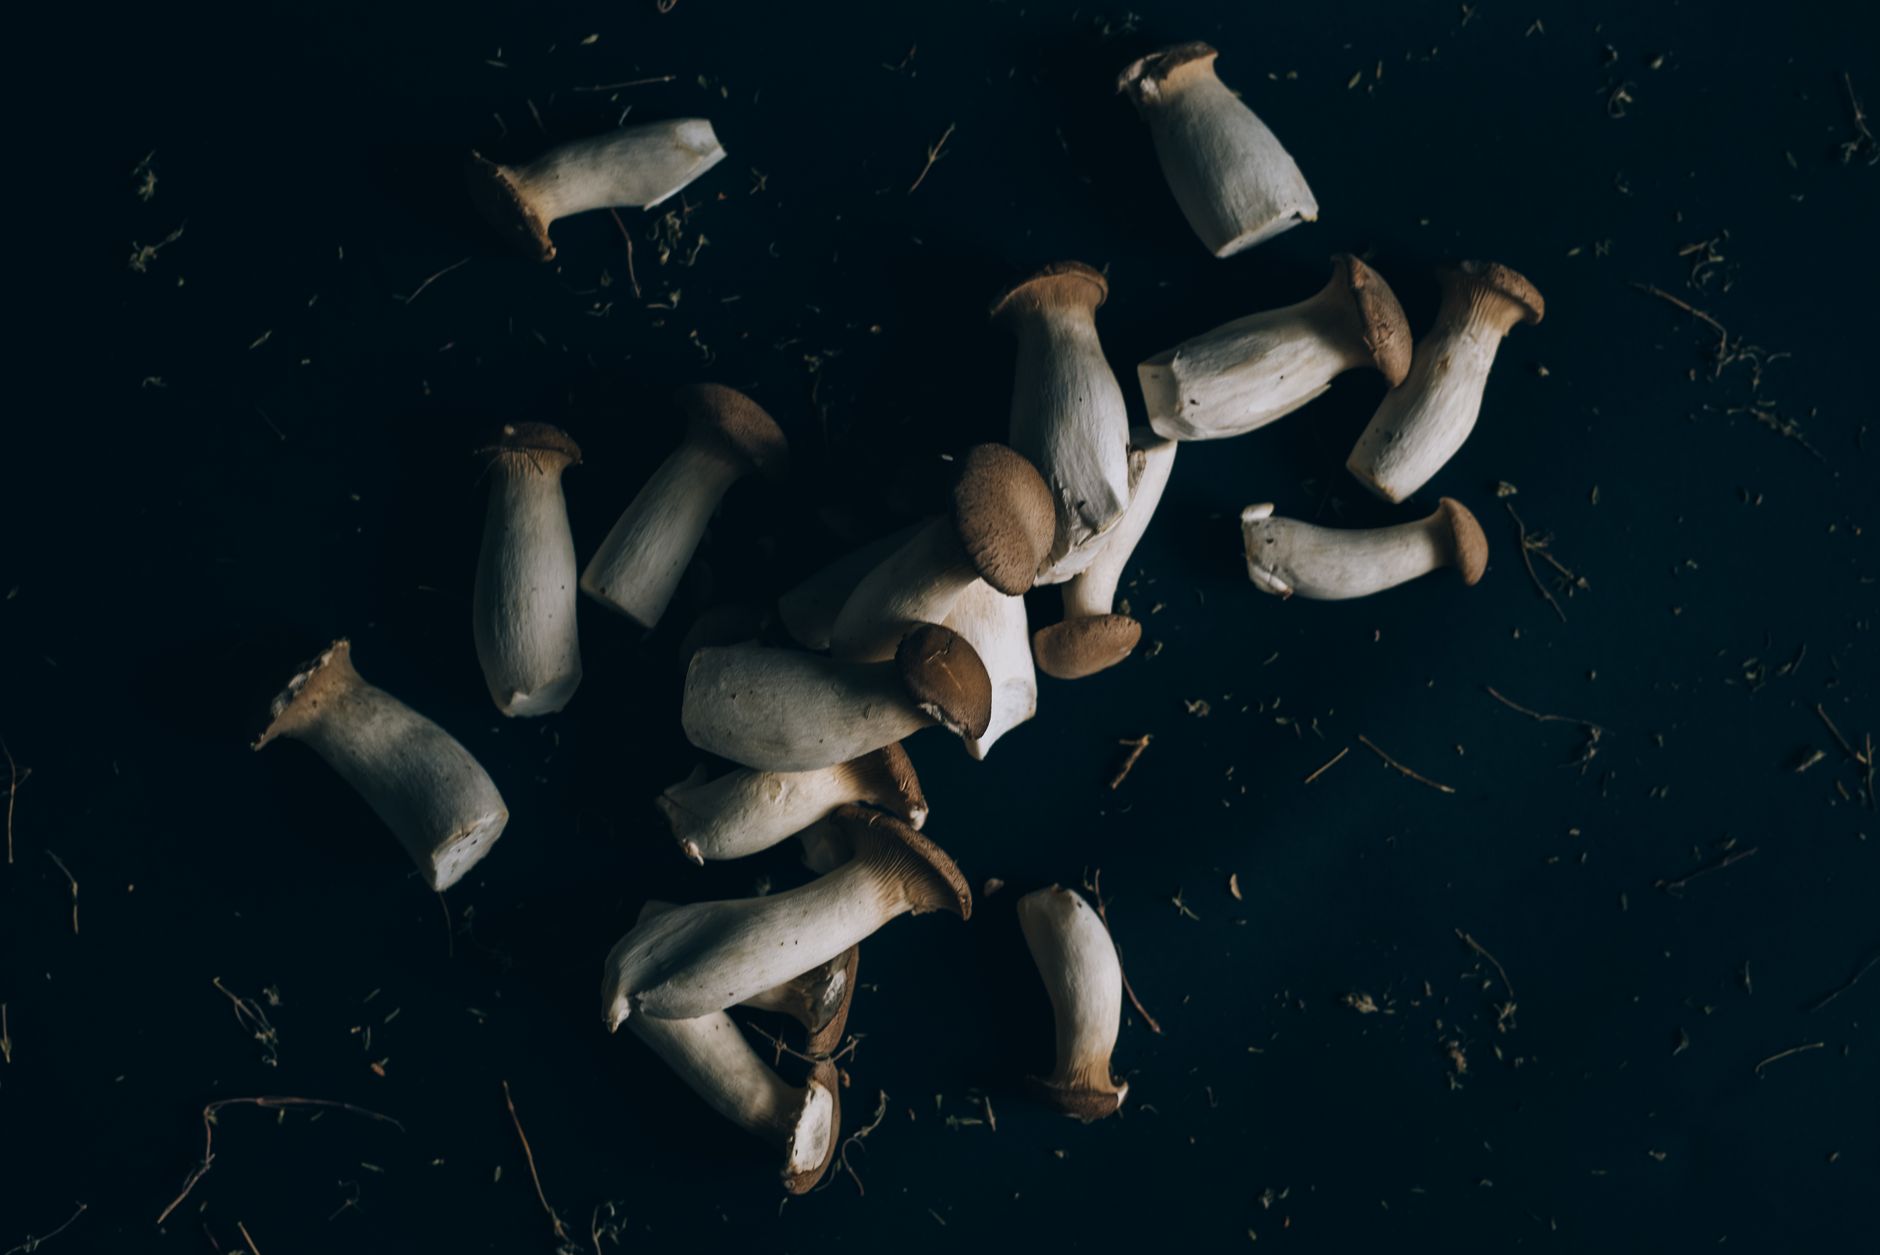
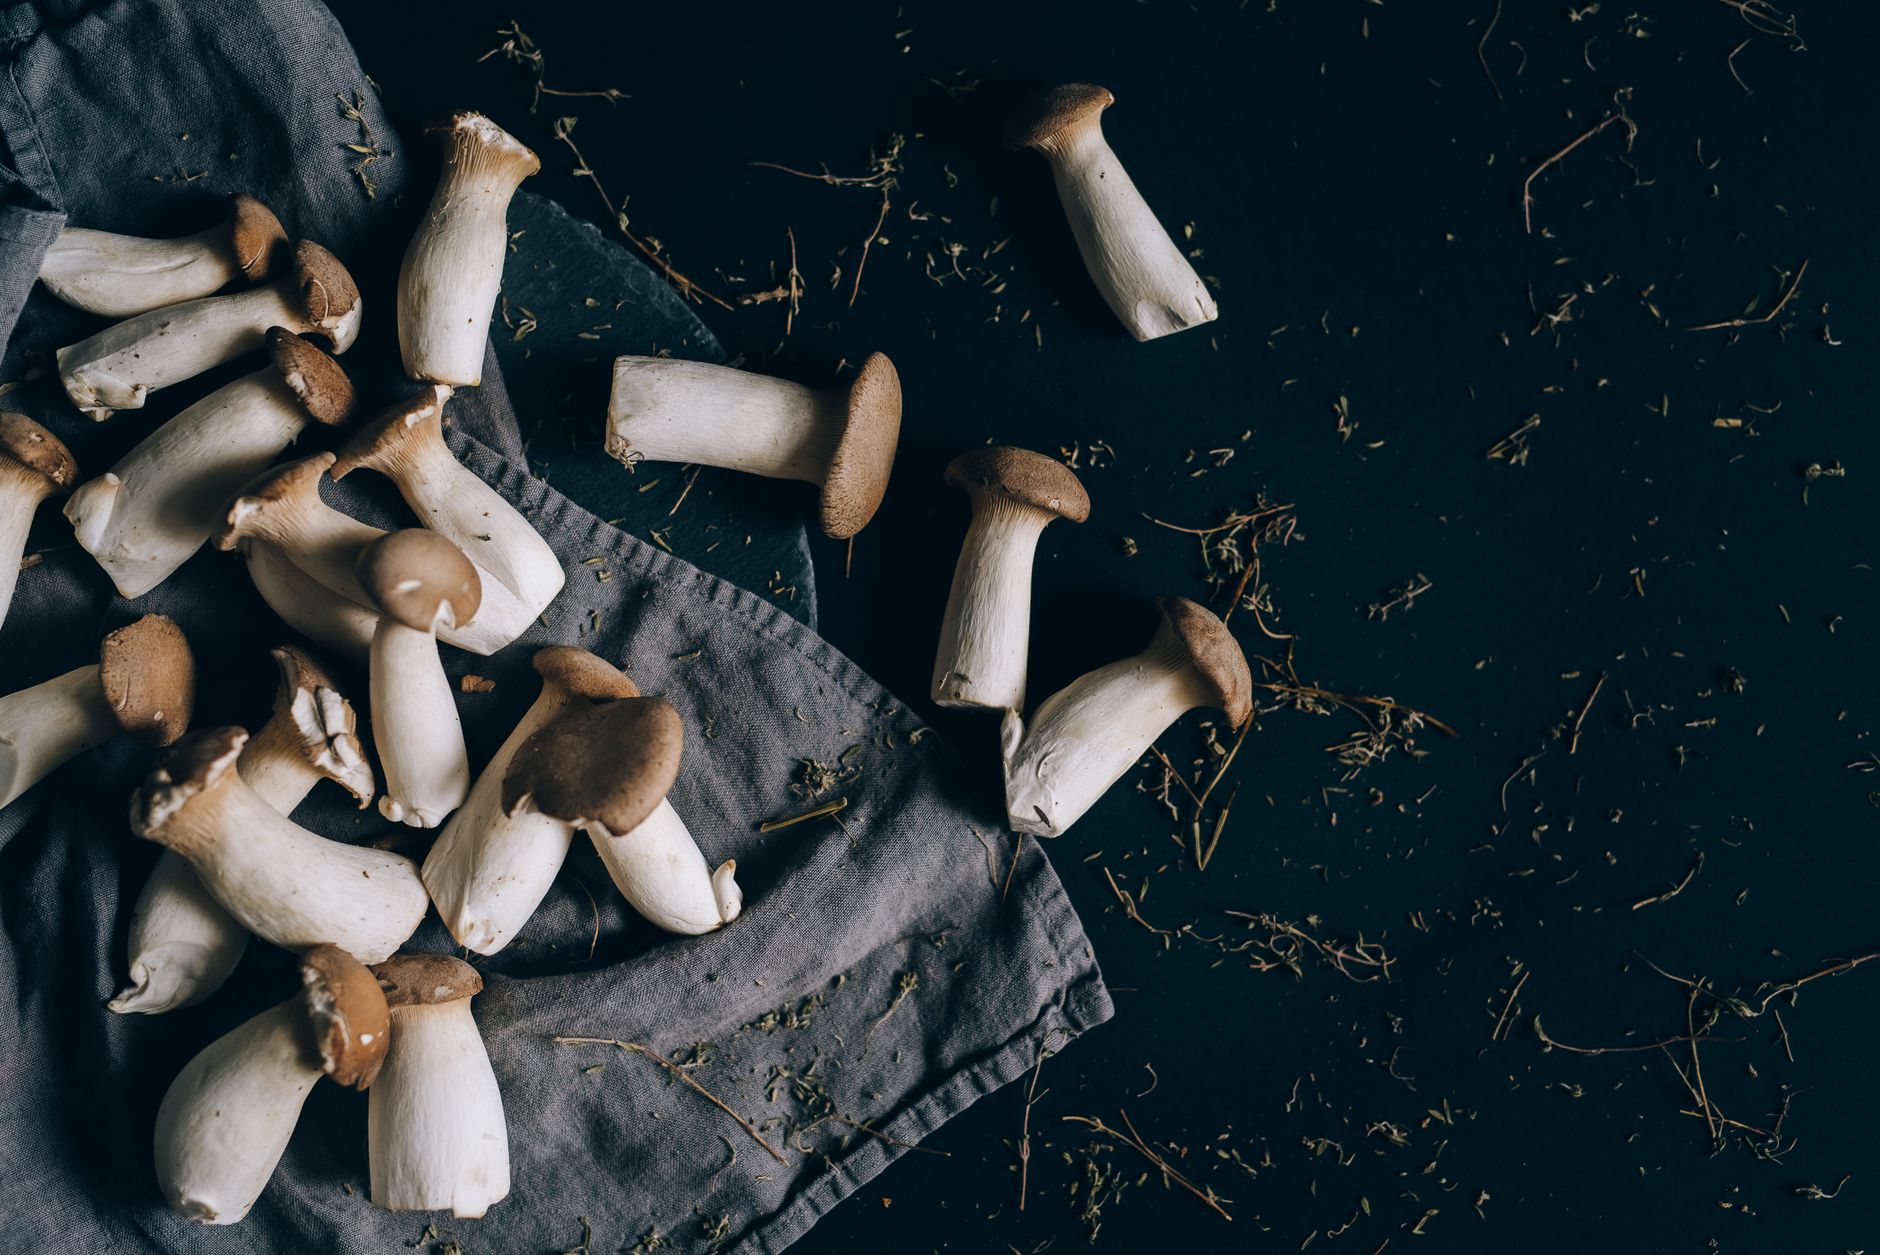
Black pearl king oyster is often sold as a king oyster hybrid. It pairs the thick stem of a king oyster with the clustered fruiting habit of an oyster mushroom. The caps are dark brown to gray when young. They lighten as they age. Mature clusters can weigh over a pound. The stems stay firm after cooking, which makes them useful in seared dishes and braises.
The strain is more forgiving than true king oyster for a kitchen grower. It colonizes at 68-75°F and pins after a temperature drop. That said, it still wants cool air for quality fruit. If your fruiting space is above 70°F, the mushrooms may grow spindly or delay. A cool basement works well. Some growers use a small cooler-controlled chamber.
Compared with blue oyster mushrooms, black pearl grows slower but holds quality longer. It also produces fewer, thicker mushrooms. You can treat it as a specialty oyster rather than a high-speed crop. The blocks are made from supplemented hardwood sawdust. That gives the dense stems enough fuel. Straw-only blocks usually produce thinner stems and lower yields.
Before you start, decide whether you want to buy a pre-made block or make your own. The remainder of this guide assumes you will prepare your own block. But the fruiting steps work for both paths. If you need a visual point of reference, check any reliable mushroom supplier photo. The dark caps are obvious at harvest.
- Gather supplies and set up a clean workspace
You need supplemented hardwood sawdust, grain spawn, filter patch grow bags, and a pressure cooker. You also need a spray bottle, alcohol, gloves, and a clean surface. The substrate block will weigh about 5 pounds after hydration. A spawn rate of 5-10% works well. If you make your own grain spawn, follow the how to make grain spawn guide. Fresh spawn should smell clean and show white mycelium.
Set up your workspace before you open anything. Wipe the counter with 70% isopropyl alcohol. Shut off fans and close windows for five minutes. Wear gloves and a mask. A still air box is a clear tote with two hand holes. It reduces airborne mold dramatically. You do not need a dedicated clean room. Repeatable habits matter more than the box itself.
Use autoclavable filter patch mushroom grow bags. The patch allows gas exchange and blocks mold spores. Check the filter patch and seams before loading. A torn bag can ruin a full run. For jars, use lids with a synthetic filter disc or a loose ring. Jars work for small blocks but produce smaller clusters.
A pressure cooker that reaches 15 PSI is the easiest way to sterilize supplemented sawdust. A large stove-top model or an electric pressure cooker works for bags up to about 5 pounds. If you do not have one, buy pre-sterilized substrate blocks. Do not skip sterilization on bran or soy hull mixes. Bacteria and mold spores survive at boiling temperatures.
- Prepare and sterilize a supplemented sawdust block
A reliable black pearl substrate is 50% hardwood sawdust pellets and 50% soybean hulls. Hydrate it to 60% moisture. This is often called masters mix. You can also use 80% hardwood sawdust and 20% wheat bran. Both recipes support the thick stems. Avoid plain straw because nitrogen is too low. The mushrooms will fruit, but the stems may be thinner.
Mix the dry ingredients in a clean bucket. Add warm water slowly while mixing. The squeeze test works well: grab a handful and squeeze. The mix should hold its shape and release only a few drops. That is close to 60% field capacity. Too wet creates anaerobic pockets where bacteria thrive. Too dry slows colonization for weeks. Weighing the water gives repeatable results. For a 5 pound block, start with 2.5 pounds of dry mix and 2.5 pounds of water.
Load the hydrated mix into filter patch bags. Leave room to fold the neck. Press the mix firmly to remove air gaps, but do not pack it rock hard. Wipe the inside of the bag neck clean. Fold or seal the top. Sterilize at 15 PSI for 90 minutes. Penn State Extension notes that supplemented substrates need full sterilization, not simple pasteurization. Follow that guidance for any mix with bran or soy hulls.
Let the bags cool inside the pressure cooker or in a clean tote. Cooling takes 6-8 hours. Do not move hot bags into open air too quickly. The filter patch pulls outside air as the bag cools. If dust is in the air, mold spores can land on the patch and grow through. Keep the area calm and clean. When the bag is room temperature, it is ready for spawn. This is the stage where a small mistake causes contamination two weeks later.
- Inoculate the cooled block with grain spawn
Inoculation is the most sensitive step. Shake the grain spawn jar to loosen the grains. Wipe the jar and the substrate bag with alcohol. Move inside a still air box if you have one. Open the spawn jar and the bag top. Work with clean gloves. Keep the bag opening away from your breath and face.
Use 5-10% spawn by wet weight. For a 5 pound block, add 0.25-0.5 pounds of grain spawn. That is roughly 1 to 2 cups. More spawn colonizes faster and reduces the chance of mold. Less spawn leaves the substrate undefended for longer. Pour the grain onto the block. Fold the bag neck down and clip it closed. Shake gently to mix the grains throughout the sawdust.
Do not heat seal the bag yet if you want to do a mid-colonization shake. A simple fold and clip is enough. Label the bag with the strain and inoculation date. Date tracking helps you know when to check for full colonization. If you notice green, black, orange, or slimy spots later, check the mushroom contamination identification guide before deciding to keep or toss the block.
If you use a pre-inoculated kit, this step may be done for you. You can still inspect the spawn and block before fruiting. The main point is to protect the open filter patch. The block is sterile on the inside, but only if you do not introduce competitors during inoculation. Clean hands and a calm room beat expensive gear.
- Incubate at 68-75°F until fully colonized
Place the inoculated block in a dim, warm spot. The target is 68-75°F. Black pearl mycelium usually fully colonizes a 5 pound block in 14-21 days. Warmer temperatures speed growth, but heat above 75°F favors bacteria and can dry the block. A closet shelf or the top of a refrigerator often works.
Check the bag every day for the first week. White mycelium should spread from the grain pieces. It may look like small snowflakes at first, then thick ropes. If you see gray fuzz, green spots, black mold, or a sour smell, isolate the bag. Do not open it indoors. A contaminated block can coat your grow room with spores.
Around day 7-10, the mycelium may cover 30-40% of the block. You can break up the block gently from the outside. This redistributes colonized grains and speeds the rest of the run. Do not shake if contamination is present. Use your fingers to crush the block inside the bag. This is called a break and shake. The mycelium recovers in two to three days.
Full colonization looks like a solid white or cream block. The bag may feel firm and rubbery. If you used filter patch bags, the patch may smell slightly sweet and mushroomy. That is normal. At this point, you can wait 5-7 days to let the mycelium consolidate. Then move to fruiting. For more detail on the change in conditions, see the mushroom fruiting conditions guide.
- Shift to cool, humid fruiting conditions
Black pearl king oyster pins best when the block gets a temperature drop and fresh air. Target 55-65°F. Raise humidity to 85-95%. Add indirect light for 8-12 hours a day. A simple grow light or a bright room works. Without fresh air, the pins can form poorly or stretch into long stems.
Cut one or two small slits in the bag where you want mushrooms to form. Each cut should be 1-2 inches long. Do not tear the whole top open. A narrow slit keeps moisture in while the pins form. Mist around the cut with a fine spray. Do not soak the block. Water pooling in the cut causes bacteria.
A small grow tent or a DIY fruiting chamber makes humidity control easier. The diy mushroom fruiting chamber guide shows a basic monotub or greenhouse design. Use a reptile fogger or ultrasonic humidifier on a timer. Run it for about 15 minutes every two hours. Adjust based on how wet the walls look. You want tiny droplets, not dripping water.
Fresh air exchange should happen several times a day. Open the chamber and fan it with the lid for 30 seconds. Better yet, run a small computer fan on low for a few minutes. Exhaust the stale air, then let the humidifier bring moisture back. High carbon dioxide levels produce long stems and small caps. This is the most common defect with black pearl.
Pins appear within 5-10 days. Small dark bumps form at the cut or slit. Once they appear, hold conditions steady. If the air suddenly dries, the pins may abort. A small temperature swing is okay. A big swing from 65°F to 80°F is not.
- Harvest when the caps flatten slightly
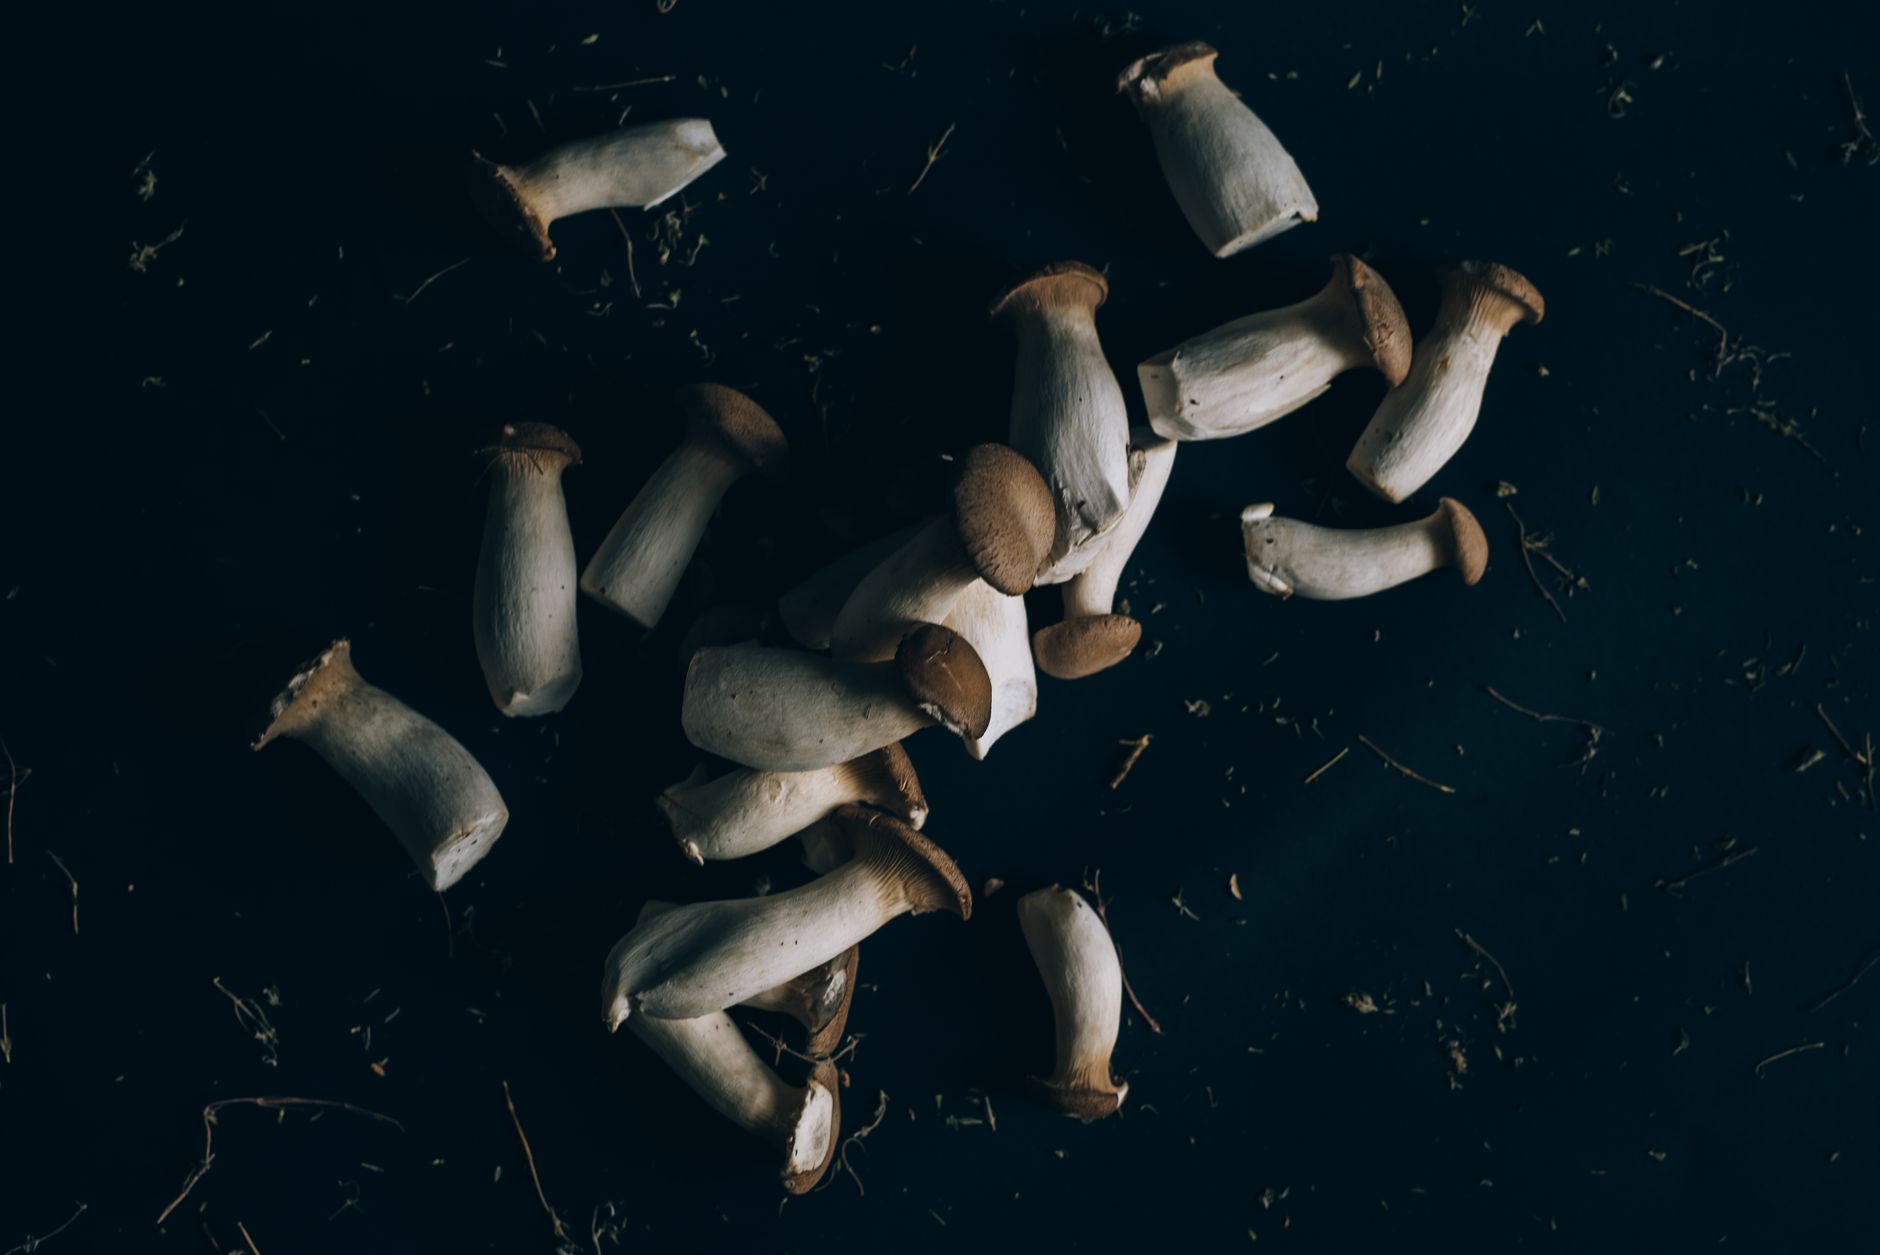
Harvest black pearl king oyster when the caps are dark and the edges begin to flatten. The ideal stage is before the caps curl upward and release spores. Most clusters are ready 7-12 days after pinning. If you see white or pale spore dust on lower mushrooms, you waited a touch long. They are still edible, but the appearance suffers.
Grasp the cluster at the base and twist gently. It should release from the block. You can also cut the stems with a clean knife. Leave a small stump behind. Avoid yanking the block, which can tear the surface. Damage near the slit can invite mold before the second flush.
Fresh mushrooms hold for 5-7 days in the fridge. Store them in a paper bag or a loose cloth. Do not use sealed plastic. The mushrooms sweat and become slimy. If you harvest more than you can eat, process them soon. Black pearl stems are dense, so they slice into thick rounds. The caps are more tender.
After harvest, pick off any aborted pins and bits of substrate from the cut area. Let the block rest for a day or two in the fruiting space. Do not soak it immediately. Then you can rehydrate and set up for a second flush. This is also the moment to check for any soft or wet areas on the block.
Cook the mushrooms with high heat. Searing the thick stems brings out a savory, meaty texture. The caps cook faster. If this is your first black pearl harvest, taste a small piece before making a full dish. Some people notice a slightly firmer bite than standard oyster mushrooms.
- Rehydrate for a second flush and store the crop
After the first harvest, a block can produce a second flush. Rehydrate the block by soaking it in cold water for 4-8 hours. Use a clean container. Put a plate on top to keep it submerged. Drain the block well. Excess water can cause contamination. Place it back in the fruiting chamber under the same cool, humid conditions.
The second flush usually appears in 7-10 days. Expect fewer and smaller mushrooms. The stems may be longer because the block has less nutrition and oxygen exchange can change. That is normal. Do not over-mist a recovering block. Keep the surface slightly moist but not wet. If the block smells sour or shows green mold, compost it outdoors.
Some blocks produce a third flush, but yields drop fast. The block uses most of its nitrogen in the first two flushes. You can try a shorter soak for a third flush. If nothing happens after two weeks, the block is spent. Use it as garden compost or bury it in a shady spot. Outdoor flushes sometimes happen when conditions align.
For storage, fresh mushrooms keep in the fridge for up to a week. For long-term storage, slice and dry them at 115-125°F. Dried black pearl rehydrates well in soups and stews. You can also saute and freeze portions. This strain freezes better than many oyster types because the stems stay firm. Vacuum sealing helps prevent freezer burn.
Clean the fruiting chamber after the flush cycle. Spores and moisture encourage mold. Wipe the walls with soap and water, then alcohol. Let it dry before the next run. If you want to branch out, try the blue oyster mushroom growing guide for a faster oyster strain. Your notes from this run will make the next one easier.
Red Flags & Warnings
- 🚨 Never eat a wild mushroom unless an expert positively identifies it. The North American Mycological Association offers identification resources. Do not guess based on photos.
- 🚨 Sterilize supplemented sawdust at 15 PSI for 90 minutes. Pasteurizing at 160-180°F is not enough for bran or soy hull blocks. Mold spores can survive and ruin the run.
- 🚨 Do not open contaminated bags indoors. Green, black, orange, or slimy patches can release millions of spores. Isolate the bag and discard it outside.
- 🚨 Keep fruiting temperatures below 65°F. Warm rooms cause weak, spindly stems and small caps. Fresh air exchange is also critical.
- 🚨 Never store fresh mushrooms in sealed plastic. They sweat, soften, and spoil faster. Use a paper bag or a loose wrap.
- 🚨 Follow pressure cooker safety. Do not leave a hot pressure cooker unattended. Allow pressure to drop naturally before opening.
Frequently Asked Questions
Is black pearl king oyster the same as king oyster?
No. It is a hybrid that shows both king oyster and oyster traits. The stems are thick like a king oyster, but the caps are darker and the mushrooms grow in clusters. It is often easier for home growers than true king oyster.
What substrate should I use for black pearl king oyster?
Use supplemented hardwood sawdust. A 50/50 mix of hardwood sawdust pellets and soybean hulls works very well. Hydrate it to 60% moisture. An 80/20 hardwood sawdust and wheat bran mix also works.
How long does colonization take?
A 5 pound block usually colonizes in 14-21 days at 68-75°F. A break and shake at day 7-10 can speed the process. The block should look fully white and feel firm before fruiting.
Can I grow black pearl king oyster from a kit?
Yes. Many mushroom grow kits include a colonized block of this strain. Just cut the bag and fruit it in a cool, humid spot. A kit is a good way to learn the fruiting stage before making your own blocks.
Why are my mushrooms long and thin with small caps?
That usually means high carbon dioxide and not enough fresh air. It can also mean temperatures are too warm. Increase air exchange several times a day and keep the room between 55-65°F.
How many flushes can I get from one block?
Most growers get two solid flushes. A third flush is possible but smaller. Rehydrate the block between flushes by soaking it in cold water for 4-8 hours.
What Should You Remember?
- Substrate: Use 50/50 hardwood sawdust and soy hulls at 60% moisture.
- Colonization: Incubate at 68-75°F for 14-21 days.
- Fruiting: Drop to 55-65°F with 85-95% humidity and fresh air.
- Harvest: Pick when caps flatten but before edges curl.
- Second flush: Soak the block 4-8 hours and return it to fruiting conditions.
- Safety: Never eat wild mushrooms unless an expert identifies them.
This article is for general information only. Mushroom identification and consumption carry health and safety risks , never eat a wild mushroom unless positively identified by an expert, and follow sterile technique and food-safety guidance for home grows.