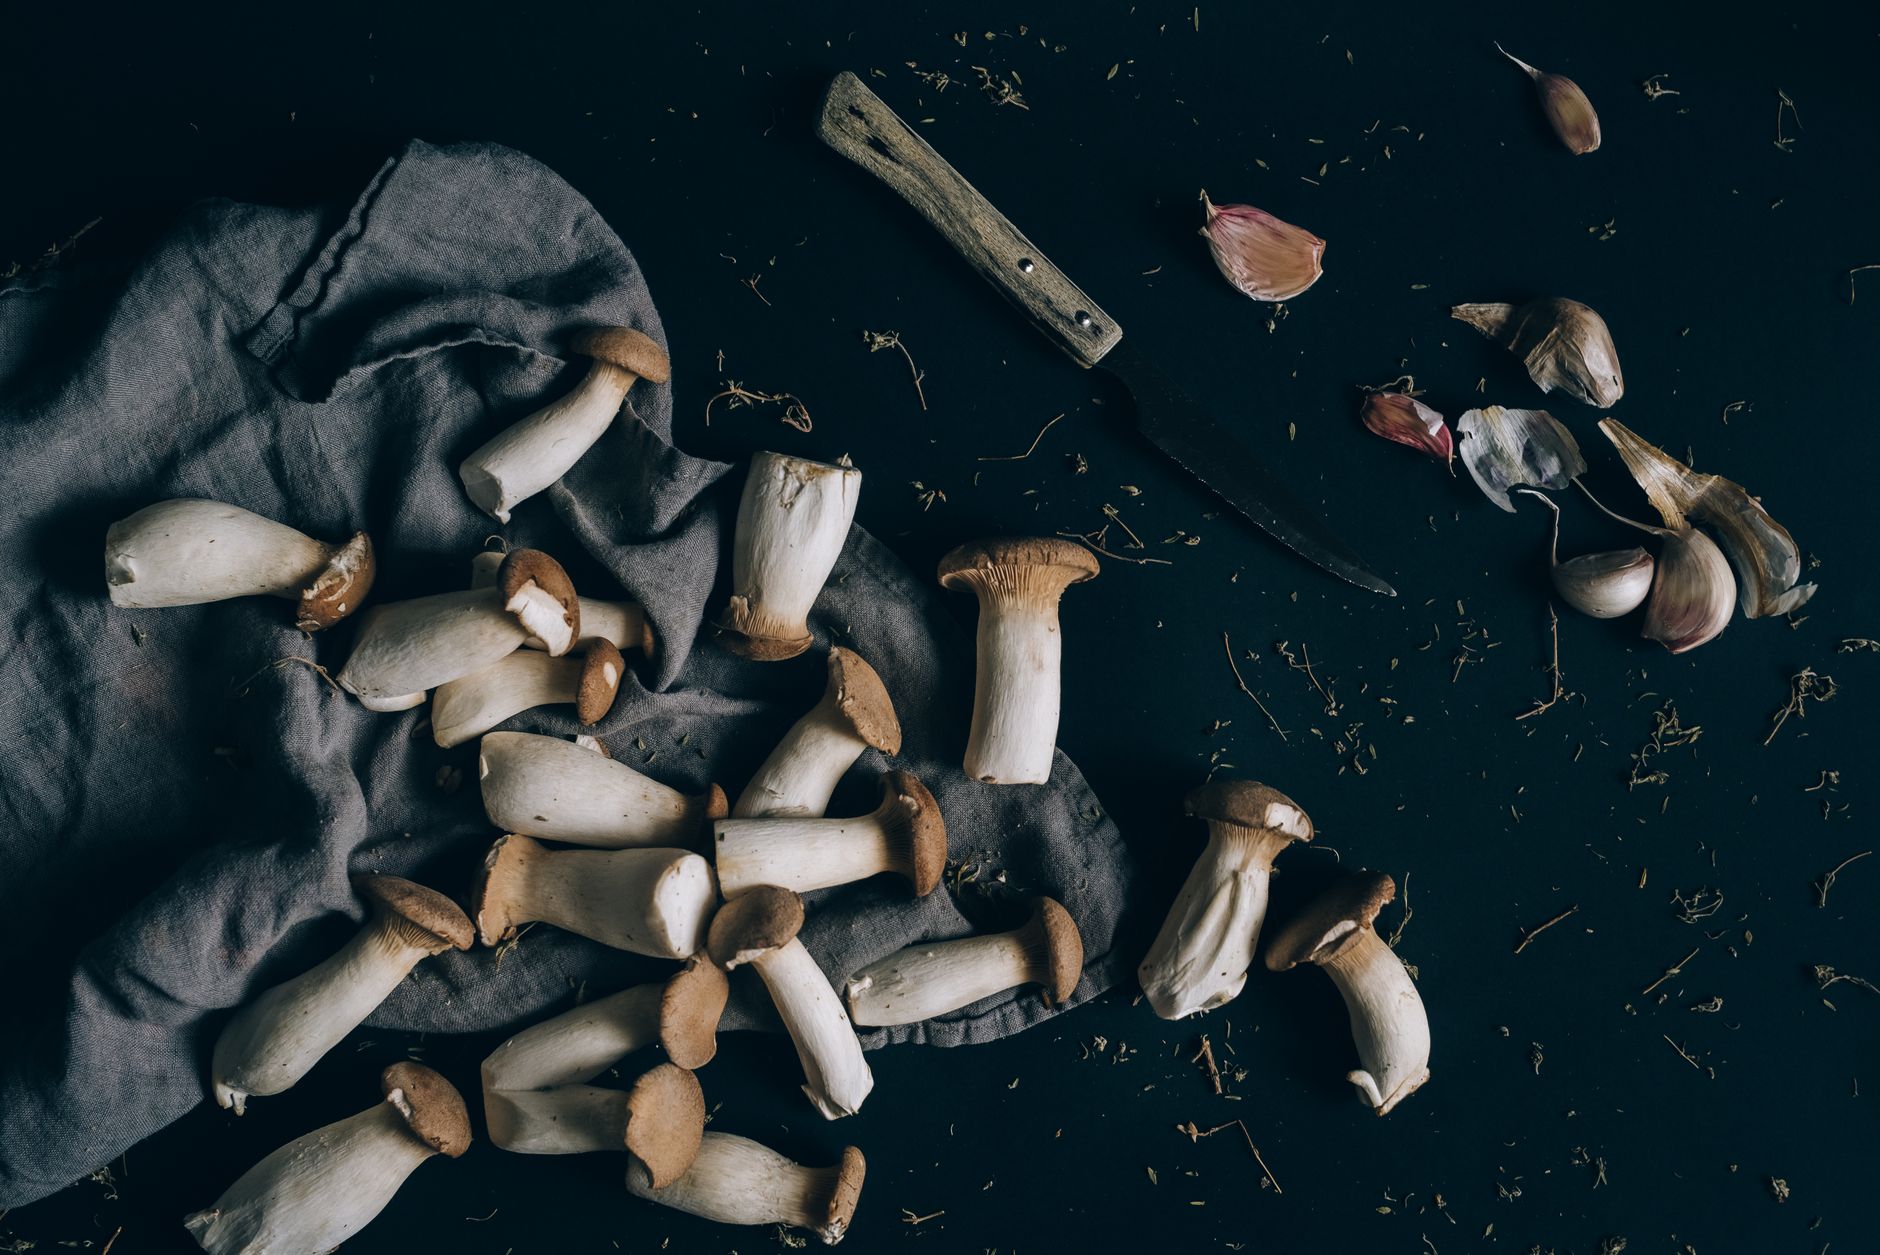
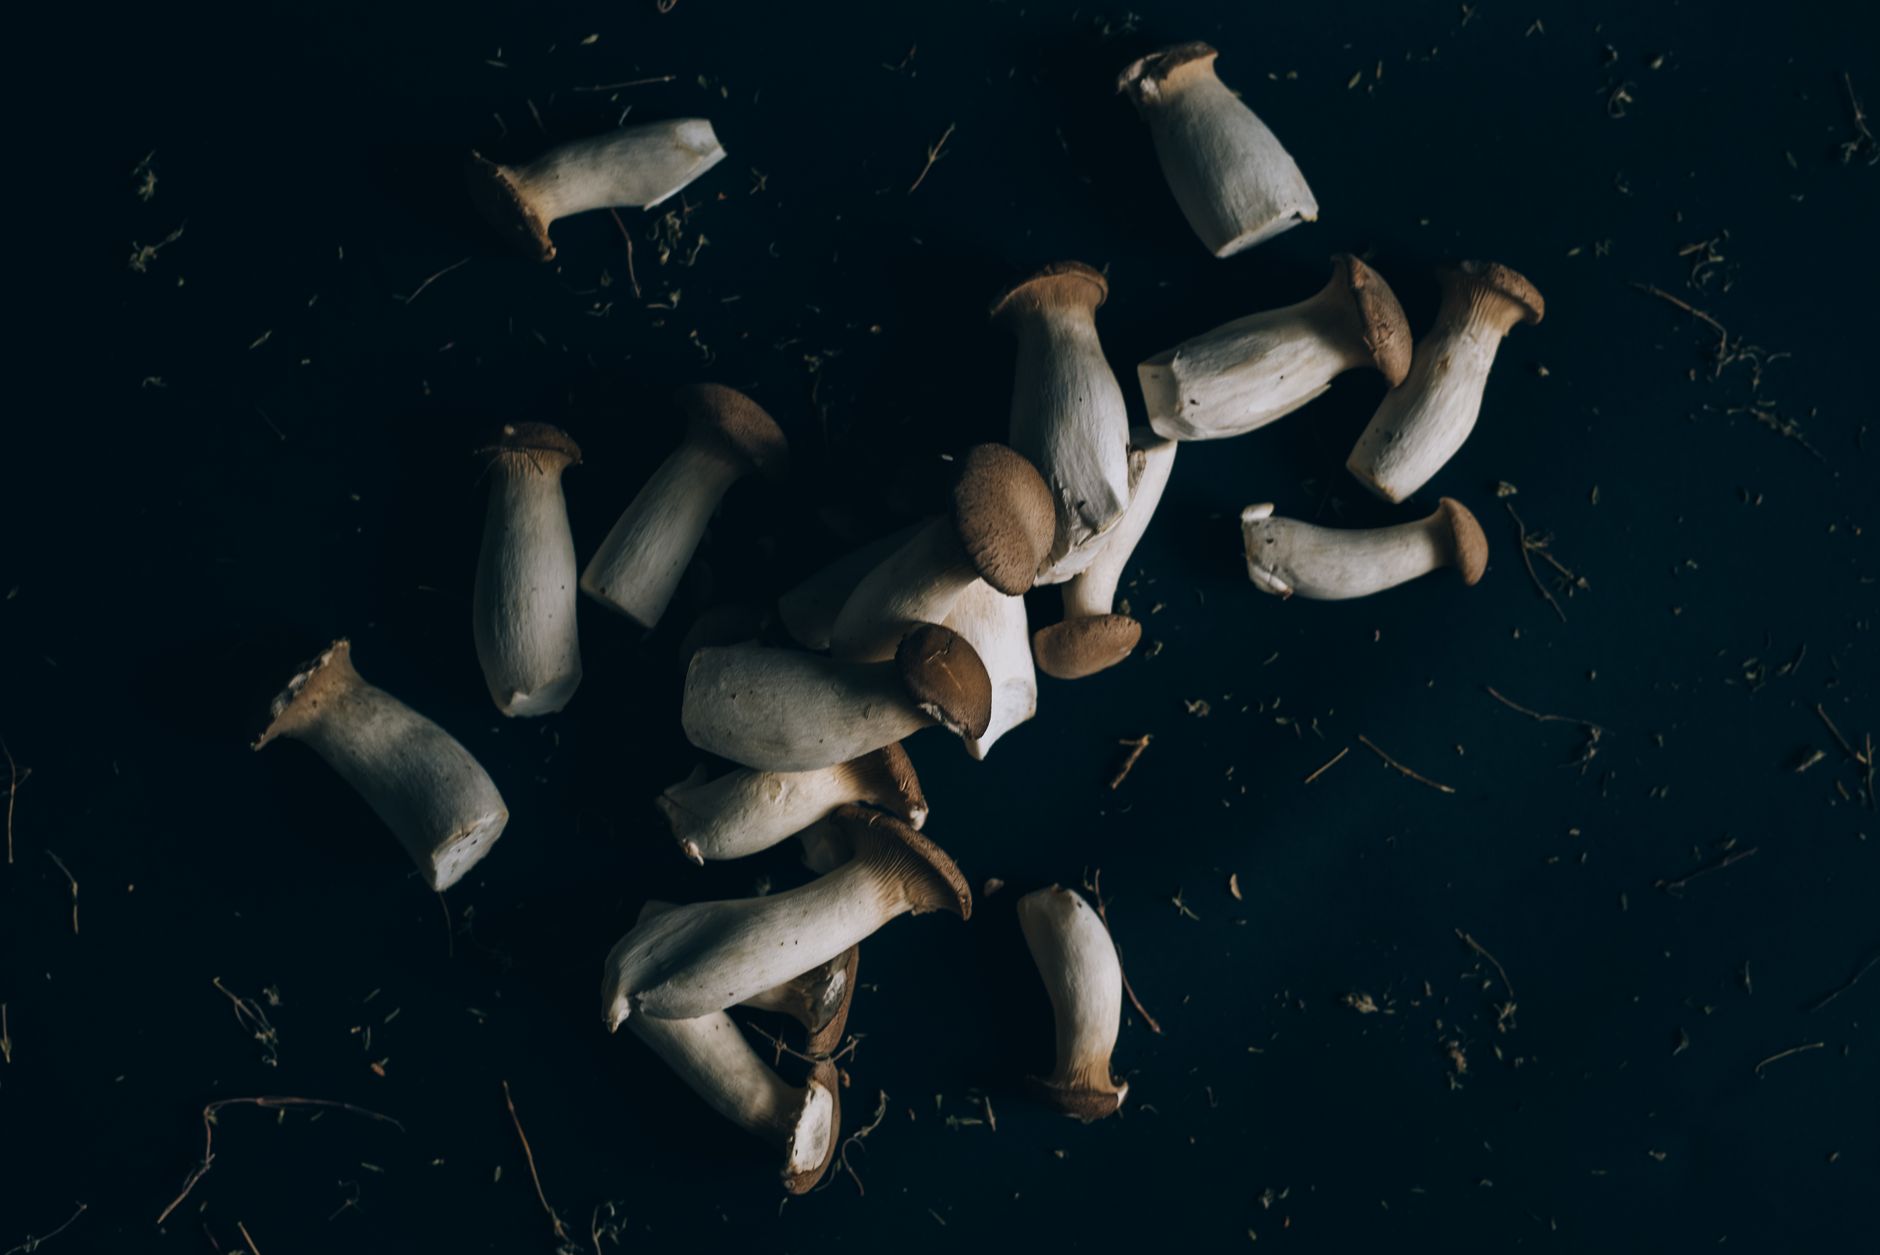
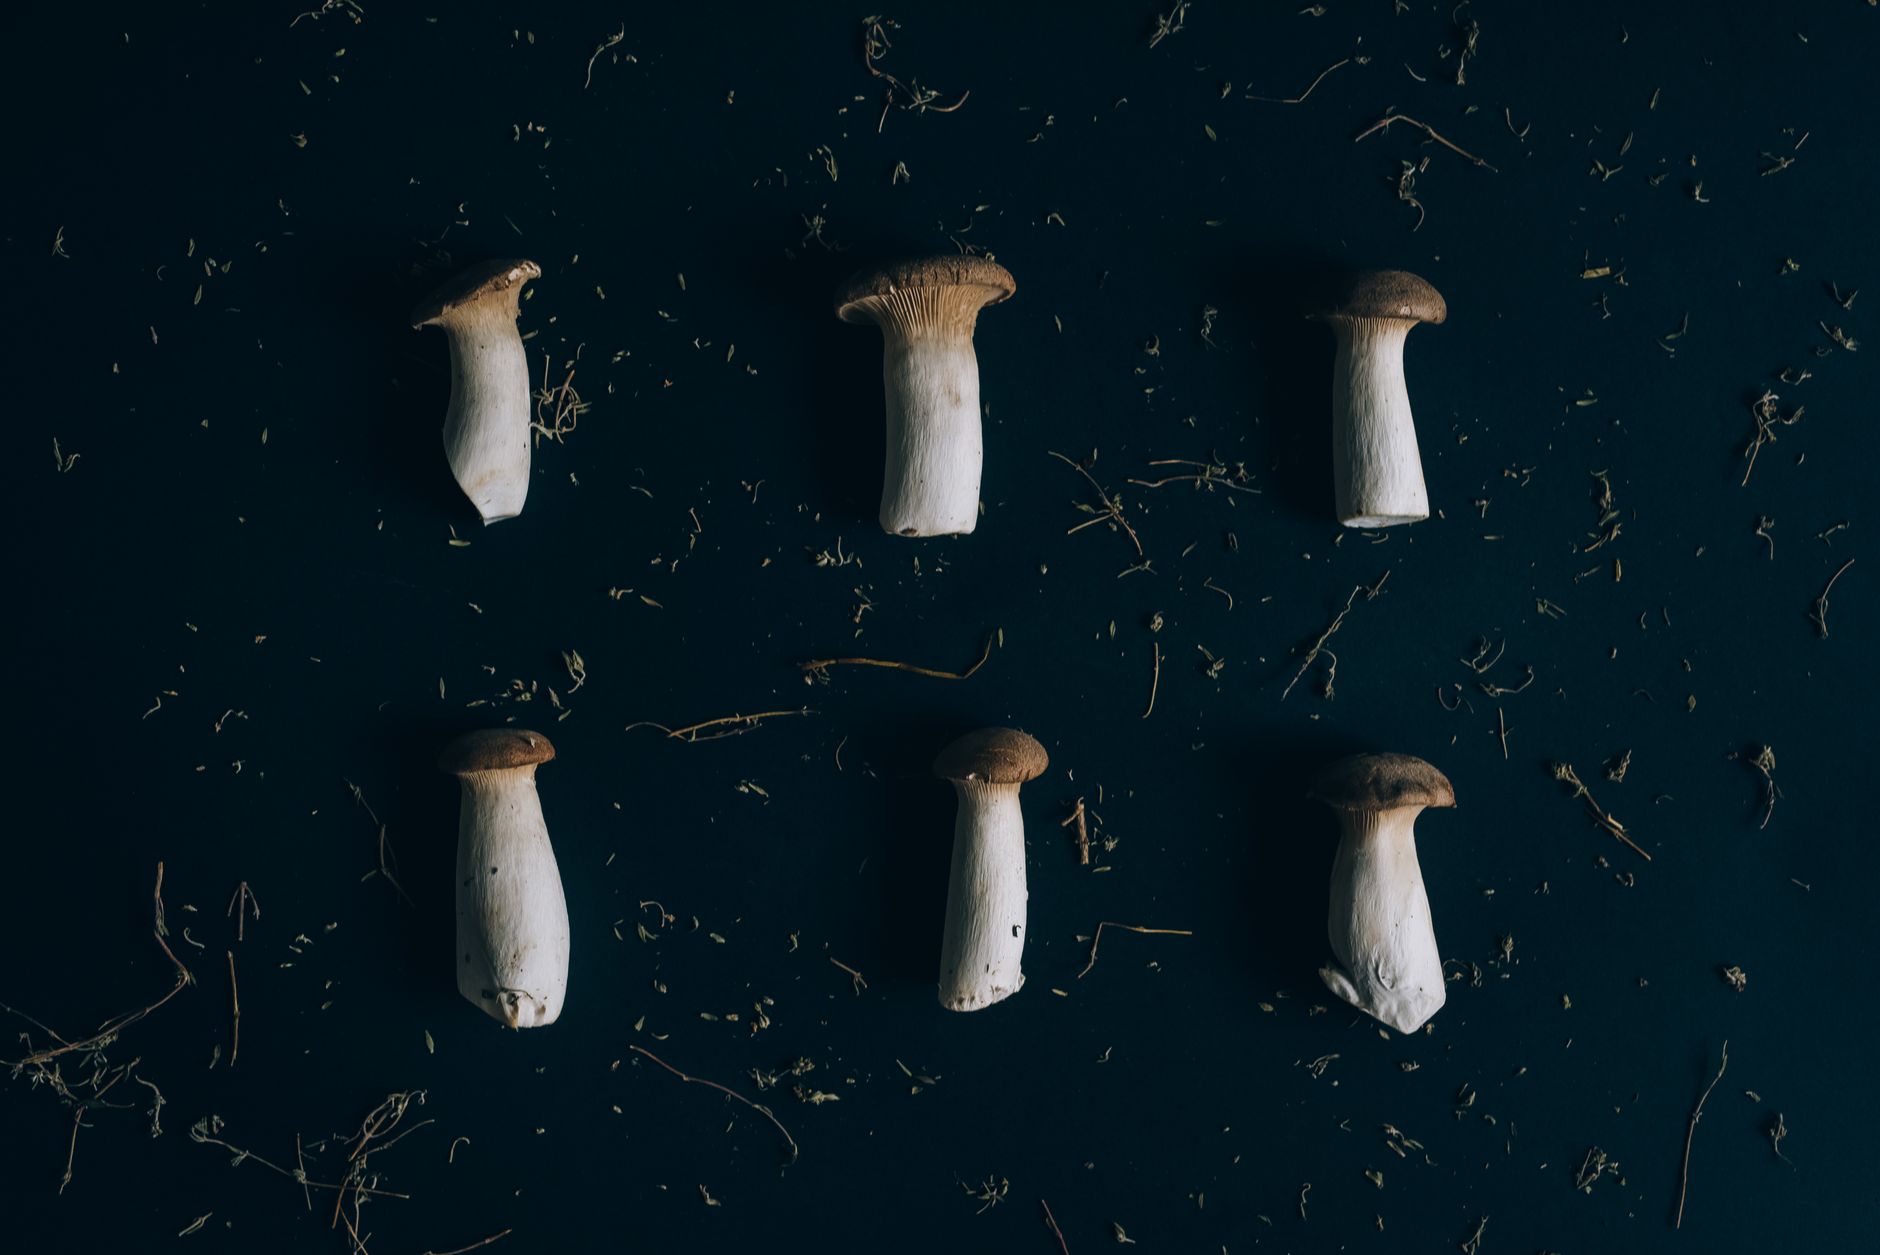
King oyster mushrooms (Pleurotus eryngii) have dense, meaty stems and small tan caps. They are among the easiest gourmet mushrooms to grow at home if you control humidity and fresh air. Unlike common oyster varieties, king oysters prefer cooler temperatures and produce fewer but larger fruits. This guide covers every stage from substrate to harvest. Before choosing substrate, review the best mushroom substrate guide to understand why hardwood sawdust works so well for this species.
King oysters grow naturally on roots of umbelliferous plants in Mediterranean regions. At home you do not need wild roots. A supplemented hardwood sawdust block in a filter patch bag works well. The process mirrors general oyster cultivation but with a longer spawn run and cooler fruiting. If you have never grown mushrooms, you may want to read how to grow oyster mushrooms at home first for basic sterile technique.
The reward is a heavy, firm mushroom that holds up in soups, stir-fries, and grilling. Its texture is often compared to scallops or abalone. You get a reliable first flush and often a second flush from the same block. The key is patience during colonization and discipline during fruiting. Many failures come from too little fresh air or overly wet substrate.
This article draws on standard cultivation practice and guidance from Penn State Extension and NAMA. We will note safety rules for wild identification. Do not eat any wild mushroom unless an expert positively identifies it. At home, you will grow a known culture, which removes much of that risk. Let’s get started with the supplies and sterile technique.
What You’ll Need
- Pressure cooker that holds 15 PSI
- Filter patch grow bags
- Hardwood sawdust pellets
- Wheat bran
- King oyster grain spawn
- 70% isopropyl alcohol
- Scalpel or spoon
- Spray bottle
- Thermometer and hygrometer
- Clear storage tote or fruiting chamber
How Do You Grow King Oyster Mushrooms at Home Successfully?
- Gather supplies and choose a growing method
The first choice is whether to build your own spawn and substrate or start with a colonized kit. Most growers buy grain spawn from a supplier and make their own supplemented sawdust blocks. You need a pressure cooker, filter patch grow bags, hardwood sawdust pellets, wheat bran, and a clean workspace. A still air box helps but is not strictly required if you work quickly and clean. If you plan to make your own spawn, review how to make grain spawn first.
A reliable substrate mix for king oyster is 5 cups hardwood sawdust pellets, 1 cup wheat bran, and 1.5 to 1.8 liters of water. That gives about 60 percent moisture, which is perfect for this species. The bran adds nitrogen and speeds colonization, but do not push it past 20 percent dry weight. Higher supplementation raises contamination risk without much yield benefit.
For equipment, a pressure cooker that holds at least 15 PSI is non-negotiable for supplemented sawdust. A 23-quart Presto is a common choice for home use. Check the Presto 23-quart pressure cooker on Amazon. Use grow bags with filter patches so the block can breathe during colonization. Check mushroom grow bags with filter patches on Amazon. Avoid cheap oven bags that can melt.
Gather gloves, 70 percent isopropyl alcohol, a spray bottle, a scalpel or spoon, and a thermometer/hygrometer. Clean your work area before inoculating. Every tool that touches spawn or substrate must be clean. This step sets up all later success, so do not rush it.
- Prepare and sterilize hardwood sawdust substrate
Start by mixing dry sawdust pellets and wheat bran in a clean bucket. Slowly add water while stirring. The mix should feel damp and hold a ball shape when squeezed. Only a few drops should come out. That is the 60 percent moisture sweet spot. Too much water starves the mycelium of oxygen and encourages anaerobic bacteria. The best mushroom substrate guide covers moisture tests in more detail.
Fill each grow bag with about 4 to 5 pounds of substrate. Fold the top over neatly and fit the filter patch. Do not pack the substrate too tightly. Leave a little room for the mycelium to breathe and for you to shake the bag later. Insert the bag into your pressure cooker with a spacer at the bottom so the plastic does not touch the hot base.
Pressure cook at 15 PSI for 90 minutes. This full sterilization step is required because wheat bran is nutritious enough to support molds and bacteria. According to Penn State Extension, supplemented sawdust substrates should be sterilized to prevent competitor fungi. If you skip this or only pasteurize, expect contamination. Let the bags cool completely inside the closed cooker.
Cooling usually takes 8 to 12 hours. Do not move hot bags into a normal room. The sudden temperature shift pulls outside air through the filter and can carry spores. After the bags reach room temperature, you are ready to inoculate. Keep the bags covered until that moment.
- Inoculate substrate with grain spawn
Inoculation is the highest-risk step for contamination. Work in a still air box or in a clean room with no drafts. Wipe down all surfaces with 70 percent isopropyl alcohol. Flame sterilize a scalpel or spoon and let it cool. Open your grain spawn bag and use the spoon to transfer spawn into each substrate bag. Use about one cup of spawn per 4 to 5 pound block, which is roughly 5 to 10 percent by wet weight.
Seal the bag immediately after adding spawn. Fold the top over two or three times and clip it shut. If you have an impulse sealer, seal just below the filter patch. Shake the bag gently to distribute spawn grains throughout the substrate. Fast work matters here. The longer the bag is open, the more likely airborne mold spores land inside.
Label the bag with the date and strain. Place it in a dark area at 70 to 75 degrees Fahrenheit. A closet or cupboard works well. Light during colonization can trigger premature pinning, which wastes energy. Check the bag every few days but do not handle it too much. Early contamination signs are discussed in the mushroom contamination identification guide.
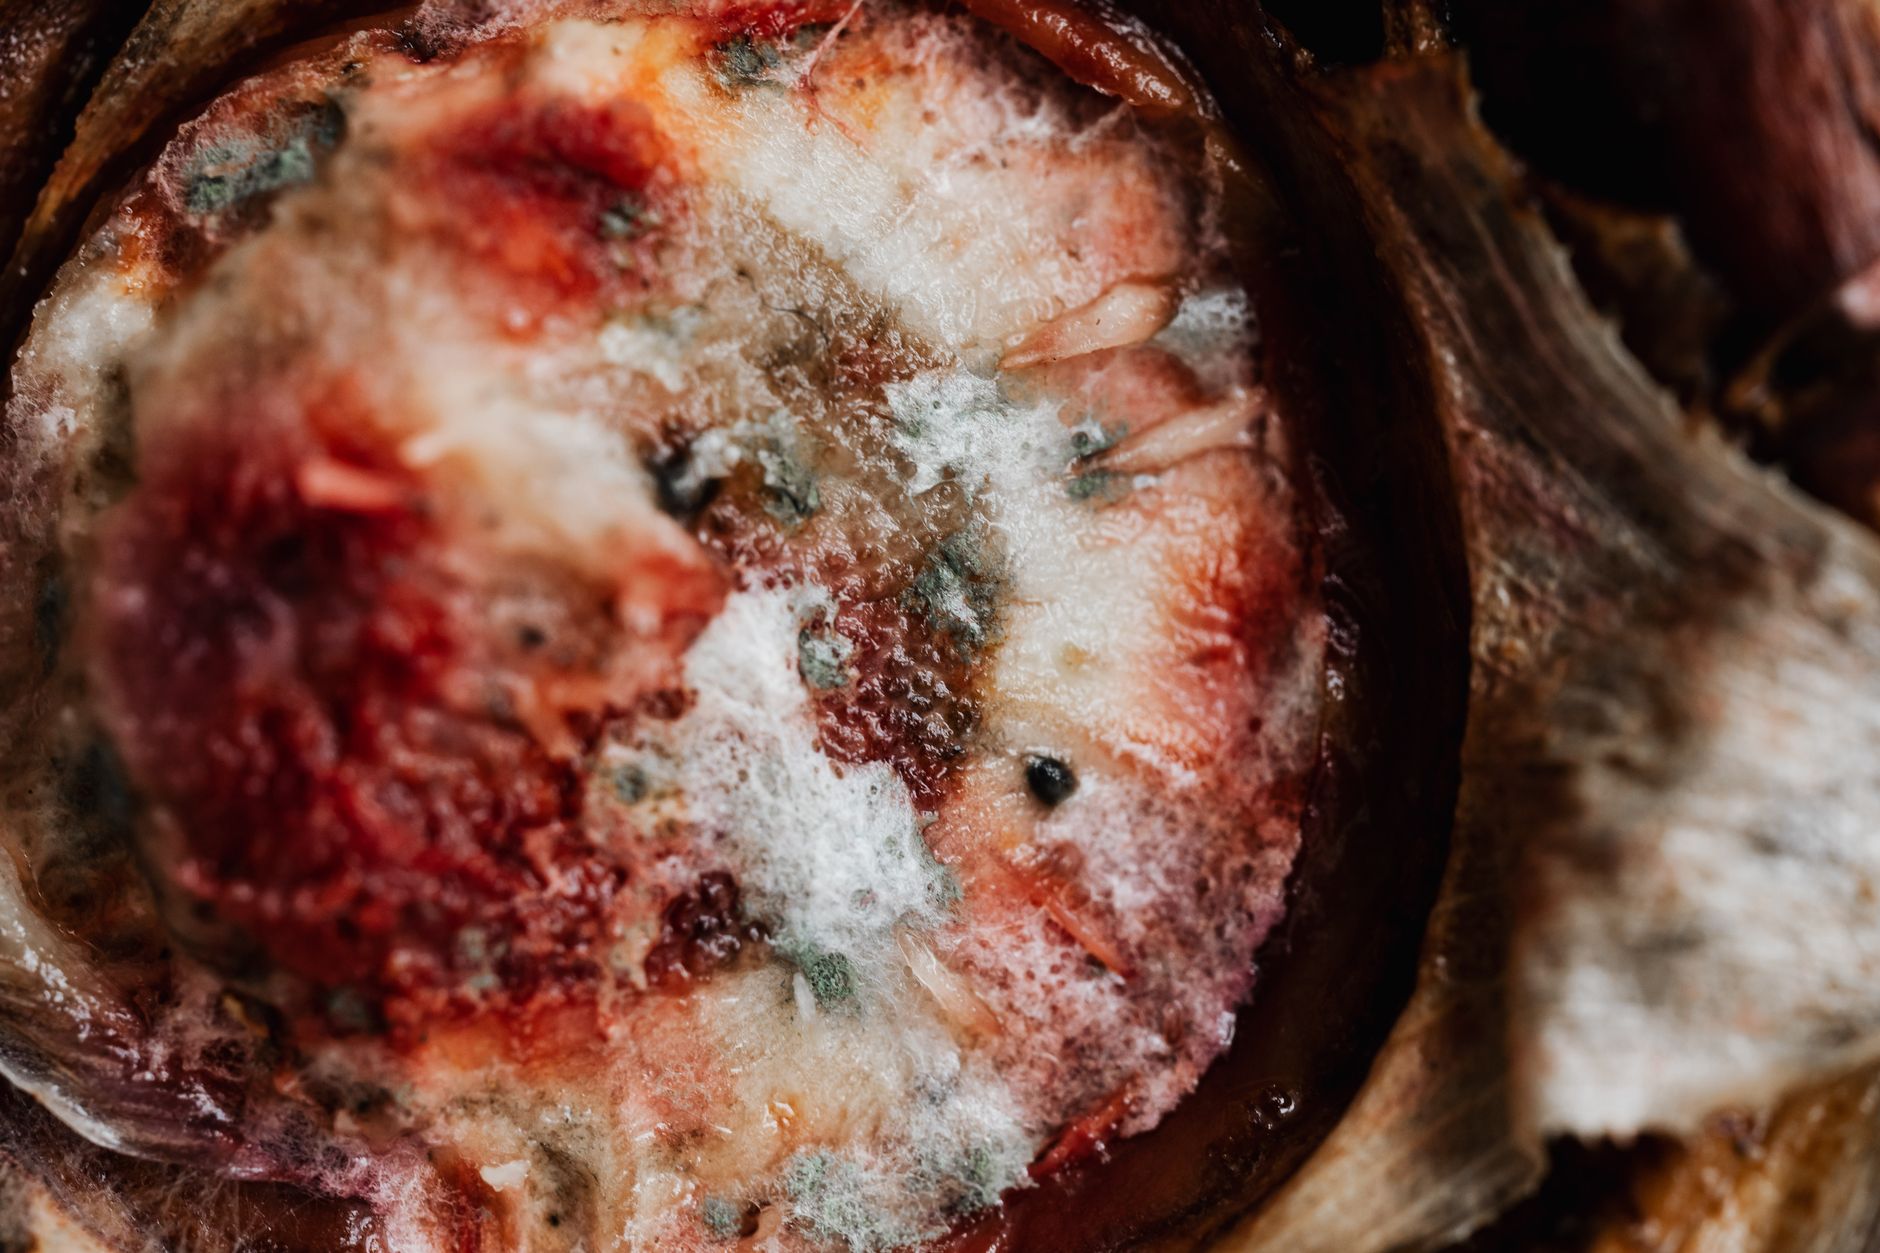
Your goal is even, white mycelial growth from the inoculation points. It is normal for king oyster mycelium to look thinner than oyster species at first. Still, it should be bright white and mildly mushroomy. Any green, black, or sour smells mean trouble. Isolate suspicious bags before they spread spores.
- Incubate and colonize the spawn run
Incubation lasts about 14 to 21 days for king oyster. The mycelium will colonize the block from the outside edges inward. A fully colonized block looks white and feels solid when pressed. It may even have a rubbery bounce. If after 21 days only part of the block is colonized, check temperature and moisture. The mycelium may stall from cold or poor gas exchange.
Keep the incubation space dark and warm. The ideal range is 70 to 75 degrees Fahrenheit. Below 65, colonization slows noticeably. Above 80, you risk thermophilic mold growth. Do not put the bags in direct sunlight. Even weak light can cause the mycelium to pin before the block is ready. A stable temperature matters more than a specific brand of heater.
Once the block is fully white, let it rest for another 5 to 7 days. This consolidation period lets the mycelium digest nutrients and build energy for fruiting. Some growers skip consolidation and get fewer, smaller mushrooms. Patience here pays off later. The next step is to move the block into a fruiting chamber with controlled conditions.
- Set up a fruiting chamber with proper conditions
A fruiting chamber can be as simple as a clear plastic storage tote with a few holes stuffed with polyfill. The chamber must hold high humidity while allowing some air exchange. King oyster needs 85 to 95 percent relative humidity and a temperature range of 55 to 65 degrees Fahrenheit. These cooler temperatures thicken the stems and keep caps small. A warm room above 70 degrees produces leggy, poor-quality mushrooms.
Cut a small X or remove the top of the colonized bag and place it in the chamber. Mist the inside walls and lid with water, not the block directly. Fan the chamber twice a day with the lid or a small fan for 30 seconds. This reduces carbon dioxide buildup and prevents fuzzy or skinny growth. For a more stable setup, check the DIY mushroom fruiting chamber guide.
A digital hygrometer and thermometer helps you track conditions. Cheap analog gauges can be off by 20 percent. Check a digital hygrometer and thermometer on Amazon. If your humidity drops below 80 percent, mist more often or add wet perlite to the chamber floor. If it stays above 95 percent with no air movement, you risk bacterial blotch.
Provide 12 hours of indirect ambient light. A shaded window or a low-watt fluorescent bulb works. King oyster does not need direct sunlight. The light helps signal the mycelium to form pins. Once you see small bumps on the block surface, you can adjust fresh air to shape the fruit.
- Trigger pinning and manage fruitbody development
Pinning starts 5 to 10 days after you move the block to fruiting conditions. You will see small white bumps that grow into clusters. Temperature during pinning should stay at 55 to 65 degrees Fahrenheit. Warmer conditions cause thin stems and oversized caps. Cooler conditions slow growth but increase density and flavor.
Keep humidity high during pinning. Mist the chamber walls two or three times a day and fan for 30 seconds after each misting. This brings in fresh air while maintaining moisture. If you see fuzzy white growth at the base of pins, you need more fresh air. The mushroom fruiting conditions guide has a table of symptoms and fixes for common problems.
Once pins reach one inch tall, stop spraying the block directly. Direct water on young mushrooms can cause brown spots and bacterial blotch. Focus on humidity and light air movement instead. The stems will thicken quickly over the next few days. You can influence shape by adjusting air exchange. Less air and higher CO2 produce thicker stems and smaller caps. More air produces larger caps and thinner stems.
Most first flush king oysters reach harvest size within 5 to 7 days after pinning. Check daily because growth accelerates near the end. Harvest when the cap edge flattens and the mushroom feels firm. If the cap curls upward, you have waited too long. The texture will be tougher and the mushroom may drop white spore dust.
- Harvest, store, and plan your next flush
Use a clean knife or scissors to harvest the whole cluster at the base. Cut, do not yank. Pulling can tear the substrate surface and invite mold. The stem is the prized part of king oyster, so leave plenty of stem. Rinse briefly if needed and pat dry. Store harvested mushrooms in a paper bag in the refrigerator for up to 10 days.
King oyster is excellent sliced into thick rounds and seared in a hot pan. The texture becomes meaty and slightly chewy. Cook mushrooms thoroughly before eating. The North American Mycological Association (NAMA) reminds foragers that wild mushrooms must be positively identified by an expert. Your homegrown block is a known culture, but always cook store-bought or homegrown mushrooms.
After the first flush, soak the block in cold water for 12 to 24 hours. Drain it well and return it to the fruiting chamber. This soaking rehydrates the substrate and signals another bloom. A second flush usually appears in 2 to 3 weeks. The mushrooms may be smaller but still excellent. You can often get a third flush before the block runs out of nutrients.
If the block becomes contaminated or stops producing, compost it or bury it in a shaded garden bed. Clean the fruiting chamber thoroughly with soap and water before starting a new block. This prevents hidden mold spores from ruining your next run. With care, one batch of spawn can produce multiple pounds of king oyster mushrooms.
Red Flags & Warnings
- 🚨 Never eat wild king oyster mushrooms unless an expert confirms identification. Use cultivated spawn for home growing and follow North American Mycological Association guidance for wild mushrooms.
- 🚨 Do not skip substrate sterilization. Supplemented hardwood sawdust will mold if only pasteurized. Pressure cook at 15 PSI for 90 minutes.
- 🚨 Watch for green, black, or pink contamination. Isolate any bag with odd colors or sour smell. Do not open contaminated bags indoors.
- 🚨 Avoid over-misting the mushrooms directly. Constant wet caps encourage bacterial blotch and brown spots. Mist the chamber walls and fan twice daily.
- 🚨 Keep colonization area dark and 70-75°F. Light or cold shock can trigger premature pinning inside the bag.
- 🚨 Do not harvest by pulling the mushroom from the block without support. It can tear the substrate surface and reduce second flush yield. Cut cleanly at the base.
Frequently Asked Questions
How long does it take to grow king oyster mushrooms from spawn to harvest?
Plan on roughly 6 to 8 weeks total. Spawn run takes 14-21 days, consolidation 5-7 days, pinning 5-10 days, and first harvest 5-7 days after pinning. A second flush adds 2-3 weeks.
What is the best substrate for king oyster mushrooms?
Supplemented hardwood sawdust is best. A common recipe is 5 cups hardwood fuel pellets, 1 cup wheat bran, and enough water for 60% moisture. Sterilize at 15 PSI for 90 minutes. Straw works but yields thinner stems and smaller mushrooms.
Can I grow king oyster mushrooms on straw like other oysters?
Yes, but straw often produces lower quality king oysters. King oyster prefers dense hardwood substrates. If you use straw, pasteurize it well and supplement with hardwood sawdust or bran. The stems will likely be thinner than block-grown fruits.
Why are my king oyster mushrooms producing tiny caps and thin stems?
This usually means too much fresh air or too high temperature. King oysters like 55-65°F and moderate fresh air. Reduce fanning frequency and lower temperature if possible. Too little fresh air can also cause long, thin stems with tiny caps, so adjust gradually.
Do I need a grow tent for king oyster mushrooms?
No. A simple DIY fruiting chamber works. Use a clear storage tote with holes stuffed with polyfill or a shotgun fruiting chamber. Maintain 85-95% humidity and fan twice daily. A grow tent with a humidity controller is easier but optional.
Can I use a king oyster mushroom grow kit instead of making my own spawn?
Yes. Kits include a colonized block. You cut the bag and fruit it under the same conditions. Kits are a good way to learn fruiting before making your own substrate and spawn. The best mushroom grow kits 2026 guide can help you compare options.
What Should You Remember?
- Substrate: Use supplemented hardwood sawdust at 60% moisture for dense, meaty king oysters.
- Sterilization: Pressure cook supplemented substrate at 15 PSI for 90 minutes to kill mold spores.
- Spawn rate: Inoculate with 5-10% grain spawn and incubate at 70-75°F for 14-21 days.
- Fruiting conditions: Maintain 55-65°F, 85-95% humidity, and fan twice daily.
- Harvest timing: Pick when caps flatten slightly, usually 5-7 days after pinning.
- Second flush: Soak the block for 12-24 hours after harvest to trigger another flush.
- Contamination: Isolate any bag showing green, black, or orange growth immediately.
This article is for general information only. Mushroom identification and consumption carry health and safety risks , never eat a wild mushroom unless positively identified by an expert, and follow sterile technique and food-safety guidance for home grows.