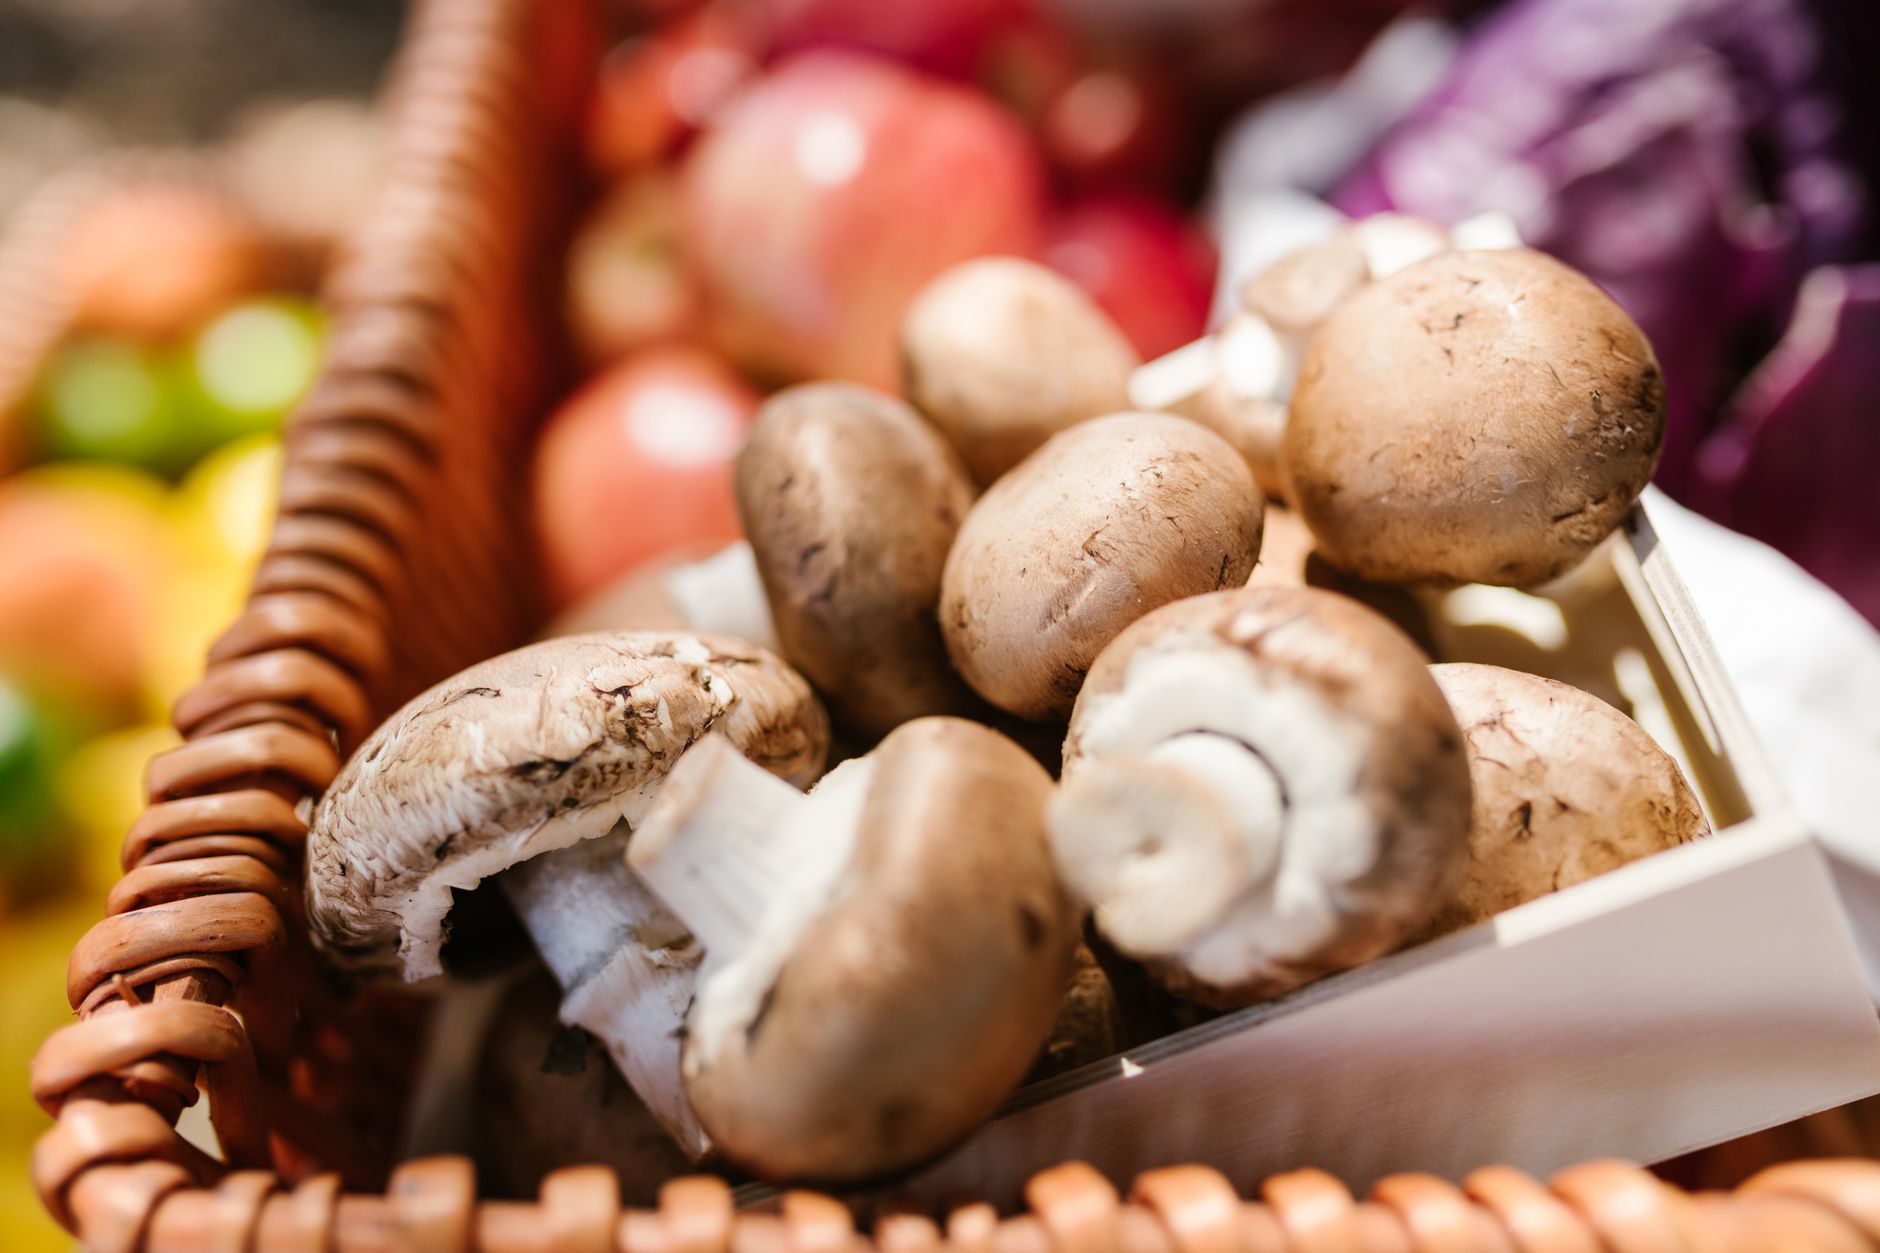
Portobello mushrooms are not a separate species. They are the mature, open-cap stage of Agaricus bisporus. The same species gives you white button mushrooms when picked young and cremini when picked in between. Portobello offers a deep, meaty flavor and a dense texture that holds up on the grill or in the oven. Growing them at home is very possible but requires more patience than oyster mushrooms. You also need a compost-rich substrate, not just straw or sawdust. See our button mushroom growing guide to understand the life cycle.
The main difference between portobello and button growing is time. You let the mushroom fully expand its cap before harvest. That means the substrate must support a longer fruiting period. Portobello is a secondary decomposer. It thrives on composted organic matter, especially manure-based compost. The right substrate makes all the difference. Check our best mushroom substrate guide for detailed mix options and pasteurization methods.
This guide walks you through every step. You will choose spawn, prepare and pasteurize a compost substrate, inoculate, incubate, apply a casing layer, and manage fruiting conditions. Each step is explained in detail so you can avoid common mistakes. Portobello grows well indoors in a closet, basement, or spare room. You do not need a greenhouse. Still, you must control temperature, humidity, and fresh air exchange.
Safety is important with any mushroom project. When you grow from commercial spawn, the identity of the mushroom is known. But if you ever forage for wild mushrooms, always get an expert identification. The North American Mycological Association provides resources and local clubs. Visit NAMA for identification guidance. Penn State Extension also publishes research on mushroom cultivation that can help you troubleshoot.
What You’ll Need
- Portobello grain spawn (or Agaricus bisporus spawn)
- Composted manure or mushroom compost
- Coco coir or peat moss
- Vermiculite
- Gypsum (calcium sulfate)
- Large pot or pressure cooker for pasteurization
- Plastic tote, grow bag, or tray
- Spray bottle for misting
- Thermometer and hygrometer
- Humidifier (optional)
- Clean gloves and isopropyl alcohol
How Do You Grow Portobello Mushrooms at Home?
- Choose Your Portobello Strain and Spawn
Portobello is Agaricus bisporus, same species as button and cremini. The difference is maturity and growing time. Choose a strain labeled as portobello or “brown cap” that produces large caps. Spawn is available as grain spawn, sawdust spawn, or plug spawn. For indoor trays, grain spawn is easiest. You can buy ready-to-use spawn or expand from a commercial culture. Avoid using wild-collected spores for first grows. If you want to expand your own grain spawn, see our guide on how to make grain spawn.
Purchase spawn from a reputable mushroom supplier. Look for healthy, white, fully colonized spawn with no green, black, or slimy spots. Grain spawn jars are convenient because they break apart easily. If you cannot find portobello-specific spawn, cremini or button spawn will produce the same mushroom if allowed to mature. The term “portobello” is just a marketing name for large, open caps. Keep spawn refrigerated until ready to use.
This step matters because the strain and spawn quality determine yield and cap size. Use a strain that has been selected for large cap development. Some commercial strains are better suited for commercial farms than home grows. Check reviews and supplier notes. Connect to next step: once you have spawn, you need a substrate rich in nitrogen.
- Prepare a Compost-Based Substrate
Portobello requires a nitrogen-rich compost. Traditional mushroom compost uses horse manure, straw, gypsum, and sometimes poultry litter. Home growers can use a simplified mix: 50% aged compost (or composted manure), 40% coco coir or peat moss, and 10% vermiculite or perlite for aeration. Some growers use composted cow manure sold for mushrooms. Avoid fresh manure, which gets too hot and contains ammonia. Penn State Extension has extensive research on mushroom compost formulation (source).
A basic recipe for a 10-pound batch: 5 pounds composted manure, 4 pounds coco coir or peat, 1 pound vermiculite, and 1/2 cup gypsum. Mix well and adjust moisture to field capacity. Field capacity means a handful squeezed firmly releases only a few drops of water. The substrate should feel damp but not soggy. Portobello mycelium can be finicky about moisture; too wet invites bacteria, too dry stalls growth.
Pasteurize the mix instead of full sterilization. Pasteurization at 140-160°F for 1-2 hours kills competitor molds and nematodes while preserving beneficial microbes that help Agaricus mycelium. You can pasteurize in a large pot, oven, or steamer. If you use a pressure cooker, it will fully sterilize and may require adding back beneficial microbes. Still, many home growers use best mushroom substrate guide to choose a pre-made mix. If you need substrate supplies, check mushroom substrate on Amazon.
- Pasteurize or Sterilize the Substrate
Proper heat treatment is critical. Portobello mycelium competes poorly with Trichoderma, cobweb mold, and bacteria. Pasteurization at 140-160°F for 60-90 minutes will eliminate most competitors without destroying the beneficial microflora that Agaricus bisporus needs. If you plan to use a pressure cooker at 15 PSI, you are sterilizing, which is more aggressive but still works. Sterilized substrate may colonize slower initially because the microbe community is gone, but it is less contamination-prone in the short term.
For home pasteurization, fill a large stock pot with water and heat to 160°F. Place substrate in a mesh bag or pillowcase and submerge. Maintain temperature for 90 minutes. Alternatively, spread substrate in an oven-safe tray, cover with foil, and bake at 160°F for 2 hours. Use a thermometer to confirm internal temperature. Avoid overheating above 180°F, which can caramelize sugars and create toxins that inhibit mycelium.
After pasteurization, cool the substrate to room temperature before adding spawn. Spawn exposed to temperatures above 90°F can die. Spread the substrate on a clean surface or in a sanitized bin. Wear gloves and use 70% isopropyl alcohol on all tools. This step connects to inoculation: once cooled, mix in spawn immediately to minimize recontamination. If you need a reliable pressure cooker, check pressure cooker on Amazon. See our mushroom contamination identification guide for early warning signs.
- Inoculate and Incubate for Colonization
Inoculation means mixing spawn into the cooled substrate. Use a spawn rate of 5-10% by wet weight. For a 10-pound substrate batch, that is 0.5-1 pound of grain spawn. Break up spawn thoroughly with clean hands or a sanitized spoon. Mix evenly throughout the substrate. Then pack the mixture into a clean container: a plastic tote, mushroom bag, or tray. Level the surface gently but do not compact too hard, because mycelium needs oxygen.
Incubate the colonizing substrate in darkness at 70-75°F. Portobello mycelium grows fastest around 75°F, but 70°F is safer to avoid overheating. Cover the container with a lid or plastic wrap with a few small air holes. High CO2 levels are fine during colonization. Check every 2-3 days for signs of white, threadlike growth. Full colonization of a 6-inch deep substrate usually takes 14-21 days. If you see green, black, or orange spots, discard and start over.
During colonization, do not add water. The substrate should hold enough moisture from pasteurization. If the surface looks dry, mist lightly, but avoid standing water. Colonization is complete when the entire substrate is white and smells pleasantly earthy. At that point, you move to casing, which triggers mushroom formation. Keep the grow area clean; contamination risk is highest during the first week.
Some growers use a spawn bag with a filter patch, which allows gas exchange while keeping out contaminants. You can also use a monotub. Regardless of container, this step requires patience. Resist the urge to peek too often; each opening risks introducing airborne mold spores.
- Apply a Casing Layer to Initiate Pinning
Casing is the top layer of non-nutritive material that holds moisture and creates a microclimate for pinning. For portobello, use peat moss or a mix of peat and vermiculite (50/50) with a small amount of calcium carbonate to buffer pH. The casing layer should be 1-1.5 inches deep. Pasteurize the casing material separately by baking at 160°F for 30 minutes or microwaving moistened peat until it steams.
Spread the casing evenly over the colonized substrate. Do not pack it down hard; a loose, crumbly texture allows for air exchange and pins to form. Mist the casing with distilled or tap water (dechlorinated is better) until it is evenly moist but not dripping. High humidity and a slight drop in CO2 trigger pin formation. Some growers cover the casing with a sheet of wax paper or bubble wrap to maintain surface moisture for the first few days. See our diy mushroom fruiting chamber guide for humidity tips.
The casing layer is not food for the mycelium; it is a water reservoir and a signal. Mycelium will colonize the casing partially over the next 7-10 days. When you see white mycelium poking through the casing in small patches, it is time to initiate fruiting. Do not let the casing dry out or pinning will stall. Keep misting daily, but do not soak. Use a fine-mist spray bottle. If you need a pre-mixed casing, check mushroom casing mix on Amazon.
This step is where many home growers fail. Too dry casing = no pins; too wet = overlay and bacterial blotch. The goal is a moist, fluffy surface with tiny water droplets. If you see pooling water, dab it with a paper towel. Temperature can stay around 70°F during casing colonization.
- Initiate Fruiting Conditions
Once the casing is partially colonized, you need to change the environment: drop temperature to 60-65°F, increase fresh air exchange, and maintain 85-95% relative humidity. Lower CO2 levels (under 1000 ppm) signal the mycelium to form mushroom primordia. You can achieve fresh air by fanning the container 2-3 times daily or using a small aquarium air pump. Keep the casing moist with fine mist.
Light is not required for Agaricus bisporus, but a dim, indirect light helps maintain a day-night rhythm and encourages even cap development. Avoid direct sunlight, which dries out the casing. A simple LED lamp on a 12-hour timer works. The key parameters are temperature and humidity. Use a digital thermometer/hygrometer to monitor; a humidifier or misting system can maintain humidity. For more detail, see mushroom fruiting conditions guide.
Within 7-14 days after shifting conditions, you should see tiny white pinheads forming in the casing. They grow quickly, doubling in size every day. Maintain stable conditions: do not let temperature spike above 70°F or pins may abort. Keep the casing surface covered with fine water droplets. If the casing starts to dry, mist more frequently. If it becomes waterlogged, increase airflow.
This stage requires daily attention. Portobello caps expand to 4-6 inches across within 5-7 days from pin formation. You can let them grow larger, but they will release spores and lose firmness. Harvest before the caps fully flatten and the gills darken. A common mistake is harvesting too early when caps are still round and closed, but that is more of a cremini stage. Let them open partially for that characteristic portobello look.
- Harvest and Prepare for Subsequent Flushes
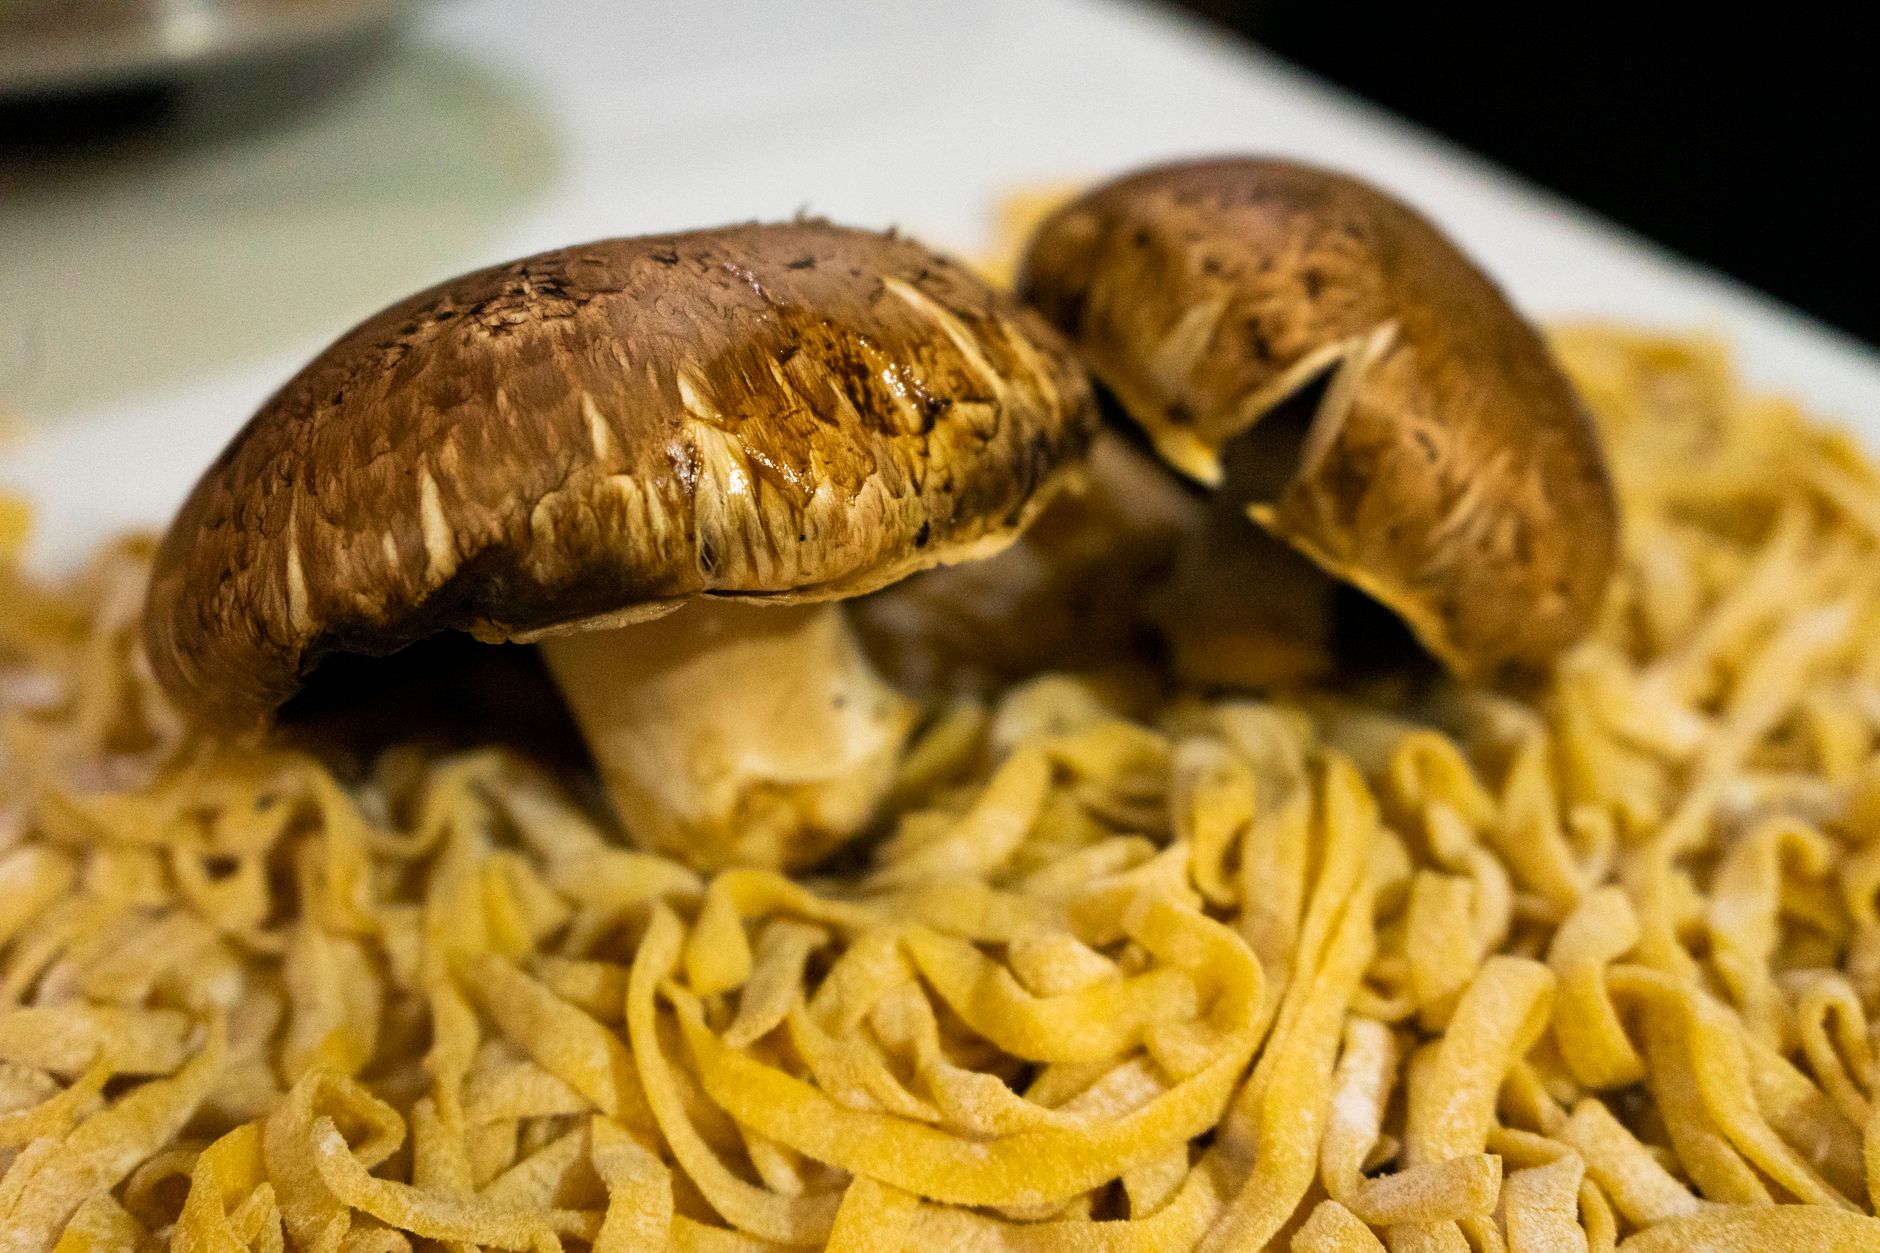
Harvest portobello mushrooms when the caps are 4-6 inches in diameter and the edges are just starting to flatten or curl upward slightly. The veil under the cap should be stretched but not fully torn. To harvest, grasp the base of the stem and twist gently, or cut with a clean knife. Do not pull straight up, as that can disturb the surrounding mycelium. Harvest all mushrooms in a cluster at the same time to avoid disturbing the casing.
After harvesting the first flush, remove any aborted pins, stem butts, and debris from the casing. Level and remoisten the casing if needed. The substrate still has nutrients for 2-3 additional flushes. Place the container back into fruiting conditions. You can expect the second flush to appear in 10-14 days. Yields decrease with each flush, but the total harvest from a 10-pound substrate can be 1-2 pounds of fresh mushrooms.
Between flushes, monitor for contamination. Old mushroom tissue left on the casing invites bacteria and molds. A light sprinkle of fresh casing can fill holes left by harvest. If you see green mold or sour smell, discard the entire substrate. Do not compost contaminated material indoors.
After the final flush, the spent substrate can be composted outdoors or used as a soil amendment. It still contains beneficial microbes and organic matter. Clean your growing container with bleach or peracetic acid before starting a new batch.
Red Flags & Warnings
- 🚨 Never eat a wild mushroom unless an expert positively identifies it. For portobello grown from spawn, the identity is certain, but wild lookalikes exist. The North American Mycological Association (NAMA) recommends spore prints and expert confirmation for any wild collection.
- 🚨 Do not skip pasteurization. Unpasteurized compost substrate will almost certainly grow Trichoderma or other molds that outcompete portobello mycelium.
- 🚨 Maintain temperatures below 75°F during fruiting. High heat causes thin, leggy mushrooms and increased bacterial blotch risk.
- 🚨 Avoid over-misting. Pooling water on the casing layer leads to bacterial blotch and anaerobic conditions that kill mycelium.
- 🚨 If you see green, black, or orange spots during colonization, discard the batch immediately. Do not try to save it; opening the container spreads contaminants.
- 🚨 Portobello spawn is a living organism. Use it within the recommended time and do not freeze it. Store refrigerated at 35-40°F.
Frequently Asked Questions
Can I grow portobello mushrooms from store-bought mushrooms?
Possibly, but not reliably. You can attempt to clone store-bought portobello tissue onto agar, but the risk of contamination is high for beginners. Most successful home grows start with commercial spawn. The process of tissue culture is advanced.
How long does it take to grow portobello mushrooms at home?
From spawning to first harvest takes about 5-6 weeks. Colonization takes 14-21 days, casing colonization takes 7-10 days, and fruiting takes 10-14 days after initiating conditions. Subsequent flushes appear every 2-3 weeks.
Do portobello mushrooms need light to grow?
No, portobello mushrooms do not require light for fruiting. They can grow in complete darkness. However, a small amount of indirect light helps with timing and does not harm them. Commercial farms often grow in the dark.
What is the best substrate for portobello mushrooms?
A compost-based substrate rich in nitrogen works best. Traditional mixes use horse manure, straw, and gypsum. A simplified home recipe is 50% composted manure, 40% coco coir or peat moss, and 10% vermiculite, pasteurized at 160°F for 90 minutes.
How do I know when portobello mushrooms are ready to harvest?
Harvest when caps are 4-6 inches in diameter and the edges are beginning to flatten or curl. The veil under the cap should be intact or just starting to tear. If the gills are fully exposed and dark, the mushroom is overmature but still edible.
Can I grow portobello mushrooms outdoors?
Yes, portobello can be grown in outdoor beds or compost piles, but indoors gives more environmental control. Outdoors, temperatures between 60-75°F and shaded, humid conditions are needed. Prepare the bed with composted manure and straw, and case with soil.
What Should You Remember?
- Portobello is Agaricus bisporus: The same species as button and cremini, just allowed to mature and open its cap.
- Use compost-based substrate: Pasteurize a mix of composted manure, coco coir or peat, and vermiculite at 160°F for 90 minutes.
- Maintain 60-70°F for fruiting: Lower temperatures and high humidity (85-95%) trigger pinning and large caps.
- Case with peat moss: A 1-1.5 inch casing layer of pasteurized peat and vermiculite is essential for pin formation.
- Harvest at 4-6 inches: Twist or cut when caps begin to flatten; do not pull straight up.
- Get 2-4 flushes: Remoisten casing between flushes and remove aborted pins to extend production.
This article is for general information only. Mushroom identification and consumption carry health and safety risks , never eat a wild mushroom unless positively identified by an expert, and follow sterile technique and food-safety guidance for home grows.