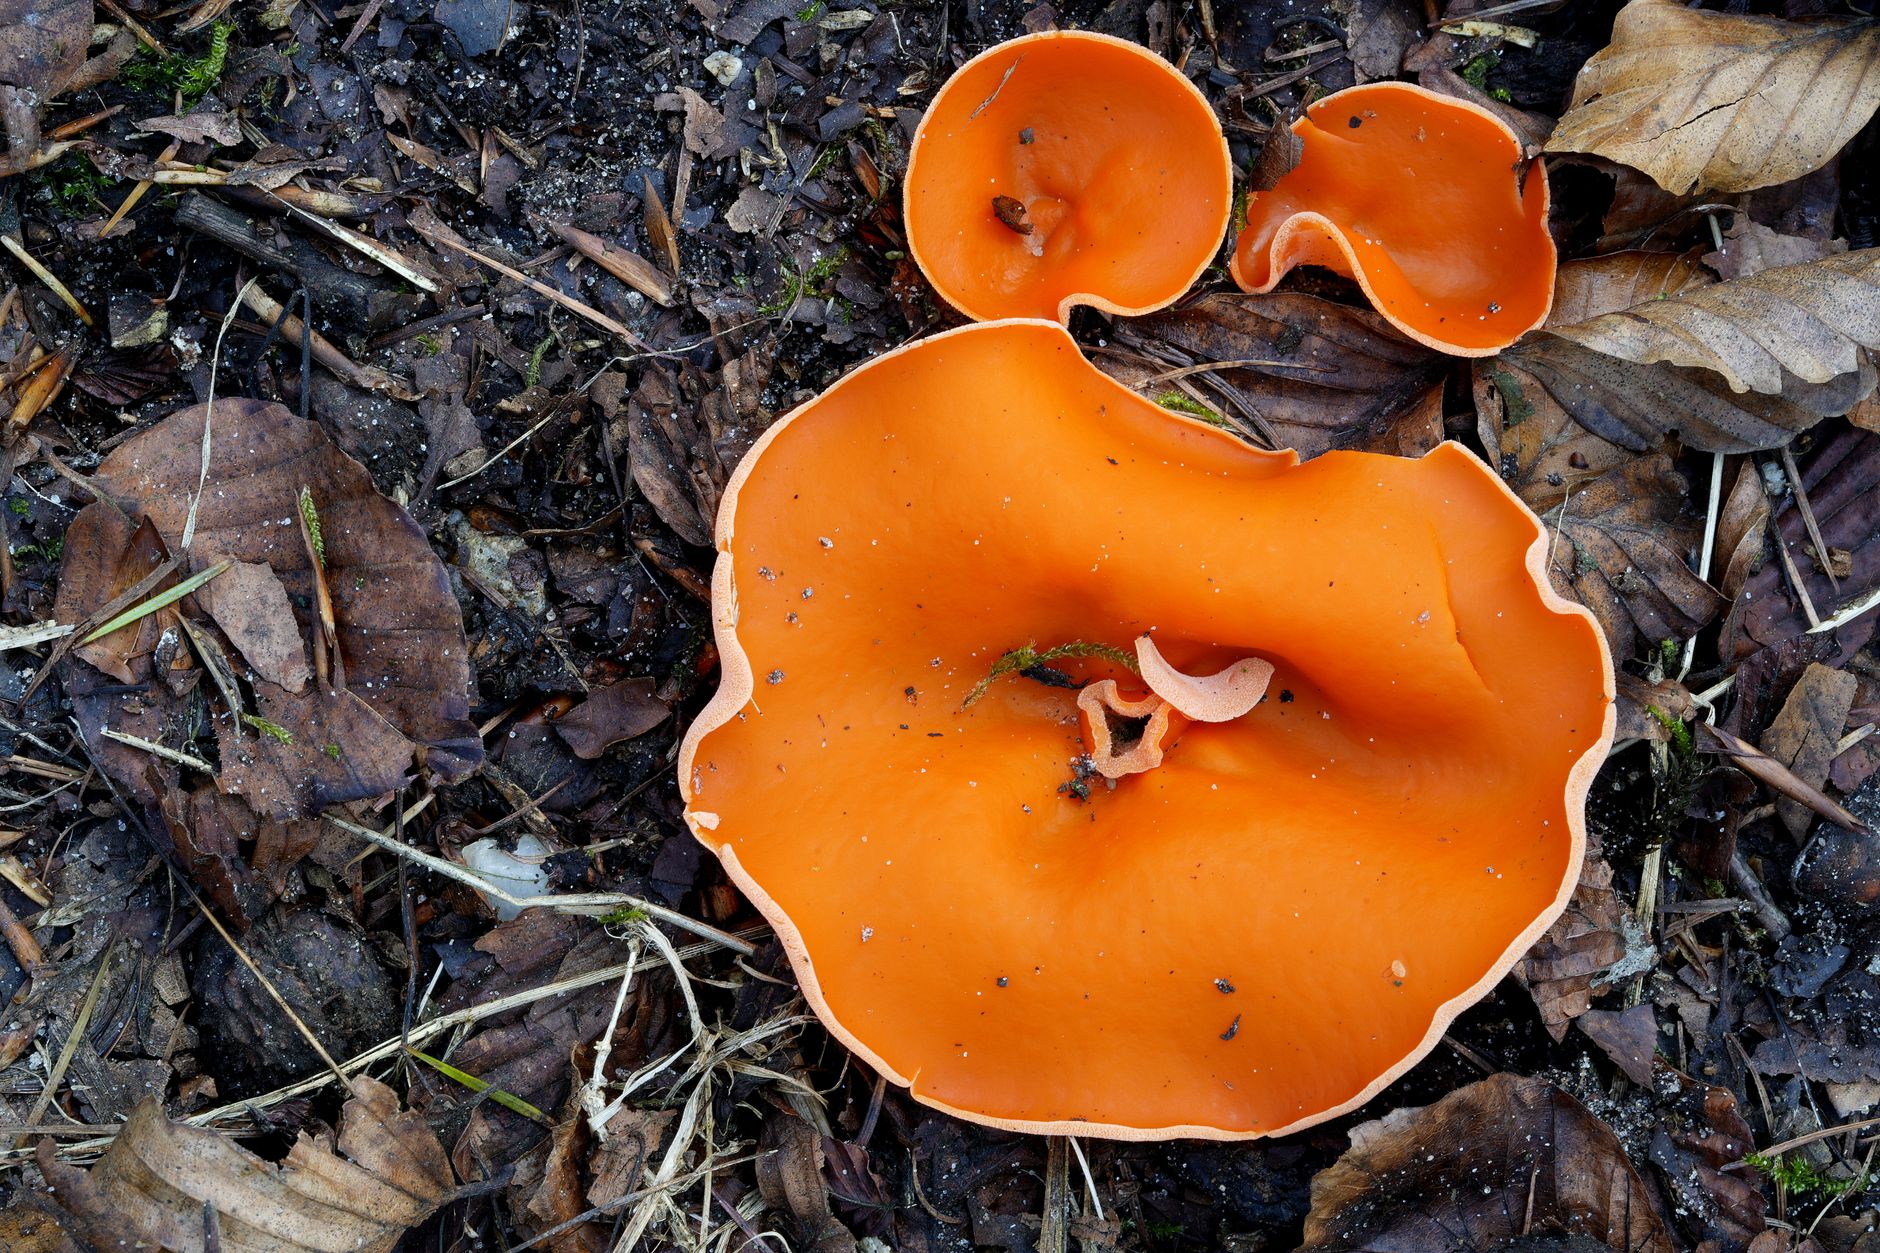
Scarlet elf cup (Sarcoscypha coccinea) is one of the most striking early season fungi. Its bright red cups push through leaf litter and moss, often near streams and decaying hardwood. Home growers get curious because the cups look almost too vivid to be real. The catch is that this species does not behave like oyster mushrooms or shiitake. It rarely fruits in bags or trays. Most success comes from an outdoor wood chip bed that mimics its natural streamside habitat. That said, a patient grower can coax cups to appear over one to two seasons.
Scarlet elf cup is a saprophytic cup fungus, not a gilled mushroom. It feeds on dead branches, twigs, and leaf litter from hardwoods like alder, willow, and maple. If you have grown fast indoor species, you will notice this one is slower and more seasonal. A useful starting point is our best mushroom substrate guide, which explains why wood based fuels work for many species. For scarlet elf cup, the substrate must stay moist and aerated at the same time. You are essentially building a simulated forest floor rather than a standard fruiting block.
This guide is for home mushroom cultivation only. Never eat any wild or cultivated mushroom unless an expert positively identifies it. The North American Mycological Association has field guides and local club contacts for identification help. If you follow the wood chip method, you will have a beautiful addition to a shaded garden. You may also see cups return for several years after the mycelium settles in. The work is simple, but the timing depends on outdoor temperatures and rainfall. Start with a clean site and patient expectations.
What You’ll Need
- Hardwood chips and sawdust
- Large bucket or wheelbarrow
- Scarlet elf cup sawdust spawn from a reliable source
- Shovel or trowel
- Hand sprayer or hose with mist setting
- Leaf litter or straw
- Optional soil moisture meter
How Do You Grow Scarlet Elf Cup at Home?
- Know the growth style of scarlet elf cup
Scarlet elf cup is not a beginner friendly indoor project. It grows as a cup fungus on dead hardwood that stays wet for long periods. The mycelium runs through wood particles and forms small clusters of primordia in late winter or early spring. If you have grown blue oyster mushrooms indoors, you will see that this species rejects most bag and tray setups. It wants a cool, humid, low light microclimate with natural seasonal cues.
The cups are usually one to two inches across and have a bright red interior. Young specimens may look like shallow bowls. Under the microscope, the asci release spores from the inner cup surface. This matters because you cannot simply shake a mushroom to release spores into a substrate. You should start with colonized sawdust spawn from a supplier who understands saprophytic ascomycetes.
Many failed attempts happen when growers treat this like a fast fruiting oyster mushroom. The mycelium is not aggressive, so you need a high spawn rate and a very clean substrate. Review mushroom contamination identification guide before you start. Green molds and bacterial slime can overwhelm slow mycelium in warm indoor spaces. Keep initial colonization cool and do not over supplement.
One more thing about growth style. This fungus fruits from wood, not from soil alone. The cups usually connect to buried twigs or chips, not loose compost. That is why the substrate recipe later in this guide includes both fine sawdust and larger chips. The larger chips create long lasting food and air channels. Fine sawdust alone compacts and smothers the mycelium.
- Choose a shaded outdoor site with good moisture
Site selection matters more for scarlet elf cup than for many common species. Pick a spot under deciduous trees or on the north side of a building. The bed should receive dappled light, not full afternoon sun. Full sun dries the top layer and pushes temperatures above the 55 to 65 degree F range that fruiting prefers. Dense shade is fine as long as air can move. A slope near a downspout can work if water does not pool.
Avoid areas treated with herbicides, pesticides, or chemical lawn products. The mycelium will sit close to the surface and can absorb residues. You also want a site where you can water easily during dry spells. A simple outdoor bed near a garden hose works best. If you have a diy mushroom fruiting chamber guide project, you can adapt some of those humidity ideas to a small outdoor raised bed. Just remember this species needs cold winter soil to signal spring fruiting.
Once you choose a spot, clear away grass and weeds from a patch about 3 feet by 3 feet. Loosen the top 4 to 6 inches of soil. This allows the mycelium to move between the buried wood chips and the native soil. Do not add lime or fresh manure. Scarlet elf cup likes acidic to neutral forest floor conditions, similar to what many woodland mushrooms prefer.
The right site also helps keep the bed cool in summer. A north facing slope, a spot under a dense shrub, or a raised bed shaded by a fence can work. If your yard bakes in afternoon heat, build a small shade cloth frame over the bed. The goal is a moist, cool pocket that stays within 10 degrees of the fruiting range for as many months as possible.
- Prepare the wood chip substrate
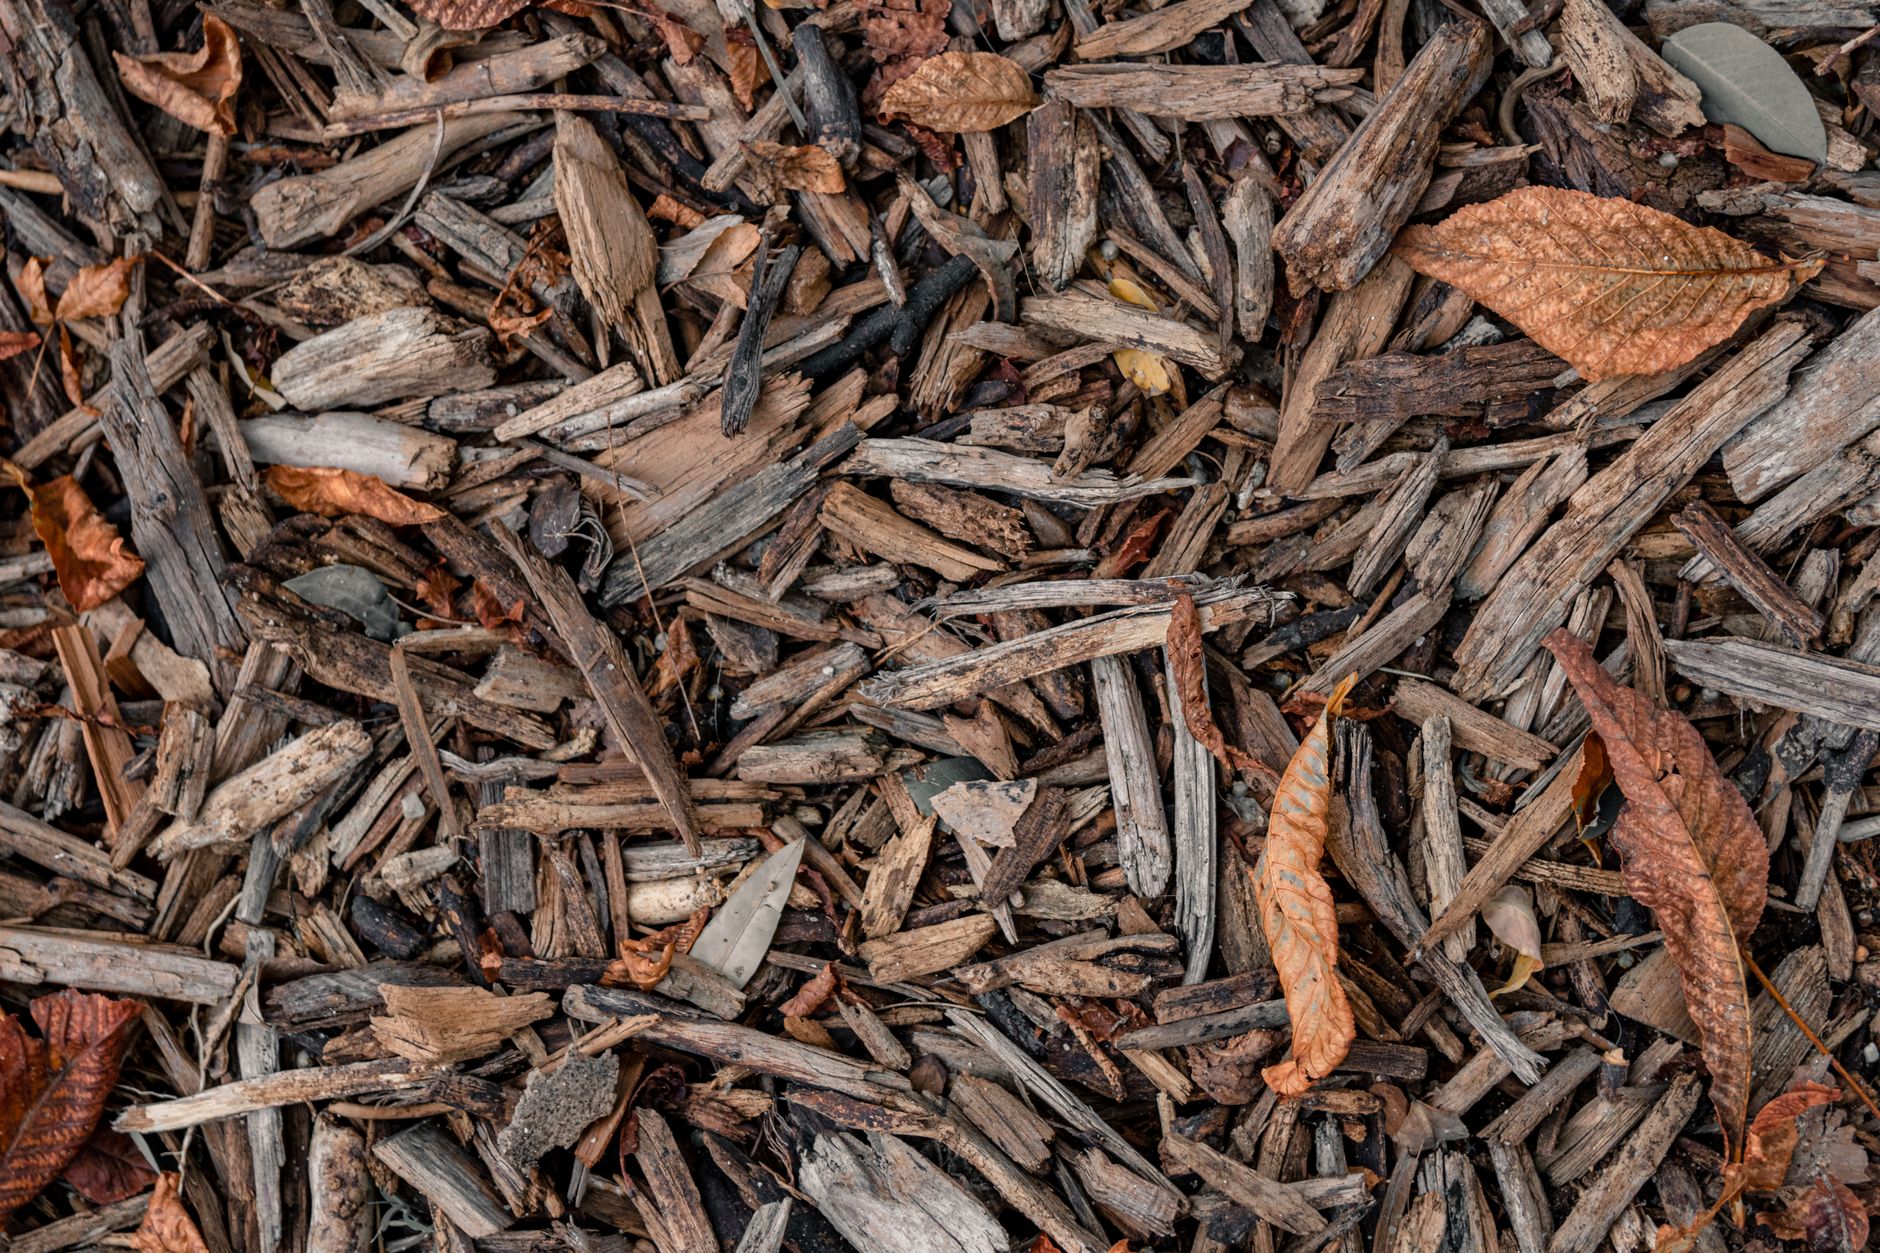
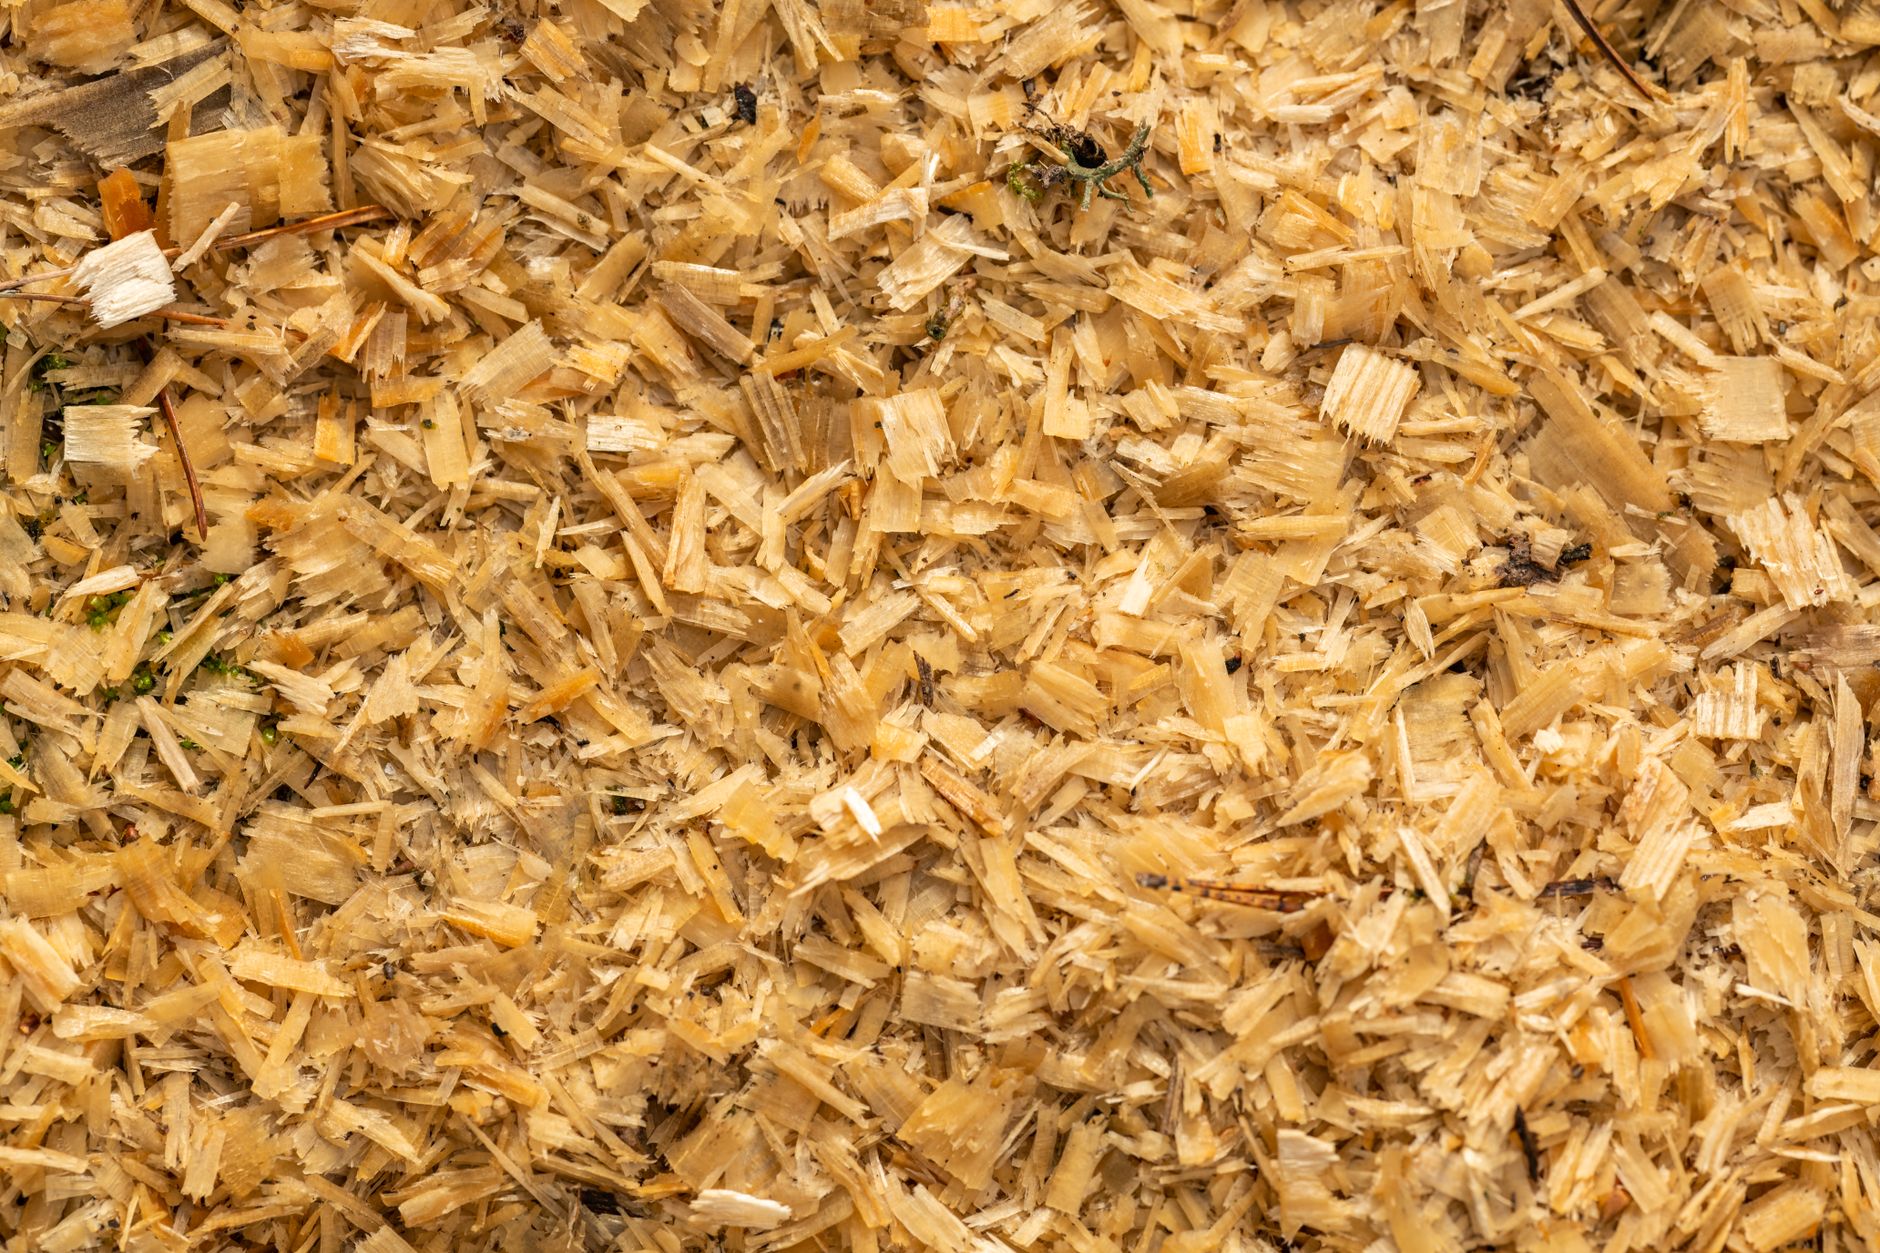
A reliable substrate mix for scarlet elf cup is 5 parts hardwood chips, 3 parts hardwood sawdust, and 2 parts crumbled dead leaves or twigs. Use chips from maple, alder, willow, or birch. Avoid cedar, redwood, and pressure treated wood. The chips should be about the size of a thumbnail. Mix everything in a wheelbarrow or large tub until the sawdust coats the chips. This mix holds water but still drains enough to avoid anaerobic pockets.
If you want a lean substrate, skip added bran or grain. Too much nitrogen invites green mold before the slow scarlet elf cup mycelium can colonize. A handful of wheat bran per five gallon bucket is the maximum supplement I would use. More is not better here. The best mushroom substrate guide explains why hardwood fuels work for wood loving species. For scarlet elf cup, the leaf litter is just as important as the wood. It provides a food source and a natural casing layer.
You can pasteurize the mix to reduce competitor spores. Heat the substrate to 160 to 170 degrees F for one hour inside a pot or oven bag. Let it cool to below 80 degrees F before adding spawn. Penn State Extension has published general substrate preparation guidance for wood loving mushrooms. Their methods for hardwood sawdust based substrates apply here, even though scarlet elf cup is not a commercial crop. You can also use hardwood fuel pellets as a convenient sawdust source. Check hardwood fuel pellets on Amazon.
Do not skip the leaf litter. In nature, scarlet elf cup often fruits from twigs and leaf fragments in stream valleys. Leaf litter supports a moist microclimate and gives the cups an easy path to the surface. If you do not have leaves, use unsprayed hardwood shavings or coir. Avoid grass clippings because they mat down and invite bacteria.
- Inoculate the substrate with spawn
Use scarlet elf cup sawdust spawn from a specialty supplier. Do not order a raw live organism from unknown sources. Spread about 1 pound of spawn per 4 square feet of bed area. Break the spawn into small pieces and mix it evenly into the top 4 inches of the substrate. If the spawn is clumpy, crumble it gently with clean hands or gloves. Work quickly in a shaded area so the material does not dry out.
The initial colonization phase runs best at 65 to 75 degrees F. Keep the substrate moist but not soaked. Expect visible mycelium after 30 to 60 days. You may see fine white threads weaving through the chips and leaves. This is normal. If you see green, black, or orange patches, remove those spots and reduce moisture. Check the mushroom contamination identification guide if you are unsure what is friend or foe.
Some growers pre-colonize the mix in a breathable container before building the outdoor bed. That allows you to monitor growth more closely. A 5 gallon bucket with drilled holes works well. Fill the bucket with substrate and spawn, then cover with a loose lid. Keep it in a cool room or garage for 30 to 60 days. After the mix is lightly bound by mycelium, you can transfer it to the outdoor bed. Do not wait until it becomes one solid block. Cup fungus mycelium can suffocate if packed too tightly.
If you make your own spawn, a how to make grain spawn guide will help you produce clean grain spawn. But grain spawn alone is not ideal for outdoor beds. Transition it to sawdust spawn before use. Extra sugar from grain can attract molds and bacteria once outdoors. That is a common mistake.
- Build the outdoor wood chip bed
After the substrate is colonized or mixed with spawn, build a bed about 6 to 10 inches deep. Start with a 2 inch base layer of small twigs or coarse wood chips. Add the inoculated substrate on top. Then mix the bed lightly with a trowel so some substrate contacts the native soil. Do not pack it down. The mycelium needs small air pockets to breathe.
Cover the bed with a thin casing layer. Use crumbled dead leaves, hardwood shavings, or damp straw. A layer about one inch thick prevents the surface from drying out too fast. It also gives the cups a place to push through. Keep the casing clean and free of weed seeds. Surface conditions matter because molds and bacteria can move in when the top layer stays too wet or too dry.
Do not bury the bed under heavy soil. Scarlet elf cup rarely fruits if the mycelium is deeper than 8 to 10 inches. The cups form on or near the surface. Water the bed lightly after building. The goal is damp like a wrung sponge, not muddy. Then leave the bed alone for several weeks to let the mycelium recover from transfer.
If you have enough material, build two beds in different parts of the yard. One may fruit earlier due to microclimate. A second bed also helps if one site turns out to be too sunny or too wet. This doubles your chance of seeing cups without much extra work.
- Maintain moisture and cool temperatures
Moisture is the number one factor. The bed should stay between 85 and 95 percent relative humidity at the surface. You can measure this with a handheld humidity sensor placed just above the casing. Outdoor conditions fluctuate, so water more often during dry or windy weather. In cool months, a weekly deep mist may be enough. In warmer months, check every other day. Never let the top inch fully dry out.
Temperature also drives fruiting. Scarlet elf cup primordia form best when air temperatures hover between 55 and 65 degrees F for several weeks. If your region is too warm, the bed may still colonize but fruit only in late fall or early spring. If you live in a hot climate, this species will struggle. You can adapt a shaded structure using ideas from our mushroom fruiting conditions guide to hold cooler air. A shade cloth and a simple misting routine can lower surface temperature a few degrees.
A digital soil moisture meter helps avoid overwatering. Insert the probe at two or three spots around the bed. Water when the reading drops below 50 percent moisture in the top 3 inches. If the bed stays saturated above 80 percent for days, reduce watering. Waterlogged soil smells sour and promotes bacteria. Check a soil moisture meter on Amazon.
During warm dry spells, water early in the morning so the casing can dry slightly by evening. Overhead misting in the late evening can encourage slugs and fungal gnats. If insects become a problem, use a fine mesh row cover instead of insecticides. Insecticides can damage the mycelium and are unnecessary in most home beds.
- Wait for fruiting and harvest carefully
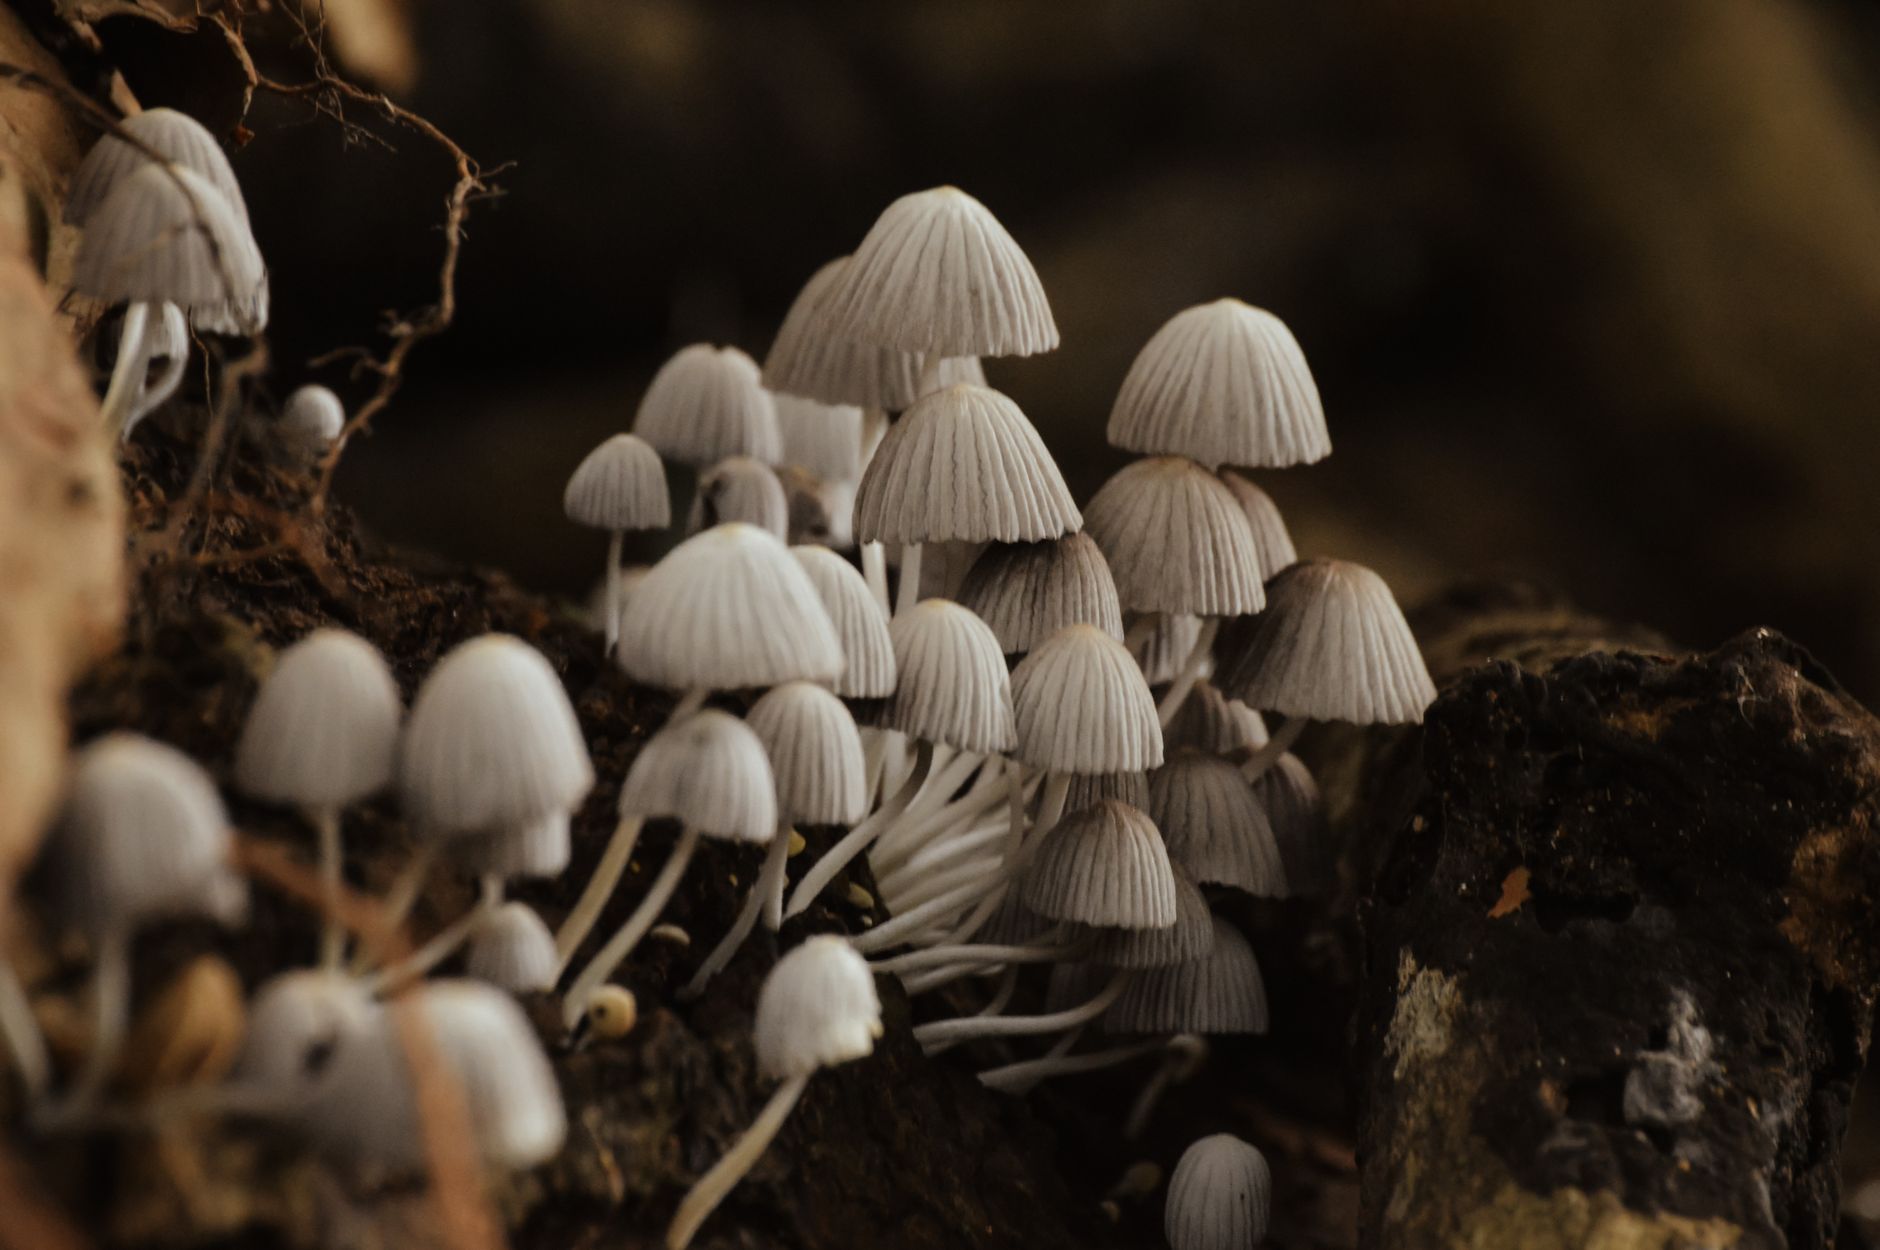
Scarlet elf cup usually fruits in late winter through early spring. In many regions, cups appear February through May. The first sign is a cluster of small red bumps on the casing layer. Over a few days, they expand into shallow cups. Cold rain or snowmelt often triggers this flush. If your bed is healthy but not fruiting, it may need another winter. Some beds fruit in the second or third year after setup.
When cups reach one to two inches across, harvest with a sharp knife or scissors. Cut at the base where the cup meets the leaf litter. Do not pull up the mycelium. Leave a few cups to mature and release spores. This can help establish future flushes. The cups are edible after thorough cooking according to some guides, but they are small and not a reliable food source. Focus on their garden value.
For comparison, if you enjoy slower projects, how to grow lion’s mane at home shows an indoor species with easier harvest windows. Scarlet elf cup is a garden novelty and a sign that your outdoor fungal bed is working. Dry the cups for display or use them in educational projects.
After harvest, replenish the casing layer with a light sprinkling of leaf litter. Do not dig into the bed. The mycelium will continue to spread through the wood. With care, a scarlet elf cup bed can fruit for several years. Avoid disturbing the bed during the summer when the mycelium is recovering. Just water it lightly and let it wait for the next cold snap.
Red Flags & Warnings
- 🚨 Never eat scarlet elf cup or any wild mushroom unless an expert positively identifies it. Many cup fungi look similar and some are inedible.
- 🚨 Do not use pressure treated lumber, cedar, or redwood in the substrate. Their resins and chemicals inhibit mycelium or may be unsafe.
- 🚨 Avoid fertilizing the bed with manure or high nitrogen additives. Excess nitrogen favors green mold over slow cup fungus mycelium.
- 🚨 If the bed smells like sewage or rotten eggs, it has gone anaerobic. Remove the wet material and rebuild in a well drained spot.
- 🚨 Keep pesticides and chemical lawn treatments away from the bed. Scarlet elf cup can absorb residues from nearby turf.
- 🚨 Do not expect a first year harvest. This species is slow and may need a full winter cycle before cups appear.
Frequently Asked Questions
Can I grow scarlet elf cup indoors in a fruiting chamber?
It is very difficult. Scarlet elf cup needs cool seasonal changes and associates with outdoor soil and wood. Indoor bags or trays rarely produce cups. A small outdoor bed or a cool greenhouse is more successful.
How long does it take from spawn to fruiting?
Visible colonization usually appears in 30 to 60 days. Fruiting often takes one full winter cycle. Some beds fruit in the first spring after setup, while others need two or three seasons.
Is scarlet elf cup edible?
Some sources list the cups as edible after cooking, but they are small, thin, and not highly regarded. Identification must be confirmed by an expert. Many similar cup fungi are not safe to eat.
What hardwoods work best for scarlet elf cup substrate?
Maple, alder, willow, and birch are good choices. Avoid cedar, redwood, and any pressure treated wood. Softwoods like pine are generally not recommended.
Can I use wood pellets for the substrate?
Yes, hardwood pellet fuel can replace sawdust in the mix. Use them after soaking and crumbling, not as dry pellets. Mix them with chips and leaf litter for air space.
Why are my cups small and pale?
Small or pale cups often mean too much sun, low humidity, or a young mycelium. Move the bed or add shade. Increase surface humidity and check that the bed has enough leaf litter casing.
What Should You Remember?
- Outdoor wood chip bed: This is the only dependable method for scarlet elf cup at home.
- Substrate recipe: Use 5 parts hardwood chips, 3 parts sawdust, and 2 parts leaf litter.
- Colonization window: Expect visible mycelium in 30 to 60 days at 65 to 75 degrees F.
- Fruiting conditions: Hold humidity at 85 to 95 percent and temperatures at 55 to 65 degrees F.
- Harvest timing: Look for cups in late winter to early spring after a cold period.
- Identification safety: Never eat a mushroom unless an expert confirms the species.
This article is for general information only. Mushroom identification and consumption carry health and safety risks , never eat a wild mushroom unless positively identified by an expert, and follow sterile technique and food-safety guidance for home grows.