A mushroom fruiting chamber gives your blocks the stable conditions they need after colonization. Strong colonization alone does not guarantee a good harvest. Mushrooms pin when humidity, fresh air, light, and temperature all line up. A simple DIY chamber makes that balance easier. You can build one in an afternoon with basic supplies. This guide walks through every step, from choosing a container to harvesting multiple flushes. If you need a refresher on environmental triggers, see our mushroom fruiting conditions guide.
The chamber works because it traps moisture and lets you control air exchange. Penn State Extension points out that mushrooms need high relative humidity and enough fresh air to form normal caps and stems. Without that balance, fruits may abort or grow thin. A fruiting chamber solves the problem for home growers. It also protects blocks from contamination during the sensitive fruiting phase. You can tailor the same basic design to oysters, lion’s mane, shiitake, and many other cultivated species.
You do not need a lot of money or space. A clear plastic tote with perlite works for beginners. A small grow tent with a humidifier and fan works better if you want to run several blocks. The best choice depends on your goals and how many mushrooms you plan to grow. We will cover both passive and active setups. If you are new to oyster mushrooms, review our how to grow oyster mushrooms at home guide before you set up the chamber.
Safety matters even with cultivated mushrooms. Never eat a wild mushroom unless an expert positively identifies it. The North American Mycological Association offers educational resources and local clubs for safe identification. For cultivated species, keep your chamber clean and your hands washed. A contaminated fruiting chamber can ruin a strong block. Build carefully and monitor often. Let us start with the first decision: what kind of chamber you need.
What You’ll Need
- Clear plastic tote or mini greenhouse
- Coarse perlite
- Digital hygrometer and thermometer
- Humidity controller
- Ultrasonic humidifier or spray bottle
- Small fan on a timer
- 6500K LED light or indirect natural light
- Wire rack or elevated platform
How Do You Build a DIY Mushroom Fruiting Chamber at Home?
- Decide on chamber type and size
Choose between a passive shotgun fruiting chamber and an active grow tent setup. A shotgun fruiting chamber is a clear plastic tote with drilled holes on all six sides. A grow tent uses a small shelf or greenhouse with a humidifier, fan, and sometimes an exhaust port. Both designs work, but they differ in cost and stability.
A 66-quart clear tote works well for four to six small blocks or cakes. A four-tier mini greenhouse can hold 20 blocks or more, depending on block size. Bigger chambers hold humidity better but take longer to cool or heat. Smaller chambers are easier to control manually but dry out faster after fanning.
Think about your available space before you buy anything. A tote sits on a table or shelf in a spare room. A grow tent needs floor space and access to an outlet. Avoid placing the chamber in a carpeted area, because spilled water and high humidity can cause damage. You can move a tote easily, while a tent is more permanent.
Most beginners should start with a shotgun fruiting chamber. It costs less and teaches you how mushrooms respond to humidity and fresh air. You can always upgrade to an active tent later. If you plan to grow large amounts of oyster mushrooms, check how to grow oyster mushrooms at home to estimate how much space you will need.
- Choose location and install lighting
Place the chamber where it can receive indirect light for 10 to 12 hours per day. Mushrooms do not photosynthesize, but light acts as a trigger for pinning and cap development. A north-facing window or a shaded area is better than direct sun. Direct sunlight can overheat a closed tote and dry out blocks.
Use a 6500K LED bulb if you do not have natural indirect light. Keep light intensity between 200 and 800 lux for most gourmet species. Low light can cause pale caps and weak stems. Too much light can overheat the chamber and dry the surface of the substrate. A simple lamp timer keeps the light schedule consistent.
Position the chamber close to an outlet if you plan to use a humidifier, fan, or light timer. Keep the area clean and away from pets or heavy foot traffic. High humidity inside the chamber will condense on the walls, so place a plastic tray or towel underneath if needed. Avoid placing the chamber on wooden furniture that can warp or mildew.
Light is one part of the fruiting equation. The other parts are humidity, fresh air, and temperature. For more detail on how mushrooms react to each factor, read mushroom fruiting conditions guide. Once your spot is chosen, you can move on to adding moisture.
- Add humidity source and controller
Most gourmet mushrooms fruit best when relative humidity stays between 85 and 95 percent. A passive shotgun chamber uses coarse perlite at the bottom to hold moisture. Soak the perlite until it is damp but not swimming in water. Place a raised wire rack above the perlite so your blocks do not sit in moisture.
Spread Check the perlite on Amazon in a layer 3 to 4 inches deep. The perlite slowly releases water into the air through evaporation. Mist the sides and lid twice a day to keep humidity high. Do not mist blocks or cakes directly too often, because that can cause bruising and bacterial blotch.
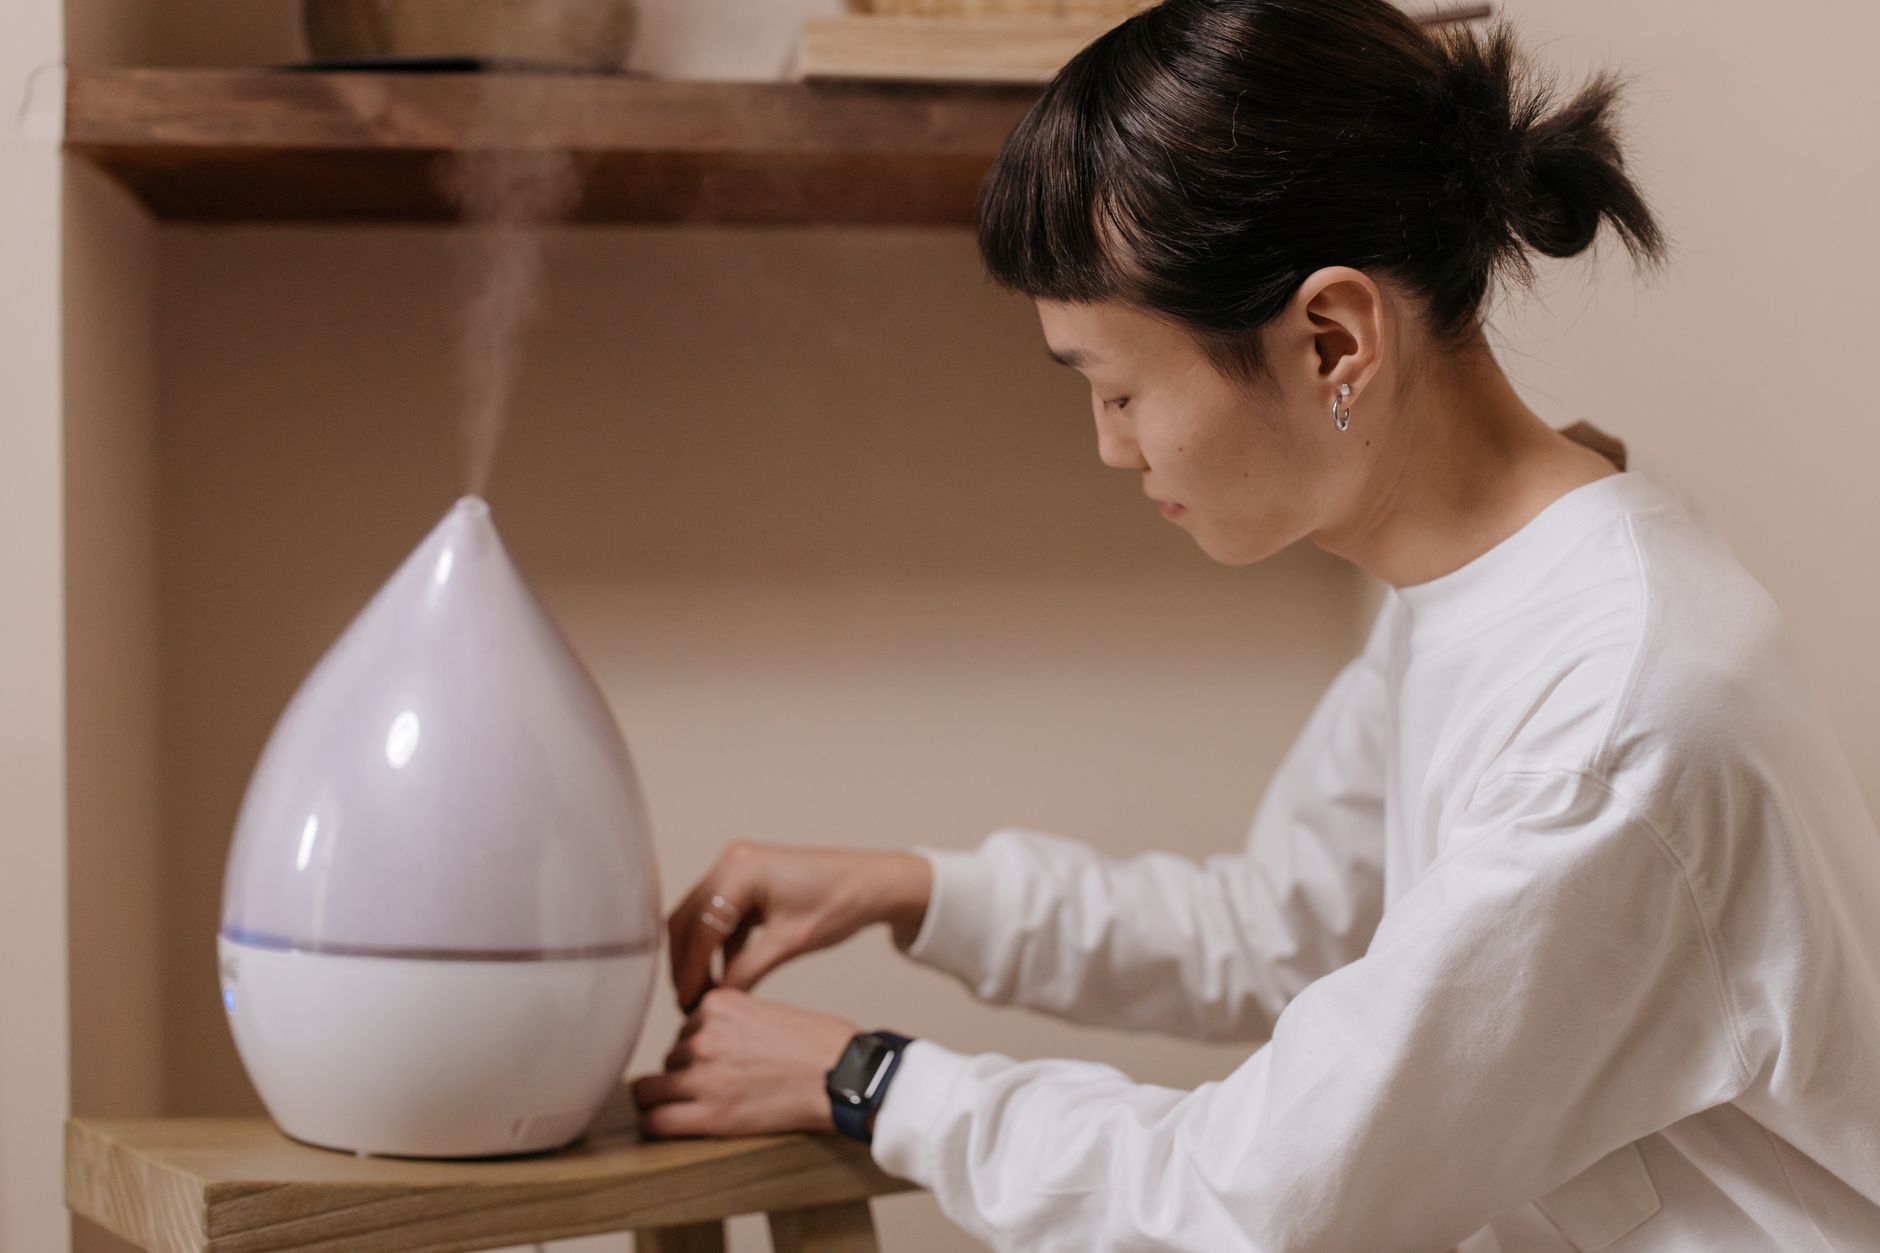
For an active setup, use a Check the humidity controller on Amazon connected to an ultrasonic humidifier. Set the controller to turn the humidifier on at 88 percent and off at 94 percent. This keeps the chamber inside a safe band without constant manual spraying. Use distilled or reverse osmosis water in ultrasonic humidifiers to avoid mineral dust on your walls.
Place a Check the digital hygrometer on Amazon in the center of the chamber, not next to the humidifier. The sensor should read the average air your mushrooms feel. Check it at least twice daily. If the reading falls below 80 percent, your fruits may slow or abort. If it stays above 98 percent, you risk bacterial growth and water pooling.
- Set up fresh air exchange
Mushrooms breathe in oxygen and release carbon dioxide, just like animals. Too much carbon dioxide causes long stems, small caps, and aborted pins. Fresh air exchange replaces stale air with oxygen-rich air. The rate you need depends on chamber size and how many blocks you run.
A shotgun fruiting chamber uses holes placed on all six sides, spaced about two inches apart. The holes work by convection. Warm air rises out of the top holes while fresh air enters through the bottom holes. This passive exchange works for small chambers but can be too slow for dense fruiting blocks.
An active setup uses a small fan connected to a timer. Position the fan so it pulls air out of the chamber or pushes fresh air in. Run the fan for one minute every three to four hours. If you have a larger tent with several blocks, aim for four to six air exchanges per hour. You can calculate this by replacing one chamber volume of air that many times.
Keep unfiltered outdoor air from blowing directly onto blocks. That can bring mold spores and bacteria. Use a fine mesh or filter material over intake holes if the room is dusty. For signs of contamination, see mushroom contamination identification guide. Fresh air and humidity must work together, because too much airflow dries the chamber fast.
- Maintain temperature range
Temperature controls how fast mushrooms grow and whether they fruit at all. Most oyster mushrooms fruit between 55 and 70 degrees Fahrenheit. Lion’s mane prefers 65 to 75 degrees Fahrenheit. Shiitake often fruits best between 60 and 75 degrees Fahrenheit. Check the specific range for your species before you set the chamber.
The chamber itself does not usually heat or cool. Choose a room that naturally stays inside the range. A basement often works well in summer because it stays cool. A closet near an interior wall may be more stable than a windowsill. Avoid placing the chamber near radiators, ovens, or drafty doors.
Keep temperature swings under 5 degrees Fahrenheit in a 24-hour period if possible. Large swings can shock developing pins and cause them to abort. Use a simple thermometer or the same digital hygrometer if it reads temperature. If the room gets too cold, a small seedling heat mat placed nearby can help, but never place blocks directly on it.
Different species react to temperature in different ways. Some need a cold shock to trigger fruiting after colonization. Others fruit when temperatures drop from colonization range to fruiting range. If you are growing lion’s mane, see lion’s mane growing guide for its exact temperature needs. Once temperature is stable, you can prepare your blocks.
- Prepare your blocks or cakes for fruiting
Strong fruiting starts with fully colonized spawn or blocks. Most supplemented hardwood blocks take 14 to 30 days to fully colonize, depending on species and temperature. A common supplemented hardwood recipe is 80 percent hardwood sawdust and 20 percent wheat bran at about 60 percent moisture. The block should be uniformly white with no dark or green patches.
If your substrate is not fully colonized, wait before moving it to the fruiting chamber. Uncolonized grains or wood can mold quickly in high humidity. A fully colonized block will often smell fresh and mushroomy. It may also develop small pins while still in the bag. That is a good sign that it is ready.
Cut or open the bag when you see pins forming. For oyster blocks, cut a small X or a slit on one side. For lion’s mane, open the top of the bag so the fruit can form a single clump. For shiitake, remove the block from the bag entirely and let it brown off for a few days. Place the block on a clean rack inside the chamber.
If you are making your own spawn, check how to make grain spawn for a detailed process. Clean your hands and tools before handling blocks. Even a small slice in the bag can expose the block to bacteria. Once the block is in the chamber, your daily monitoring begins.
- Monitor and adjust daily conditions
Check the chamber at least once every day. Record temperature, humidity, and how the blocks look. Look for condensation on the walls. A light coating of droplets is good, but large water pools are not. Wipe up excess water with a clean paper towel.
Watch the pins and young fruits. If stems stretch long and caps stay small, increase fresh air exchange. If caps look dry or cracked, raise humidity and reduce fan time. If caps turn yellow or mushy, the chamber is too wet or has poor airflow. Small changes often fix problems within a day or two.
Adjust your fan timer, humidifier setting, or misting routine based on what you see. Do not make several changes at once. Change one variable, wait 24 hours, and check the result. This method helps you learn how your chamber responds. If you see green, black, or pink patches, remove the contaminated block immediately. See why your mushroom grow kit has contamination causes and how to fix it for more help.
Keep a small log on your phone or notebook. Write down temperature, humidity, fan run time, and any changes. Over a few flushes, you will see patterns. That record makes it much easier to troubleshoot and to repeat successful grows.
- Harvest and reset for subsequent flushes
Harvest most mushrooms when the caps start to flatten but before the edges curl upward. For oysters, pick the whole cluster by twisting gently. For lion’s mane, cut the single mass at the base. For shiitake, snap or cut each stem. Harvest right before the cap opens fully for the best texture and shelf life.
Remove any small aborted pins or leftover stem stubs from the block. These can rot and attract bacteria. After the first flush, the block is dehydrated. Soak it in clean water for 12 to 24 hours, depending on size. You can do this in a clean bucket or sink. Use non-chlorinated water if possible.
Drain the block well and return it to the fruiting chamber. Second and third flushes usually produce smaller fruits, often 40 to 60 percent of the first flush by weight. Keep the same humidity and fresh air routine. If the block shows signs of contamination after several flushes, discard it outdoors or in the trash.
Over time, you may want to upgrade your chamber or run multiple species. A reliable fruiting setup lets you explore many kinds of mushrooms. For ready-made options, see best mushroom grow kits 2026. A well-maintained chamber can support many flushes across different blocks and species.
Red Flags & Warnings
- 🚨 Never eat a wild mushroom unless an expert positively identifies it. Use the North American Mycological Association or a local club for help.
- 🚨 Do not use tap water in an ultrasonic humidifier. Mineral dust can coat your blocks and your lungs. Use distilled or reverse osmosis water.
- 🚨 Avoid letting water pool in the bottom of the chamber. Standing water breeds bacteria and can drown pins.
- 🚨 Do not place the fruiting chamber in direct sunlight. A closed tote can overheat quickly, killing or stalling your fruits.
- 🚨 Remove contaminated blocks right away. Green, black, or pink patches spread fast in high humidity.
- 🚨 Do not overcrowd the chamber with too many blocks. Restricted airflow raises carbon dioxide and causes leggy, weak mushrooms.
Frequently Asked Questions
How much does a DIY mushroom fruiting chamber cost?
A basic shotgun fruiting chamber made from a clear tote and perlite costs about 20 to 35 dollars. An active setup with a humidity controller, humidifier, and small fan usually costs between 80 and 150 dollars. The exact price depends on the size and whether you already own some parts.
What humidity should a mushroom fruiting chamber be?
Most gourmet mushrooms fruit best at 85 to 95 percent relative humidity. Oyster mushrooms often do well near 90 percent, while lion’s mane prefers slightly lower around 85 percent. Use a digital hygrometer to monitor conditions and adjust your humidifier or perlite moisture.
Can I use a plastic tote as a fruiting chamber?
Yes, a clear plastic tote is one of the simplest and cheapest options. Drill holes on all sides and the lid, fill the bottom with wet perlite, and place your blocks or cakes on a raised rack. It works well for small home grows and is easy to clean between flushes.
How often should I fan my fruiting chamber?
For a passive shotgun fruiting chamber, fan the tote two to four times per day for about 30 seconds each time. Active setups with a small fan on a timer can run the fan for one minute every three to four hours. The goal is to reduce carbon dioxide levels without drying out the blocks.
Why are my mushrooms growing long stems with small caps?
Long, thin stems and small caps usually mean high carbon dioxide and not enough fresh air exchange. Increase fanning or adjust your fan timer to introduce more oxygen. Also check that your chamber is not overcrowded, because too many blocks can trap carbon dioxide.
Do I need a humidifier or will perlite work?
Perlite works fine for small passive chambers, especially for beginners. A humidifier attached to a humidity controller gives more stable results for larger tents or when growing many blocks. Start with perlite and upgrade to active humidification if your fruits look dry or abort.
What Should You Remember?
- Temperature range: keep most gourmet mushrooms between 55 and 75 degrees Fahrenheit.
- Humidity: maintain 85 to 95 percent relative humidity with a digital hygrometer.
- Fresh air: fan or use passive holes to prevent carbon dioxide buildup.
- Light: provide 12 hours of indirect light daily to trigger pinning.
- Cleanliness: sanitize surfaces and tools before placing blocks in the chamber.
- Monitoring: check temperature, humidity, and airflow at least once a day.
- Second flushes: soak or heavily mist blocks after harvest to encourage another flush.
This article is for general information only. Mushroom identification and consumption carry health and safety risks , never eat a wild mushroom unless positively identified by an expert, and follow sterile technique and food-safety guidance for home grows.