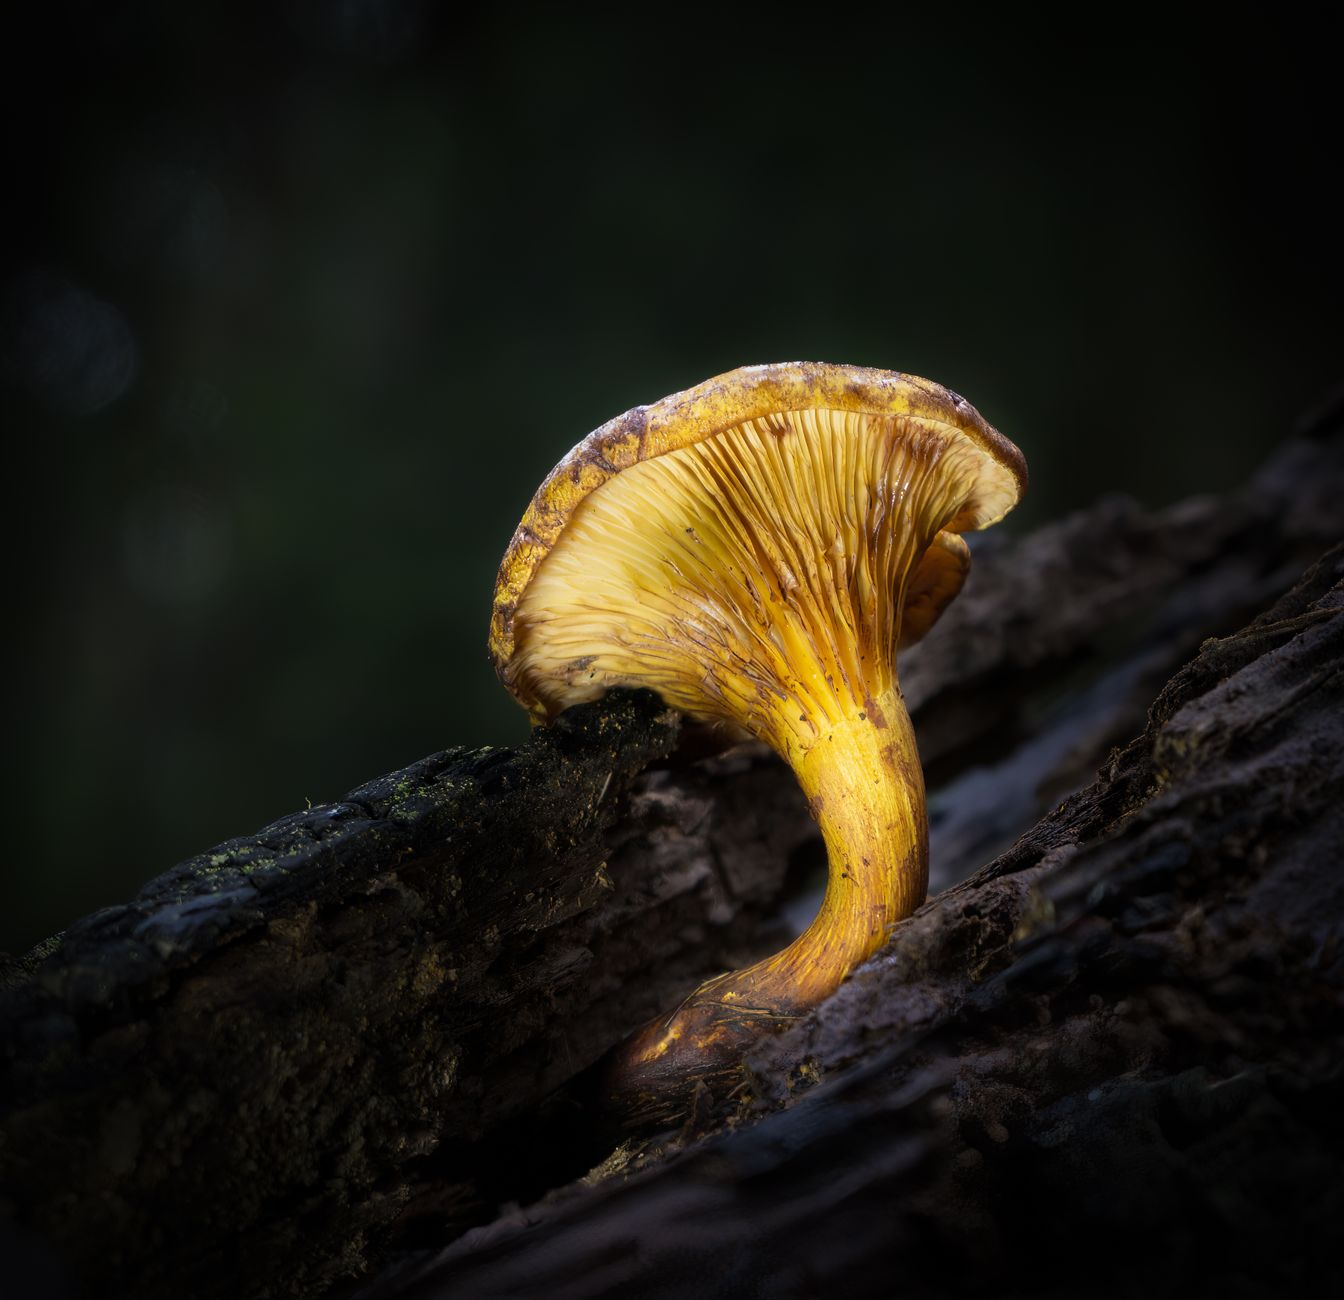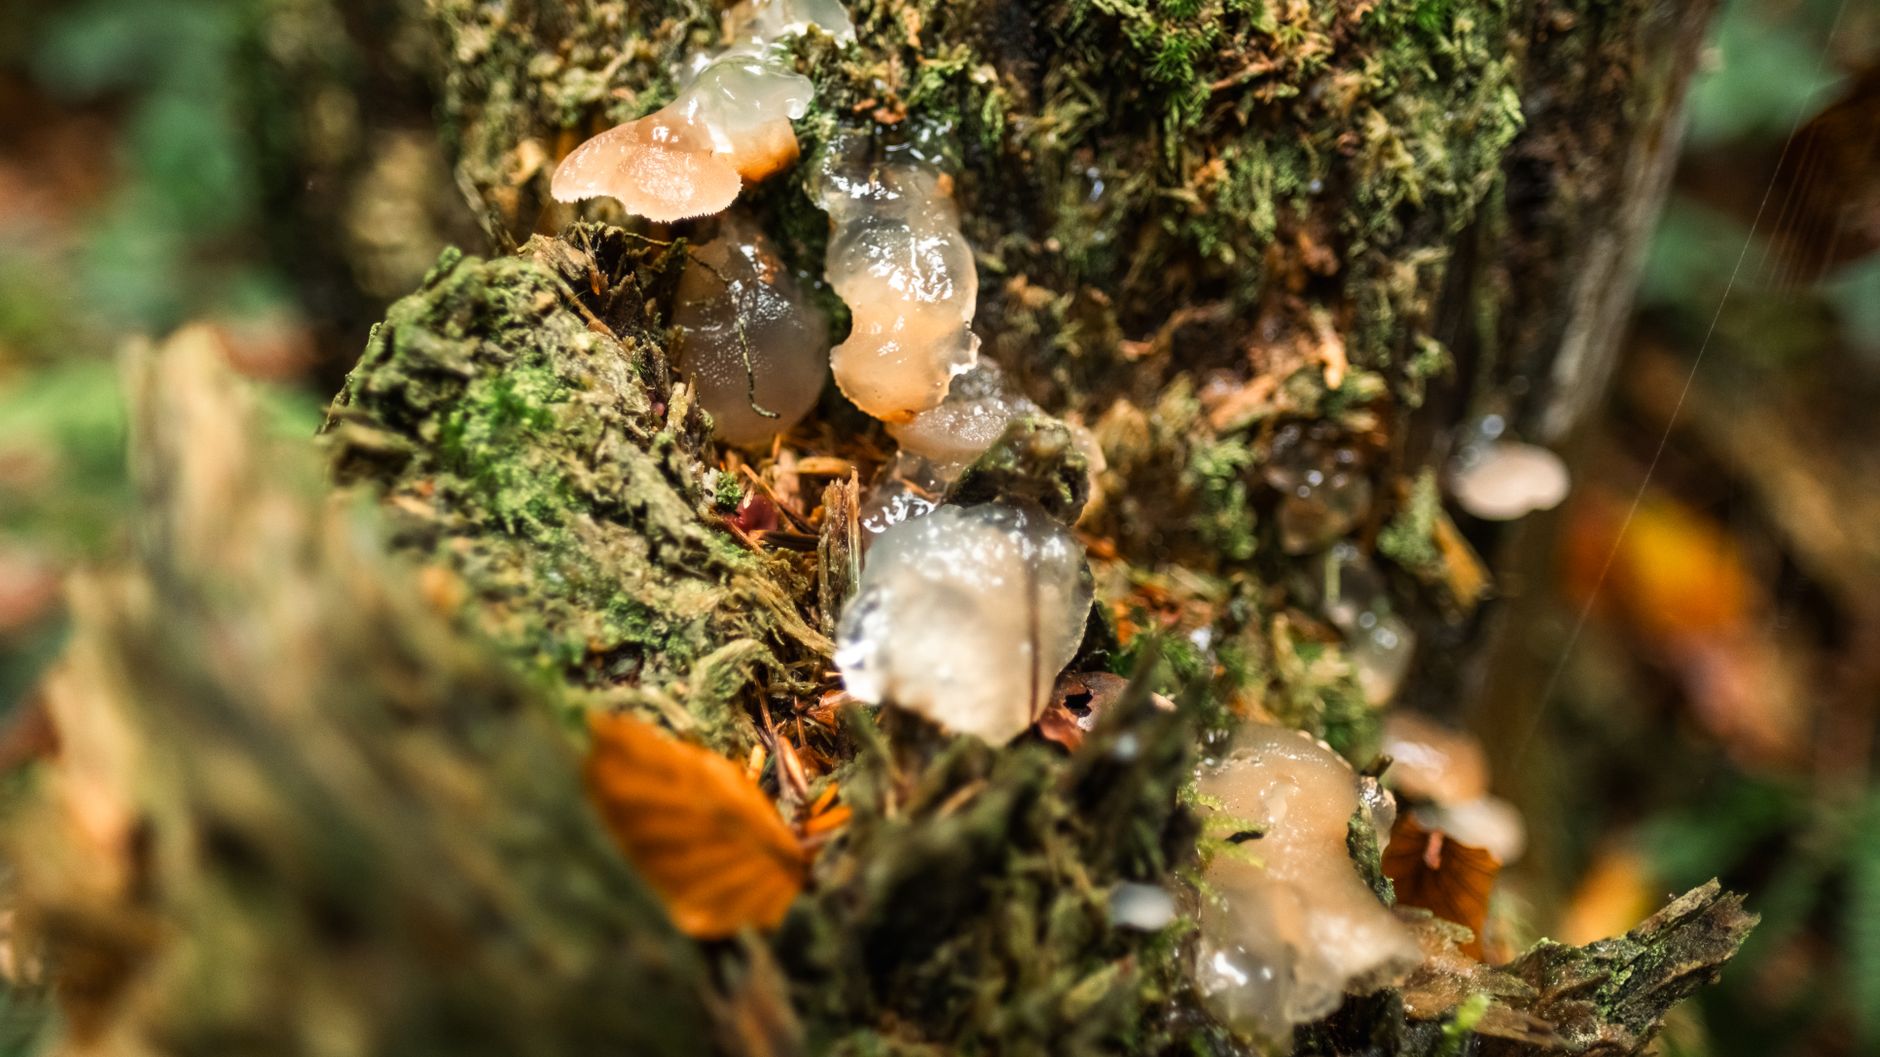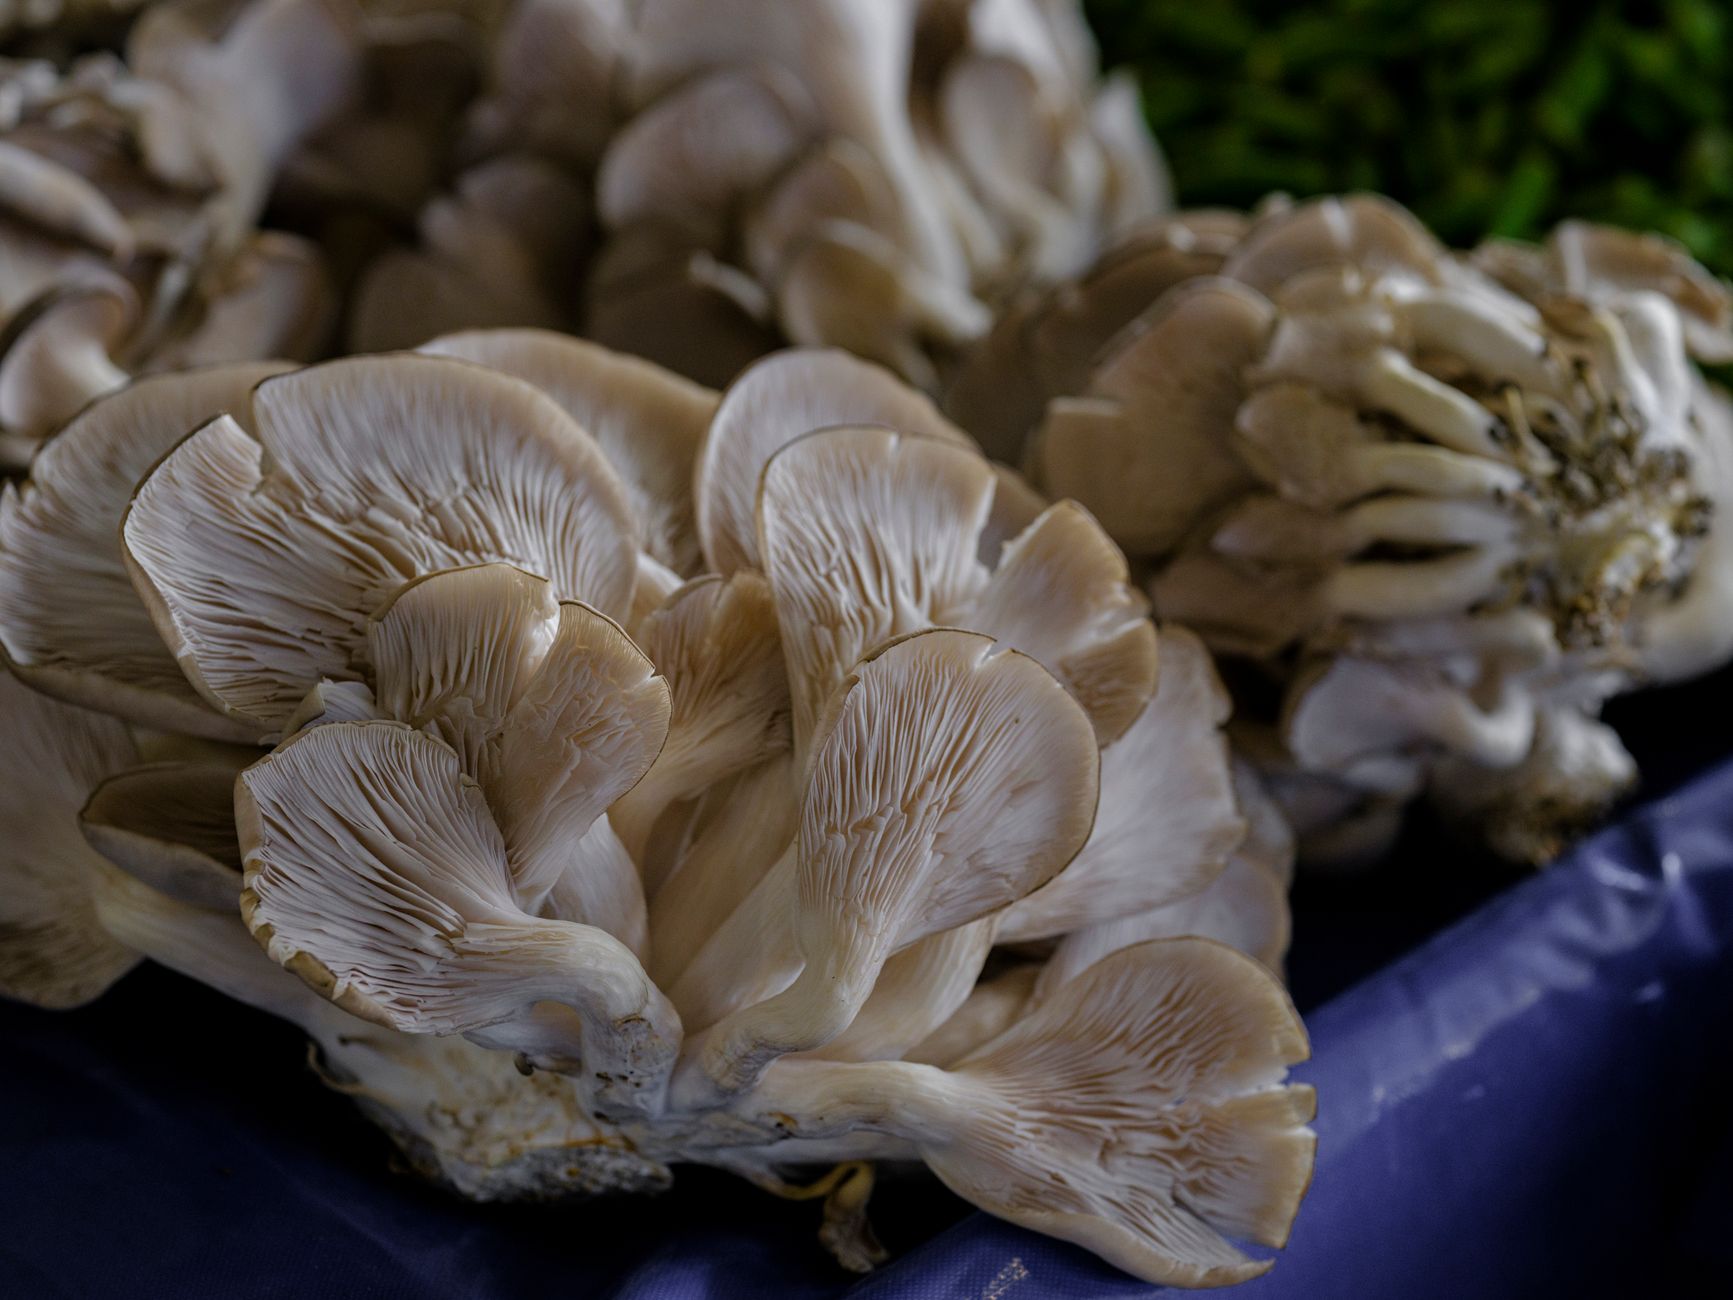
Elm oyster (Hypsizygus ulmarius) is a meaty mushroom that often gets confused with Pleurotus oyster species. It grows tight clusters on hardwood and tolerates cooler indoor spaces. Home growers like it because it produces reliable flushes from simple supplemented sawdust blocks. This guide covers the whole process from spawn to second harvest. Before you start, check the best mushroom substrate guide to understand why wood works better than soil or compost. The deep flavor and firm texture make the extra patience worthwhile.
The elm oyster is a close cousin to blue oyster in appearance but not in growth speed. It colonizes more slowly and fruits at cooler temperatures. That makes it a good project for basements, garages, or unheated rooms in fall. If you have grown blue oyster before, you will recognize the bag and chamber setup. Compare the two with the blue oyster mushroom growing guide to see the differences in fruiting windows. The reward is a dense cluster that holds up well in soups and stir fries.
Safety comes first with any mushroom project. Never eat a wild mushroom unless an expert positively identifies it. The North American Mycological Association offers identification resources and a list of local clubs. Home cultivated elm oyster is safe when you use clean spawn and sterilized substrate. Still, contamination can happen. Review mushroom contamination identification guide early so you know what to watch for before a green spore cloud surprises you.
What You’ll Need
- Elm oyster grain spawn
- Hardwood fuel pellets
- Wheat bran
- Mushroom grow bags with filter patches
- 23-quart pressure cooker
- 70 percent isopropyl alcohol
- Spray bottle
- Digital thermometer and hygrometer
How Do You Grow Elm Oyster Mushrooms at Home?
- Gather spawn, containers, and a clean work area
Start with healthy elm oyster grain spawn. Buy from a supplier that specializes in mushroom cultures. Spawn is living mycelium, so inspect it before use. It should smell clean and earthy. Look for white threads expanding through the grain. Avoid jars with green, black, or slimy patches.
You also need mushroom grow bags with filter patches. Check the mushroom grow bags on Amazon. These bags allow gas exchange while keeping contaminants out. You need a 23-quart pressure cooker or a large steam pot. You also need rubbing alcohol, gloves, a spray bottle, and a thermometer.
Set up a clean workspace. Wipe counters with 70 percent isopropyl alcohol. Turn off fans and close windows. A still air box helps when transferring spawn. Washing hands and arms before inoculation prevents many early failures. Once you have clean supplies, you can move to substrate preparation with confidence.
- Prepare supplemented hardwood sawdust substrate
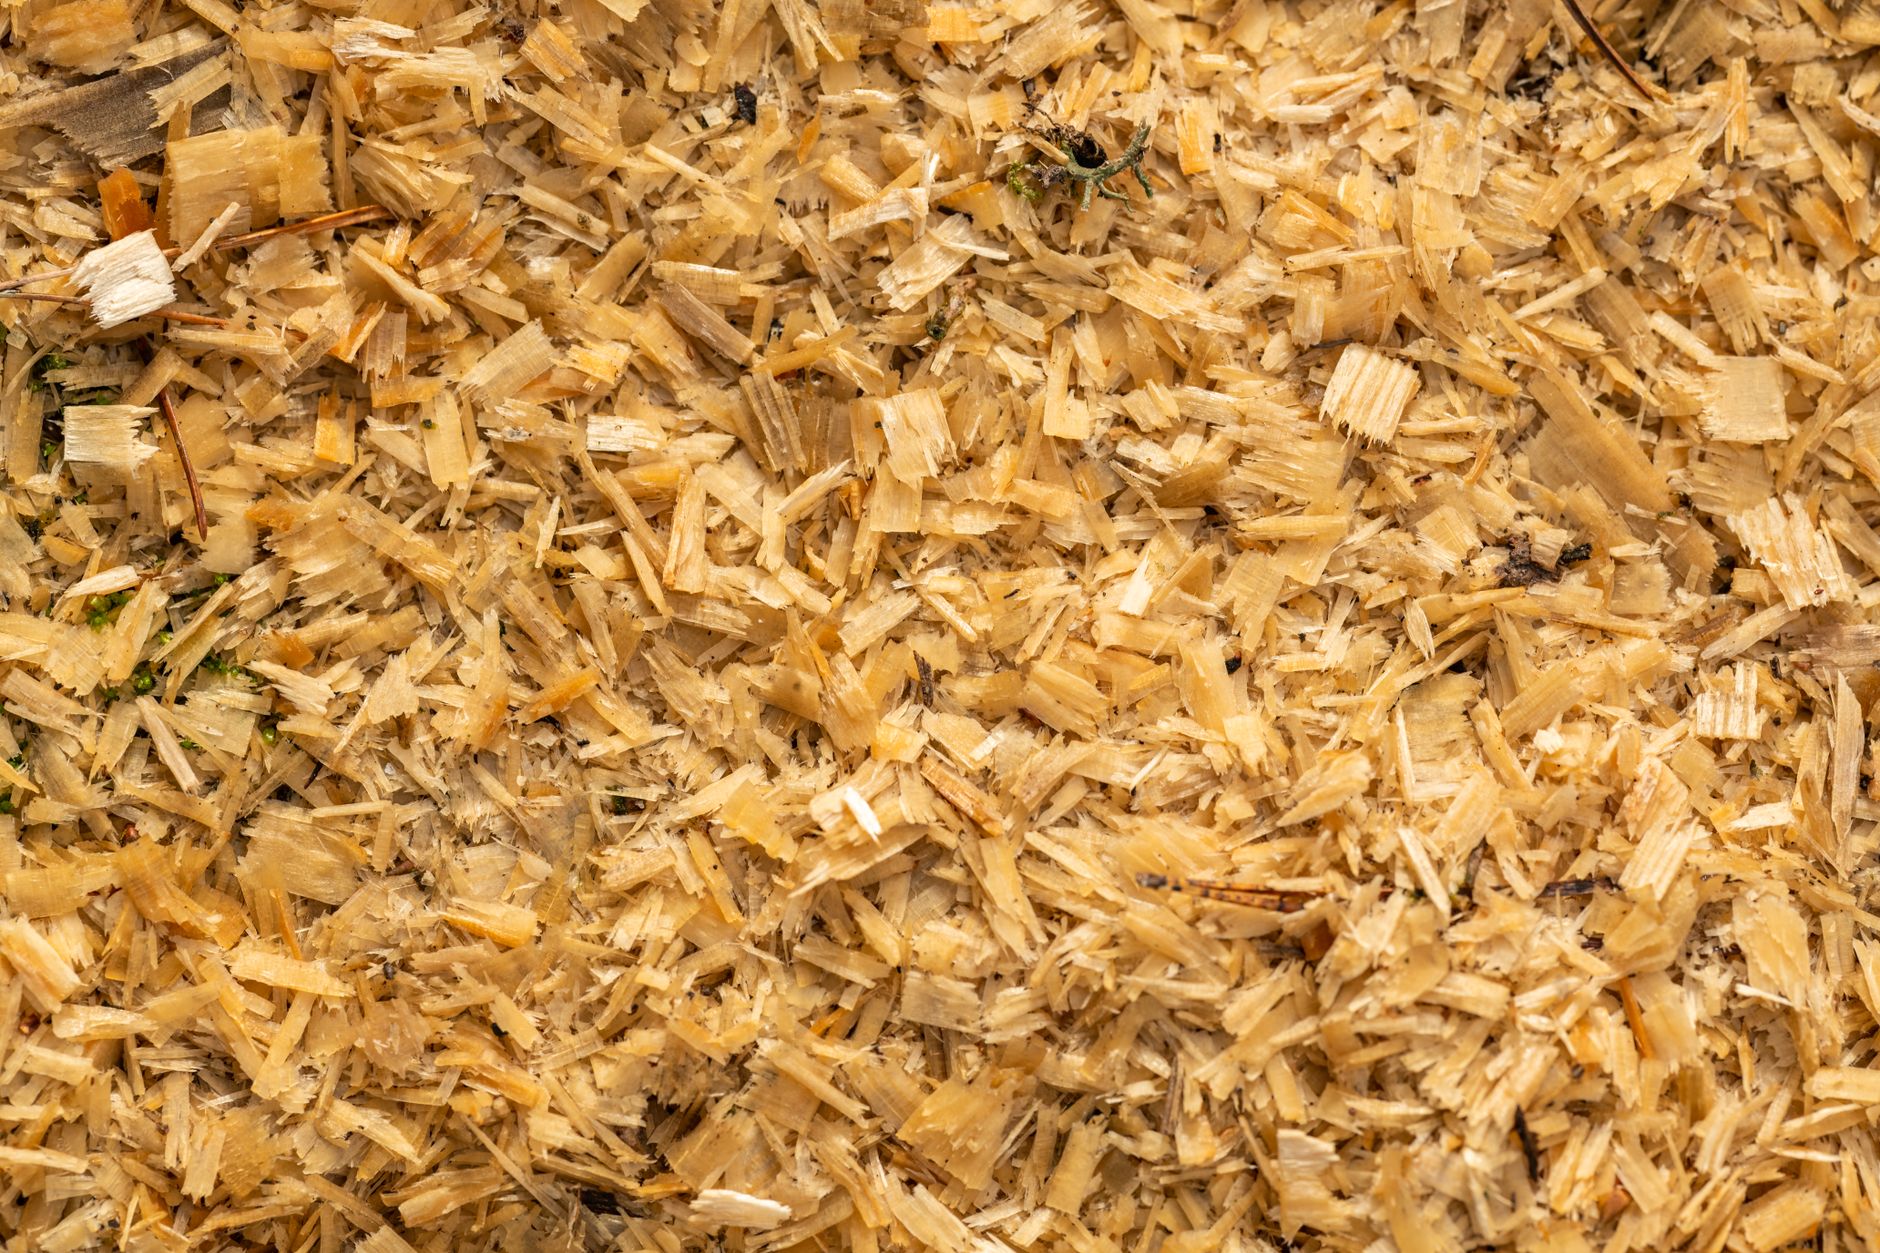
Elm oyster prefers hardwood, not manure or compost. A dependable recipe is 80 percent oak sawdust and 20 percent wheat bran by dry weight. Hydrate the mix to 60 percent moisture. For a small block, combine 600 grams of hardwood fuel pellets, 150 grams of wheat bran, and 500 milliliters of hot water. Mix well until the substrate feels damp but not dripping.
Why supplement? Bran adds nitrogen. Plain sawdust works but yields small clusters. Supplemented sawdust produces fuller flushes. The tradeoff is contamination risk. Penn State Extension notes that supplemented substrates need full sterilization. Do not skip pressure cooking.
Load the substrate into filter patch bags. Fold the top down and sterilize at 15 psi for 2.5 hours. A 23-quart pressure cooker works well. Check a 23-quart pressure cooker on Amazon. If you do not have one, atmospheric steaming can work but takes longer. A large stock pot with a tight lid needs 8 to 10 hours at 200°F.
This recipe is flexible. You can also use a 50/50 mix of hardwood sawdust and soybean hulls. Check the best mushroom substrate guide for more recipes and moisture tests. The goal is a hydrated, sterilized block with no wet pockets.
- Cool, inoculate, and seal the bags
After sterilization, the bags must cool below 80°F. Hot substrate kills spawn. Leave the bags in the closed cooker for several hours. Then move them to your cleaned work area. Let them reach room temperature overnight. This waiting period prevents heat-shocked mycelium and reduces bacterial contamination.
Add grain spawn at 5 to 10 percent of wet substrate weight. For a 5 pound block, use 4 to 8 ounces of spawn. Loosen the grain jar. Pour it into the bag while moving slowly. Seal the bag right away. Use an impulse sealer or fold the top and tape it shut. The seal keeps the block from drying out.
Shake the bag after sealing. This spreads the spawn throughout the substrate. Even distribution gives faster colonization and fewer uncolonized spots. Wash hands between bags. If one bag smells sour or sweet, keep it separate. Check mushroom contamination identification guide to see what early contaminant colors look like. Clean inoculation pays off during the spawn run.
- Incubate the inoculated blocks
Place the bags in a dark, warm space. Elm oyster colonizes best between 65°F and 75°F. Expect full colonization in 14 to 21 days. Bags may take longer if the room is below 65°F. Keep bags off cold concrete floors. A shelf in a closet works well.
Do not constantly open the bag to look. The filter patch allows gas exchange. Mycelium produces carbon dioxide. Too much CO2 can slow growth slightly, but the patch handles it. Check the bag from the outside. You should see white mycelium spreading from the spawn points. Some yellow liquid may appear. Small amounts are normal metabolites, not contamination.
A thermometer helps. If the room is above 80°F, bacteria can take over. If the bag stalls after a week, it may be too cold or too wet. Move it to a warmer spot. Wait until the entire block is white and firm before fruiting. If you need help later with humidity and air exchange, see mushroom fruiting conditions guide.
- Move blocks to fruiting conditions
Once the block is fully colonized, it is time to fruit. Elm oyster pins at 55°F to 65°F. The block also needs high humidity and fresh air. A simple fruiting chamber works well. You can build one from a clear plastic tote with small holes. Read diy mushroom fruiting chamber guide for a simple setup that fits under a table.
Cut small X-shaped slits or open the top of the bag. This signals the mycelium to form pins. Place the block in the fruiting chamber. Mist the walls, not the block directly. Keep humidity between 85 and 95 percent. A digital hygrometer helps. Fan the chamber twice per day to remove carbon dioxide. Fresh air triggers healthy cap expansion.
Light matters less than humidity, but indirect light helps cap color. A shaded windowsill or a low wattage LED works. Keep the chamber out of direct sun, which can dry the block. Elm oyster is slower to pin than blue oyster. Wait 5 to 10 days after opening the bag. Tiny white bumps will appear near the slits.
- Maintain humidity and harvest at the right time
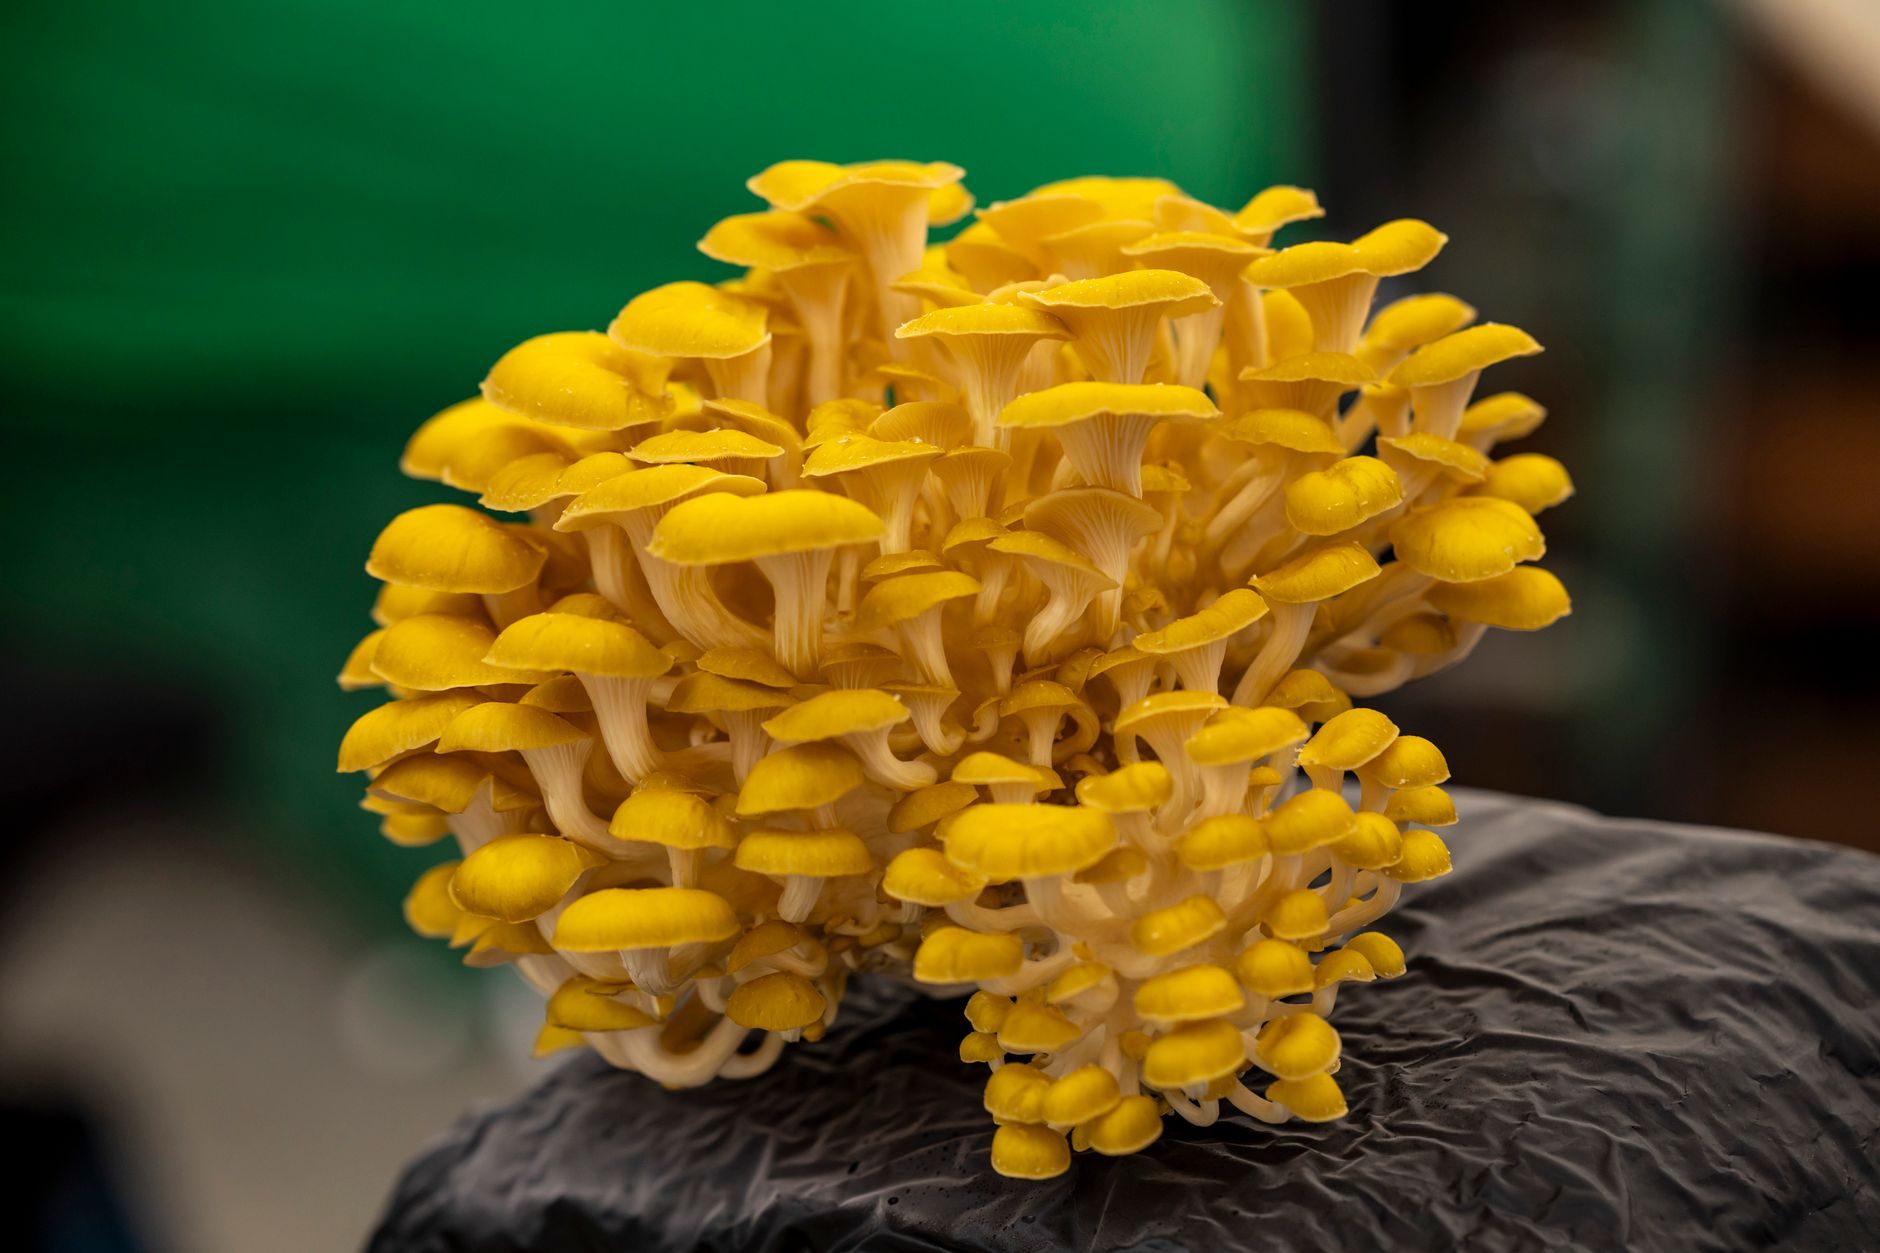
After pins form, they grow fast. Keep misting the chamber walls daily. The caps need moisture to expand. But do not let water pool on the mushroom surface. Pooling water invites bacteria. Watch the caps. Elm oyster caps open from a rounded shape to a flatter disc. The color turns from pale to creamy tan as they mature.
Harvest when caps are 2 to 5 inches wide. The edges should still be curled slightly under. If the edges flatten and turn up, you waited too long. Spores may drop. That is not dangerous, but it makes a mess. Use clean hands to grab the whole cluster at the base. Twist and pull gently. The cluster should release from the block.
Cut off any substrate debris with a knife. Do not wash mushrooms unless you plan to cook them right away. Washing shortens shelf life. If you see green mold on the block, do not eat the mushrooms. Review oyster mushroom grow kit contamination causes and how to fix it for help. Healthy clusters should smell mild and sweet.
- Rehydrate for a second flush and store mushrooms
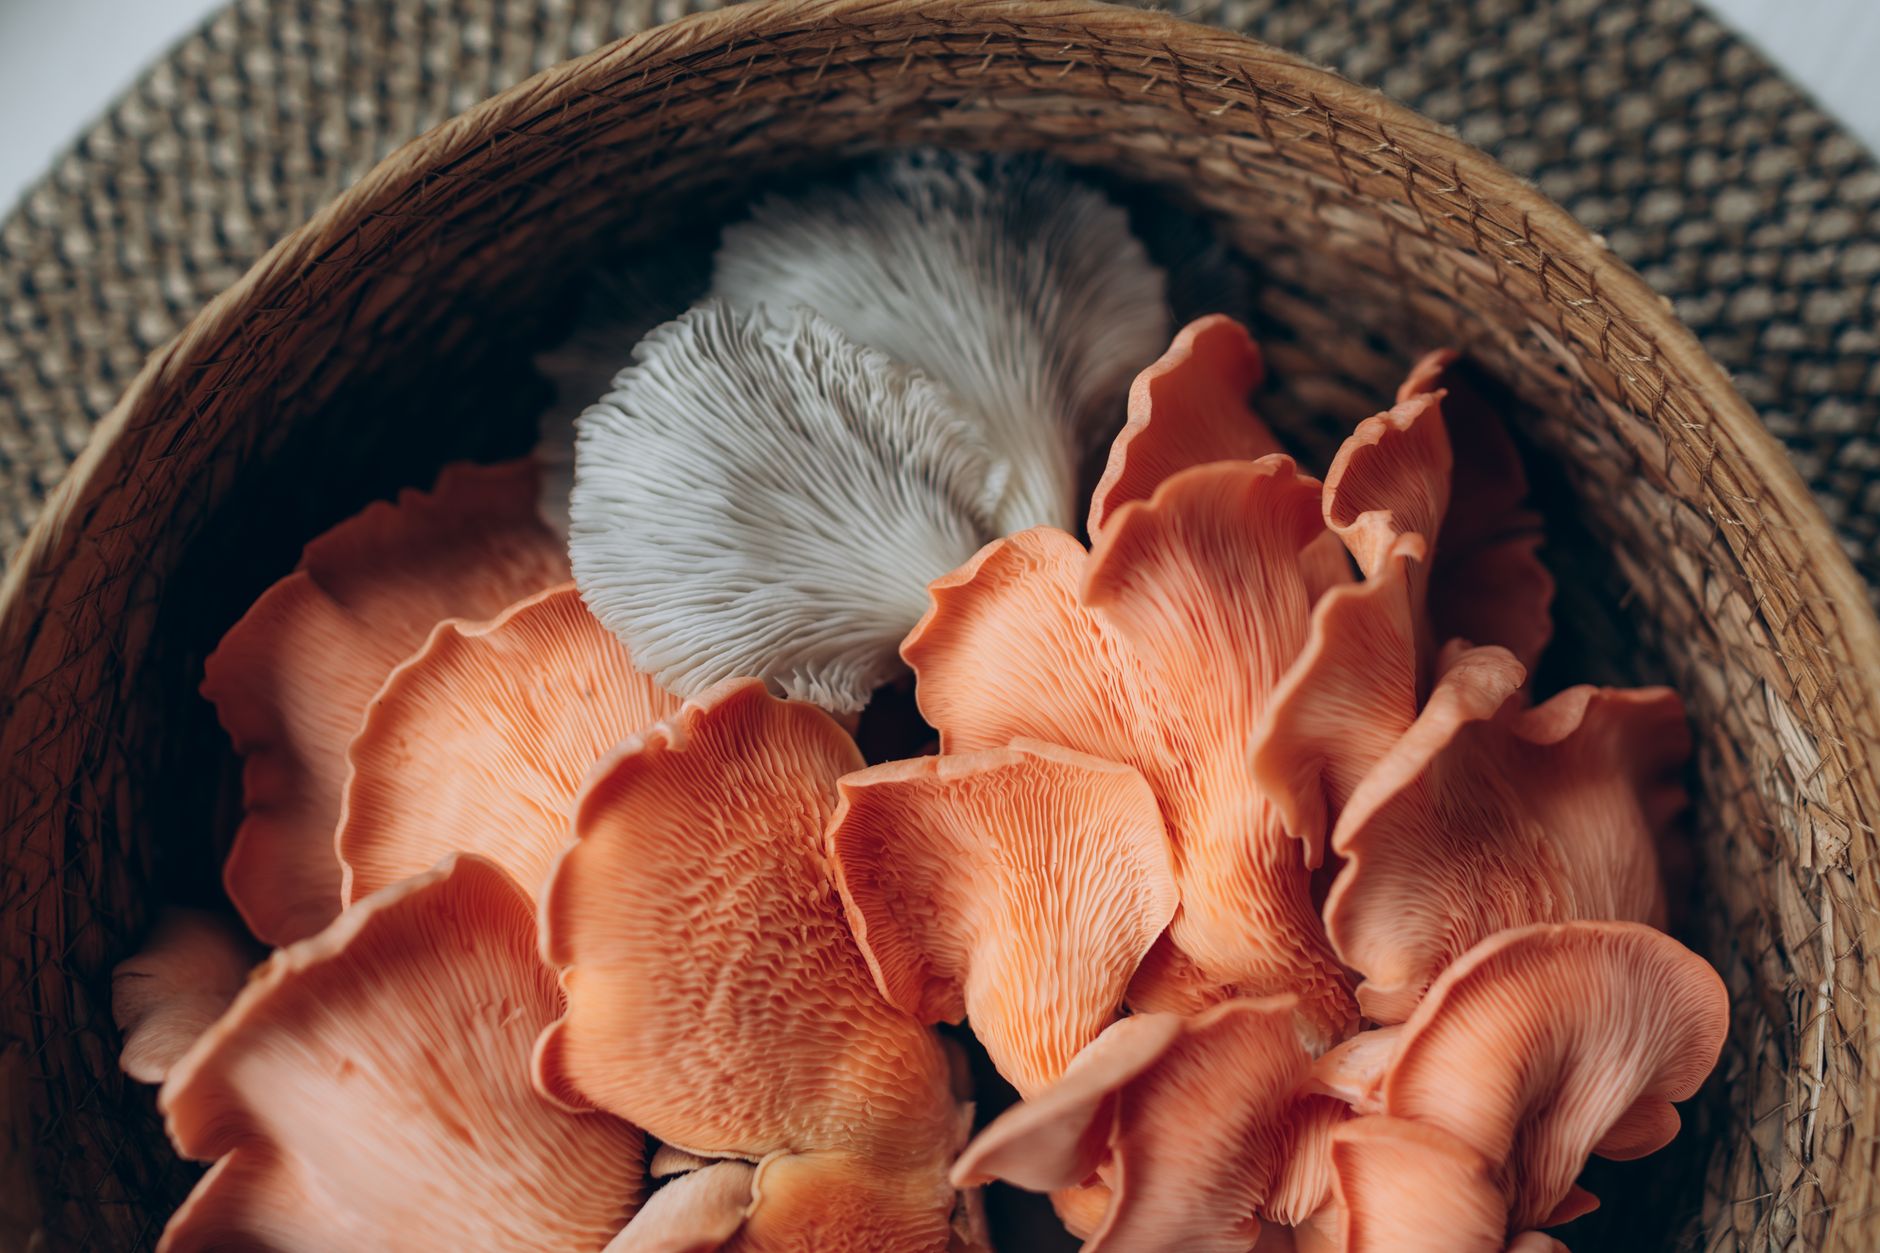
Elm oyster blocks usually produce a second flush. After harvest, scrape away loose stumps. Soak the block in cold water for 4 to 8 hours. Use a clean bucket or sink. Weight the block down with a plate. After soaking, drain it well. Standing water inside the bag can sour the substrate.
Return the block to the fruiting chamber. Keep the same temperature and humidity. Pins often appear in 7 to 14 days. The second flush may be smaller. That is normal. You can sometimes get a third flush, but contamination risk rises. If the block turns soft or smells foul, toss it.
Store harvested mushrooms in a paper bag in the refrigerator. They stay fresh for 5 to 7 days. Do not keep them in sealed plastic, which traps moisture. You can also dry them in a food dehydrator. Dried elm oyster rehydrates well in soups. For another sawdust-loving species, explore the king oyster mushroom growing guide on the site.
Red Flags & Warnings
- 🚨 Never eat a wild mushroom unless an expert positively identifies it. Contact a local mycological society or use North American Mycological Association resources before consuming any wild fungi.
- 🚨 Do not fruit elm oyster above 75°F. High heat plus humidity invites bacterial blotch and green mold. Keep fruiting areas between 55°F and 65°F.
- 🚨 Supplemented sawdust must be sterilized, not just pasteurized. Bran and soybean hulls feed contaminant molds too. Pressure sterilize at 15 psi for 2.5 hours.
- 🚨 If you see green, black, or slimy patches, isolate the bag immediately. Do not open it indoors. Contaminant spores spread fast and can ruin your whole grow space.
- 🚨 Avoid misting mushrooms directly. Pooled water causes bacterial blotch, slimy caps, and short shelf life. Mist the chamber walls instead.
- 🚨 Discard blocks that smell sour, alcoholic, or like rotten fruit. Healthy mycelium smells earthy and clean. A foul smell means the block is no longer safe.
Frequently Asked Questions
Is elm oyster the same as regular oyster mushroom?
No. Elm oyster (Hypsizygus ulmarius) looks like Pleurotus species but belongs to a different genus. It grows tighter clusters and prefers cooler fruiting temperatures. It also colonizes a bit slower.
What temperature does elm oyster need to fruit?
Fruit at 55°F to 65°F. You can push to 70°F, but caps may be thinner. Keep humidity at 85 to 95 percent for best results.
Can I grow elm oyster on straw?
Elm oyster prefers hardwood sawdust. Straw can work if pasteurized, but yields are often smaller. Sawdust blocks give more reliable first and second flushes.
How long does elm oyster take from spawn to harvest?
Spawn run takes 14 to 21 days. After opening the bag, pins show in 5 to 10 days. Harvest usually happens 25 to 40 days after inoculation.
Why are my elm oyster caps small and leggy?
Low fresh air or high CO2 causes long stems and small caps. Increase fanning and add more air exchange. Keep humidity up but do not let the chamber go stale.
Can I reuse the spent block?
After the second or third flush, the block is spent. You can compost it outdoors. Some growers bury spent blocks in wood chip beds, but success varies.
What Should You Remember?
- Start with clean spawn: Always inspect elm oyster grain spawn for green, black, or slimy patches before inoculating.
- Use supplemented hardwood: Choose a mix of 80 percent oak sawdust and 20 percent wheat bran at 60 percent moisture.
- Sterilize fully: Cook supplemented bags at 15 psi for 2.5 hours to kill competitor molds.
- Incubate warm: Keep bags at 65°F to 75°F for 14 to 21 days until fully white.
- Fruit cool and humid: Maintain 55°F to 65°F and 85 to 95 percent humidity for dense clusters.
- Harvest on time: Pick caps at 2 to 5 inches wide while edges are still curled slightly under.
- Rehydrate for second flush: Soak the block for 4 to 8 hours, drain well, and return it to the chamber.
This article is for general information only. Mushroom identification and consumption carry health and safety risks , never eat a wild mushroom unless positively identified by an expert, and follow sterile technique and food-safety guidance for home grows.