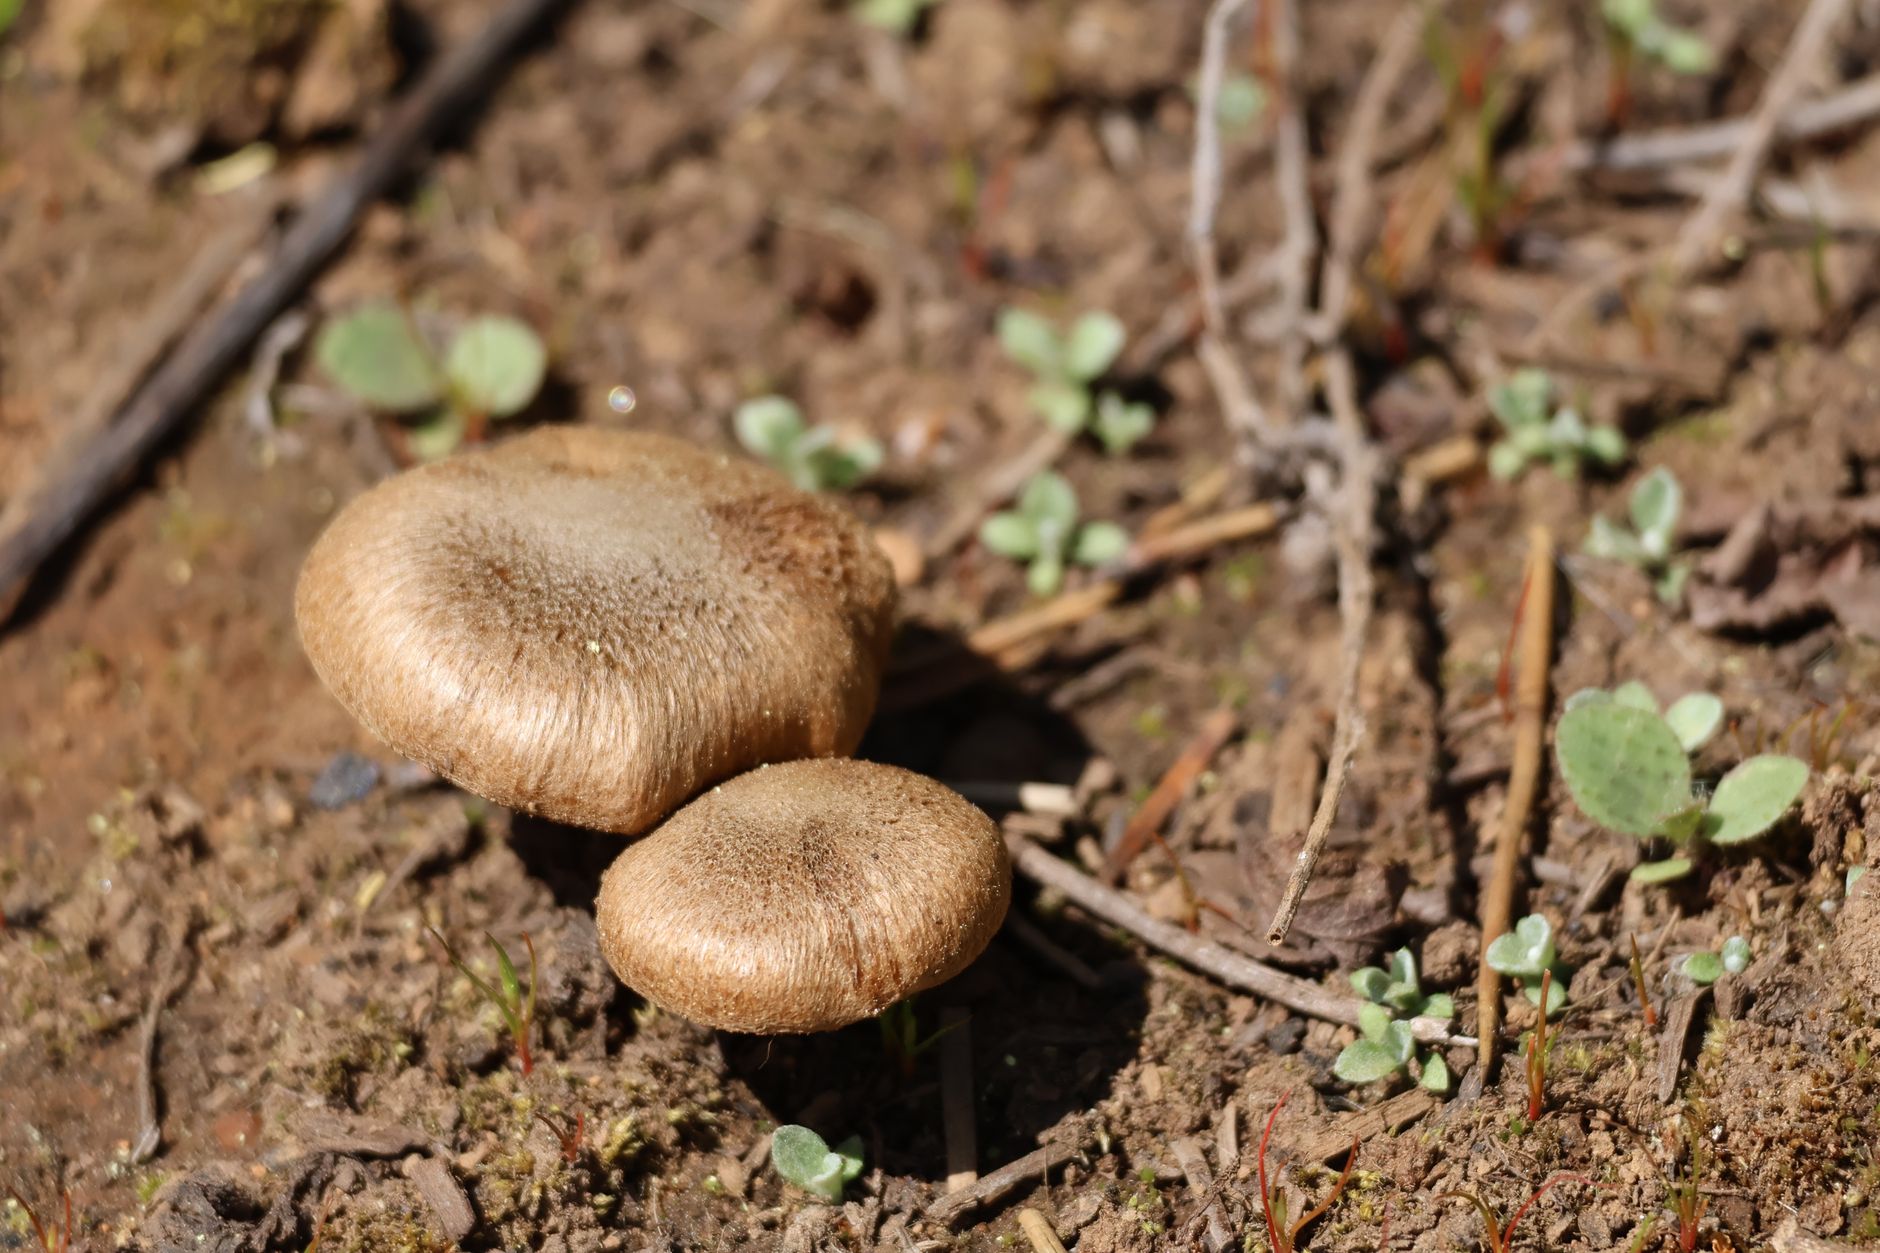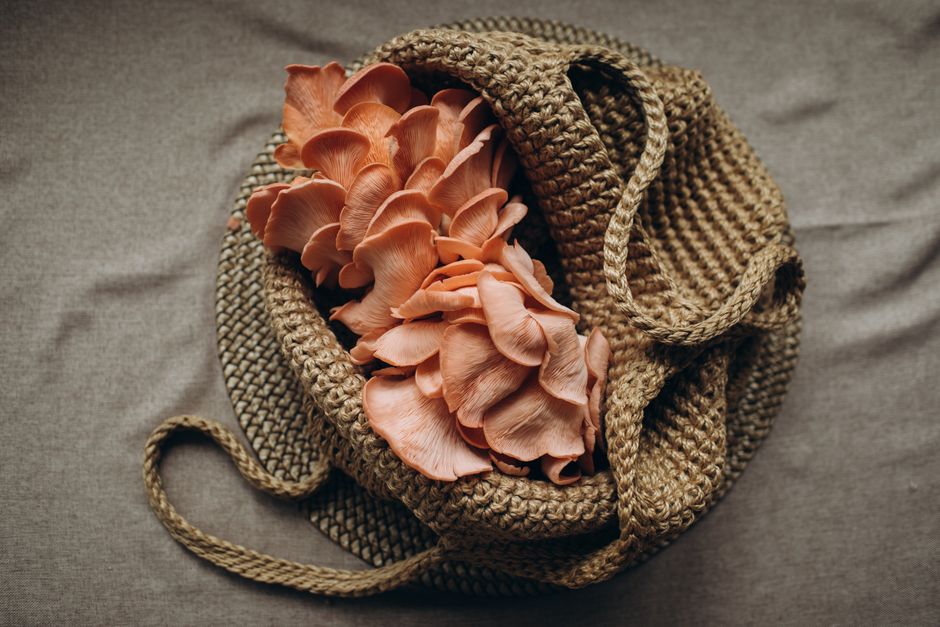
Maitake (Grifola frondosa) is a prize for home growers. It is also called hen of the woods because its overlapping gray-brown fronds look like feathers on a hen. You may know it from Japanese cooking or immune-support supplements. The mushroom grows on oak and other hardwoods in the wild. Indoors, you can grow it with the right substrate and conditions. This guide walks through each step from spawn to harvest, including substrate recipes and fruiting parameters. Whether you have a small closet or a dedicated grow tent, maitake can work for you.
Growing maitake at home is different from oyster mushrooms. It colonizes slower and fruits best when temperatures drop. Still, you do not need a lab. A clean kitchen, supplemented sawdust, and a fruiting chamber work. I will cover both indoor methods and outdoor logs. You can choose what fits your space. If you are new, read our hen of the woods guide for background before starting. This article focuses on indoor sawdust blocks because they give faster results and let you see the whole life cycle.
The biggest mistakes are too much moisture and rushing the spawn run. Maitake mycelium can look thin at first, and that is normal. Patience matters more than any gadget or schedule. You also need to watch for contamination, because a contaminated block can ruin weeks of work. The good news is that maitake is reliable once you dial in the conditions. It also rewards clean technique and steady observation. In the next sections I break down each stage and the exact parameters to use. You will learn how to prepare substrate, inoculate, fruit, and harvest.
You will need grain spawn, hardwood sawdust, a pressure cooker or steamer, grow bags, and a spot with stable temperature. In this article I include the exact substrate recipe, colonization days, temperature range, and humidity target. I also reference Penn State Extension for cultivation guidance and the North American Mycological Association for identification safety. Let us start with choosing a growing method that fits your space and resources. Do not worry if some terms are new. I explain each supply and step clearly.
What You’ll Need
- Hardwood sawdust or sawdust pellets
- Wheat bran or oat bran
- Polypropylene grow bags with filter patches
- Pressure cooker or large steamer
- Maitake grain spawn
- Clear plastic tote or fruiting tent
- Humidity controller and hygrometer
- Fine mist sprayer
- Clean knife for harvest
How Do You Grow Maitake at Home?
- Choose an indoor grow method that fits your space
Maitake fruits from supplemented hardwood sawdust blocks indoors. You can also grow it on oak logs outdoors. Indoor blocks produce faster, often within 10 to 14 weeks from spawn. Outdoor logs take one to two years but yield for several seasons. I suggest starting with indoor blocks if you want to learn the rhythm. You can move to logs later.
Indoor methods split into two paths. The first uses a pre-made sawdust fruiting block you inoculate at home. The second is making your own supplemented sawdust from scratch. Both work. The difference is control. A pre-made block saves time. Making your own substrate lets you adjust the recipe. Penn State Extension notes that maitake performs best on hardwood sawdust with a nitrogen supplement. I will focus on the DIY route because it teaches the full process.
For outdoor growers, select freshly cut oak, beech, or maple logs. Inoculate with plug spawn in early spring. Seal with wax. Bury or stack logs in shade. This method is low-maintenance, but it requires patience. I will mention log specifics later. For this guide, the main path is indoor sawdust blocks. That said, the same mycelium rules apply both ways.

- Gather supplies and prepare the hardwood sawdust substrate
Maitake substrate recipe: 5 cups hardwood sawdust, 1 cup wheat bran or oat bran, and 1.5 cups water. That yields around 60 to 65 percent moisture. Oak or maple sawdust works best. Avoid softwood sawdust because resins can slow growth. Mix the dry ingredients first, then add water slowly. You want the mix to feel like a damp sponge, not dripping. For more on choosing hardwood species, see our best mushroom substrate guide.
You will need polypropylene grow bags that can survive pressure cooking. Check mushroom grow bags on Amazon to find food-grade options with filter patches. You can also use hardwood sawdust pellets. Check hardwood sawdust on Amazon if you cannot mill your own. Avoid cedar, pine, and other softwood products. The filter patch allows gas exchange after sterilization.
Load each bag about two-thirds full. Fold the top over but do not seal tightly. Pressure cook at 15 PSI for 90 minutes. If you do not have a pressure cooker, steam the bags for two hours on two consecutive days. Let the bags cool to room temperature in a clean area. This step kills competitors like molds and bacteria. A clean inoculation space matters as much as the recipe.
Before you inoculate, check the moisture. Squeeze a handful of cooled substrate. It should hold together and release only a few drops. Too wet invites bacteria. Too dry stalls colonization. If your mix is too wet, add a little more dry sawdust and resterilize. If too dry, mist lightly with sterile water. Now you are ready for spawn.
- Inoculate the substrate with maitake grain spawn
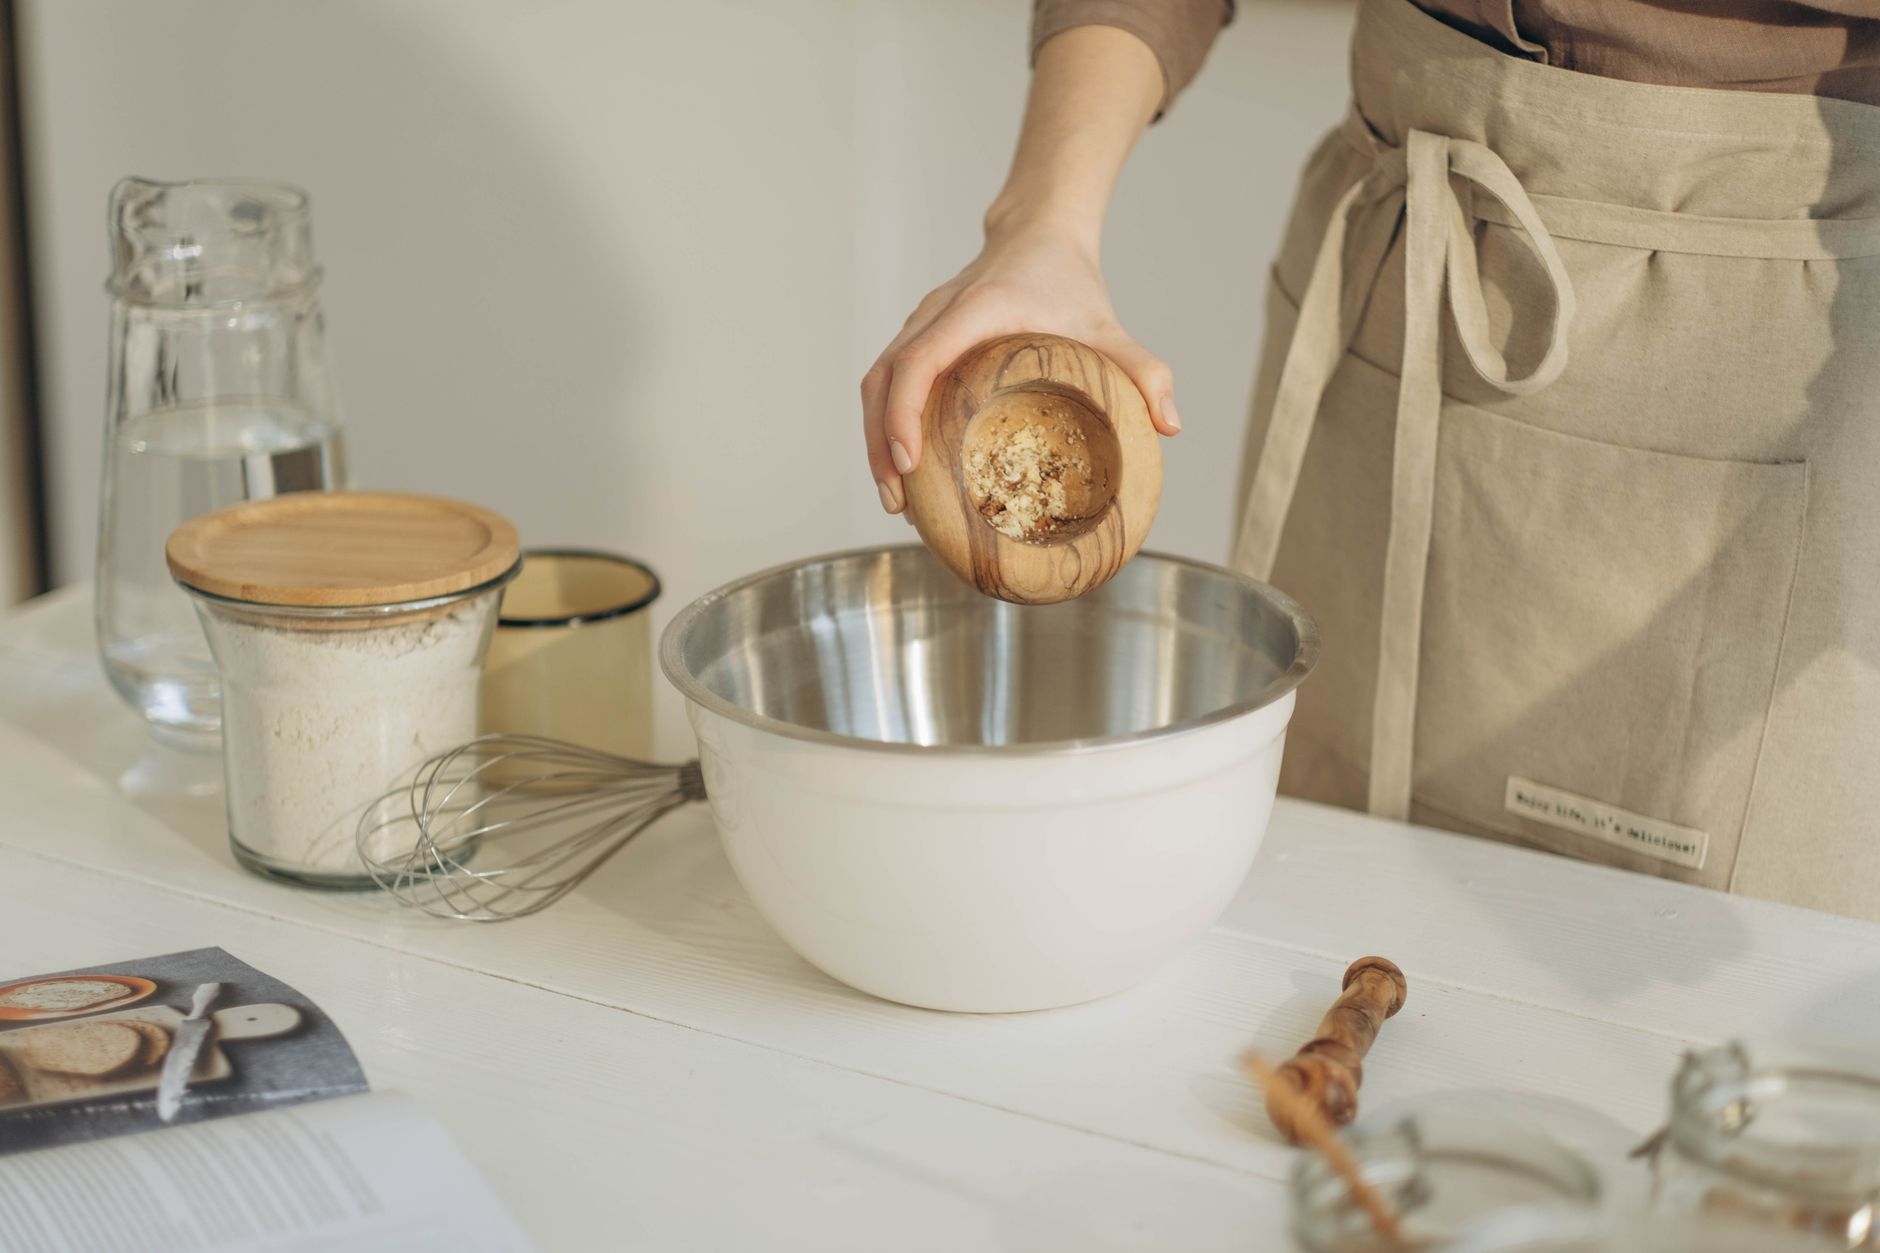
Maitake grain spawn is available from mushroom suppliers. It is living mycelium grown on rye or millet. You will need about a half cup of spawn per five-cup substrate block. Work in a still air box or in front of a laminar flow hood. Wipe all surfaces with 70 percent isopropyl alcohol. Flame-sterilize your spoon or use a sterile scoop. The goal is to introduce spawn without contaminating the block.
Open the cooled substrate bag and crumble the spawn into it. Use a sanitized spoon to mix the spawn through the top few inches. Then re-fold the bag and shake gently if the bag allows. Do not pack the substrate. Maitake mycelium grows best with some air space. Label each bag with the date and strain. This helps you track colonization days.
If you have not made your own spawn before, read our guide on how to make grain spawn. It walks through rye jars and sterilization. You can also buy ready-to-use spawn. Just be sure it is fresh and not dried out. Old spawn colonizes slowly and can introduce contaminants. Keep one extra bag of substrate as a control. If your main bags fail, the control tells you whether the substrate or the spawn was the problem.
After inoculation, close the bag with the filter patch facing up. Do not seal completely if you use filter patch bags, because the patch allows gas exchange. If you use plain bags, poke a small hole and cover with micropore tape. Now move the bags to an incubation space. The next step is the quiet part, but it matters most.
- Incubate the spawn run at 70-75°F in darkness
Maitake colonizes best between 70 and 75°F. Place the bags in a dark closet, cabinet, or shelf. The mycelium will spread from the spawn points. You should see white growth within seven to ten days. Full colonization takes 21 to 30 days for a five-cup block. Some strains take up to 45 days. Do not disturb the bags often.
Check every few days for contamination. Green, black, or slimy patches mean the block has failed. Toss it outside. Do not open contaminated bags indoors. Healthy maitake mycelium is white and ropey at first, then becomes dense and leathery. It may smell like mushrooms and fresh wood.
Maitake does not like high heat. If your space gets above 80°F, the mycelium can stall. If it gets too cold, colonization just slows. A stable 72°F is ideal. No light is needed during spawn run. Some growers use an incubator with a thermostat. A simple cardboard box with a seed mat works too. Keep the bags off cold floors.
The block is ready when it feels firm and the entire surface is white. You may see small knots forming near the top. That is a sign the mycelium wants to fruit. At this point, move the block to fruiting conditions. Do not wait too long. Over-incubated blocks can form deformed clusters inside the bag.
- Prepare the fruiting chamber and case the block
Maitake fruits when conditions change. The block needs fresh air, high humidity, and a temperature drop. Build or buy a small fruiting chamber. A clear plastic tote with holes works well. You can also use a tent. Our guide on diy mushroom fruiting chamber gives step-by-step plans. The chamber should hold humidity at 85 to 95 percent.
Cut the top of the colonized bag open, leaving the sides intact. This exposes the surface. Some growers add a casing layer of pasteurized vermiculite or peat. A thin casing about half an inch deep helps hold moisture. Maitake does not need casing, but it can improve cluster formation. If you skip casing, keep the block surface misted.
Install a small fan or open vents for fresh air. Maitake is sensitive to carbon dioxide. Too much CO2 makes stringy, loose clusters. Aim for four to six air exchanges per hour. You can do this manually by fanning the chamber twice a day. A mushroom humidity controller automates the hard part.
Place the open block in the chamber. Drop the temperature to 55 to 65°F. A cool basement or a wine fridge works. If you cannot drop the temperature that low without a fridge, place the chamber near a window at night. The temperature change triggers primordia. At this point, the next step begins.
- Trigger primordia and maintain 85-95% humidity
Primordia look like small gray brain-like bumps on the block surface. They appear within one to two weeks after you drop the temperature. Keep the humidity high, around 90 percent. Mist the air above the block, not directly on the primordia. Direct water can pool and cause bacterial blotch. Use a fine-mist sprayer.
Fresh air is critical during primordia formation. Fan the chamber for a minute two or three times a day. Or run a small fan on a timer. If the primordia turn yellow or stop growing, the air is too stale. If they dry out and turn brown, the humidity is too low. Use a hygrometer to confirm. Our mushroom fruiting conditions guide explains these parameters in depth.
Maitake primordia develop slowly. They grow into overlapping gray-brown fronds. Total fruiting takes two to four weeks from primordia to harvest. Do not rush this stage. The clusters can double in size every few days in the final week. Watch the color and texture. Firm, velvety fronds with white edges are healthy.
If your block forms many tiny primordia, thin them. Leave the two or three strongest clusters. This channels energy into larger, denser clusters. Use a clean blade or simply pinch off the small ones. Keep a log of temperatures and humidity. That helps you repeat the grow. The next step is knowing when to cut.
- Harvest maitake clusters at the right time
Maitake is ready when the fronds are fully opened and the edges are firm but not curled. The cluster should feel dense and springy. Color ranges from gray to brown with white undersides. If you wait too long, the edges darken and spores drop. That is still edible, but the texture suffers. Harvest just before the edges begin to curl upward.
Use a clean knife to cut the cluster at the base. Cut cleanly, leaving a small portion attached to the block. Do not yank or twist. Twisting can damage the mycelium and ruin the possibility of a second flush. Rinse the harvested cluster briefly if it has substrate bits. Pat dry with a towel. Weigh your yield. A five-cup block can produce 8 to 16 ounces of maitake.
After harvest, you can rest the block and try for a second flush. Soak the block in cold water for four hours, then return it to the chamber. Lower the temperature again. That said, maitake often gives one strong flush indoors. The second flush is smaller. Do not be disappointed. Use the spent block in your garden compost.
Always confirm the identity of any mushroom you grow or forage. The North American Mycological Association recommends never eating a mushroom unless an expert positively identifies it. This applies to wild mushrooms, not cultivated ones, but it is a good habit.
- Store, cook, and plan your next maitake grow
Fresh maitake keeps for up to a week in the fridge. Place it in a paper bag or a loosely closed container. Do not seal in plastic, because trapped moisture causes rot. To preserve, slice and dry the fronds. Dried maitake rehydrates well for soups and stocks. You can also sauté and freeze in portions. Proper storage protects the flavor you worked to grow.
Maitake has a rich, earthy flavor. It is excellent roasted, sautéed, or added to risotto. Cook it thoroughly before eating. Raw maitake can be tough and may upset some stomachs. A hot pan with butter or olive oil brings out the umami. If you grew more than you can use, share with friends. Homegrown maitake makes a memorable gift.
To plan your next grow, evaluate what went well and what did not. Did colonization finish in 21 to 30 days? Did the primordia form? Was the cluster dense or stringy? Adjust one variable at a time. Maybe add more bran to the substrate. Maybe lower the fruiting temperature. Keep detailed notes so your next run is easier.
You can also branch out to other species that grow on similar substrates. Lion’s mane and shiitake both colonize hardwood sawdust. Our guide on growing lion’s mane at home can help. Each species teaches you something new. Maitake is challenging, but once you succeed, it is deeply satisfying.
Red Flags & Warnings
- 🚨 Never eat a wild mushroom unless an expert positively identifies it. Maitake has look-alikes like Berkeley’s polypore and black-staining polypore.
- 🚨 Do not open contaminated blocks indoors. Green, black, or slimy patches release spores that can spread to your grow area.
- 🚨 Avoid softwood sawdust. Cedar, pine, and other softwoods contain resins that inhibit maitake growth.
- 🚨 Do not mist primordia directly. Water pooling on tiny clusters can cause bacterial blotch and ruin the flush.
- 🚨 Do not let fruiting temperatures stay above 70°F for long. High heat causes loose, stringy clusters or aborted growth.
- 🚨 Always sterilize supplemented sawdust. Skipping pressure cooking or double steaming invites competitor molds.
Frequently Asked Questions
Can I grow maitake on coffee grounds or straw?
Maitake grows poorly on coffee grounds and straw. It prefers hardwood sawdust supplemented with bran. You can try sawdust pellets plus bran for best results. Straw works for oysters, not maitake.
How long does maitake take from spawn to harvest?
Indoor maitake takes about 10 to 14 weeks total. Spawn run is 21 to 30 days. Primordia formation adds 1 to 2 weeks. Fruiting takes another 2 to 4 weeks. Outdoor logs can take 1 to 2 years.
What if my maitake block turns green?
Green means Trichoderma mold. Remove the block outdoors and discard it. Do not open it inside. Sanitize your grow area before the next attempt. A contaminated block is unlikely to recover.
Can I grow maitake without a pressure cooker?
Yes, you can steam substrate bags for two hours on two consecutive days. A pressure cooker at 15 PSI for 90 minutes is more reliable. Pasteurization alone is not enough for supplemented sawdust.
Why are my maitake clusters small and stringy?
Stringy clusters usually mean too little fresh air. Maitake is sensitive to carbon dioxide. Increase air exchanges and fan the chamber. Also check that temperatures are in the 55-65°F range.
Is maitake the same as hen of the woods?
Yes, maitake and hen of the woods both refer to Grifola frondosa. In Japan it is called maitake, which means dancing mushroom. In North America it is often called hen of the woods or sheep’s head.
What Should You Remember?
- Substrate: Use supplemented hardwood sawdust at 60-65% moisture, not straw or coffee.
- Temperature: Colonize at 70-75°F, then fruit at 55-65°F for dense clusters.
- Humidity: Maintain 85-95% relative humidity and plenty of fresh air.
- Timing: Expect 21-30 days for spawn run and 2-4 weeks for fruiting.
- Sanitation: Sterilize substrate and never open contaminated blocks indoors.
- Harvest: Cut clusters at the base when fronds are firm and edges are not curled.
This article is for general information only. Mushroom identification and consumption carry health and safety risks , never eat a wild mushroom unless positively identified by an expert, and follow sterile technique and food-safety guidance for home grows.