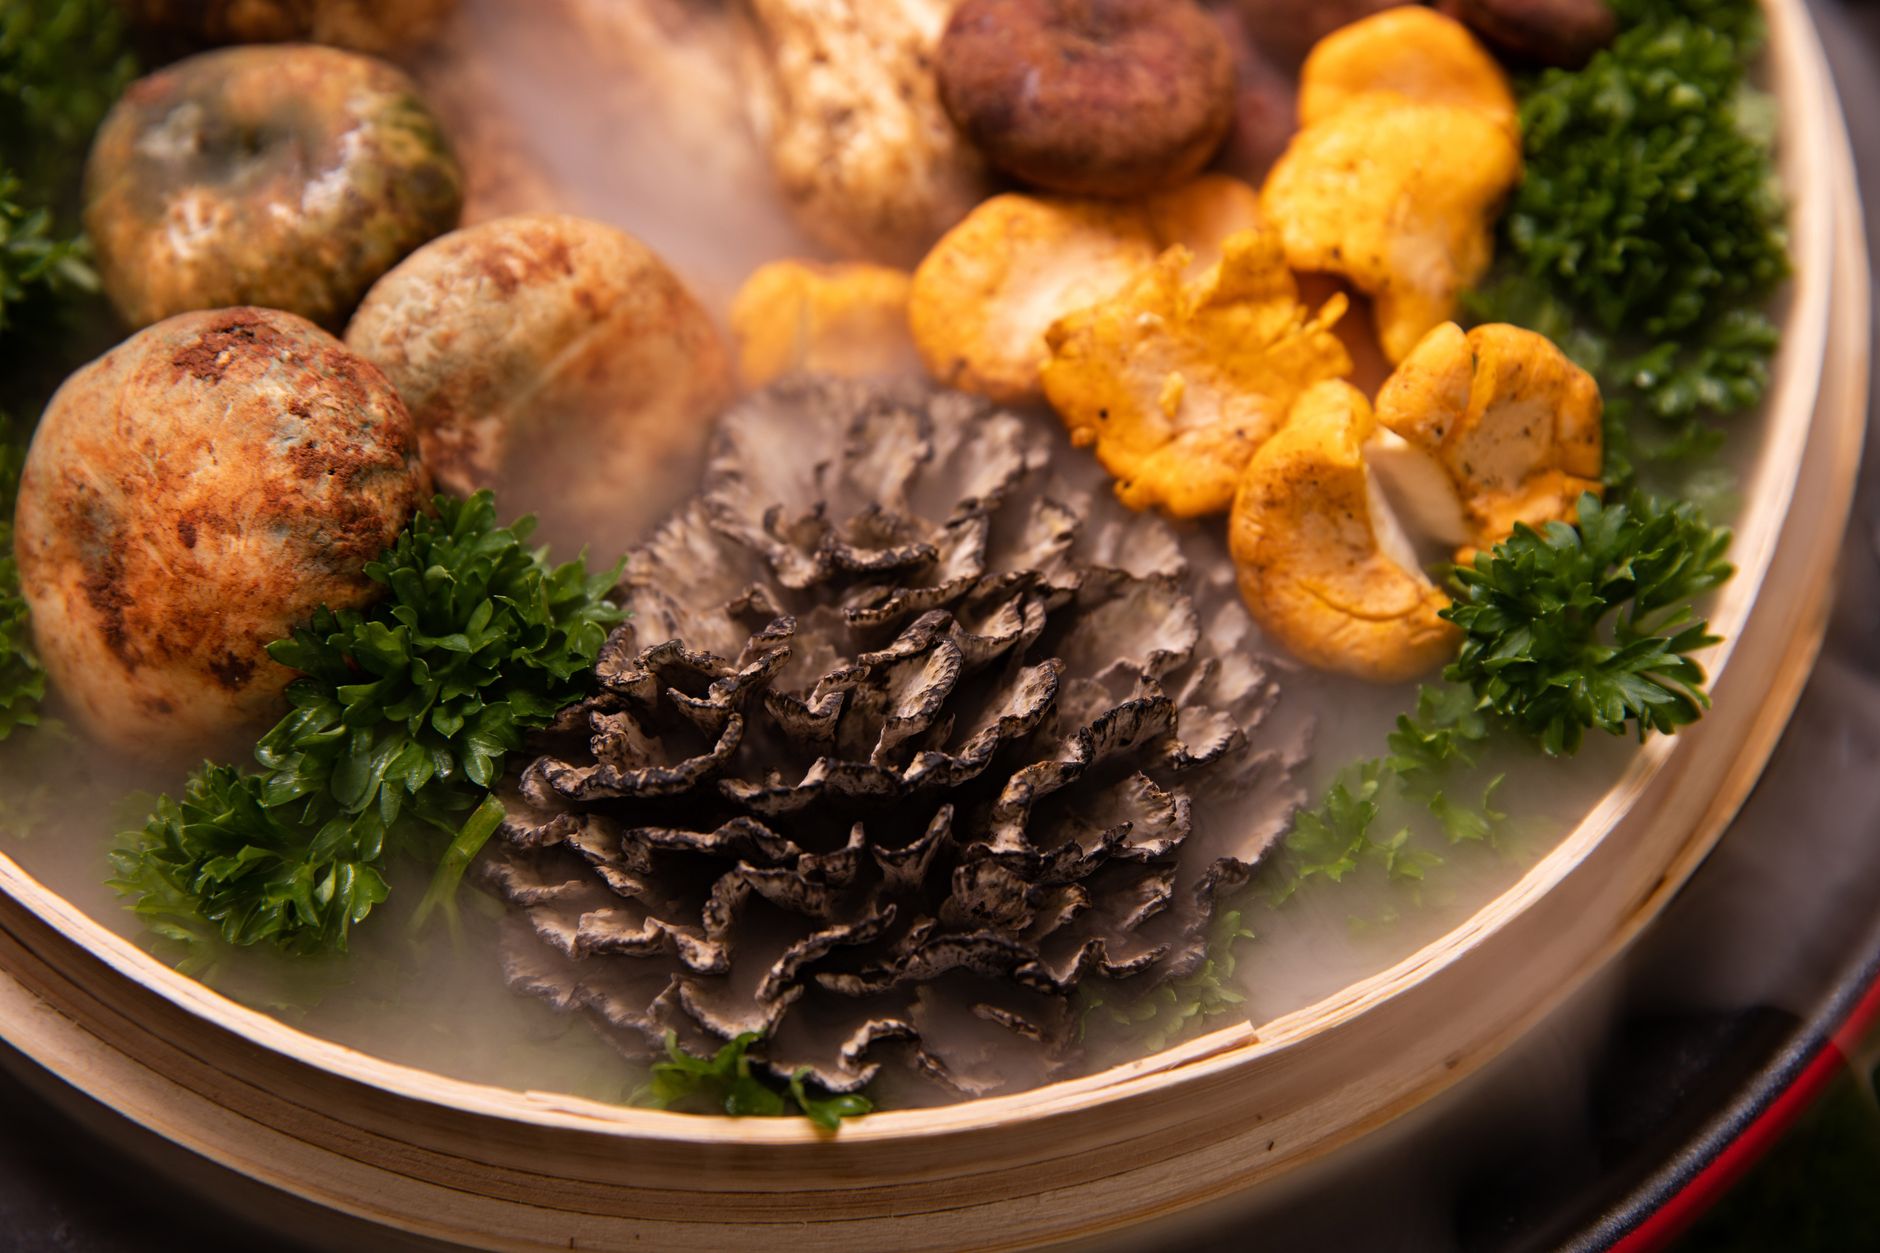
Hen of the woods, also called maitake, is a prized fall mushroom. It grows in large overlapping clusters at the base of oak trees. Growing it at home indoors takes patience. You need a supplemented sawdust block, clean spawn, and a cool fruiting space. The reward is a dense, earthy cluster that can weigh several pounds. This guide covers indoor cultivation from spawn to harvest. If you are new to mushroom substrates, start with the best mushroom substrate guide before mixing.
Maitake is not a beginner oyster mushroom. It colonizes slower and fruits best when temperatures drop. The mycelium is aggressive once established but sensitive to wet, stale air. You can grow it on supplemented hardwood sawdust in bags or bottles. Some growers also try logs outdoors. Indoors, the method resembles other wood-loving species. Check the mushroom fruiting conditions guide to understand the shift from colonization to fruiting. This species rewards careful control and patience more than speed. Plan for a cool space before you begin.
Penn State Extension notes that maitake production requires careful moisture and air exchange. Their research-based guidance points to hardwood substrates with nitrogen supplements. That said, home growers can simplify the process. You do not need a commercial farm. A pressure cooker, a clean still air box, and a cool room will work. Keep records of temperature and humidity. The USDA advises following food safety practices when handling any mushroom crop. For more background on substrate options, see the best mushroom substrate guide.
What You’ll Need
- Pressure cooker or sterilizer
- Spawn bags with filter patches
- Hardwood sawdust or fuel pellets
- Wheat bran
- Gypsum
- Grain spawn
- Still air box or laminar flow hood
- Spray bottle or humidifier
- Thermometer and hygrometer
How Do You Grow Hen of the Woods (Maitake) Mushrooms at Home?
- Understand how hen of the woods grows
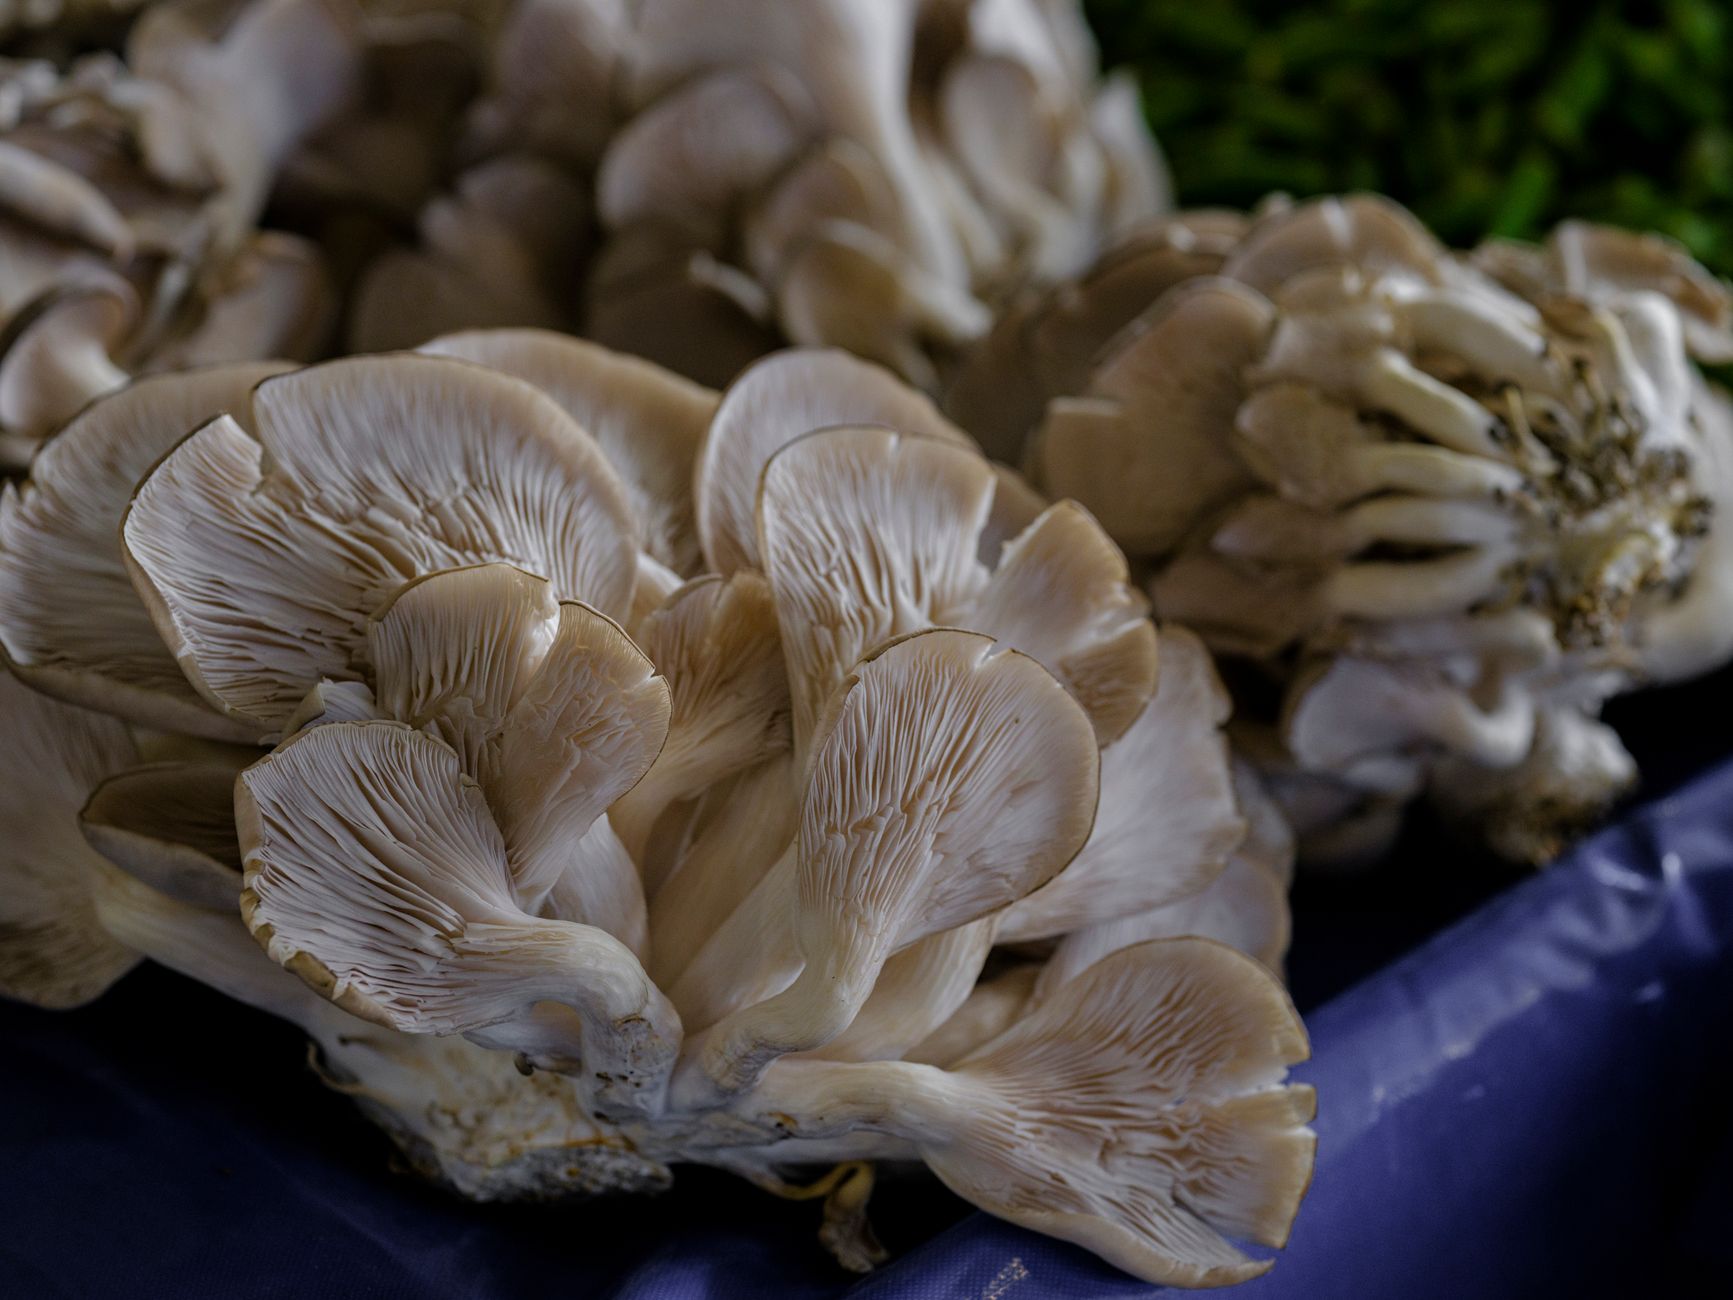
Hen of the woods forms a large cluster of gray-brown caps. Each frond is spoon-shaped and grows from a shared base. The wild fungus often fruits near oaks in autumn. Indoors, it grows on supplemented hardwood sawdust. The mycelium forms a dense white mat before pinning. Knowing this growth pattern helps you provide the right environment.
The strain you choose matters. Look for maitake liquid culture or grain spawn from a reputable supplier. Do not use wild tissue unless you can verify it. Wild clones can carry bacteria. Commercial maitake spawn is selected for indoor fruiting. You can also start with a maitake growing guide if you want a direct path. But this article focuses on sawdust blocks.
Temperature is the main trigger. Colonization happens best at 70 to 75 degrees Fahrenheit. Fruiting requires a drop to 55 to 65 degrees Fahrenheit. Humidity is another key factor. During fruiting, keep relative humidity between 85 and 95 percent. Without that drop, the block may stay vegetative. Penn State Extension notes that maitake responds to cool fall-like conditions.
Hen of the woods is more tolerant of fresh air than many gilled mushrooms. It still needs elevated humidity. Too much direct airflow dries the fronds. Too little air makes the caps thick and rubbery. Balance these conditions in a fruiting chamber. You will explore this in later steps. First, gather the right materials.
- Mix a supplemented hardwood sawdust substrate
You need hardwood sawdust or pellets. Oak, maple, or beech work well. Avoid softwood sawdust from pine or cedar. Softwood resins can slow or kill mycelium. You also need wheat bran or oat bran as a nitrogen supplement. Gypsum helps prevent clumping and adds calcium sulfate. A basic recipe is 5 cups hardwood sawdust, 1 cup wheat bran, and 1/4 cup gypsum.
Mix the dry ingredients in a clean bucket. Add water slowly until the mix reaches about 60 percent hydration. Squeeze a handful hard. You should see a few drops of water between your fingers. If water streams, it is too wet. Add more dry sawdust. If no drops appear, mist and remix. Proper hydration is critical. Too wet invites bacteria. Too dry stalls colonization. You can also buy ready-made supplemented sawdust. Check hardwood sawdust substrate on Amazon.
You need spawn bags or autoclavable grow bags with filter patches. You need a pressure cooker that reaches 15 psi. A still air box or laminar flow hood helps during inoculation. A thermometer and hygrometer track conditions. For grain spawn, see how to make grain spawn. You can also buy sterilized grain spawn from a supplier. That option saves time.
Some growers add hardwood fuel pellets because they are consistent. Soak the pellets first and drain. Then mix in bran and gypsum. The bran increases yield but also increases contamination risk. That is why sterilization must be thorough. Do not skip the pressure cooker for supplemented sawdust. Pasteurization alone is not enough for bran-based substrates.
- Load bags and sterilize the substrate
Fill each spawn bag with the hydrated mix. Leave enough headspace at the top for folding. Pack the substrate loosely. Overpacked bags restrict gas exchange. Fold the bag top down and secure it with a paper clip or fold it under. Do not seal the bag completely before pressure cooking. Steam needs to penetrate the material. If you use filter patch bags, fold the top over but do not clip tight. Check autoclavable mushroom spawn bags on Amazon.
Place the bags in a pressure cooker with a rack. Add water to the manufacturer’s line. Process at 15 psi for 2.5 hours. This kills mold spores, bacteria, and competing fungi. For larger blocks or bigger cookers, you may need 3 hours. Do not rush this step. Supplemented sawdust with bran is nutrient rich. That also means contaminants love it. Sterilization is the main defense.
Let the pressure cooker cool naturally. Do not open the valve to vent steam quickly. A fast drop can boil the bags or crack your containers. Wait until the gauge reads zero. Then open the lid away from your face. Move the bags to a clean area and let them cool to room temperature. Cooling may take several hours. Keep the bags folded shut.
Work clean. Wash your hands and arms. Wipe surfaces with 70 percent isopropyl alcohol. A still air box reduces airborne contamination. You can learn to spot problems later. The mushroom contamination identification guide will help you recognize green mold, bacterial wet spot, and other issues. Catching contamination early saves other blocks.
- Inoculate the cooled substrate with grain spawn
Inoculation is the step where many grows fail. Airborne mold spores are everywhere. Use a still air box or work near a flame. Flame-sterilize your spoon or scalpel until it glows. Let it cool. Open the grain spawn jar or bag. Scoop a generous amount of spawn into each substrate bag. A good rate is 1 to 2 cups of spawn per 5-pound block. More spawn speeds colonization.
Work quickly but carefully. Open one bag at a time. Drop the spawn onto the surface. Then fold the bag top and shake lightly to mix some grains into the substrate. You do not need perfect distribution. The mycelium will grow from each grain. Seal the bag with an impulse sealer or a zip tie. If using filter patch bags, make sure the patch is not covered.
Label each bag with the date and strain. This helps track colonization time. Place the bags in a warm, dark spot. The ideal temperature is 70 to 75 degrees Fahrenheit. Avoid direct light. Light can trigger premature fruiting. Keep the bags off the floor. Dust and pet hair carry contaminants. A clean shelf in a closet works well.
Check the bags after 7 days. You should see white mycelium starting to crawl from the grains. If you see green, black, or slimy patches, isolate that bag. Do not open it indoors. Contaminated bags should be disposed of outside. The earlier you catch a problem, the less it spreads. Some contamination can come from the spawn itself. That is why you should buy from a tested source. See how to make grain spawn if you want to control quality yourself.
- Colonize the blocks for 30 to 45 days
Keep the bags at 70 to 75 degrees Fahrenheit. A seedling heat mat can help in cool months, but do not let the blocks overheat. Place a towel between the mat and the bags. The mycelium generates its own heat as it grows. Check the temperature inside or between bags. If it is above 80 degrees, move the bags farther apart.
Do not disturb the bags often. Each time you handle them, you risk tearing the plastic or shifting the filter patch. Still, check weekly for contamination. Healthy maitake mycelium is white, dense, and rope-like. It may produce brown or tan droplets. Those are metabolites and are normal. However, wet gray slime or a sweet smell means bacteria. Green patches mean Trichoderma mold. Remove suspect bags.
Colonization takes 30 to 45 days depending on spawn rate and temperature. Wait until the entire block is white and feels solid. The block may shrink slightly from the bag. Some mycelium may form a thick skin on the surface. This is normal. At this point, the block is ready to fruit. If you used a wood-loving mix, the block should smell earthy and mushroomy.
The next step is a shift in conditions. You need to drop the temperature and raise humidity. Before moving the block, read mushroom fruiting conditions guide to understand the environmental switch. That guide explains fresh air, light, and humidity. Maitake responds strongly to a temperature drop. You can even refrigerate the block at 45 to 50 degrees for 24 hours to shock it into fruiting. But a cool room also works.
- Fruit the block in cool, humid conditions
Move the colonized block to a fruiting chamber. A small grow tent, a shotgun terrarium, or a plastic tote with holes works. The chamber should hold humidity between 85 and 95 percent. Use a hygrometer to confirm. Mist the walls, not the mushroom directly, unless you have good airflow. A fine mist keeps the air moist without soaking the caps. Check a mushroom humidity controller on Amazon.
Temperature is critical. Maitake fruits best at 55 to 65 degrees Fahrenheit. If your room is too warm, consider a cool basement or an air-conditioned space. Penn State Extension notes that maitake is a cool-weather crop. The temperature drop tells the mycelium to form primordia. Without it, you may get weak or malformed clusters. Some growers use a wine cooler or a mini fridge as a fruiting chamber for small blocks. Just add fresh air.
Introduce light and fresh air. Indirect natural light or a daylight-spectrum LED on a 12-hour cycle works. Avoid direct sun. Direct sun heats the block and dries the caps. Fresh air exchange should happen 2 to 4 times per hour in a controlled chamber. In a simple tote, open the lid and fan twice a day. The caps need some air movement to form thin, tender fronds. Too much carbon dioxide makes thick, rubbery clusters.
Pins usually appear 7 to 14 days after you move the block. They look like small gray-brown bumps on the surface. The bumps expand into overlapping fronds. This development can take another 10 to 14 days. Do not touch the pins. Fingers can bruise them and introduce bacteria. Keep the humidity steady. If you have a DIY setup, see diy mushroom fruiting chamber guide for humidity control ideas. The chamber you build now will also work for other species.
- Harvest and prepare for a second flush
Harvest when the fronds are 2 to 4 inches long and the edges are still rounded. The cluster should feel firm, not spongy. Cut the whole cluster at the base with a clean knife. Do not yank it. Yanking can tear the substrate and invite contamination. Harvest before the caps become thin and papery. That is a sign the mushroom is past prime and dropping spores.
Clean the cluster gently. Brush off sawdust with a dry pastry brush. Do not wash unless you plan to cook immediately. Store hen of the woods in a paper bag in the refrigerator. Use it within 5 to 7 days. You can also slice and dry it. Dried maitake rehydrates well in soups. The flavor is earthy and slightly peppery. Young clusters are the most tender.
After harvest, mist the block and rest it for 1 to 2 weeks. Keep it cool and humid but reduce fresh air slightly. The mycelium needs time to recover. Some growers soak the block in cold water for 4 to 6 hours to rehydrate. If the block is still firm and not contaminated, you can try for a second flush. The second cluster is usually smaller. But it is still worth growing.
If you forage for hen of the woods outdoors, be absolutely certain of identification. The North American Mycological Association (NAMA) advises never eating a wild mushroom unless an expert positively identifies it. Some lookalikes grow on dead wood and have pores that bruise brown. The indoor blocks are safe because you started with verified spawn. Still, do not eat any mushroom that smells off or shows mold. When in doubt, throw it out.
Red Flags & Warnings
- 🚨 Never open a contaminated bag indoors. Green mold spores spread instantly and can ruin your entire grow space. Seal the bag shut and dispose of it outside.
- 🚨 Do not let humidity sit at 100 percent. Constant condensation on the caps invites bacterial blotch. Aim for 85 to 95 percent and allow air exchange.
- 🚨 Never skip pressure cooking for supplemented sawdust. Bran and gypsum enrich the block but also feed bacteria and mold. A 15 psi cycle for 2.5 hours is not optional.
- 🚨 Do not fruit hen of the woods in full sun. Direct light heats the substrate and dries the fronds. Use indirect light or a 12-hour LED.
- 🚨 Keep the pressure cooker vent and gasket clean. Blocked vents can cause dangerous pressure buildup. Follow the manufacturer’s instructions.
- 🚨 Do not use softwood sawdust from pine or cedar. Resins inhibit maitake mycelium and can stall the whole block. Use oak, maple, beech, or hardwood fuel pellets.
Frequently Asked Questions
How long does it take to grow hen of the woods indoors?
Colonization takes 30 to 45 days at 70 to 75 degrees Fahrenheit. After moving to fruiting conditions, pins appear in 7 to 14 days. Harvest usually happens 2 to 3 weeks later. Total time is about 9 to 12 weeks.
Can I grow hen of the woods on logs?
Yes, but it is much slower. Logs can take 1 to 2 years to produce. Indoor sawdust blocks are faster and more predictable. If you have outdoor space, oak logs work. But use verified maitake plug spawn.
What substrate recipe works best for maitake?
A reliable mix is 5 cups hardwood sawdust, 1 cup wheat bran, and 1/4 cup gypsum. Hydrate to about 60 percent. Sterilize at 15 psi for 2.5 hours. Avoid softwood sawdust.
Why is my maitake block turning green?
Green usually means Trichoderma mold. It comes from incomplete sterilization or dirty inoculation. Isolate the bag immediately and do not open it indoors. Improve your sterile technique for the next batch.
What temperature and humidity does hen of the woods need to fruit?
Fruiting happens best at 55 to 65 degrees Fahrenheit. Relative humidity should stay between 85 and 95 percent. Fresh air exchange and indirect light help caps form normally. Without the temperature drop, the block may not fruit.
Is hen of the woods the same as maitake?
Yes. Hen of the woods is the common English name. Maitake is the Japanese name. The scientific name is Grifola frondosa. It is prized for both flavor and potential health benefits.
What Should You Remember?
- Temperature: Colonize at 70 to 75°F, then fruit at 55 to 65°F.
- Substrate: Use supplemented hardwood sawdust with wheat bran and gypsum.
- Sterilization: Pressure cook blocks at 15 psi for 2.5 hours.
- Humidity: Maintain 85 to 95 percent relative humidity during fruiting.
- Cleanliness: Inoculate in a still air box to avoid mold.
- Patience: Colonization takes 30 to 45 days before you see pins.
- Safety: Never eat a wild mushroom without expert identification.
This article is for general information only. Mushroom identification and consumption carry health and safety risks , never eat a wild mushroom unless positively identified by an expert, and follow sterile technique and food-safety guidance for home grows.