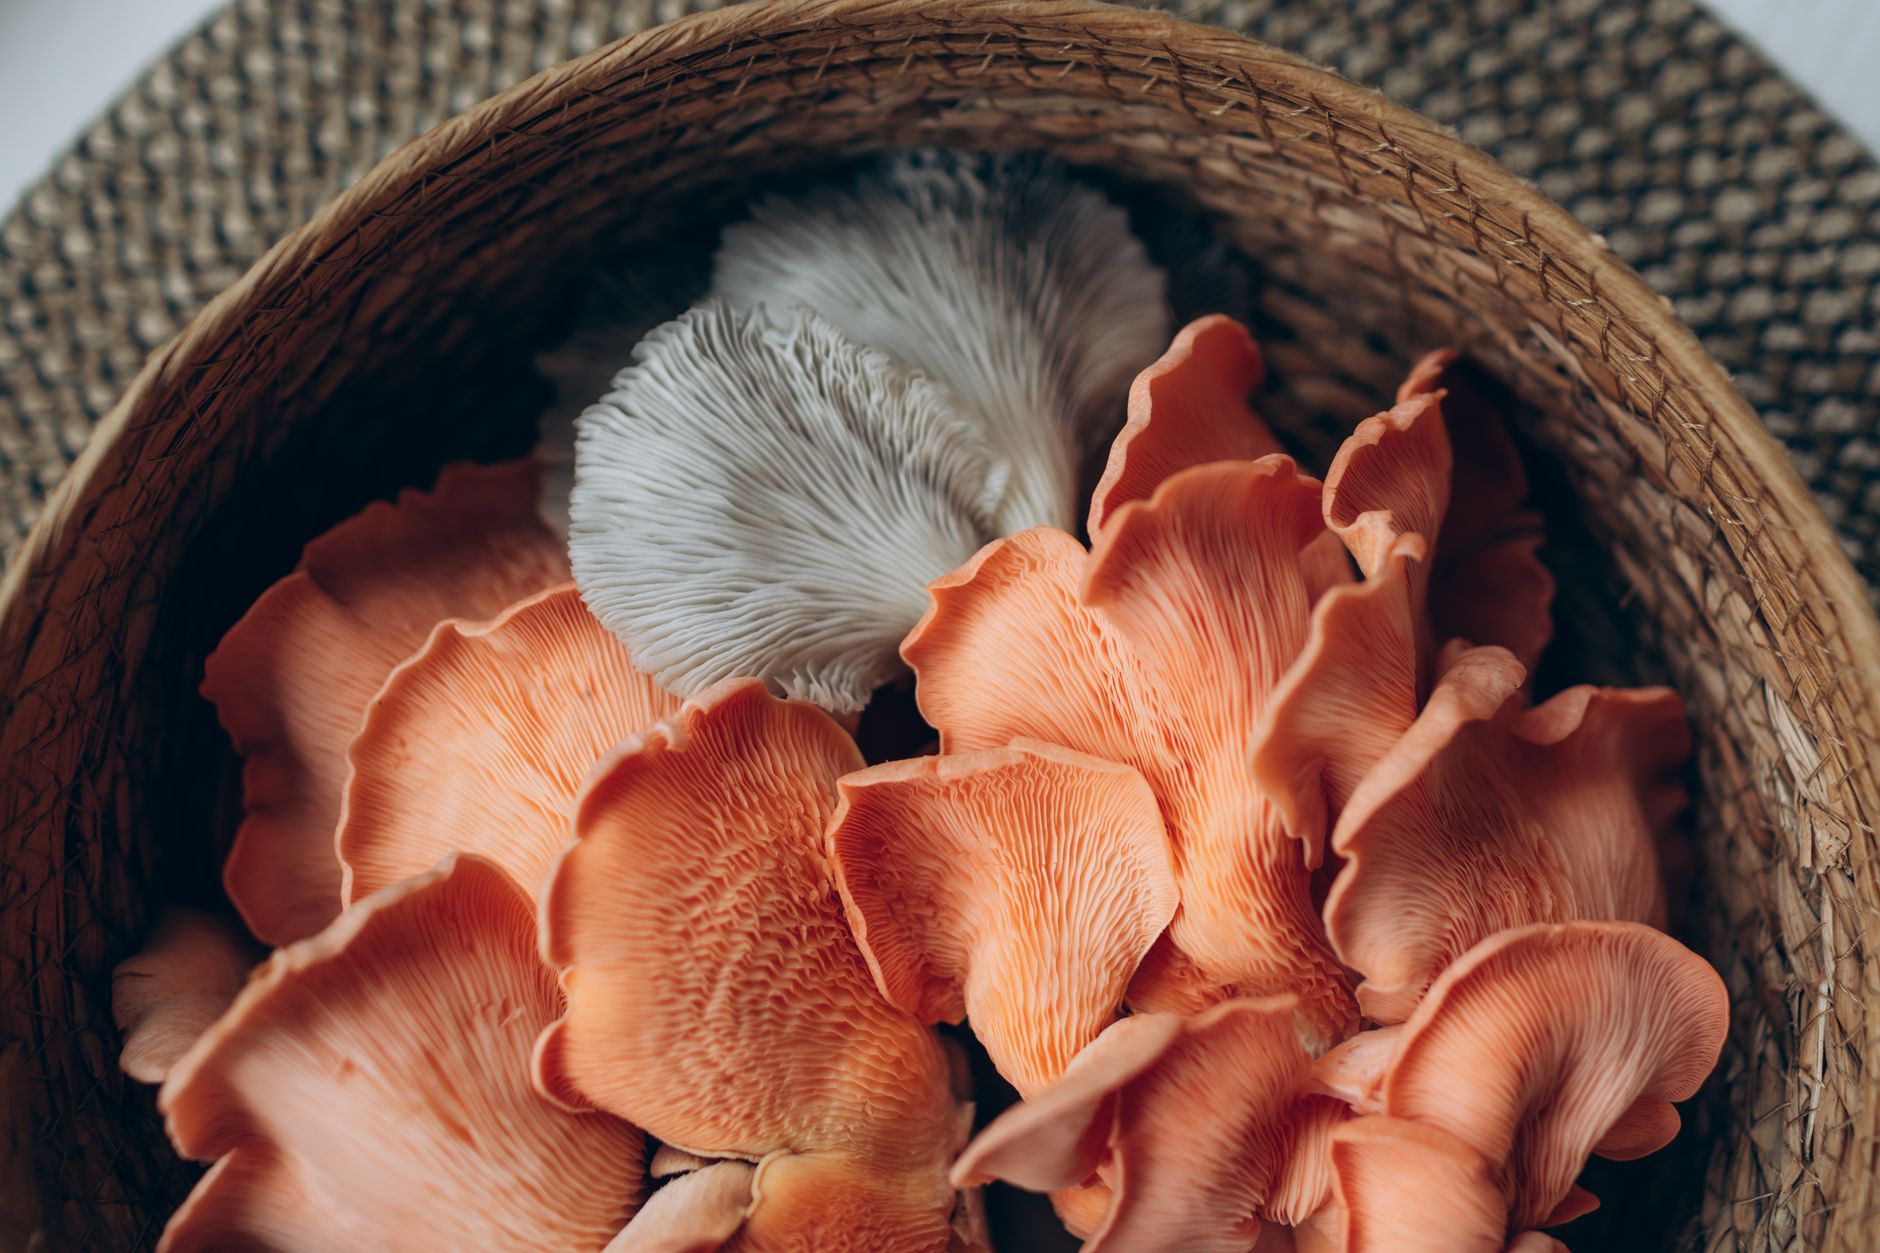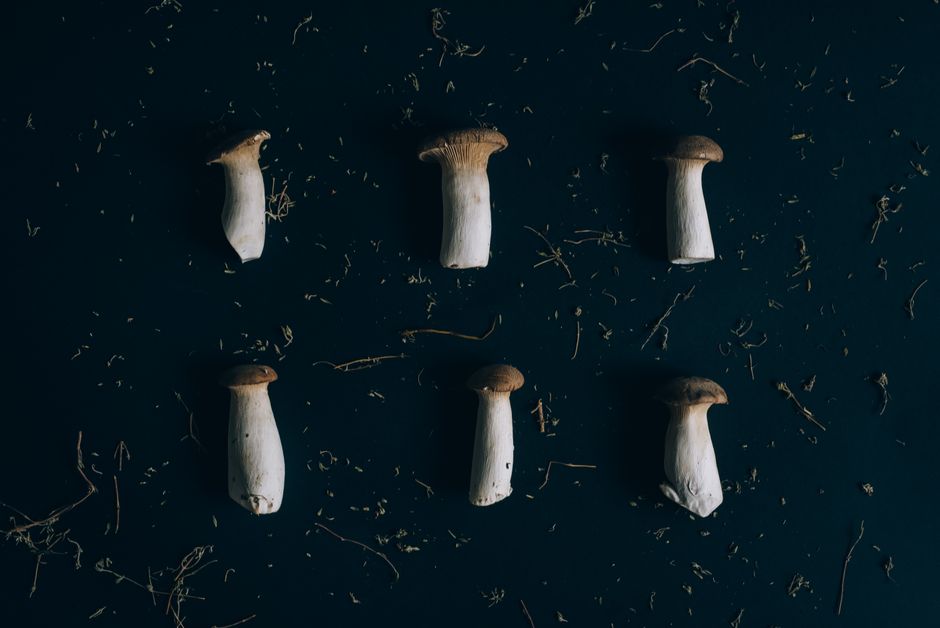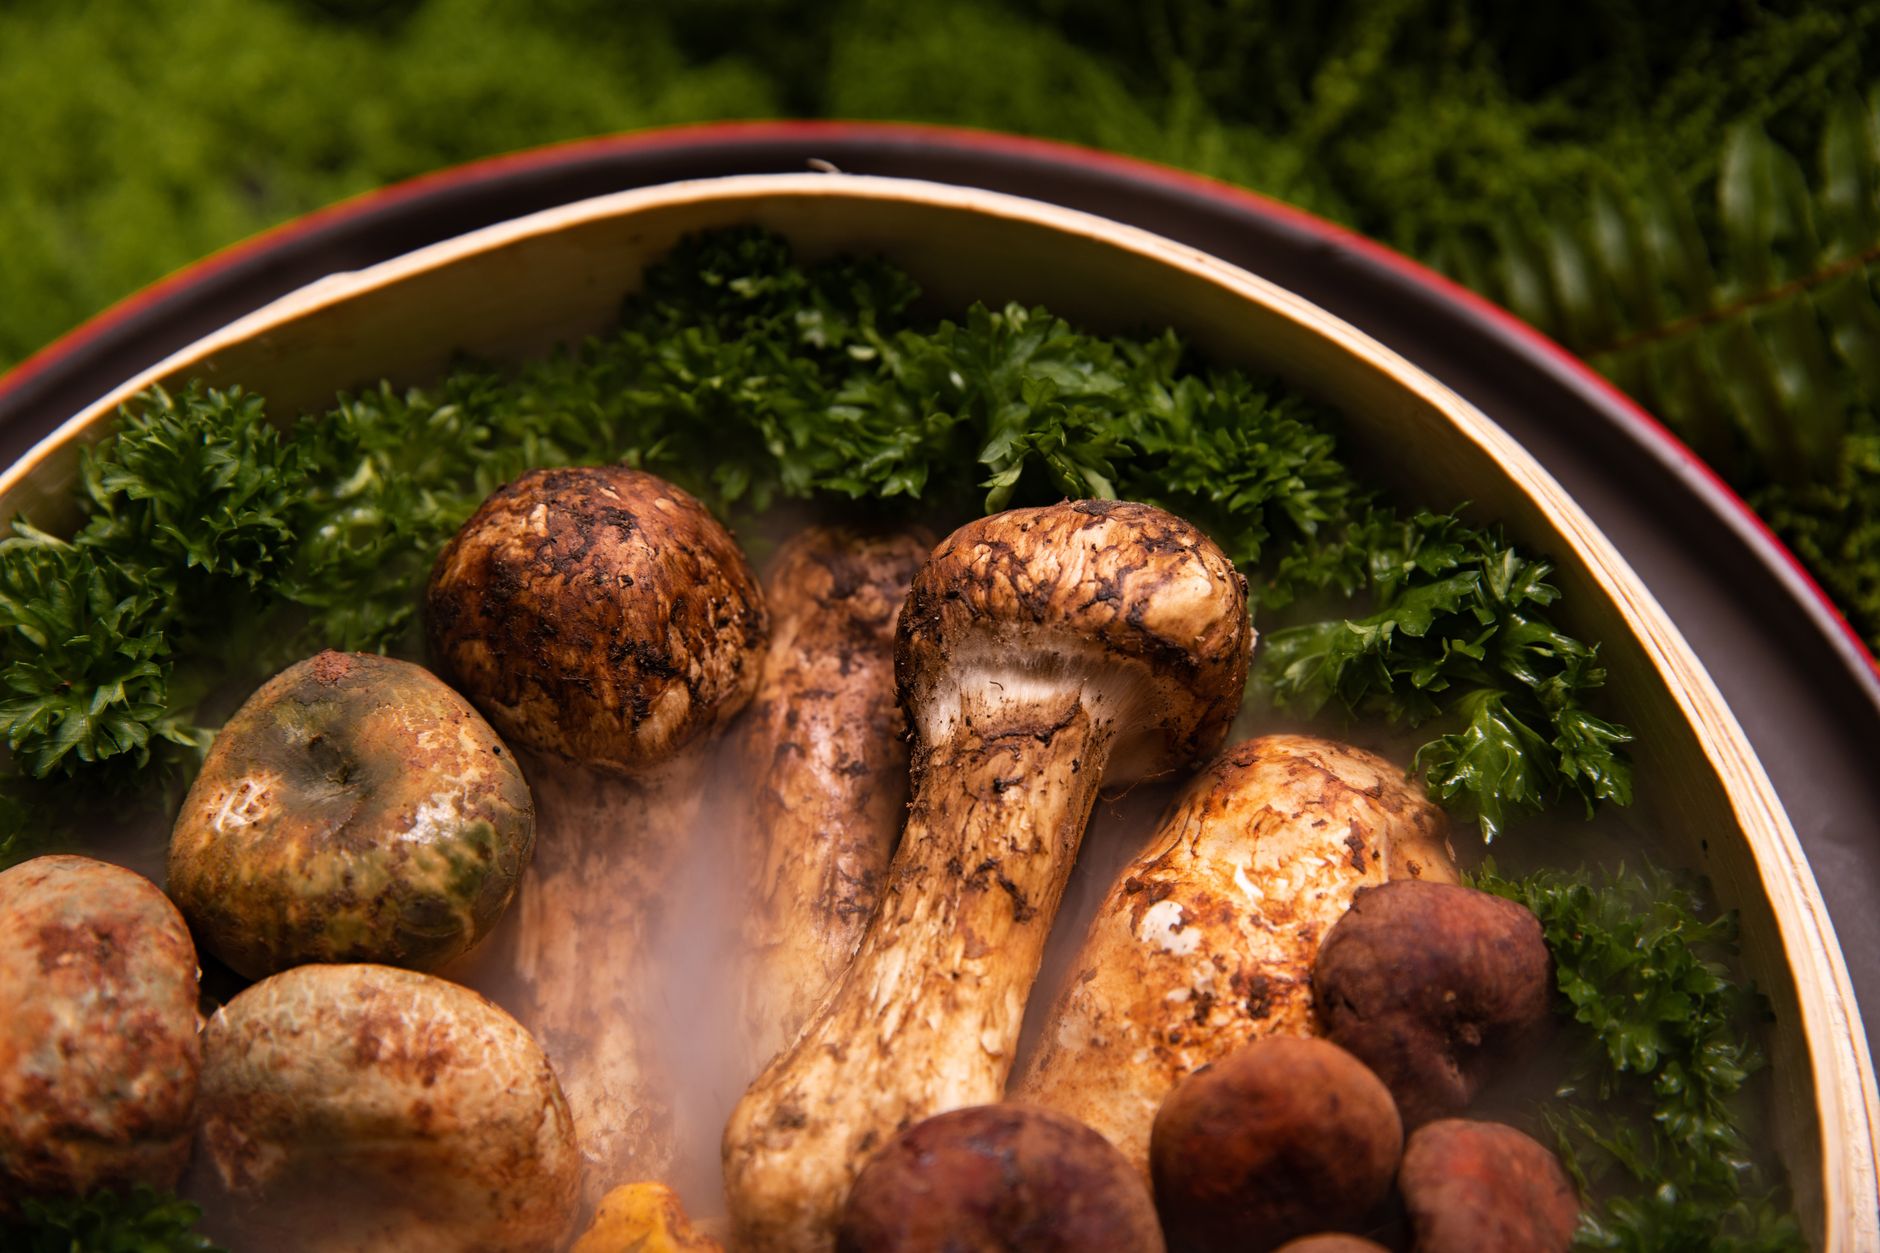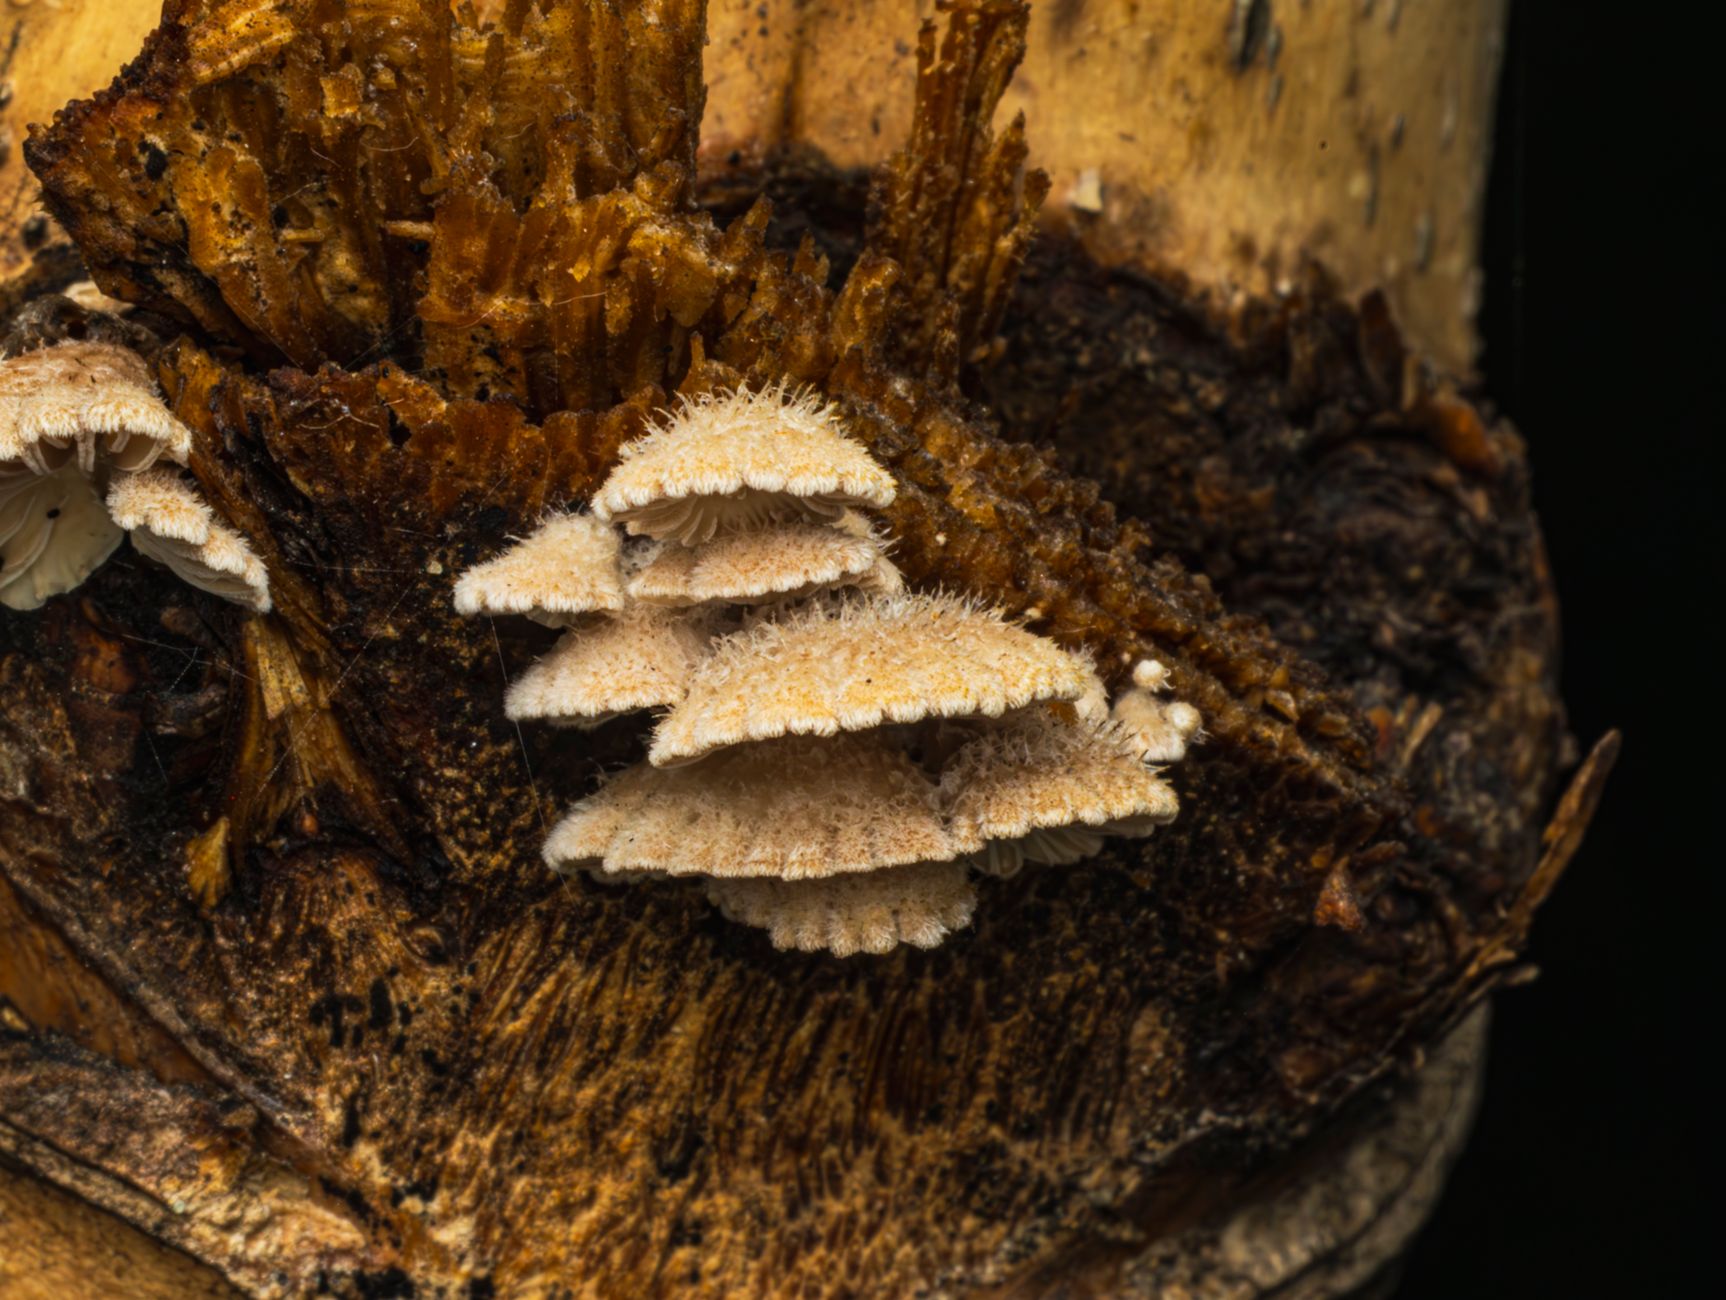
Most home mushroom failures trace back to one thing: substrate. Spawn can be strong, humidity can be dialed, and still the block stalls if the substrate holds too much water, lacks nitrogen, or carries contamination. The North American Mycological Association points out that choosing the right substrate is as important as choosing the right species. That is not an overstatement. A wood-loving shiitake will not fruit well on plain coco coir, and a manure-loving button mushroom will sulk on hardwood. This guide compares five common substrates for home cultivation with honest yield notes, prep levels, and contamination risk. I have lost blocks to green mold and wet spot, and most of those failures came down to substrate decisions I made before spawn ever touched the bag.
I reviewed the five substrates through the lens of a home grower with a pressure cooker, a 5-gallon bucket, and limited patience. Penn State Extension mushroom cultivation guidance emphasizes two factors: substrate moisture and nitrogen content. For example, ideal moisture sits near 60 to 65 percent for most sawdust and straw substrates. Too wet invites bacteria; too dry stalls colonization. Nitrogen matters differently. Oyster mushrooms handle straw’s low nitrogen, while shiitake wants a supplement like wheat bran at 10 to 20 percent by dry weight. I measured each substrate on prep time, cost per 5-pound batch, colonization speed, and realistic yield from a first flush. The goal is not a perfect substrate for every species. The goal is a reliable one for the mushrooms you actually want to grow.
One thing beginners overlook is that ‘best’ depends entirely on the mushroom species. King oyster and shiitake are wood lovers. Button, cremini, and portobello are compost lovers. Pink oyster and blue oyster are aggressive on straw. This guide ties each substrate to a species group so you do not waste money guessing. If you are just starting, check our best mushroom grow kits 2026 roundup to see what substrates commercial kits already use. If you plan to make grain spawn first, read how to make grain spawn before expanding to bulk. That order matters. Clean spawn into a badly prepared substrate is a fast path to contamination.
A final safety note: never eat a wild mushroom unless an expert positively identifies it. This guide covers cultivated substrate, not foraging. For contamination issues, our mushroom contamination identification guide shows what green mold, cobweb, and bacterial blotch look like before they ruin a batch. If you want to control humidity for flushes, build a simple fruiting chamber and monitor condensation. With the right substrate and clean spawn, a beginner can get first harvests in four to six weeks. That timeline assumes you do not skip pasteurization or sterilization. The rest of this article breaks down the five substrate options by prep level, contamination risk, and realistic yield.
How Do the Top Options Compare?
| Substrate | Best For | Prep Effort | Contamination Risk | Yield Potential | Cost per 5 lb |
|---|---|---|---|---|---|
| Coco Coir + Vermiculite (CVG) | Oyster, P. cubensis, some gourmet | Low: bucket pasteurize | Low | Medium | Check coco coir bricks on Amazon |
| Hardwood Sawdust / Fuel Pellets | Shiitake, lion’s mane, king oyster | High: sterilize 15 PSI | Medium | High | Check hardwood fuel pellets on Amazon |
| Pasteurized Straw | Oyster species | Moderate: pasteurize 160-170°F | High | Medium | Check wheat straw for mushroom substrate on Amazon |
| Manure-Based Compost | Button, cremini, portobello | High: pasteurize 140-160°F | Medium-High | Medium | Check mushroom compost on Amazon |
| Master’s Mix (Hardwood + Soybean Hulls) | Oysters, lion’s mane, many wood lovers | High: sterilize 15 PSI | Medium | Very High | Check soybean hulls on Amazon |
Prices vary by retailer. All Amazon links are affiliate links that support this site at no extra cost to you.
1. Coco Coir + Vermiculite (CVG) , Best for beginner-friendly bulk substrate
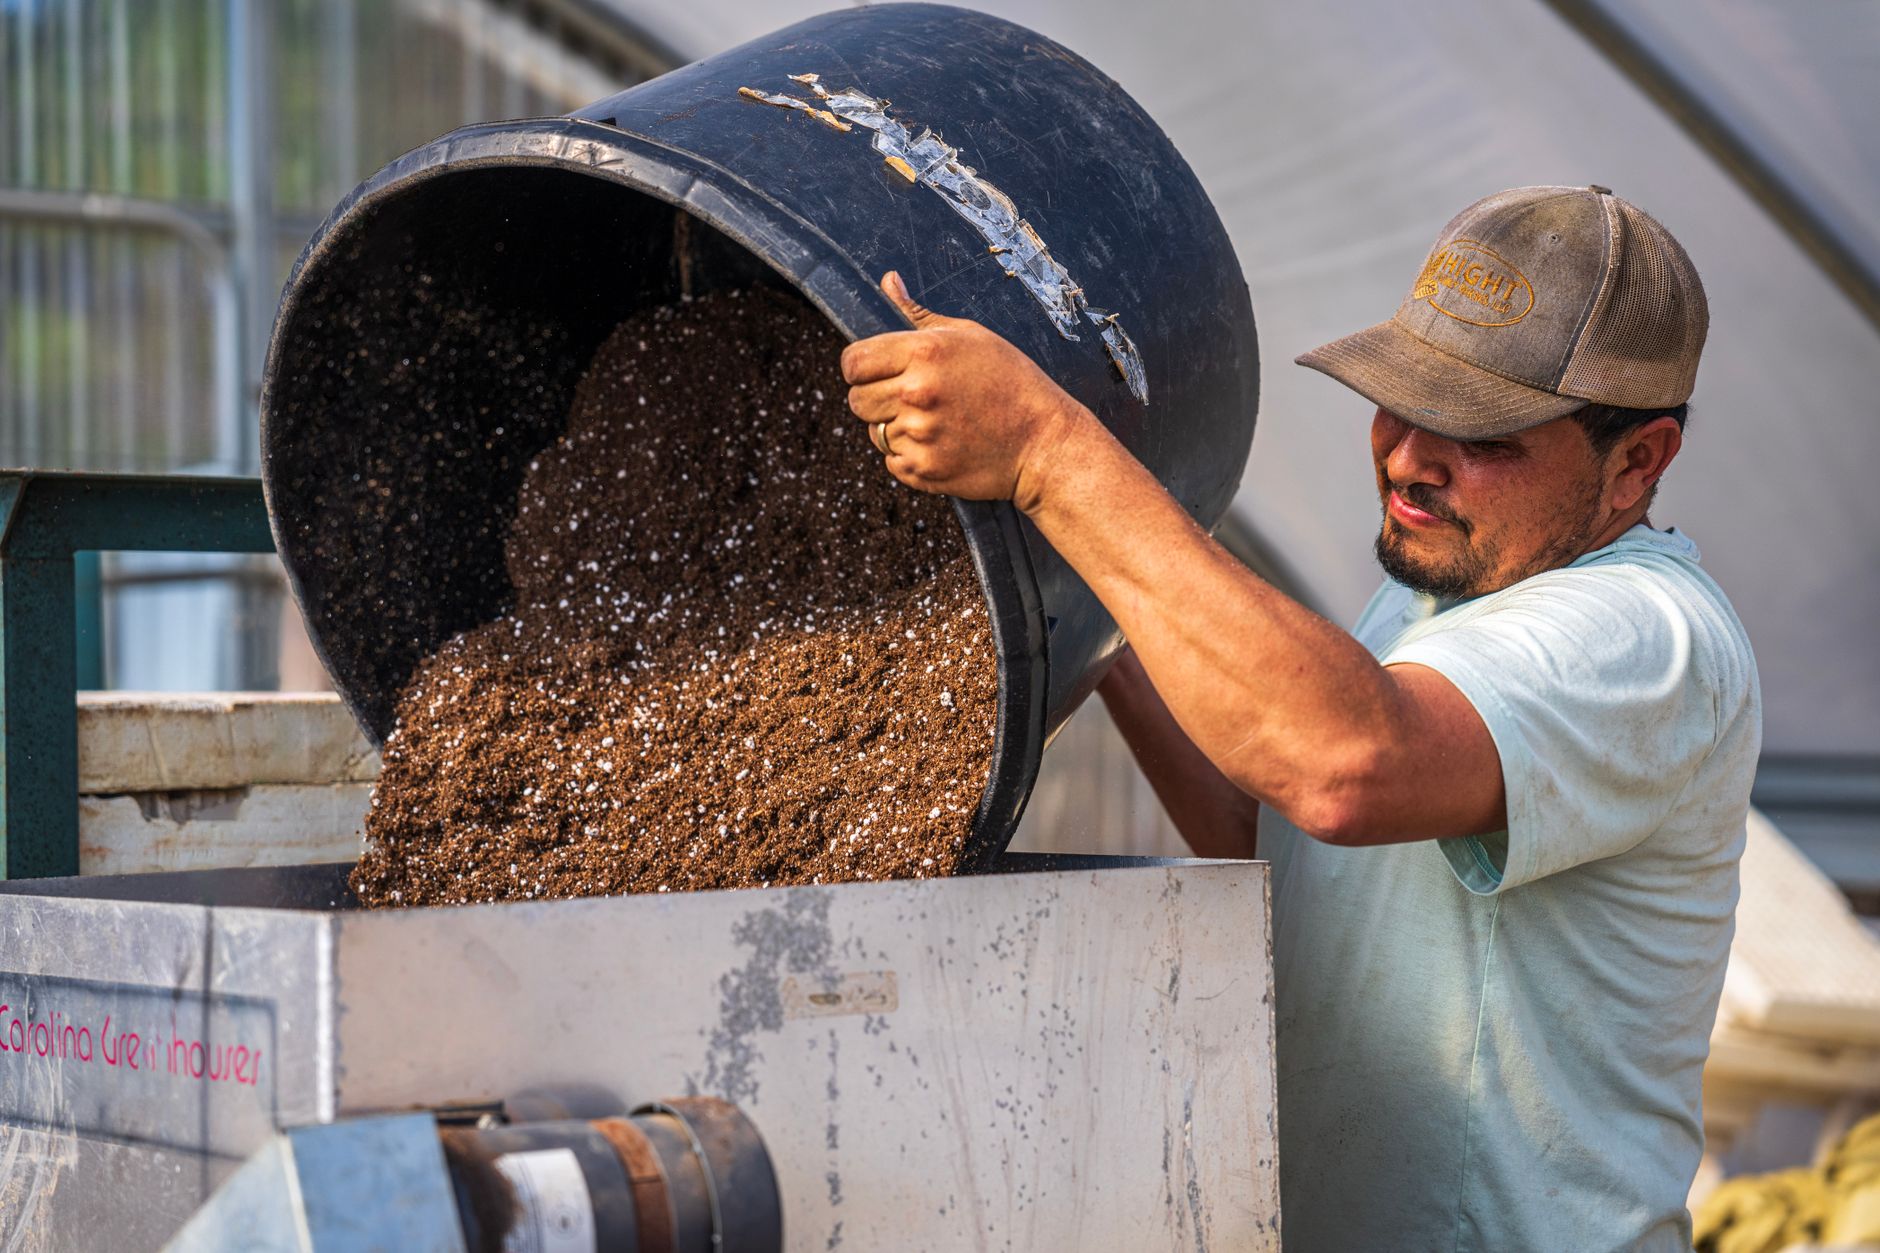
Coco coir plus vermiculite is the forgiving workhorse of home cultivation. A standard batch uses one 650-gram coco coir brick, 2 quarts of vermiculite, 1 cup of gypsum, and 4.5 quarts of near-boiling water. That hydrates to roughly 60 to 65 percent moisture, which is exactly where most bulk-loving species want it. Pasteurize in a bucket for 90 minutes at 160 to 170 degrees Fahrenheit, and you skip the pressure cooker entirely. This makes CVG the most beginner-friendly bulk substrate I know.
Do not expect massive flushes from wood lovers like shiitake or lion’s mane on CVG. P. cubensis colonizes a 5-pound block in 10 to 14 days at 75 to 80 degrees Fahrenheit, but a wood lover will stall without sawdust. Oyster strains will fruit, but the yields run lighter than on straw or Master’s Mix. For a low-cost first run, Check coco coir bricks on Amazon. It costs under $10 for a brick, vermiculite, and gypsum combined.
Key strengths:
- ✅ Holds moisture well with vermiculite and is very forgiving for beginners.
- ✅ Requires only bucket pasteurization, no pressure cooker needed.
- ✅ Low contamination risk because coco coir is naturally resistant to many molds.
- ✅ Cheap per batch, often under $10 for 5 pounds.
- ✅ Works for P. cubensis and some oyster strains.
- ❌ Low nitrogen, so wood-loving species produce smaller flushes.
- ❌ Needs gypsum and careful moisture monitoring; too wet compacts.
- ❌ Not suitable for species that require rich compost like button mushrooms.
Who it’s for: Choose CVG if you are starting with P. cubensis or a forgiving oyster strain and want a low-cost, low-stress bulk substrate.
2. Hardwood Sawdust / Fuel Pellets , Best for wood-loving species
Hardwood fuel pellets are a sleeper pick for home growers who own a pressure cooker. Look for 100 percent hardwood pellets with no softwood fillers or accelerants. Oak, maple, and alder work well. Hydrate 4.5 pounds of pellets with roughly 2.8 to 3.2 quarts of water to reach 60 percent moisture. Supplement with wheat bran at 20 percent dry weight for oyster and shiitake. Sterilize at 15 PSI for 90 minutes to kill endospores.
Colonization speed depends on species. Oyster mushrooms usually finish a 5-pound block in 14 to 21 days at 70 to 75 degrees Fahrenheit. Shiitake takes 21 to 35 days and then needs a browning period before fruiting. A well-made supplemented block yields 0.5 to 1 pound per first flush for shiitake, with multiple flushes over 8 to 12 weeks. For a deeper species-specific walkthrough, read how to grow shiitake mushrooms at home. If you do not want to mess with pellet hydration, Check hardwood fuel pellets on Amazon.
Key strengths:
- ✅ High yields for wood lovers like shiitake, lion’s mane, and king oyster.
- ✅ Predictable texture and moisture when using pellets.
- ✅ Low contamination risk when fully sterilized.
- ✅ Can be supplemented with wheat bran for faster colonization.
- ✅ Widely available as 100 percent hardwood fuel pellets.
- ❌ Requires a pressure cooker or long steam sterilization cycle.
- ❌ Dry pellets need precise hydration or the block will be too dry.
- ❌ Bran supplement increases contamination risk if not fully sterilized.
Who it’s for: Choose hardwood sawdust or fuel pellets if you grow shiitake, lion’s mane, king oyster, or reishi and can sterilize properly.
3. Pasteurized Straw , Best cheap bulk substrate for oysters
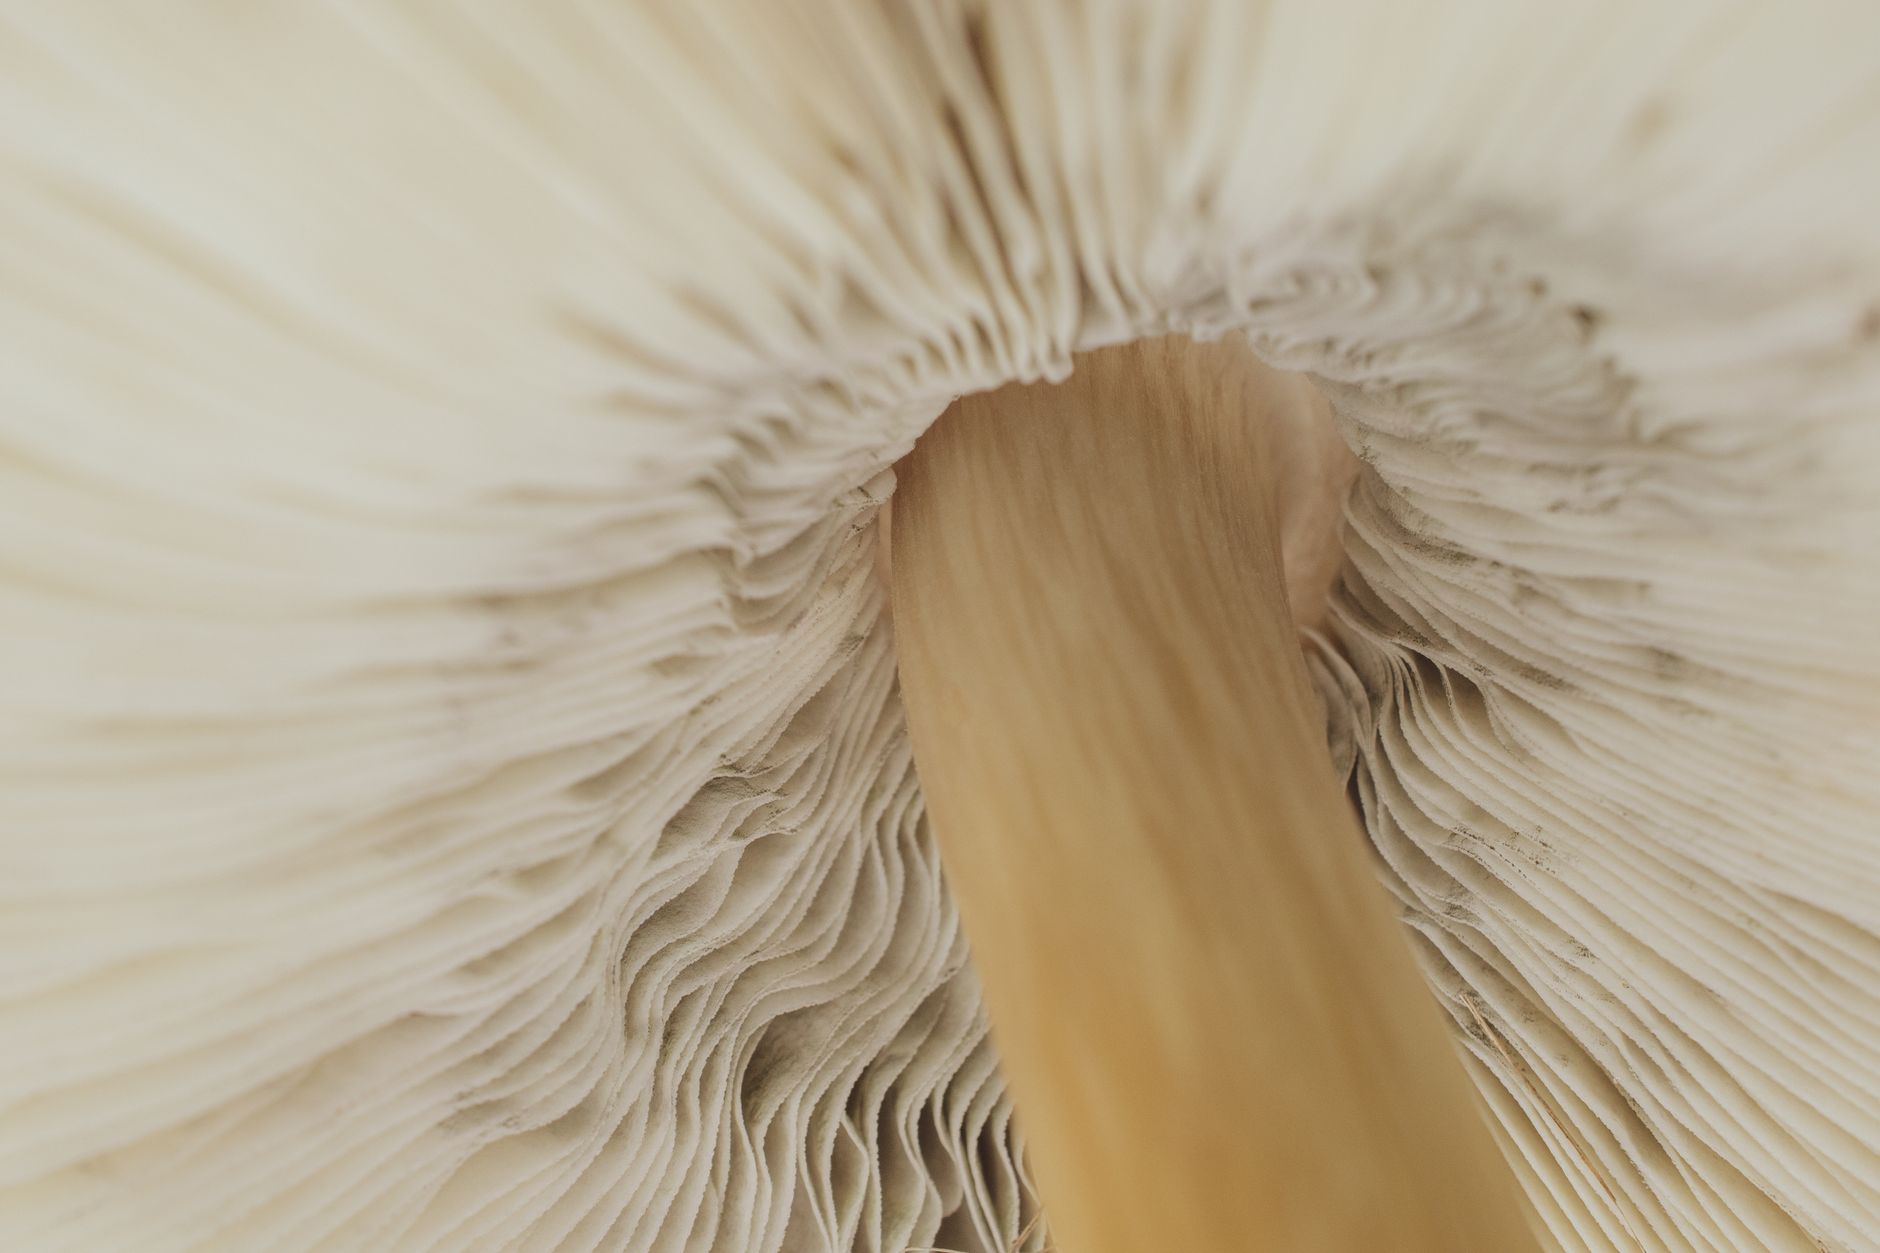
Pasteurized straw is the cheap bulk substrate of choice for oyster growers. Wheat straw works best, but oat and barley straw also fruit pink, blue, and golden oyster strains well. Chop it into 2 to 4 inch pieces, then pasteurize at 160 to 170 degrees Fahrenheit for 60 to 90 minutes. You can use a hot water bath or lime soak. For exact steps, see how to pasteurize straw for mushrooms.
Straw colonizes fast. Oyster spawn can run through a 5-pound straw log in 10 to 14 days at 68 to 75 degrees Fahrenheit. Expect 1 to 2 pounds wet per first flush from a straw block that size, but flushes drop sharply after the second break. Straw costs less than $5 per dry bale if you buy local. The tradeoff is contamination risk. If the temperature drops below 150 degrees Fahrenheit during pasteurization, mold spores survive. Work clean or do not complain when green mold shows up.
Key strengths:
- ✅ Very cheap, often under $5 per dry bale locally.
- ✅ Fast colonization for oyster species.
- ✅ No pressure cooker or sterile equipment required.
- ✅ Easy to scale for outdoor beds or bucket grows.
- ✅ Good flushes for pink, blue, and golden oyster strains.
- ❌ High contamination risk if pasteurization temperature drops too low.
- ❌ Messy to chop, hydrate, and bag compared to pellets or coir.
- ❌ Not suitable for slow-growing wood lovers like shiitake.
Who it’s for: Choose pasteurized straw if you grow oyster mushrooms and want the lowest cost per pound without buying a pressure cooker.
4. Manure-Based Compost , Best for button, cremini, and portobello
Manure-based compost is the only substrate on this list that button, cremini, and portobello mushrooms actually want. Aged horse manure mixed with straw and gypsum provides the nitrogen and structure those species need. Pasteurize the compost at 140 to 160 degrees Fahrenheit for 2 to 4 hours. Do not sterilize. Full sterilization kills the beneficial organisms that help Agaricus bisporus colonize.
Agaricus bisporus colonizes compost in 14 to 21 days at 70 to 75 degrees Fahrenheit, then needs a casing layer to pin. Home yields usually run 1 to 2 pounds per square foot over multiple flushes, but indoor beds are harder to dial than blocks. The smell and weight are real drawbacks. If you are committed to these species, read button mushroom growing guide for casing and humidity details. Manure compost also works for outdoor wine cap beds.
Key strengths:
- ✅ The best choice for button, cremini, and portobello mushrooms.
- ✅ Rich nitrogen source for compost-loving Agaricus species.
- ✅ Can be made at home from aged manure, straw, and gypsum.
- ✅ Good yields once fully colonized and cased.
- ✅ Works well for outdoor wine cap and garden beds.
- ❌ Heavy, smelly, and messy to handle indoors.
- ❌ Higher contamination risk than coir or sterile sawdust.
- ❌ Requires careful pasteurization at lower temperatures without full sterilization.
Who it’s for: Choose manure-based compost if you grow button, cremini, portobello, or outdoor wine cap mushrooms.
5. Master’s Mix (Hardwood + Soybean Hulls) , Best high-yield substrate for oysters and lion’s mane
Master’s Mix is a 50/50 blend by dry weight of hardwood sawdust and soybean hulls. The soybean hulls add nitrogen that drives fast, heavy colonization. Hydrate to 60 to 65 percent moisture, bag it, and sterilize at 15 PSI for 2 hours. The extra time is worth it. Pink oyster can colonize a 5-pound block in 10 to 14 days at 68 to 72 degrees Fahrenheit, while lion’s mane takes 14 to 21 days.
First flush yields are the reason growers keep coming back. A 5-pound Master’s Mix block commonly produces 1.5 to 2.5 pounds wet of pink or blue oyster. Lion’s mane yields 1 to 1.5 pounds per first flush. The downside is cost and contamination. Soybean hulls spoil faster and invite wet spot if the block is not fully sterilized. This is not a beginner substrate for someone without a pressure cooker. Check soybean hulls on Amazon if you want to mix it yourself.
Key strengths:
- ✅ Very high first flush yields for pink, blue, and king oyster.
- ✅ Fast colonization for many wood-loving species.
- ✅ Simple 50/50 formula is easy to remember.
- ✅ Works especially well for lion’s mane and oyster strains.
- ✅ Can be adapted for commercial-style fruiting blocks.
- ❌ Soybean hulls are more expensive and harder to find than straw or coir.
- ❌ High nitrogen content increases contamination risk if not fully sterilized.
- ❌ Requires a pressure cooker and careful bagging to prevent wet spot.
Who it’s for: Choose Master’s Mix if you have a pressure cooker and want maximum yield from oyster and lion’s mane blocks.
Frequently Asked Questions
What is the best mushroom substrate for beginners?
Coco coir with vermiculite and gypsum is the easiest starting point. It hydrates to 60 to 65 percent moisture with bucket pasteurization and resists many common molds. It works for several oyster strains and P. cubensis.
Do I need a pressure cooker for mushroom substrate?
No. Straw and coco coir can be pasteurized at 160 to 170 degrees Fahrenheit without a pressure cooker. Hardwood sawdust with wheat bran and Master’s Mix should be sterilized at 15 PSI for 90 minutes to 2 hours to prevent contamination.
What spawn ratio should I use for bulk substrate?
Use roughly 1 part grain spawn to 4 parts substrate by volume, or 20 percent spawn by dry weight. Too little spawn slows colonization and invites mold, while too much spawn wastes money and raises heat.
Which substrate works for button mushrooms?
Button, cremini, and portobello mushrooms need pasteurized manure-based compost. They do not fruit well on sawdust or coco coir. The compost must be kept around 140 to 160 degrees Fahrenheit during pasteurization.
How much water should mushroom substrate hold?
Most sawdust, straw, and CVG substrates should hold 60 to 65 percent moisture by weight. You can test by squeezing a handful. It should clump and release only a few drops, not a stream.
Can I reuse spent mushroom substrate?
Sometimes. Spent oyster blocks can be crumbled into garden beds or compost. Do not reuse substrate for a second indoor run without re-sterilizing because contamination load is high after harvest.
What Should You Remember?
- Match substrate to species because wood lovers, compost lovers, and bulk lovers need different inputs.
- Aim for 60 to 65 percent moisture in sawdust, straw, and CVG to avoid bacteria and stalled colonization.
- Pasteurize straw and coco coir at 160 to 170 degrees Fahrenheit instead of buying a pressure cooker for those substrates.
- Sterilize supplemented hardwood and Master’s Mix at 15 PSI for 90 minutes to 2 hours to kill endospores.
- Use a 1:4 spawn ratio to balance colonization speed and cost.
- Watch contamination risks in nitrogen-rich substrates like soybean hulls and manure compost.
This article is for general information only. Mushroom identification and consumption carry health and safety risks , never eat a wild mushroom unless positively identified by an expert, and follow sterile technique and food-safety guidance for home grows.