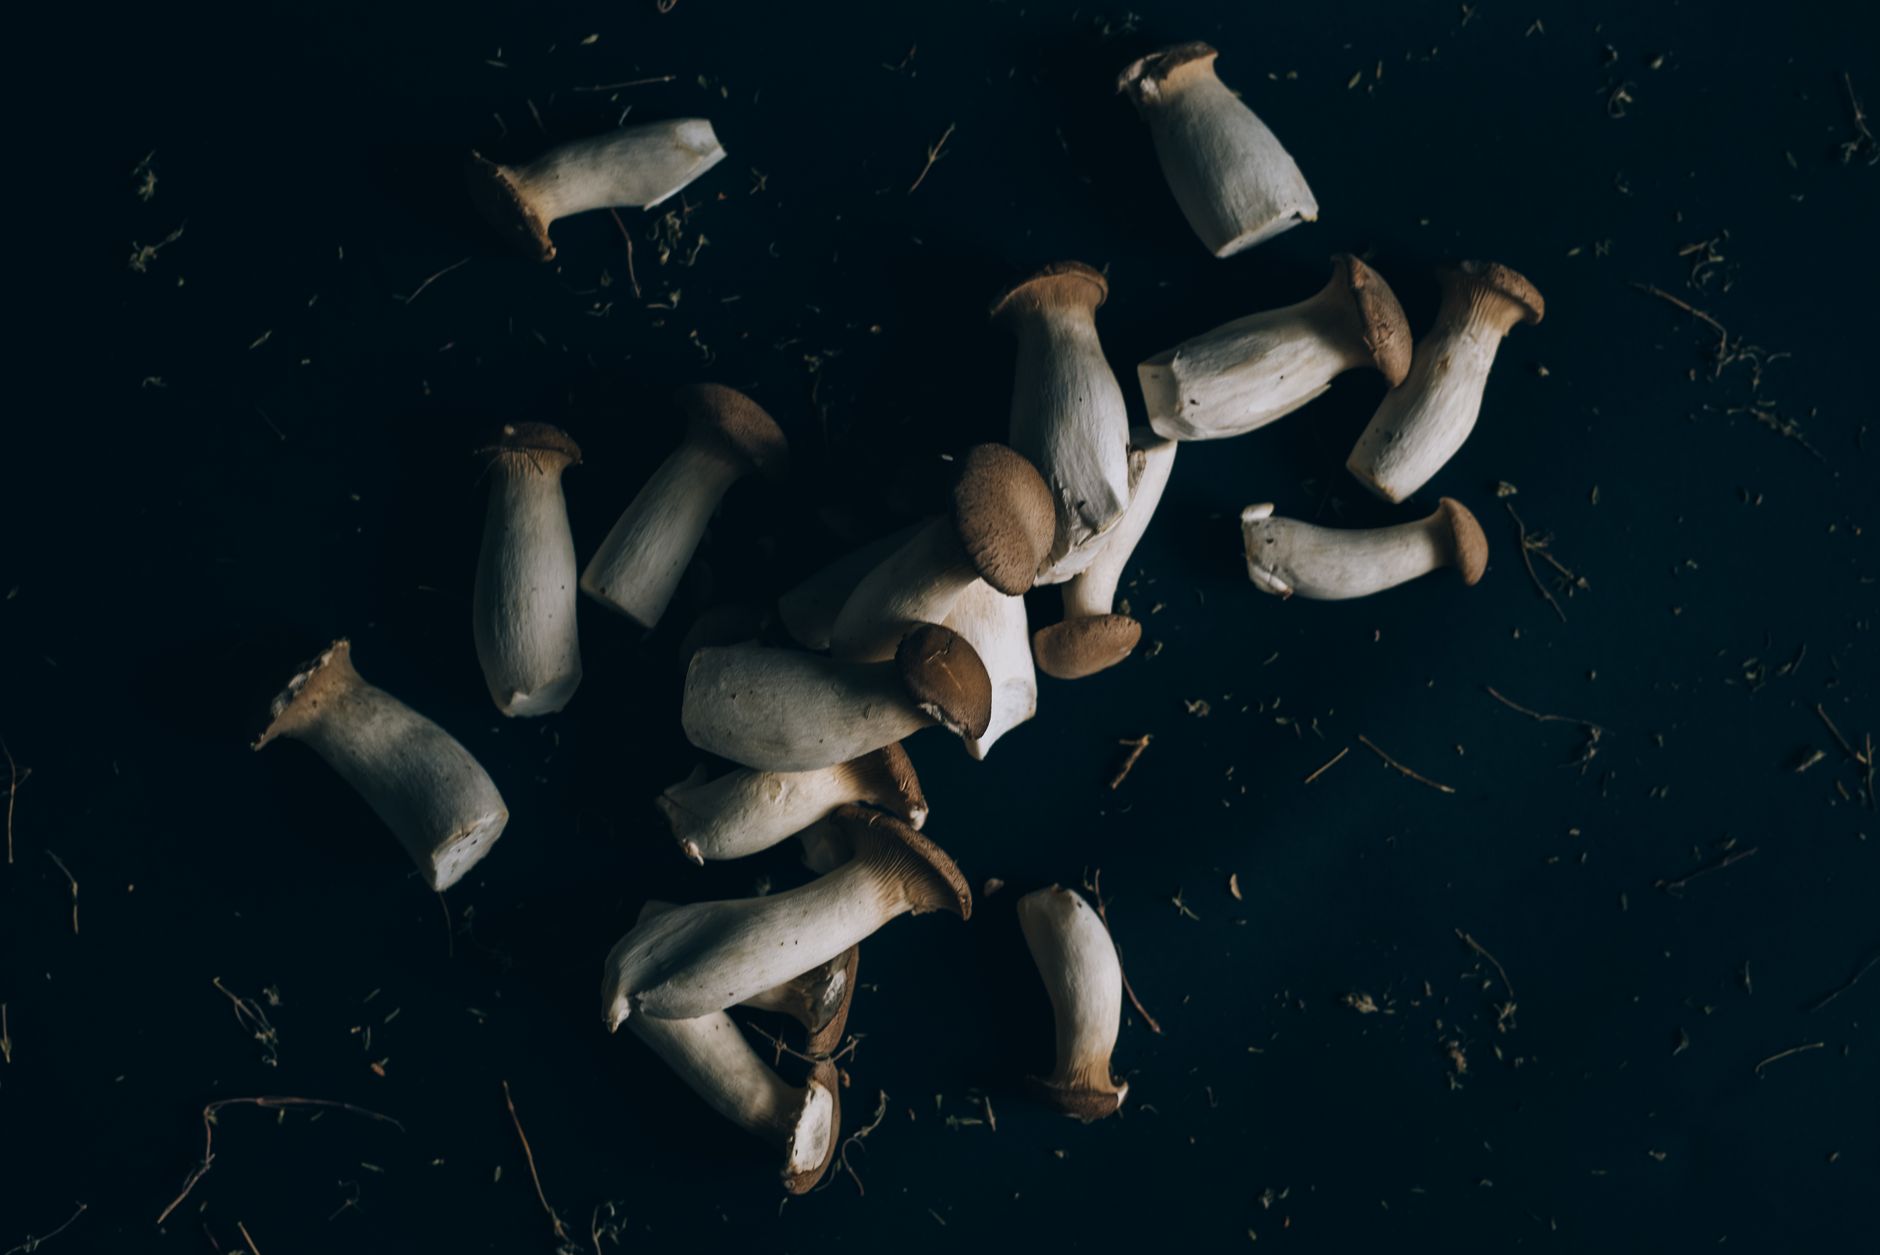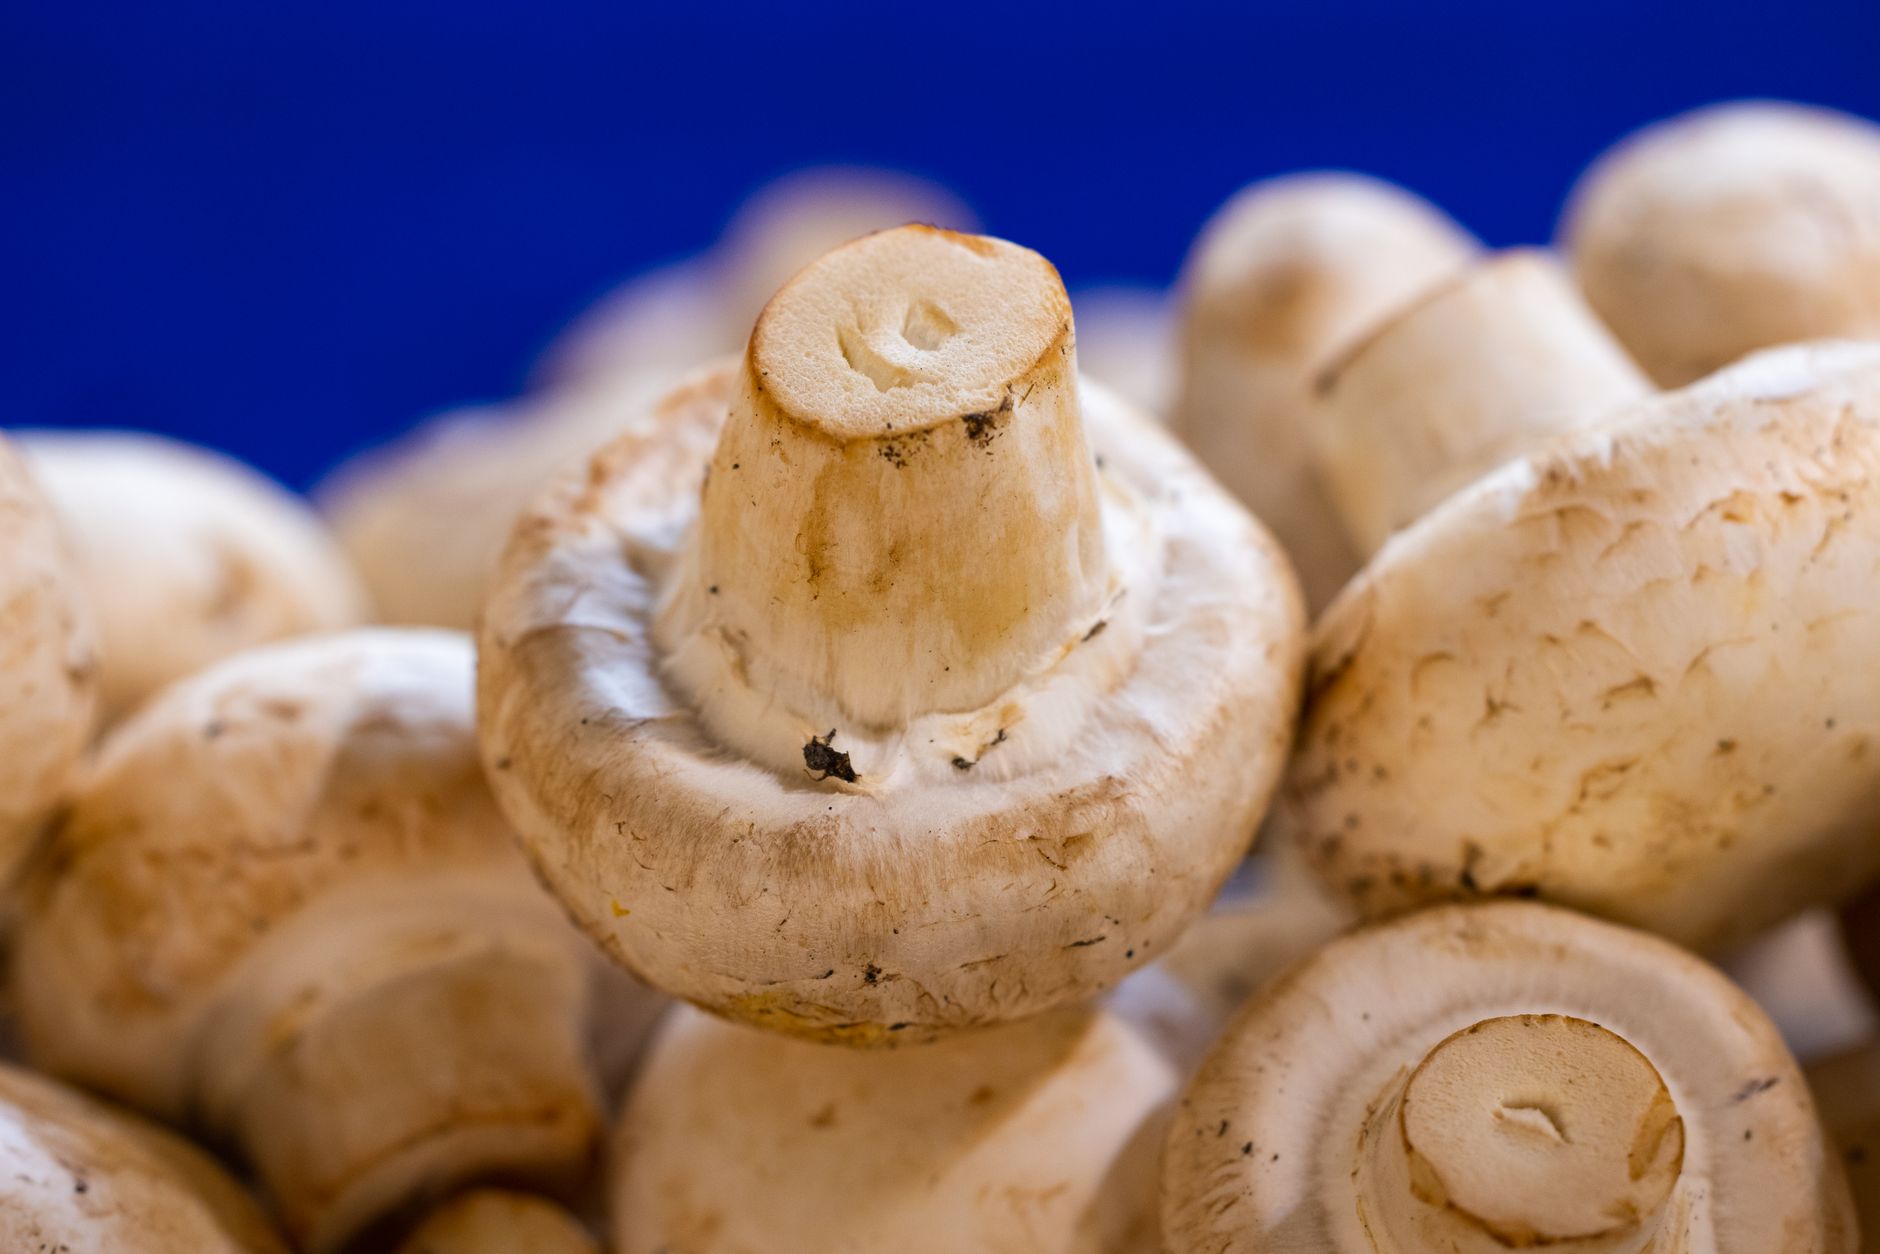
Button mushrooms, Agaricus bisporus, are the world’s most cultivated mushroom. Growing them at home is different from oyster or shiitake because they demand a compost-based substrate and a casing layer to fruit. The payoff is a steady harvest of mild, firm mushrooms from a tray or bag in a spare room. For an overview of substrate choices, see the best mushroom substrate guide.
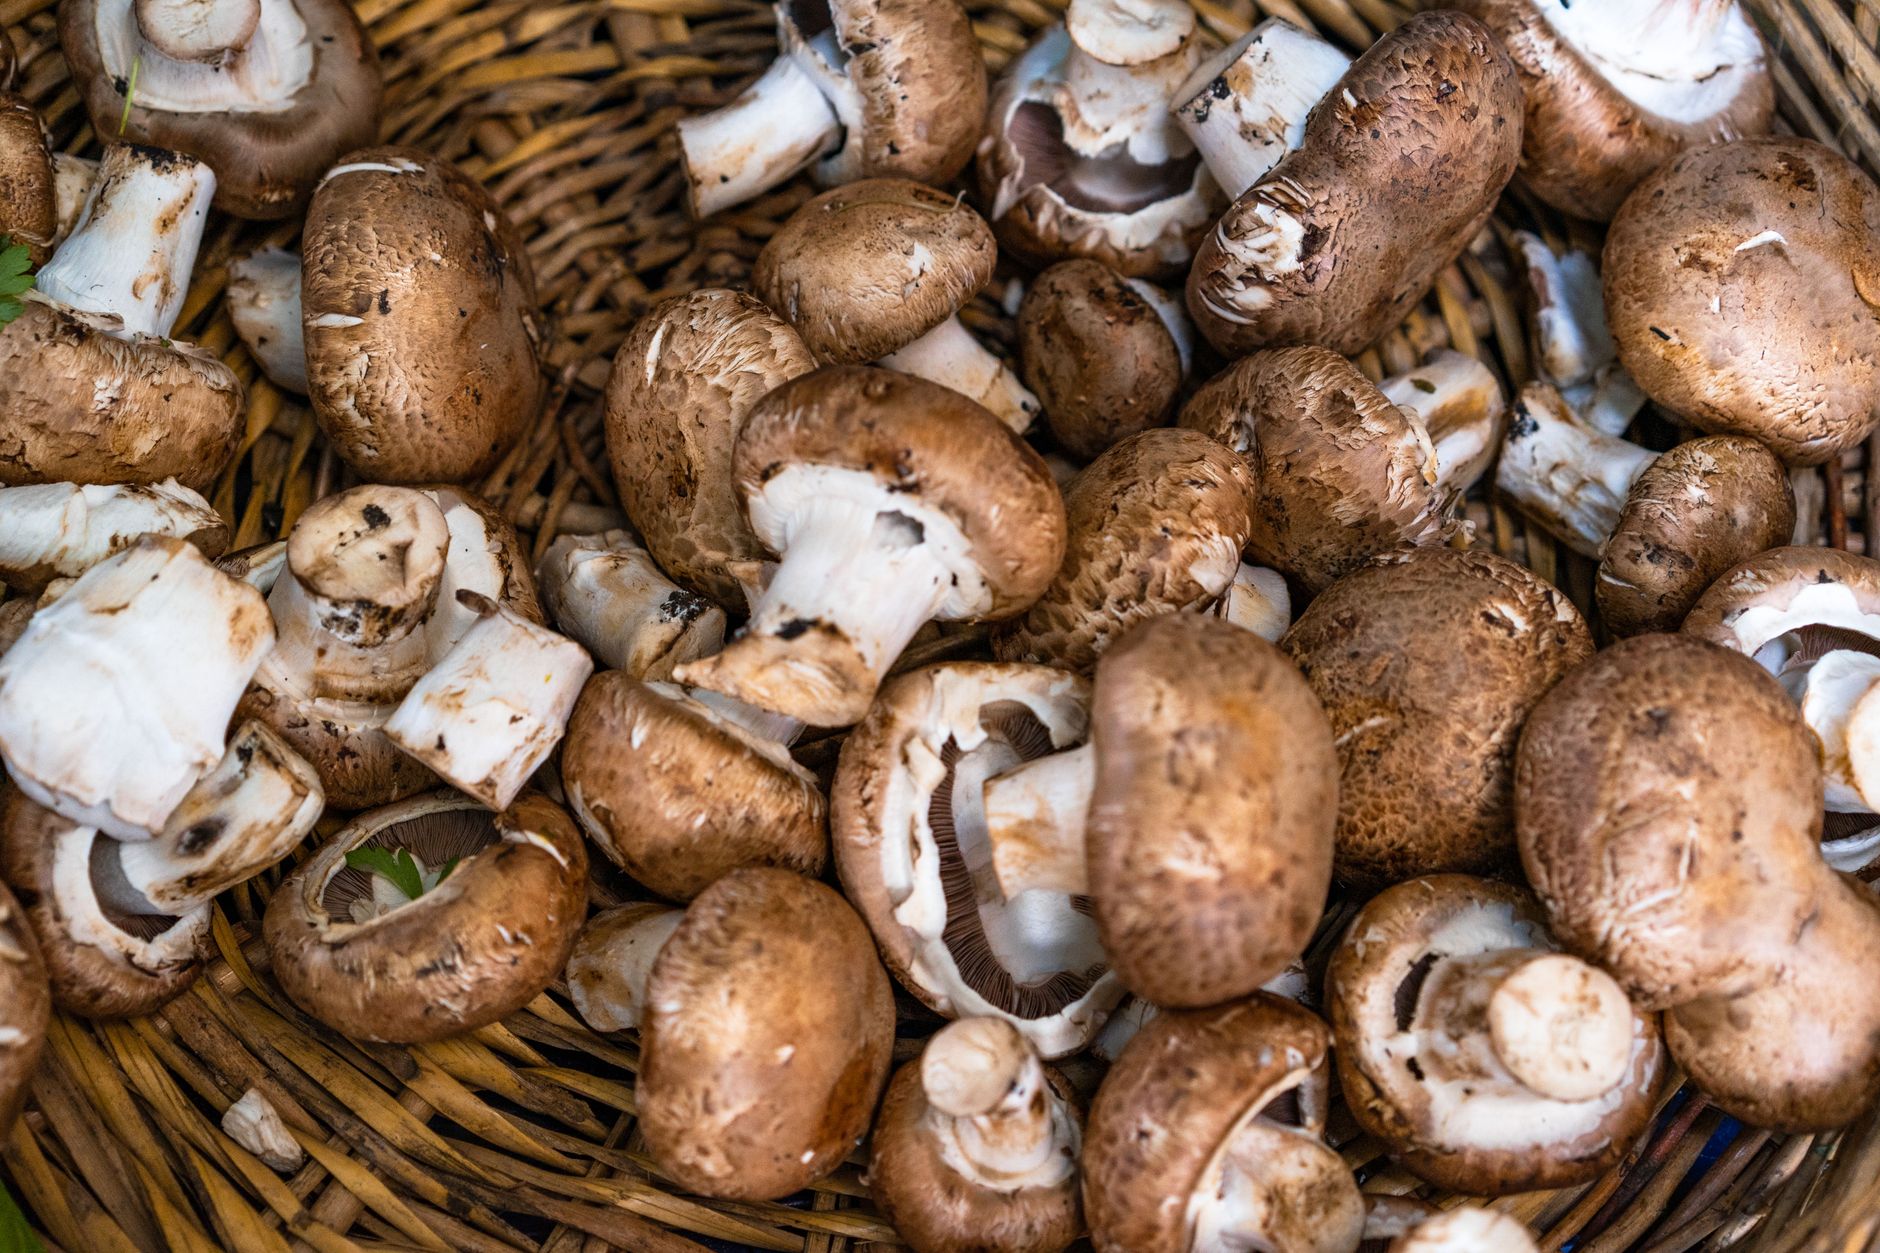
Cremini and portobello are the same species at different maturity stages. A button mushroom left to open becomes a cremini, then a portobello. That means one good batch can give several harvest styles. Penn State Extension notes that Agaricus bisporus dominates commercial production because it grows reliably in controlled compost. That same research translates well to home grows.
Success starts with two things: a selective compost substrate and a clean casing layer. You must pasteurize the compost to kill competitor molds and insects while keeping beneficial microorganisms. Then you add spawn, wait for white mycelium to colonize, case the surface, and lower the temperature. This guide walks through each step.
Safety note: Never eat a wild mushroom unless an expert has positively identified it. The North American Mycological Association offers identification resources and local clubs. For cultivated button mushrooms, keep your trays clean and watch for contamination. You will know exactly what you are growing.
What You’ll Need
- Button mushroom grain spawn (Agaricus bisporus)
- Composted manure and straw substrate
- Peat moss or coir casing mix
- Clean tray or plastic bin
- Compost thermometer
- Spray bottle
- Small fan for air exchange
- Humidity meter
How Do You Grow Button Mushrooms at Home?
- Gather supplies and set up a clean growing area
Start with materials. You need button mushroom grain spawn, composted substrate, a casing mix such as peat moss and limestone or coir, a clean tray or plastic bin, a spray bottle, and a compost thermometer. A ready-made button mushroom grow kit can simplify the first run. Check button mushroom grow kits on Amazon. Having all materials before spawning prevents delays.
Choose a growing space that can handle humidity and a slight earthy smell. A basement, utility room, or spare bathroom works well. Button mushrooms do not require bright light, but they need stable temperatures between 60°F and 75°F. Keep the area away from drafts and open windows.
Clean all tools and surfaces with soap and hot water. Contamination is the top reason home grows fail. You can reduce risk by wiping trays with a dilute bleach solution and letting them air dry. See mushroom contamination identification guide to know what to look for later.
Optional but helpful tools include a humidity meter and a small fan for fresh air exchange. A compost thermometer is worth buying for pasteurization. This step connects to substrate preparation because you need the right materials before you can make or buy compost.
- Prepare or source pasteurized composted substrate
Button mushrooms are not wood decomposers. They need a composted, manure-rich substrate. You can buy ready-made button mushroom compost or mix your own. A classic home recipe uses 40% wheat straw, 40% aged horse manure, 10% gypsum, and 10% bran or cottonseed meal by volume. That gives the nitrogen and structure Agaricus bisporus needs.
If you make your own compost, the materials must be wetted and turned over several days. Composting generates heat, often reaching 130°F to 160°F internally. Turning every two or three days helps break down straw and manure into a soft, crumbly, dark brown material. It should smell earthy, not sour or ammonia-like.
The target moisture content before pasteurization is around 65 to 70 percent. Squeeze a handful firmly. It should hold together while only a few drops of water come out. Too dry and the mycelium stalls. Too wet and the substrate becomes anaerobic and favors mold.
If this feels like a lot of work, a pre-made button mushroom kit is a smart way to start. It usually includes colonized or ready-to-mix compost. The next step is pasteurization, which makes the substrate selective for button mushroom mycelium.
- Pasteurize the substrate to reduce competitors
Pasteurization kills molds, nematodes, and insect eggs without totally sterilizing the substrate. For button mushrooms, the common target is 140°F for 2 to 4 hours. You can also use 160°F for one hour. This preserves beneficial thermophilic microbes that help the mushroom mycelium dominate. Penn State Extension describes this as substrate conditioning.
Home growers can pasteurize in a large pot, a turkey roaster, or an oven. Place the damp compost in a heat-proof bag or covered tray and monitor the internal temperature with a compost thermometer. Do not guess. The core temperature must stay in the target range for the full time.
After pasteurization, let the substrate cool to below 80°F before adding spawn. Hot compost will kill mushroom spawn. Drain any excess water during cooling if the substrate seems heavy and soggy. You want the same squeeze test as before. For a related method using straw, see how to pasteurize straw for mushrooms.
Avoid full sterilization in a pressure cooker for button mushroom compost. A fully sterile substrate can invite fast-growing molds because there are no beneficial microbes left to compete. Pasteurization is the standard for a reason. This step sets the stage for spawning, where the mushroom mycelium begins to colonize.
- Mix in button mushroom grain spawn
Grain spawn is the living culture that starts your crop. Button mushroom grain spawn typically comes as rye or millet grains colonized with white mycelium. You can buy it from mushroom suppliers. You can also learn to make your own in how to make grain spawn, though beginners should buy certified spawn first.
Use about 1 pound of spawn for every 10 pounds of pasteurized compost. That is a 10 percent spawn rate by wet weight. Break the spawn up gently with clean hands or a sanitized spoon. Mix it evenly through the cooled substrate so the mycelium does not have to grow far before finding food.
Work in a clean area with minimal airflow. Wash your hands and forearms, and consider wearing a mask. Dust and air currents carry mold spores. The faster the mycelium colonizes the substrate, the less chance contamination has to take hold.
Once mixed, pack the substrate into trays or bags. Press it down lightly to create a firm, even bed about 6 to 8 inches deep. Loose substrate dries out faster and produces fewer mushrooms. Move to incubation, where the mycelium will thread through the compost.
- Incubate the trays while mycelium colonizes
After spawning, the trays need a warm, stable place to colonize. Keep the substrate between 70°F and 75°F. At this temperature range, button mushroom mycelium usually colonizes fully in 14 to 21 days. Use a thermometer to verify the substrate core, not just the room air.
Cover the trays with plastic wrap or a clean, damp cloth to maintain moisture. The goal is high humidity, around 90 percent, without standing water. If the plastic drips heavily, crack it open slightly. Check daily for any unusual colors or smells.
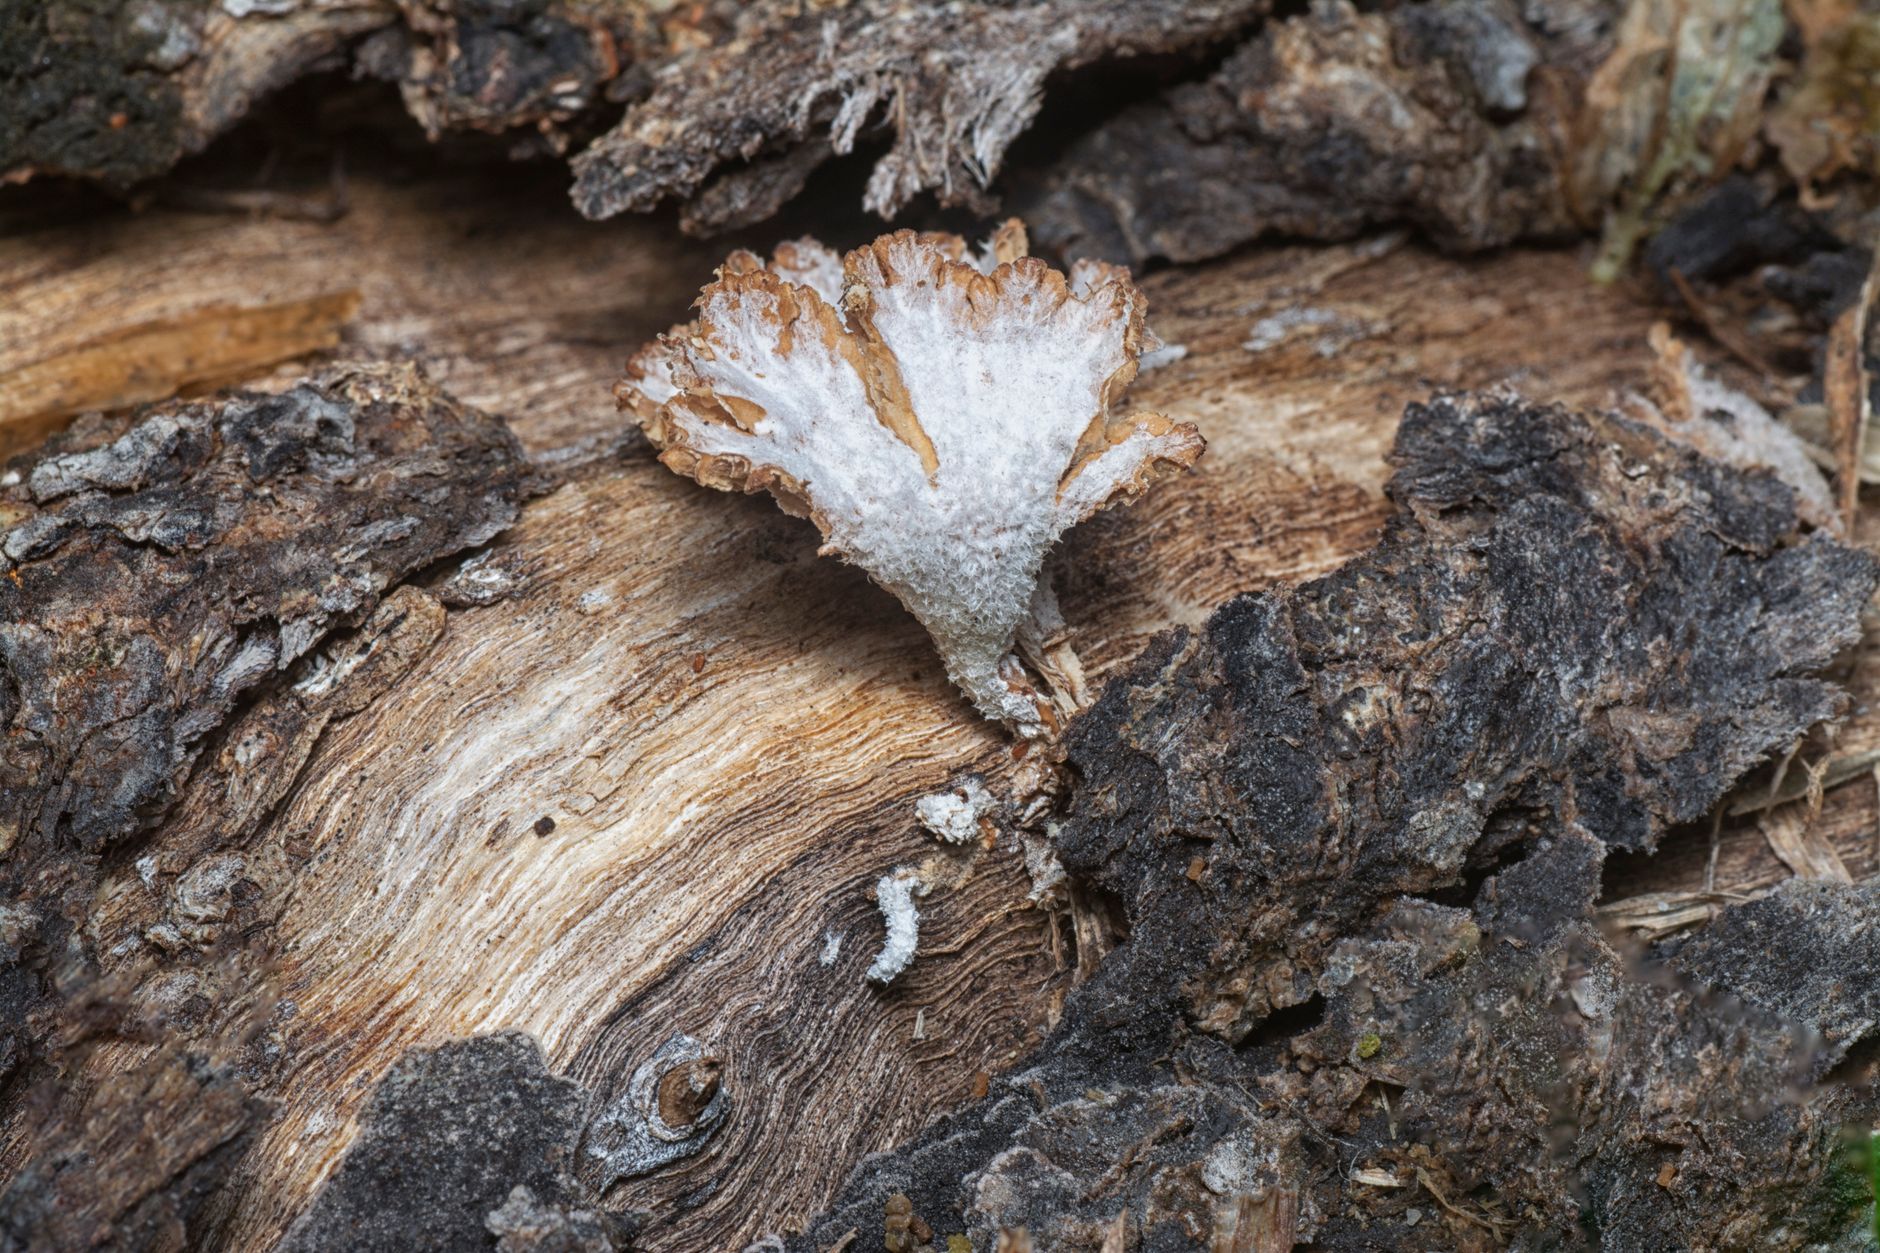
During colonization, the mycelium will appear as white threads spreading through the dark compost. It should smell clean and mushroomy. If you see green, black, or orange patches, isolate or discard the tray. The mushroom contamination identification guide can help you decide.
You do not need light during incubation. The mycelium grows well in darkness. That said, normal indoor light will not hurt it. The next major step is applying a casing layer. Casing signals the mycelium that it is time to form mushrooms rather than just spread vegetatively.
- Apply a casing layer to trigger pinning
Button mushrooms need a casing layer to form pins. A casing is a non-nutritive, moisture-holding material applied on top of the colonized substrate. The standard casing is peat moss mixed with limestone to raise the pH to about 7.0 to 7.5. You can also use coir and vermiculite.
Pasteurize the casing material before use. Peat and coir can carry mold spores. Steaming the casing at 160°F for 30 minutes or pouring hot water over it and letting it cool works well. Then squeeze out excess water until it is damp but not dripping.
Spread a uniform 1 to 1.5 inch layer of casing over the colonized compost. Do not pack it hard. The casing layer holds moisture and creates a microclimate that supports tiny mushroom initials. It also helps reduce contamination on the substrate surface.
You can buy prepared casing mixes. Check mushroom casing mix on Amazon. Keep the casing layer moist by misting lightly. Then lower the temperature to induce fruiting. For more on environmental shifts, see mushroom fruiting conditions guide.
- Lower temperature and maintain fruiting conditions
Cooling the tray from incubation to fruiting is a key trigger. Drop the air temperature to 60°F to 65°F over one or two days. The substrate temperature should follow. Button mushrooms form dense, firm caps in this range. Warmer temperatures can produce leggy stems and open caps too quickly.
Keep relative humidity between 85 and 90 percent during fruiting. Use a spray bottle to mist the casing and the air around the trays two or three times a day. Do not let the casing dry out. At the same time, avoid puddles on the surface. A small fan can provide gentle fresh air exchange.
Button mushrooms need fresh air to develop properly. High carbon dioxide levels cause small caps and long stems. Open the growing space briefly or run a small fan on low. Still, avoid pointing the fan directly at the casing, which dries it out.
Pins should appear as tiny white bumps on the casing within 10 to 14 days after casing. Once pins form, do not move the tray or change conditions suddenly. Consistent temperature and humidity during the next week determine the size and quality of your first flush.
- Harvest button mushrooms and care for later flushes
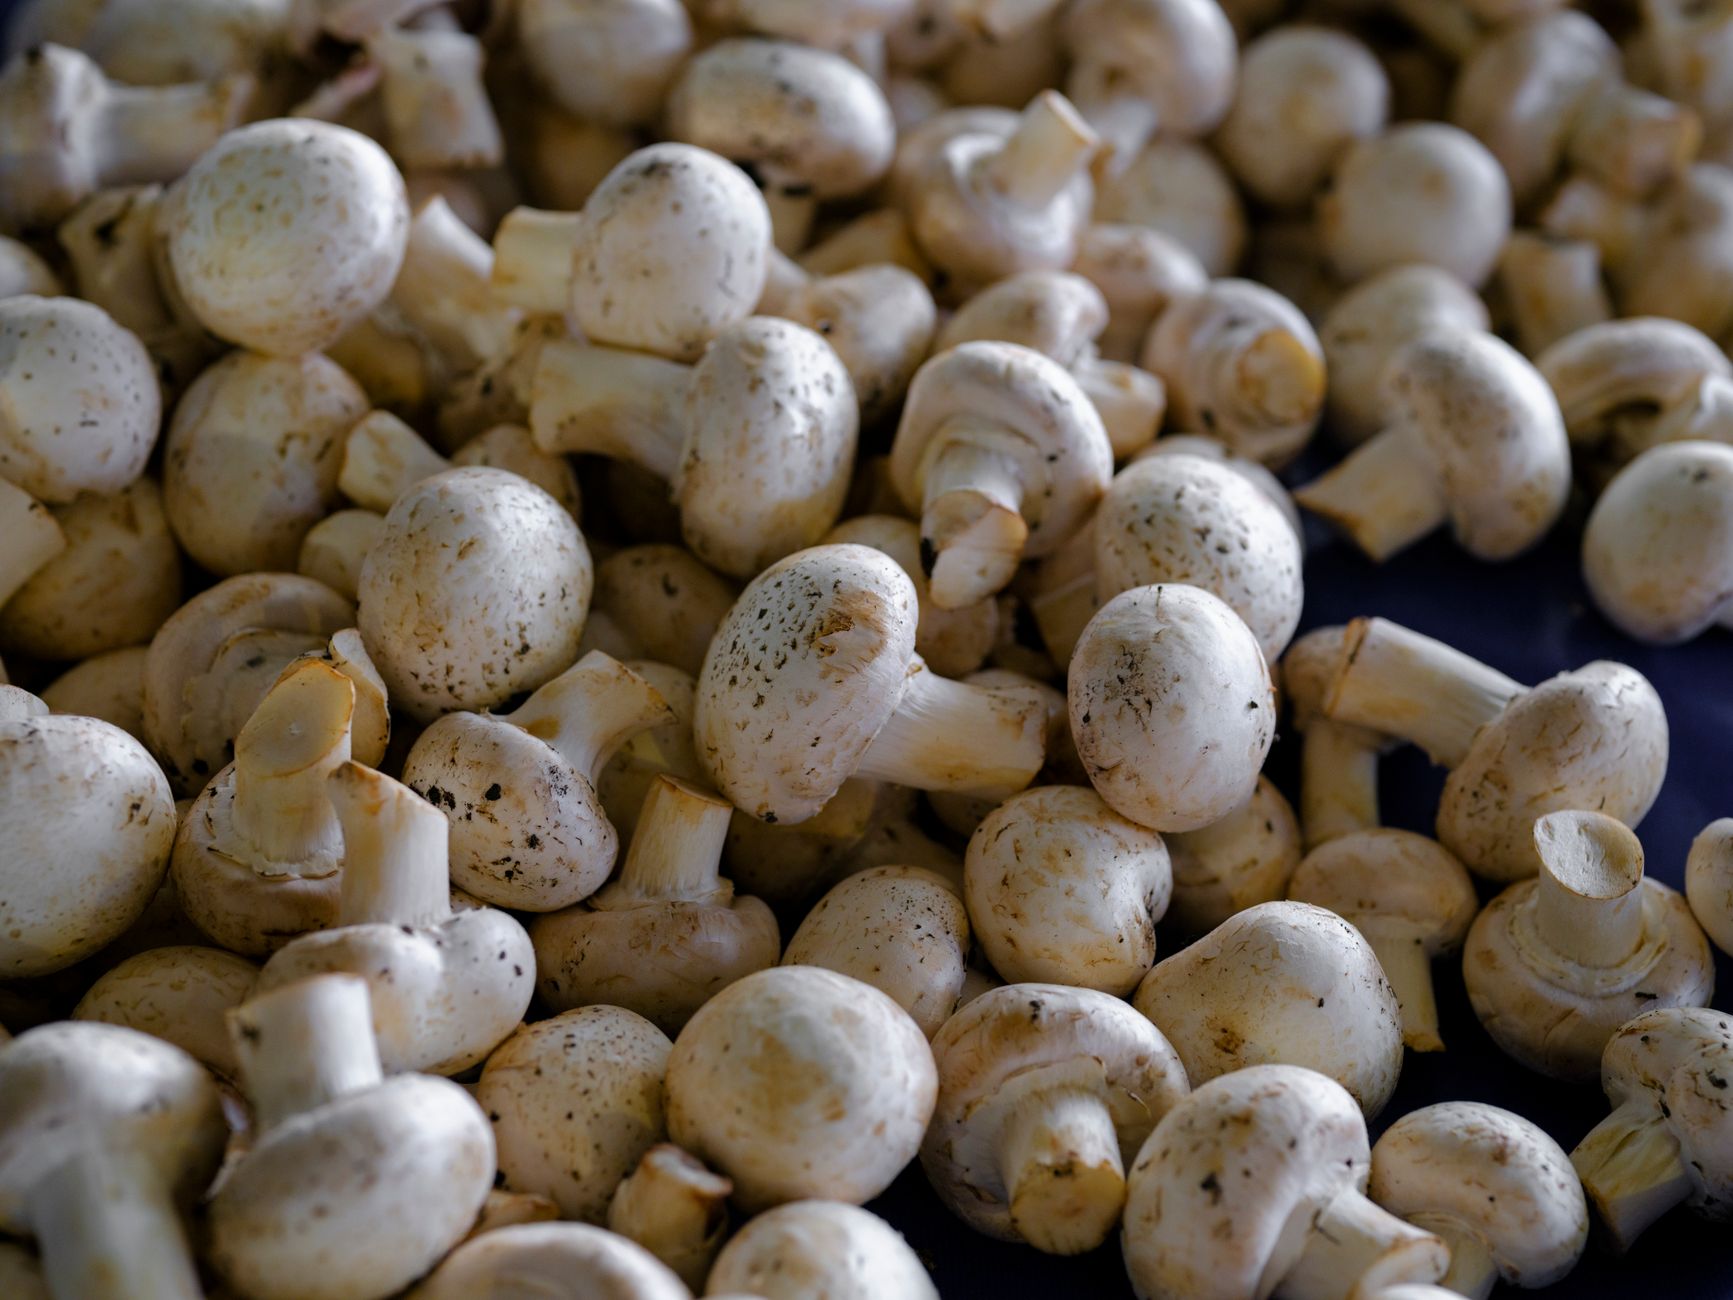
Harvest button mushrooms when caps are 1 to 2 inches across and still round. The veil under the cap should be intact or just beginning to tear. For cremini, wait until the cap expands slightly. For portobello, wait until the cap opens fully. Since all are the same species, you choose when to pick.
Twist each mushroom firmly at the base and pull upward. You can also cut the stem at the casing line with a clean knife. Leaving a small stem stub is fine, but remove any loose debris. Harvest daily because button mushrooms open quickly once they reach full size.
After the first flush, pick any remaining pins and allow the tray to rest for a few days. Mist the casing lightly to rehydrate. A second flush usually begins in one to two weeks if conditions stay consistent. You can often get two or three flushes from a home tray before the substrate is spent.
If you want to keep learning, compare button mushrooms with cremini mushroom growing guide or try a ready-made kit from best mushroom grow kits 2026. The core habit is consistency: steady temperature, humidity, and clean handling. That carries over to every species you grow.
Red Flags & Warnings
- 🚨 Never eat a wild mushroom unless an expert has positively identified it. The North American Mycological Association provides identification resources and local clubs.
- 🚨 Never use uncomposted or fresh manure in indoor button mushroom trays. It can contain harmful pathogens and creates ammonia that kills the mycelium.
- 🚨 If you see green, black, orange, or pink mold on the substrate or casing, discard the tray outside immediately. Do not open it in your grow room.
- 🚨 Keep fruiting temperatures below 70°F. Higher heat causes leggy mushrooms, quick cap opening, and a higher risk of bacterial blotch.
- 🚨 Do not over-mist the casing layer. Standing water suffocates mycelium, invites mold, and causes pins to abort.
- 🚨 Buy spawn from a reputable supplier. Attempting to clone grocery store mushrooms is unreliable and often introduces contamination.
Frequently Asked Questions
How long does it take to grow button mushrooms at home?
From spawning to first harvest usually takes 4 to 6 weeks. Colonization lasts 14 to 21 days, pins appear 10 to 14 days after casing, and the first flush is harvested about a week later.
What temperature should button mushrooms fruit at?
Keep the fruiting area between 60°F and 65°F. This cool range produces firm, dense caps. Warmer temperatures above 70°F often cause leggy stems and earlier cap opening.
Can I grow button mushrooms from grocery store mushrooms?
It is very unreliable. Grocery store mushrooms are often too old to produce clean mycelium, and you risk introducing mold. Buy certified button mushroom grain spawn from a mushroom supplier instead.
What is the best substrate for button mushrooms?
A composted substrate is best. A common home mix is 40% wheat straw, 40% aged horse manure, 10% gypsum, and 10% bran or cottonseed meal. The compost should be pasteurized before spawning.
Why is a casing layer necessary for button mushrooms?
Casing creates a moisture-holding microclimate on the substrate surface. It triggers the mycelium to form pins instead of just spreading. Without casing, button mushrooms often produce very few or no mushrooms.
How do I know if my substrate is contaminated?
Look for green, black, orange, or pink patches on the compost or casing. A sour or alcohol smell is another bad sign. Healthy button mushroom mycelium is white and smells clean and earthy.
What Should You Remember?
- Button mushrooms are Agaricus bisporus: Cremini and portobello are the same species at different maturity stages.
- Compost is non-negotiable: Button mushrooms need a pasteurized, manure-rich composted substrate.
- Pasteurize at 140°F for 2-4 hours: This kills competitors while preserving beneficial microbes.
- Casing triggers pinning: Use a 1-1.5 inch layer of peat and limestone or coir with a pH near 7.0.
- Fruiting temperature is 60-65°F: Keep humidity at 85-90% and provide gentle fresh air exchange.
- Harvest before the veil tears: Pick mushrooms when caps are 1-2 inches across for classic button mushrooms.
This article is for general information only. Mushroom identification and consumption carry health and safety risks , never eat a wild mushroom unless positively identified by an expert, and follow sterile technique and food-safety guidance for home grows.