Blue oyster mushrooms, scientifically Pleurotus ostreatus var. columbinus, are among the fastest and most forgiving mushrooms for home growers. They produce dense clusters of blue-gray caps with a mild, slightly sweet flavor and a firm texture. Because they colonize quickly and tolerate a wide range of substrates, they make an ideal first project. This guide walks through the entire process, from selecting spawn to harvesting multiple flushes. If you are completely new, start with the broader guide on how to grow oyster mushrooms at home and then return here for blue oyster specifics.
Penn State Extension lists oyster mushrooms as one of the easiest species for indoor cultivation because they fruit on agricultural byproducts and resist many beginner mistakes. Blue oyster mushrooms prefer cooler fruiting temperatures than pink or golden oysters. That makes them well suited for basements, garages, and cool spare rooms in fall and winter. You do not need a sterile laboratory. A clean countertop, a clear plastic tote, and the right substrate will do. The main data points to remember are 65-75°F for colonization and 85-95% humidity for fruiting.
This how-to covers two paths: a ready-to-fruit blue oyster grow kit and a do-it-yourself block made from spawn and bulk substrate. Kits are faster and require almost no equipment. DIY grows cost less per pound once you have basic supplies and give you more control over substrate and yield. We include a master’s mix recipe, pasteurization times, inoculation rates, and troubleshooting signs. You can scale the same steps from a 5-pound bag to a 5-gallon bucket.
Safety comes first. Never eat a wild mushroom unless an expert positively identifies it. The North American Mycological Association stresses that many toxic species resemble edible ones. Home cultivated blue oysters from reliable spawn are safe when grown under clean conditions and cooked thoroughly. Still, watch for contamination and spore allergies during fruiting. With good habits, you can harvest fresh blue oysters in about a month.
What You’ll Need
- Blue oyster mushroom grain spawn or ready-to-fruit grow kit
- Hardwood fuel pellets or chopped straw
- Soybean hulls or wheat bran
- Autoclavable grow bags or 5-gallon buckets
- Large pot or pressure cooker
- Clear plastic tote or fruiting chamber
- Spray bottle or humidity controller
- Gloves and 70 percent isopropyl alcohol
How Do You Grow Blue Oyster Mushrooms at Home?
- Choose blue oyster spawn or a ready-to-fruit grow kit
Blue oyster spawn comes in two main forms. You can buy a ready-to-fruit blue oyster grow kit or a bag of grain spawn. Kits are already colonized and only need misting plus fresh air. Grain spawn lets you inoculate your own bulk substrate at home. If you are new, a kit removes the hardest variables. Compare options in our guide to best mushroom grow kits 2026. A basic blue oyster kit costs less than many restaurant meals and often yields over a pound of mushrooms. Check blue oyster mushroom grow kit on Amazon.
Spawn quality matters more than any other factor. Buy from a supplier that labels the strain, packaging date, and storage instructions. Fresh spawn should smell clean and mushroomy, never sour or sweet. The mycelium should look white with light blue-gray patches. Avoid any jar or bag with green, black, or slimy spots. Healthy spawn colonizes fast and gives the block a head start against competitor molds.
Plan your batch size before ordering. A 5-pound fruiting block or a 5-gallon bucket is a manageable first project. You will need substrate, a container, and a clean space. For now, choose either a kit or a spawn bag that matches your container size. Once the spawn is ready, the next step is assembling the right substrate.
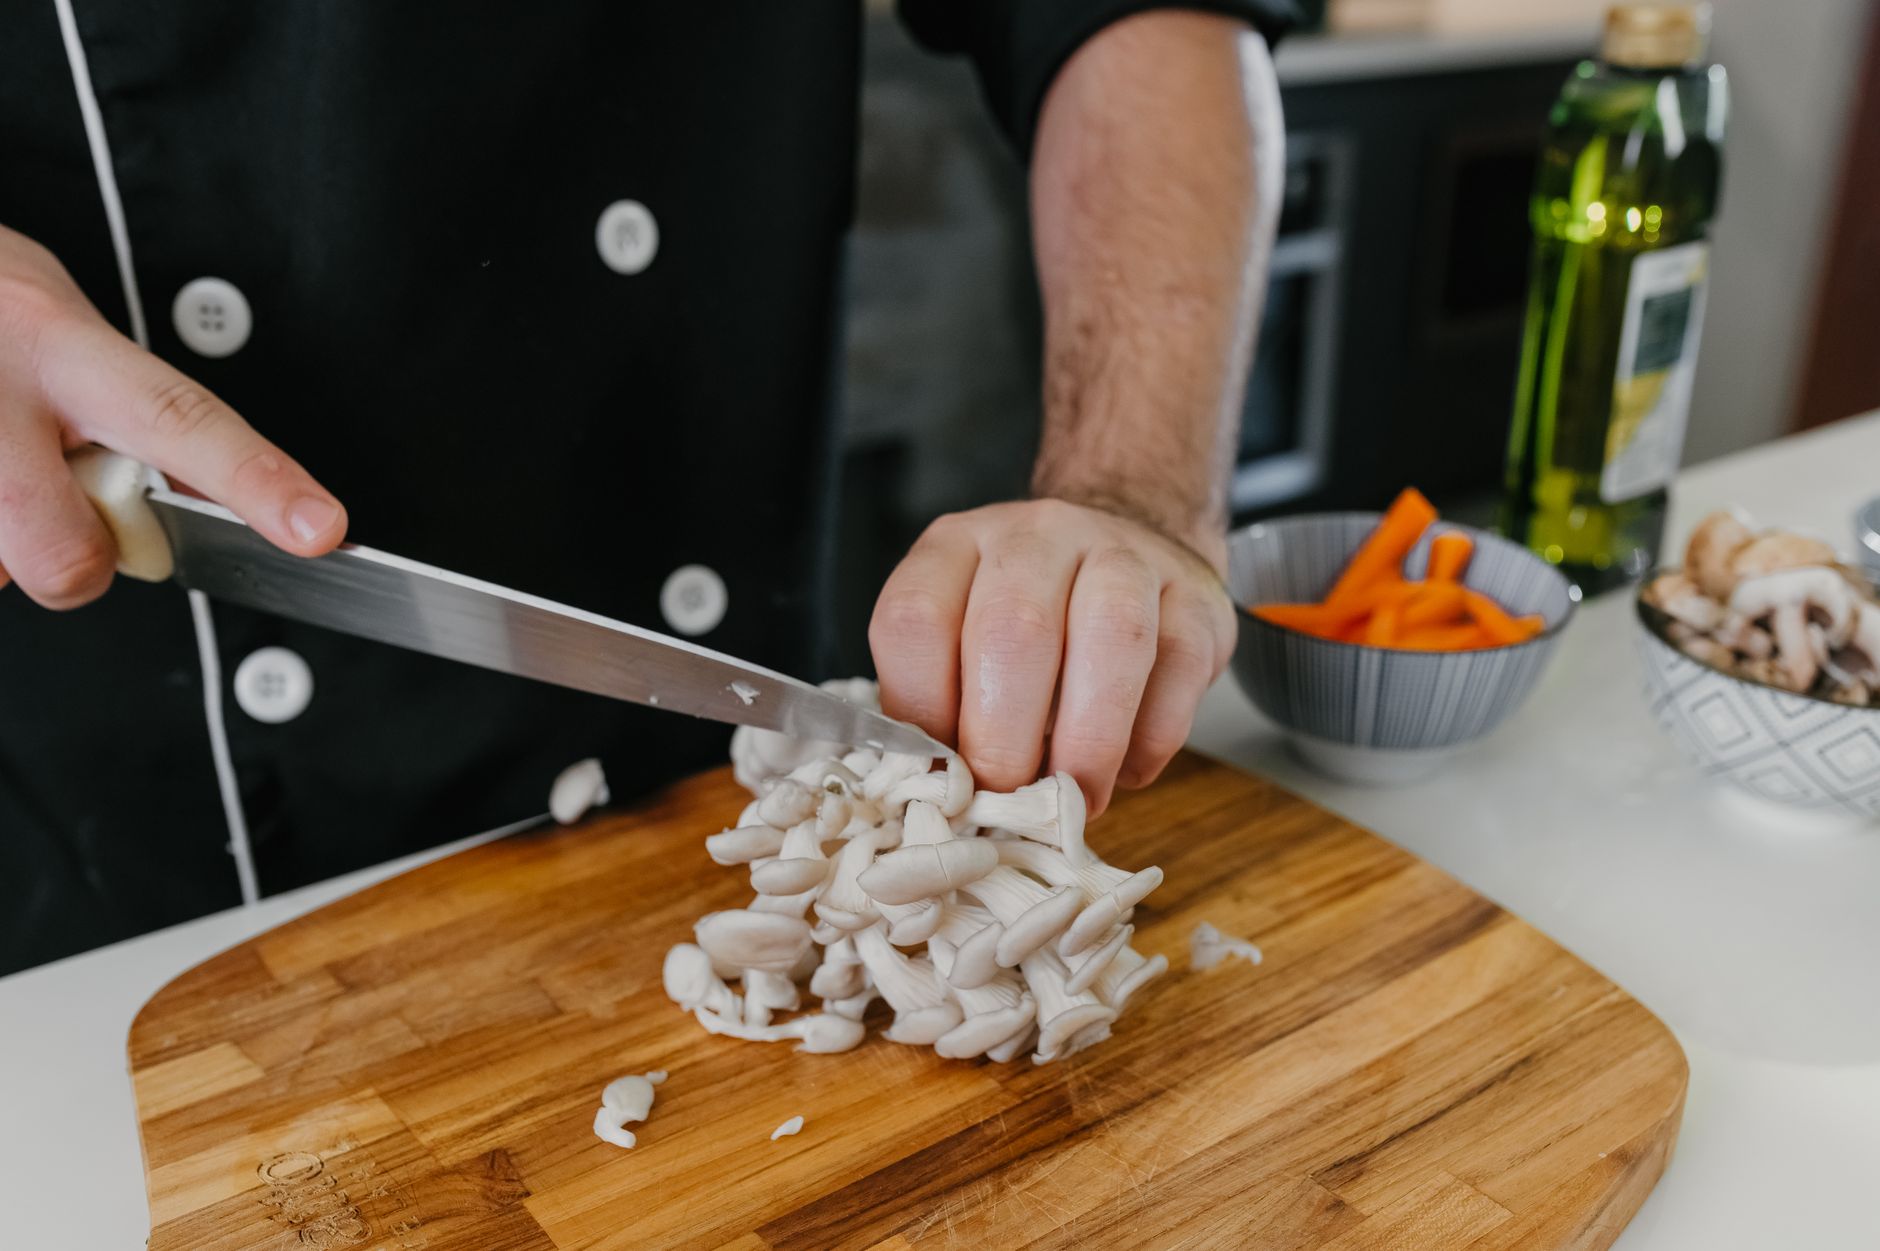
- Gather substrate and containers
Blue oyster mushrooms are not picky, but they grow fastest on a supplemented hardwood substrate. The most reliable beginner recipe is a master’s mix. Use 50 percent hardwood fuel pellets and 50 percent soybean hulls by dry weight. Hydrate the mix to 60 percent moisture. For a 10-pound batch, combine 5 pounds of hardwood pellets, 5 pounds of soybean hulls, and about 6.5 liters of water. Let the mix absorb water for 30 minutes before loading bags. You can learn more about different recipes in the best mushroom substrate guide. Check hardwood fuel pellets on Amazon.
If you prefer a low-cost option, use pasteurized straw. Chopped wheat, oat, or barley straw works well in 5-gallon buckets. Straw holds structure and allows air exchange. Avoid pine, fir, cedar, and treated wood. Their resins inhibit mycelium and can cause slow, patchy colonization. Use the same hydration test for all substrates: squeeze a handful hard and only a few drops should escape.
Containers matter too. Autoclavable grow bags with filter patches are the easiest for beginners. Buckets with quarter-inch holes drilled every 6 inches also work. Clear plastic totes can serve as fruiting chambers later. Whichever container you choose, make sure it can be cleaned and can breathe without drying out. Check mushroom grow bags on Amazon.
- Pasteurize or sterilize the substrate
Pasteurization and sterilization are not the same thing. Pasteurization reduces competitor organisms but leaves some beneficial microbes. Sterilization kills nearly everything. For blue oysters, pasteurization works for straw. Submerge straw in water held at 149-167°F for 1 to 2 hours. Keep a thermometer in the pot and do not let the water boil. A full walkthrough is in how to pasteurize straw for mushrooms.
Supplemented sawdust or master’s mix needs true sterilization. The added soybean hulls raise nitrogen, which invites green mold if not fully treated. Load substrate into bags and sterilize at 15 PSI for 2.5 hours. Most home pressure cookers work if they can hold 15 PSI and fit the bags without blocking the vent. Allow everything to cool below 80°F before inoculation.
Moisture content is critical. After pasteurization or sterilization, squeeze a handful of substrate. It should feel like a wrung-out sponge. No water should drip when you squeeze gently. A few drops under hard pressure is fine. Too much water leads to anaerobic bacteria and sour smells. Too little water slows colonization and reduces yields.
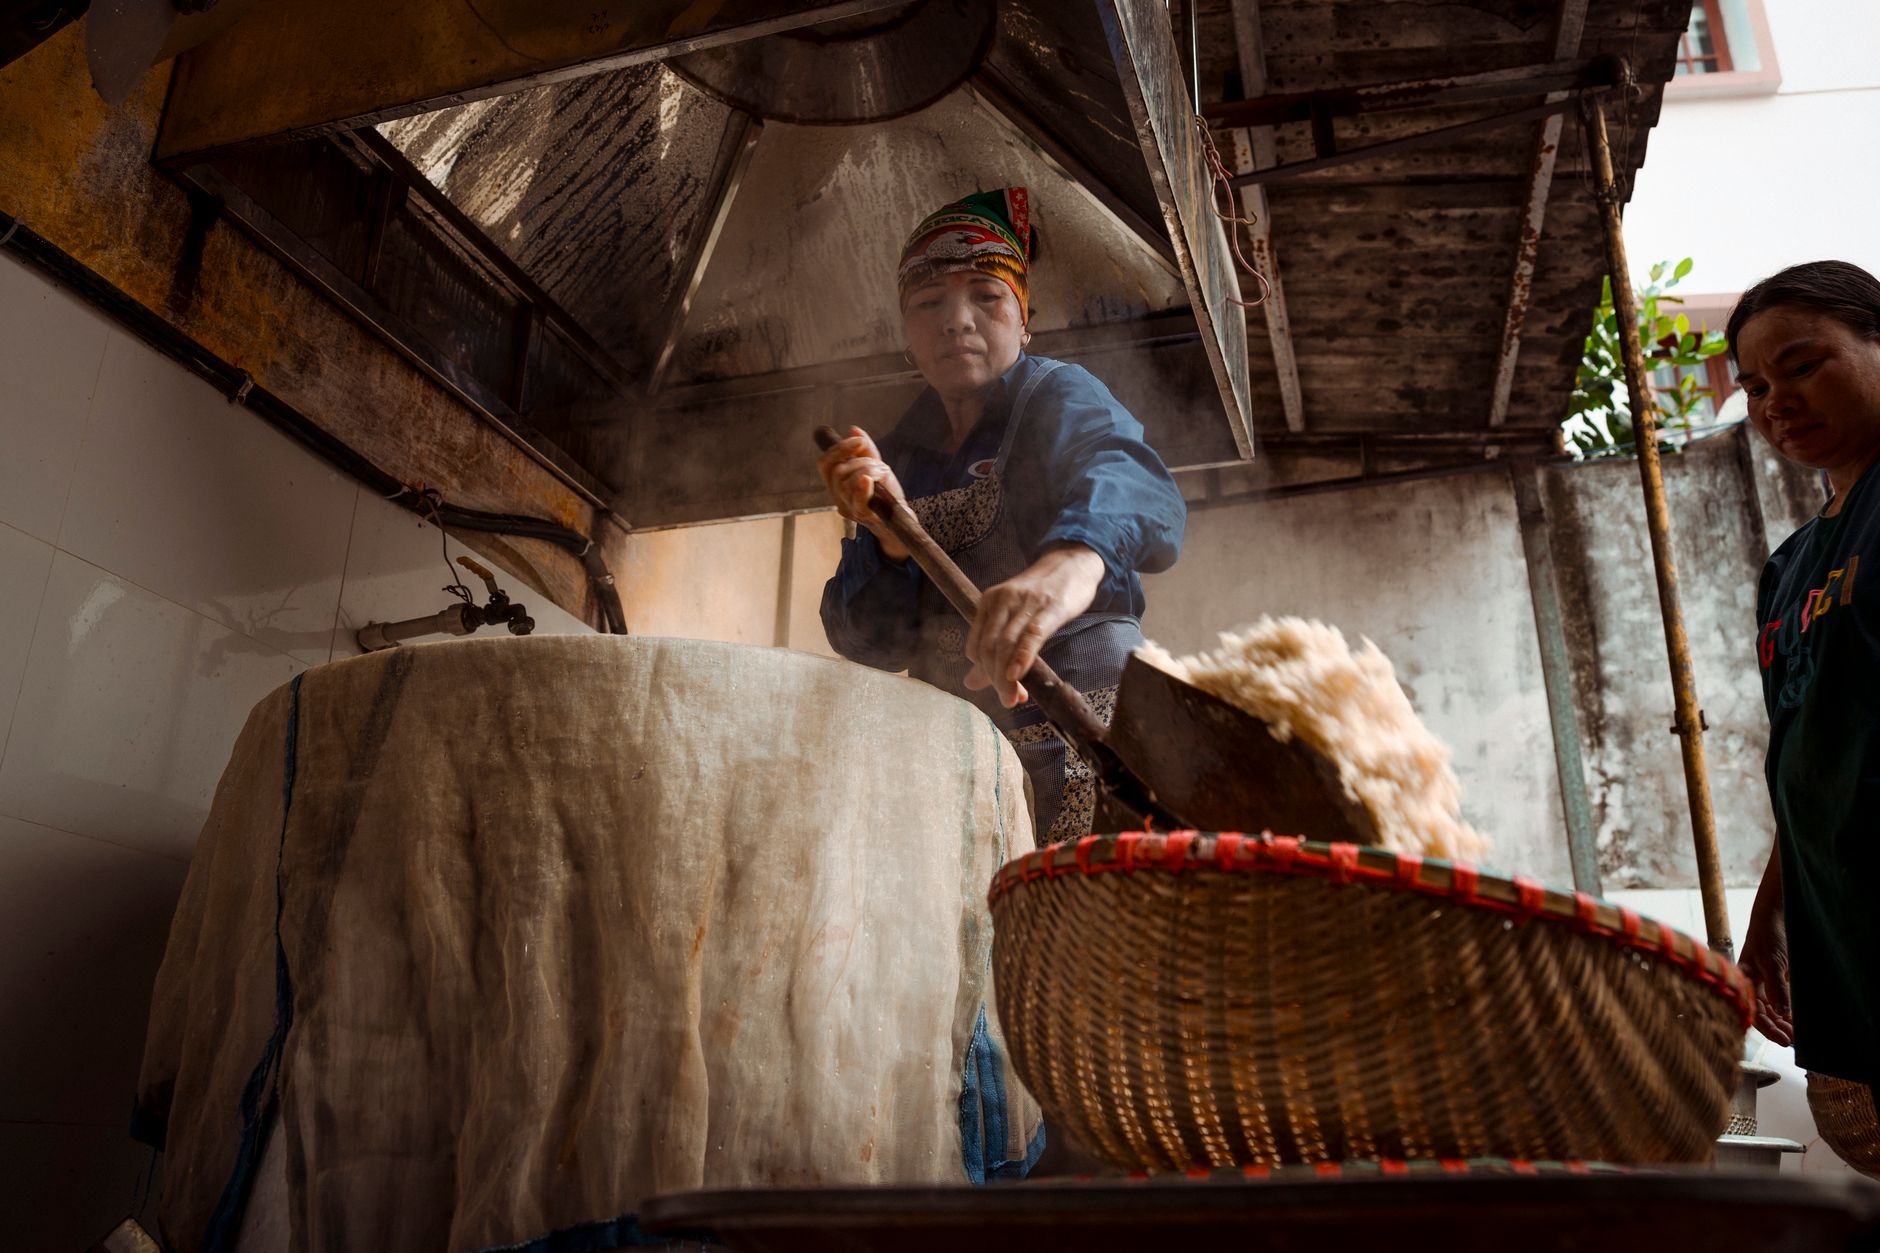
- Inoculate the substrate with spawn
Clean your work area before opening any spawn or substrate. Wipe counters, tools, and your hands with 70 percent isopropyl alcohol. Work in a room with still air. Turn off fans and close windows. Use gloves if possible. Small contamination events often start during inoculation, so move efficiently.
Use a spawn rate of 5 to 10 percent by wet weight. For a 5-pound substrate block, add 8 to 12 ounces of grain spawn. Break up the spawn inside the bag before opening. Sprinkle it into the cooled substrate and mix thoroughly. The goal is even distribution. Clumps of spawn create hot spots and uneven colonization.
Seal grow bags by folding the top or using the filter patch. If using buckets, cover holes with micropore tape until pinning. Label each block with the strain and date. According to Penn State Extension, clean spawn and correct substrate moisture are the two biggest factors in preventing contamination. Place the sealed block somewhere dark and warm, between 65 and 75°F.
- Incubate for colonization
Colonization is the quiet phase. Blue oyster mycelium spreads through the substrate, digesting lignin and cellulose. Keep the bag or bucket at 65-75°F. Lower temperatures slow growth but still work. Avoid direct light during this phase. Check the block every few days after the first week. A 5-pound block usually colonizes in 10 to 21 days.
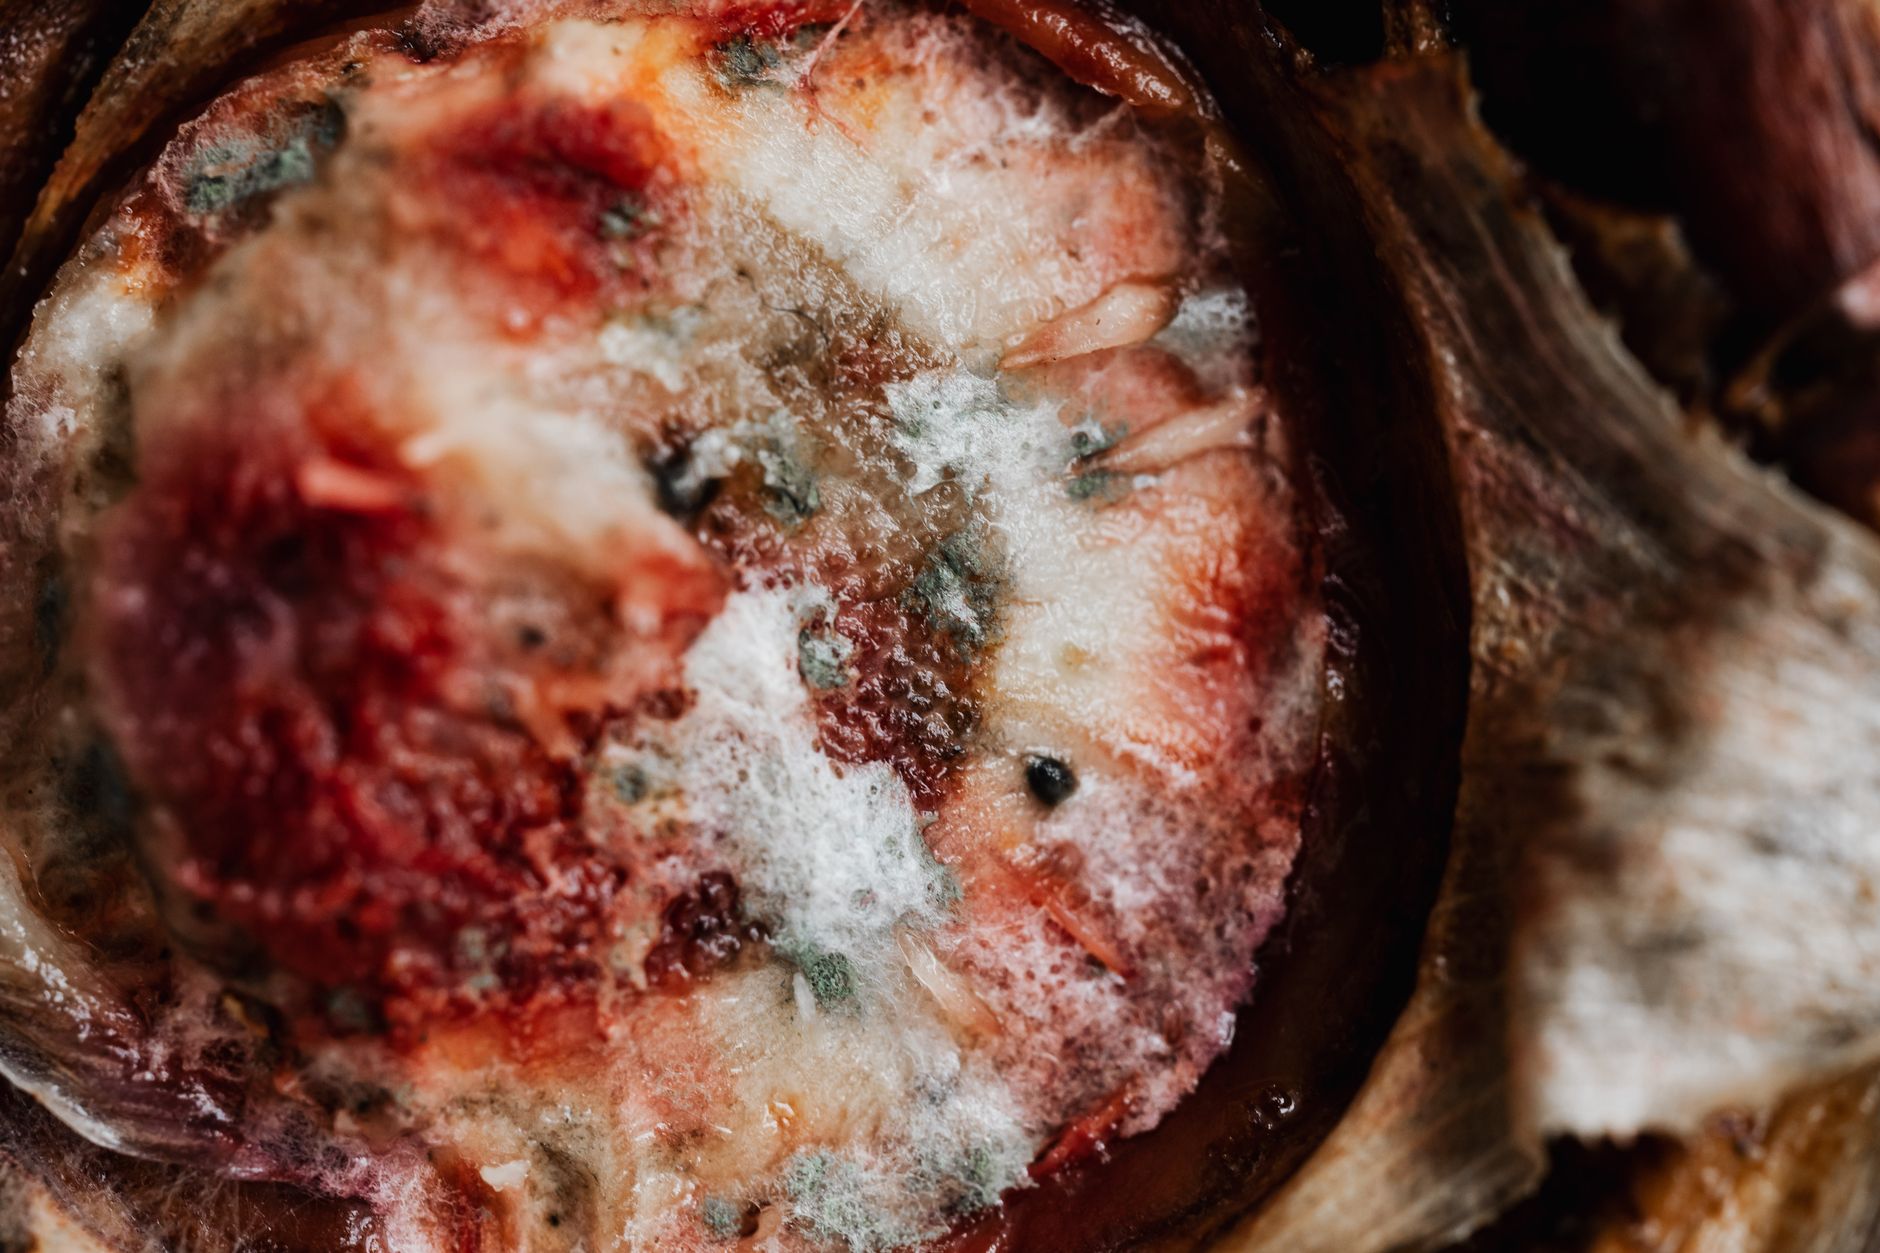
Healthy blue oyster mycelium looks white and rope-like, sometimes with blue-gray patches. It should hold the substrate together as one firm block. If you see green, black, orange, or pink spots, isolate the block immediately. A sour or vinegar smell also signals trouble. Use the mushroom contamination identification guide to identify what went wrong. Do not open contaminated bags indoors.
Let the block rest for 3 to 5 days after it appears fully white. This consolidation period helps the mycelium mature. Then move to fruiting. If your block has stalled, check the temperature and moisture. Too much water is usually the problem. Being patient here leads to bigger first flushes.
- Set up fruiting conditions
Blue oyster mushrooms fruit best when you shock them with fresh air, light, and humidity. Cut a 2 to 3 inch X or slit in the bag. If using a bucket, remove tape from a few holes. Place the block in a clear plastic tote or a dedicated fruiting area. The goal is 85 to 95 percent relative humidity. A simple diy mushroom fruiting chamber guide shows how to build one from a storage tote.
Temperature matters for color. Blue oysters prefer 55-65°F. Warmer temperatures give paler caps and thinner clusters. Keep the chamber away from heaters and direct sun. Use an inexpensive hygrometer to check humidity. Mist the inside walls and lid two to three times daily. Do not spray the clusters directly with heavy streams. A fine mist is enough. If your air is dry, a small humidifier with a controller helps.
Fresh air exchange is non-negotiable. High carbon dioxide causes long stems and small caps. Crack the lid or fan the chamber two to three times per day. Give 12 hours of indirect daylight or a 5000-6500K LED light. Pins should appear within 5 to 10 days. Watch them daily because blue oysters grow very fast once pinning starts.
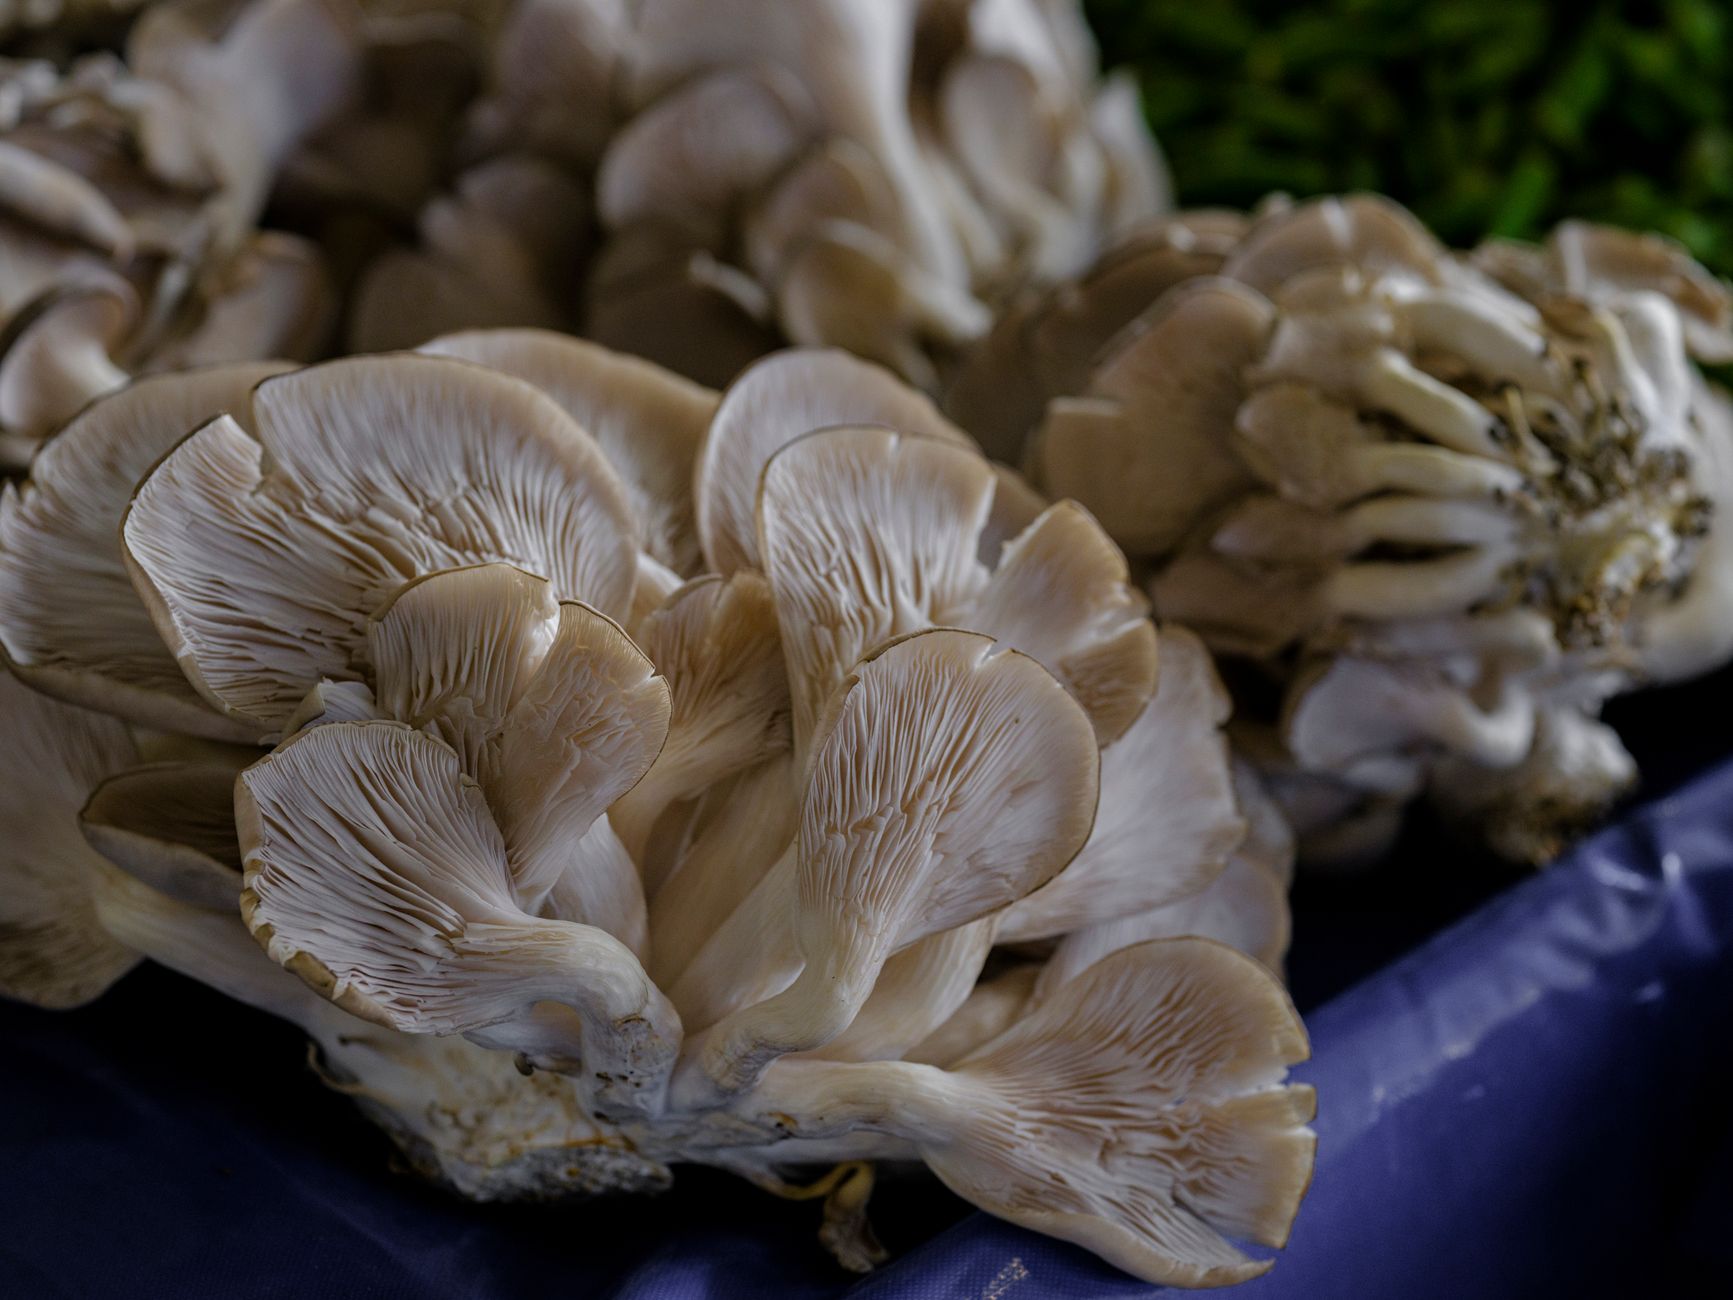
- Harvest blue oyster mushrooms
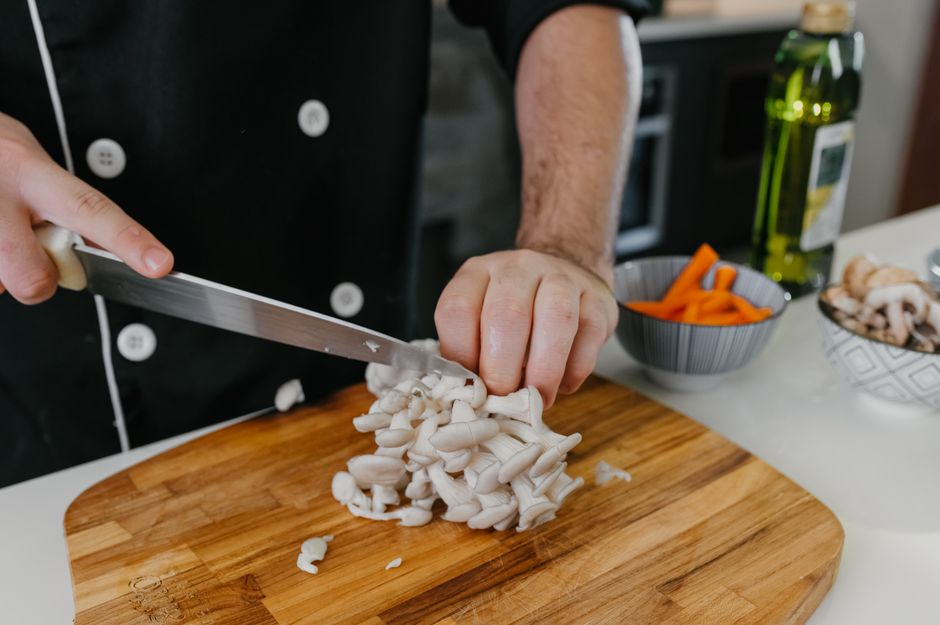
Harvest blue oyster mushrooms when the caps are 2 to 4 inches across. The edges should still curl downward or begin to flatten slightly. If the caps turn upward and release a fine white or lilac dust, you have waited too long. Spore drop can irritate allergies and coat nearby surfaces. Harvest the entire cluster by twisting it off at the base or cutting with a clean knife.
Do not pick individual caps from a cluster. The remaining caps will not grow well and may rot. Cut close to the substrate but leave a small stump. The stump can form new pins for a second flush. Remove any substrate straw or sawdust that clings to the stems. Use a dry brush or a damp paper towel.
Fresh blue oysters will keep in the fridge for 5 to 7 days in a paper bag or a container with a loose lid. Do not seal them in plastic, which traps moisture and causes slime. Cook them thoroughly before eating. Blue oysters have a mild umami flavor and hold up well in stir fries, soups, and sautes.
- Store and plan second flushes
After the first harvest, the block still has nutrients left. Keep the humidity high and continue misting the chamber. New pins often form within 7 to 14 days without any extra work. If the block feels light and dry, rehydrate it by submerging in cold water for 4 to 8 hours. Drain completely and return it to the fruiting chamber.
Most 5-pound blocks produce two or three flushes. Total yield is usually 1 to 2 pounds of fresh mushrooms. Later flushes produce smaller clusters. You can also break up a spent block into outdoor beds or compost. It will not produce well indoors after the third flush.
Discard any block that becomes soft, sour, or shows green mold. Do not keep contaminated blocks near healthy ones. If your grow kit or block fails, review the signs of contamination and adjust your process. Then start a new batch. Blue oysters are forgiving, but every failure teaches a specific lesson.
Red Flags & Warnings
- 🚨 Never eat a wild mushroom unless an expert positively identifies it. The North American Mycological Association teaches identification and foraging safety.
- 🚨 Discard any block or bag with green, black, or pink mold. Do not try to salvage contaminated substrate in your kitchen.
- 🚨 Blue oyster spores are heavy and can irritate allergies. Harvest before caps turn upward and drop spores.
- 🚨 Avoid softwood sawdust from pine, fir, or cedar. Resins inhibit blue oyster growth and can ruin a batch.
- 🚨 Do not over-mist to the point of standing water. Bacterial blotch and stale air follow.
- 🚨 Keep spawn and substrate below 80°F during inoculation. Heat kills mycelium and invites competitor molds.
Frequently Asked Questions
How long does it take to grow blue oyster mushrooms?
From spawn to harvest takes about 3-5 weeks. Colonization takes 10-21 days at 65-75°F. Fruiting begins 5-10 days after you introduce fresh air and humidity. A second flush may follow 1-2 weeks later.
What substrate is best for blue oyster mushrooms?
Supplemented hardwood sawdust works best. Use a 50/50 mix of hardwood fuel pellets and soybean hulls hydrated to 60% moisture. Pasteurized straw also works well for bucket grows. Avoid softwood sawdust.
Why are my blue oyster mushrooms pale and leggy?
They are not getting enough fresh air or light. Increase air exchange and give 12 hours of indirect light per day. CO2 levels over 1000 ppm cause long stems and small caps.
Can I grow blue oyster mushrooms on coffee grounds?
Yes, but coffee grounds are prone to contamination. Mix used coffee grounds with pasteurized straw or sawdust at 20-30% by volume. Sterilize the blend before adding spawn.
Do I need a fruiting chamber?
No, a clear plastic tote with holes works. But a chamber helps you hold 85-95% humidity. A simple DIY fruiting chamber from a storage tote is enough for most home grows.
How many flushes can I get from one blue oyster block?
Most 5-pound blocks produce 2-3 flushes. Total yield is 1-2 pounds of mushrooms. Rehydrate the block between flushes and maintain humidity.
What Should You Remember?
- Spawn quality: Buy fresh blue oyster grain spawn or a ready-to-fruit kit from a supplier with clear dates.
- Substrate: Use a 50/50 hardwood sawdust and soybean hull mix at 60% moisture, or pasteurized straw.
- Pasteurization: Straw needs 149-167°F for 1-2 hours. Supplemented sawdust needs sterilization at 15 PSI for 2.5 hours.
- Colonization: Keep blocks at 65-75°F for 10-21 days until fully white.
- Fruiting: Maintain 85-95% humidity, 55-65°F, and fresh air for blue caps and thick clusters.
- Harvest: Pick clusters when caps are 2-4 inches and edges still curl down.
- Safety: Never eat wild mushrooms without expert identification. Use reliable spawn.
This article is for general information only. Mushroom identification and consumption carry health and safety risks , never eat a wild mushroom unless positively identified by an expert, and follow sterile technique and food-safety guidance for home grows.