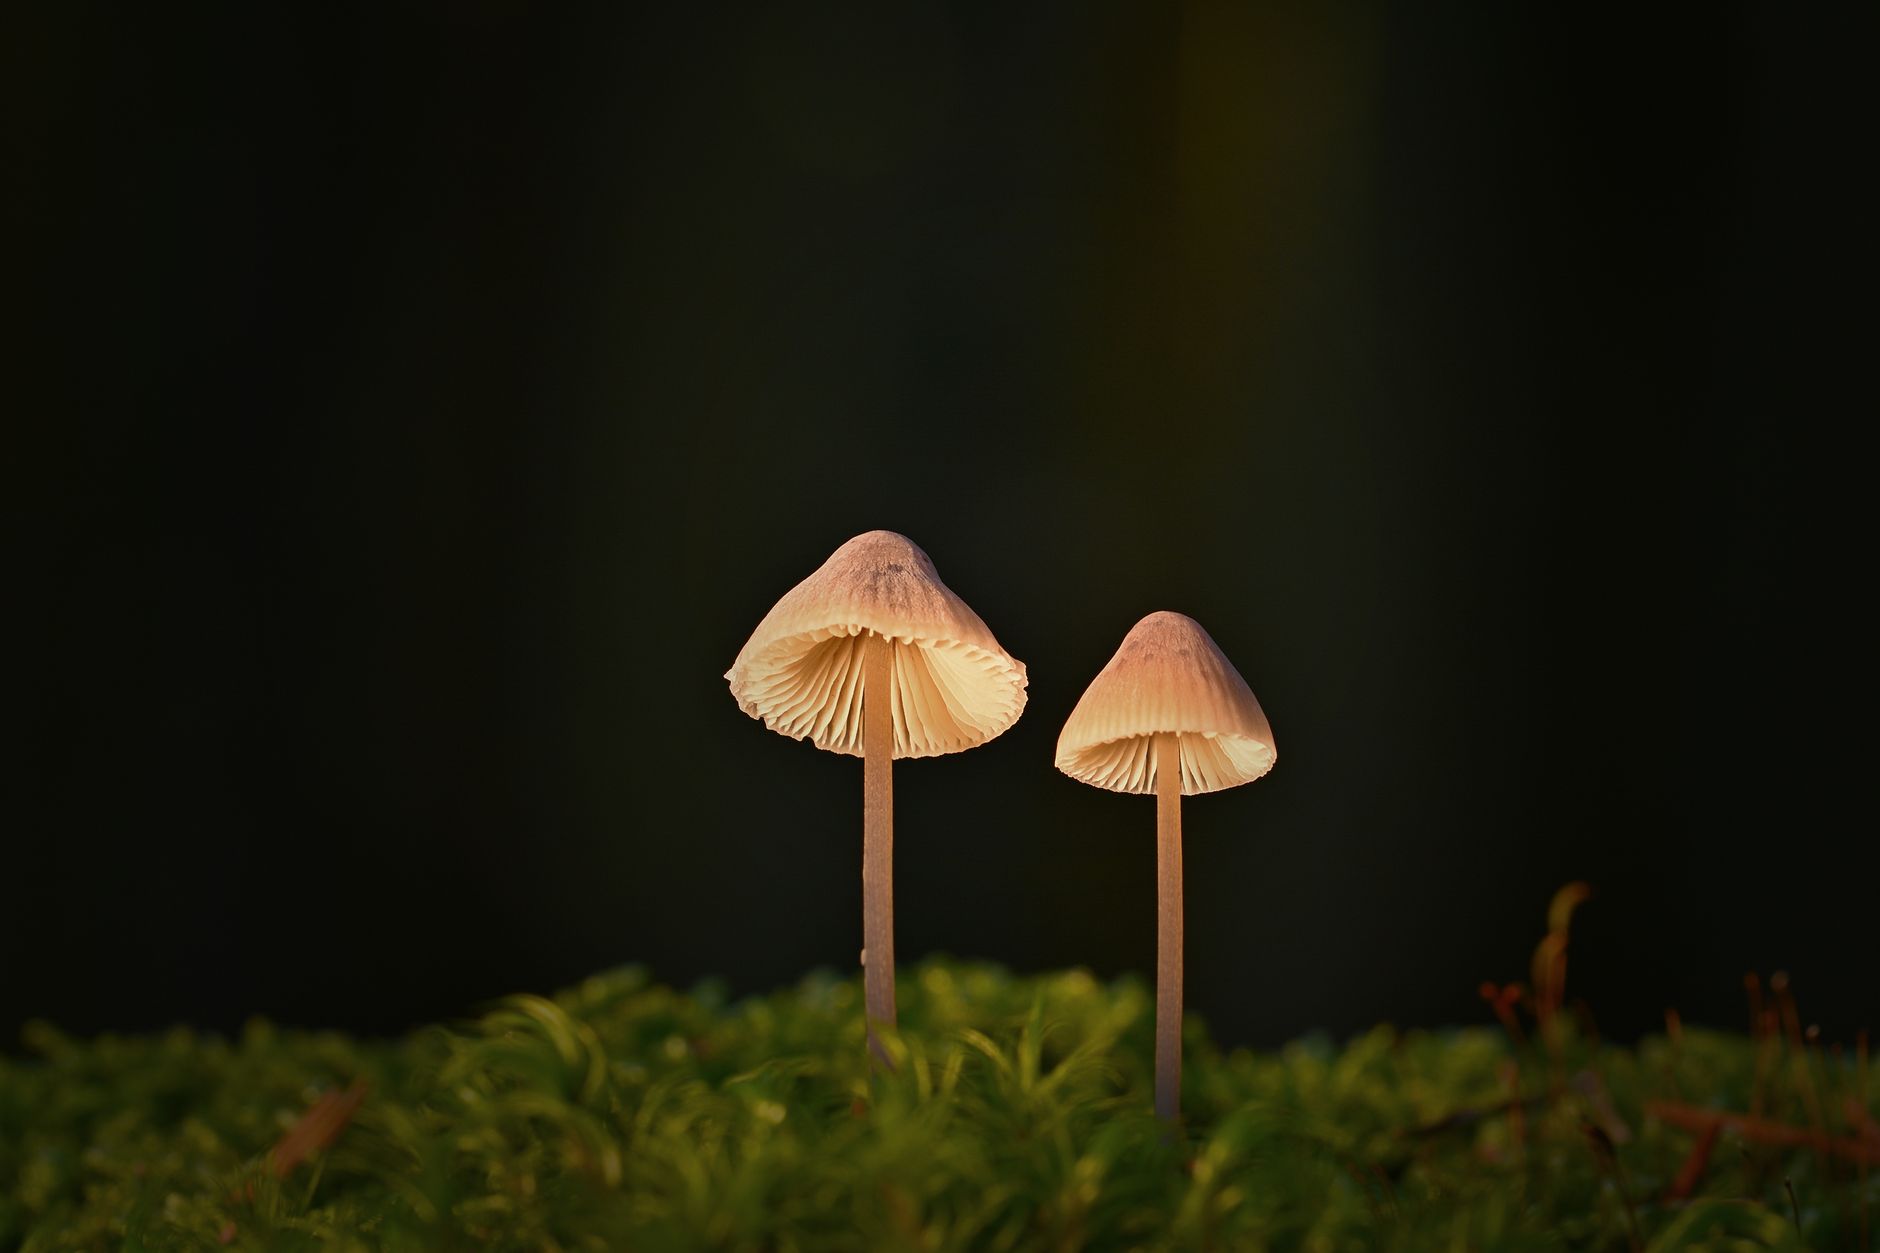
The bleeding fairy helmet, Mycena haematopus, is one of the most visually striking small mushrooms a home grower can attempt. Its caps start as tiny bells and mature to a convex shape, often with a pinkish brown to reddish brown surface. The real show happens when you cut the stem or cap. A red to reddish brown latex oozes from the wound. That feature gives the species both its common name and a lot of curiosity value. Still, this is not a beginner mushroom. It is rarely cultivated commercially, so home success depends on careful technique and patience. To succeed, you need the right substrate, clean spawn, and a controlled fruiting space. For substrate options, see the best mushroom substrate guide.
In the wild, bleeding fairy helmet grows on well-decayed hardwood logs, stumps, and fallen branches. It is a saprobic fungus, meaning it feeds on dead wood rather than living trees. You will often find clusters of 10 to 30 small caps pushing through bark cracks or soft wood. The North American Mycological Association (NAMA) advises that small brown and reddish Mycena species can be confused with many other mushrooms. Accurate identification matters, especially if you ever think about eating any wild mushroom. For cultivation, knowing its natural habitat helps. You are trying to mimic a rotting hardwood environment indoors.
Home cultivation of bleeding fairy helmet is uncommon. Many commercial spawn suppliers do not carry it because yields are small and the mushrooms are delicate. That said, growers who enjoy novelty species can try it with standard wood-lover methods. The process looks similar to growing shiitake, lion’s mane, or oyster mushrooms. You prepare a hardwood sawdust block, sterilize it, and introduce clean grain spawn. If you are new to spawn production, review this how to make grain spawn guide before you start. Clean spawn is the foundation of any successful mushroom grow. Without healthy mycelium, your project will struggle.
This guide walks through eight steps, from understanding the species to harvesting and handling the mushrooms. It includes specific data points for substrate mix, temperature, humidity, and colonization time. You will need basic mushroom cultivation equipment like a pressure cooker, spawn bags, and a fruiting chamber. The article links to relevant guides for substrate preparation, contamination identification, and fruiting conditions. Remember, bleeding fairy helmet is an advanced, experimental species. Set realistic expectations and enjoy the process. Even if you get a small cluster, you will have learned a lot about wood-loving mushroom cultivation.
What You’ll Need
- Pressure cooker capable of 15 PSI
- Mushroom spawn bags with filter patches
- Still air box or laminar flow hood
- 70% isopropyl alcohol
- Hardwood sawdust, wheat bran, gypsum
- Grain spawn of bleeding fairy helmet
- Fruiting chamber with humidifier and humidity controller
- Thermometer and hygrometer
How Do You Grow Bleeding Fairy Helmet at Home?
- Understand the Species and Set Realistic Expectations
Bleeding fairy helmet (Mycena haematopus) is a small, saprobic mushroom in the Mycenaceae family. It typically produces caps that measure 1 to 3 cm across. The stem is thin and fragile, often 3 to 6 cm long. When cut, the flesh exudes a red to purple-red latex. This latex is a key identification feature, but it can be variable. Some specimens bleed less if they are dry or old. In nature, the mushroom fruits on decaying hardwood, especially beech, maple, oak, and alder. Understanding this tells you two things: the substrate must be hardwood, and the mushrooms will be small.
Cultivation of this species is not standardized. Unlike oyster or shiitake mushrooms, you will not find many proven protocols. That means your results may vary. Some growers report success with supplemented sawdust blocks. Others say the mycelium runs well but fruiting is inconsistent. Approach this as an experiment. Do not invest in large batches until you have one successful run. If you enjoy troubleshooting, this project can be rewarding. If you want guaranteed harvests, consider a more forgiving species like blue oyster mushroom growing guide.
The key data points to remember are these: colonize at 21-24°C, fruit at 15-18°C, and keep humidity between 85 and 95 percent. Colonization usually takes 14 to 21 days, depending on spawn rate and substrate depth. Pinning can start 7 to 14 days after moving to fruiting conditions. These numbers come from general wood-lover cultivation and limited grower reports. They are a starting point, not a guarantee. Be ready to adjust based on what you observe.
Finally, do not confuse bleeding fairy helmet with other red-latex or bleeding mushrooms. Some are not safe. Always get a positive identification from an expert before consuming any wild mushroom. For this project, you are growing for observation, novelty, or mycological study. The North American Mycological Association (NAMA) offers identification resources and local club contacts. Use them if you collect wild material or want to confirm your culture.
- Gather Equipment and Prepare a Clean Workspace
You will need a pressure cooker, mushroom spawn bags with filter patches, a still air box or laminar flow hood, nitrile gloves, 70% isopropyl alcohol, and a spray bottle. You also need a scale, mixing bucket, and a thermometer. These basic tools are covered in many mushroom growing guides. A dependable pressure cooker is the single most important piece of equipment for sterilizing substrate. If you do not have one, check best mushroom grow kits 2026 for pre-sterilized options that can save time.
Cleanliness is non-negotiable. Bacterial and mold spores are everywhere. They can outcompete mycelium on a rich sawdust substrate. Work in a small room with no draft. Wipe down all surfaces with a 10 percent bleach solution or 70 percent isopropyl alcohol. Wear clean clothes and tie back long hair. The mushroom contamination identification guide is a useful reference for spotting problems before they ruin a grow. Review it before you start, not after contamination appears.
For spawn bags, use polypropylene bags rated for high heat. They must have a filter patch to allow gas exchange. A common size is 0.2 micron filter patch on a 3 to 5 kg capacity bag. You can find these at mushroom supply shops. Check mushroom spawn bags on Amazon if you need a quick source. Avoid cheap oven bags or household plastic. They will melt in the pressure cooker or fail to breathe properly.
Set up your still air box before you begin. It is a clear plastic tote with two arm holes cut in the front. Inside the box, air is relatively still, which reduces contamination risk during inoculation. A laminar flow hood is better but expensive. For one or two bags, a still air box works fine. Place all tools inside, wipe them with alcohol, and let the air settle for a minute before opening spawn or substrate. Every extra second of care here pays off later.
- Prepare a Supplemented Hardwood Sawdust Substrate
The best substrate for bleeding fairy helmet is hardwood sawdust. It mimics the decayed wood where the mushroom grows naturally. Use sawdust from maple, oak, beech, or alder. Avoid softwoods like pine or cedar because their resins inhibit mycelial growth. A reliable recipe is 80 percent hardwood sawdust, 18 percent wheat bran, and 2 percent gypsum by dry weight. The wheat bran adds nitrogen, and gypsum buffers pH and prevents clumping. Weigh each component precisely with a kitchen scale.
Mix the dry ingredients thoroughly in a large bucket. Then add non-chlorinated water until the mix reaches 60 to 65 percent moisture. You can check moisture by squeezing a handful of substrate. It should hold together without releasing more than a few drops of water. Too wet and the mycelium will stall. Too dry and it will not colonize. This hydration range is similar to what you would use for other wood-loving mushrooms. For more details on substrate choices, see best mushroom substrate guide.
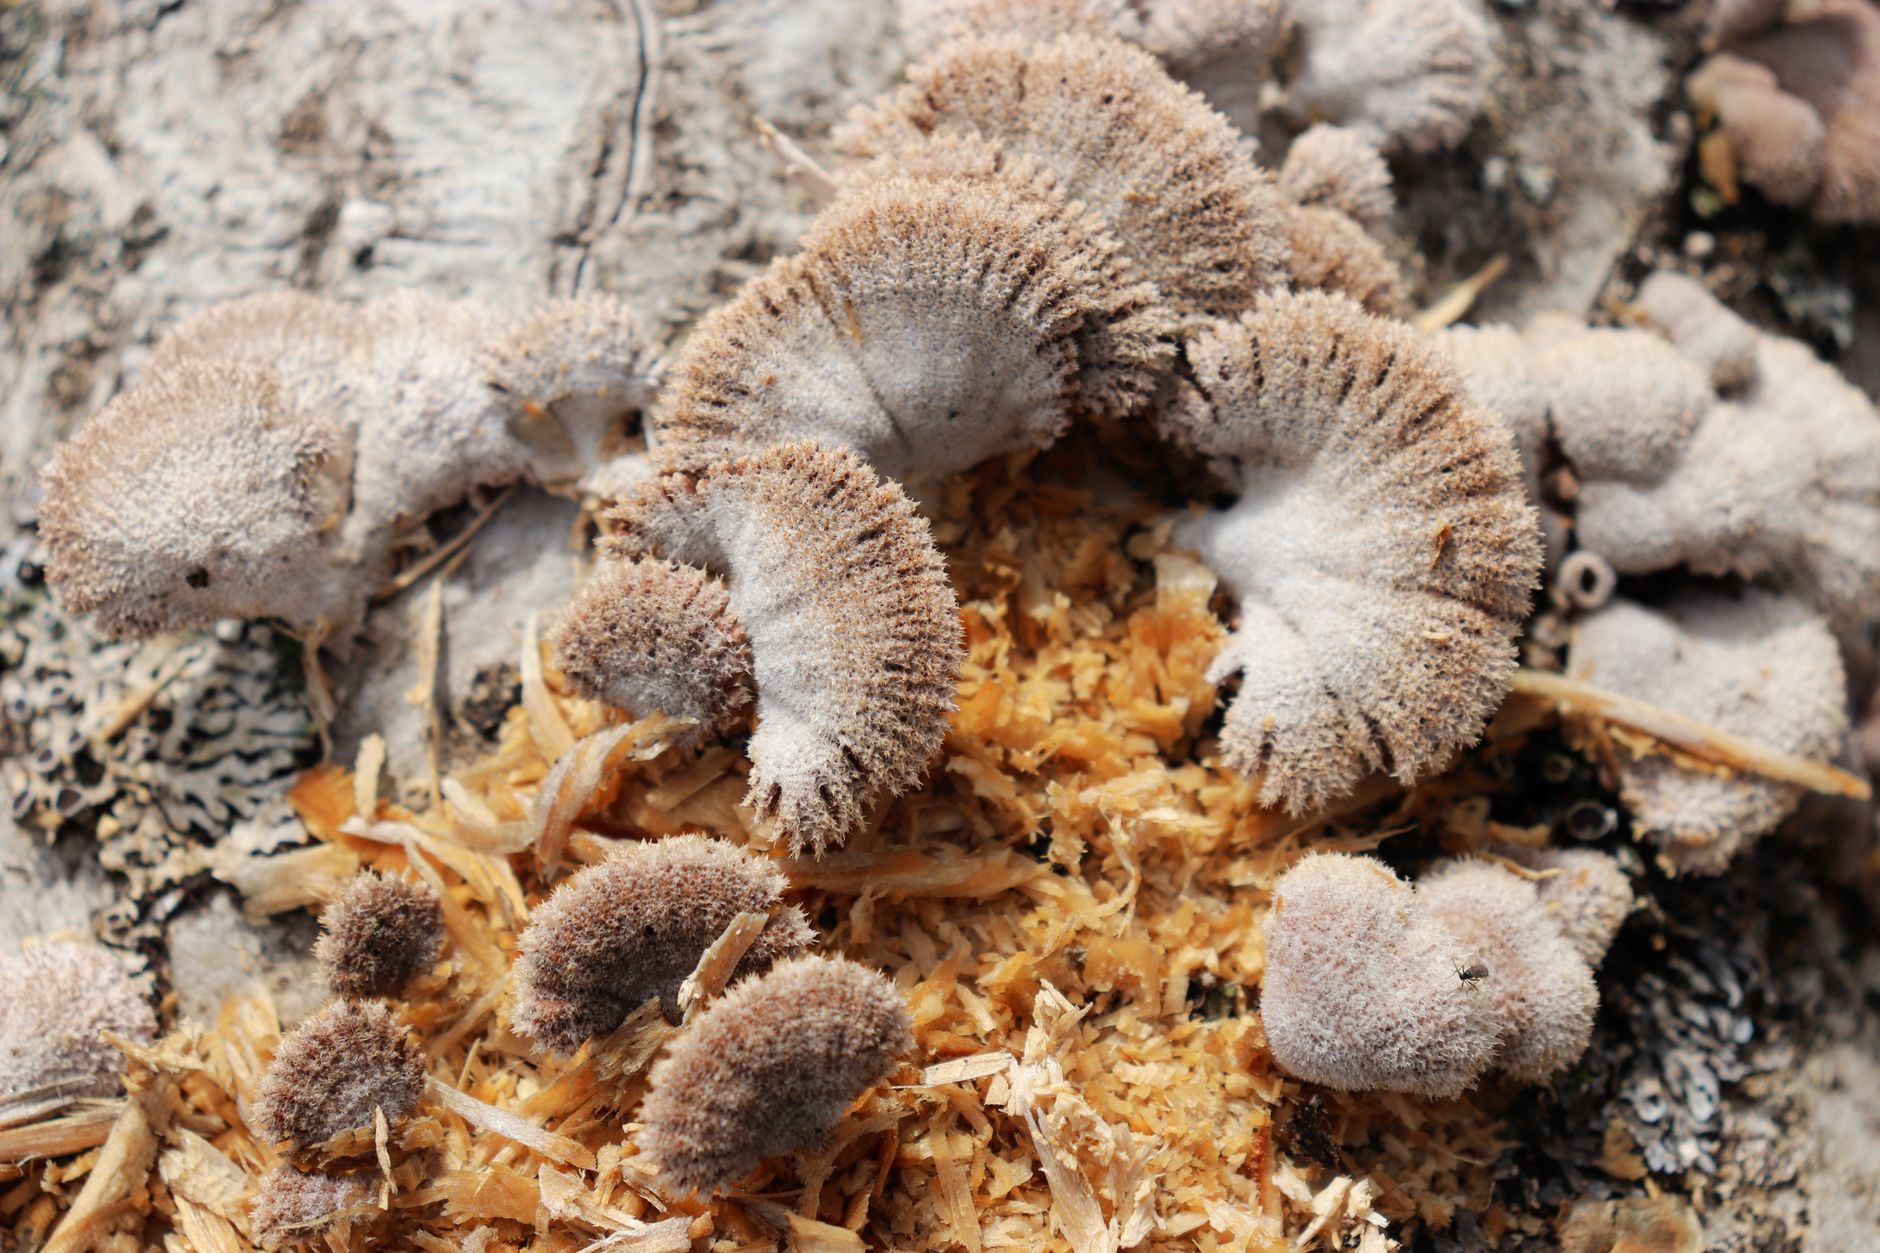
Load the substrate into spawn bags. Fill each bag about two-thirds full to leave room for mixing and gas exchange. Fold the bag top over and secure it with a rubber band or use a bag with a self-sealing filter. Sterilize the bags in a pressure cooker at 15 PSI for 90 minutes. This kills competing microbes. If you use a smaller pressure cooker, process in batches. Do not skip sterilization with supplemented sawdust. The bran invites contamination quickly.
- Inoculate the Substrate with Clean Grain Spawn
Once the bags have cooled to room temperature, move them into your still air box. Use grain spawn that is fully colonized by bleeding fairy helmet mycelium. If you need to make your own, see how to make grain spawn. The spawn should smell mushroomy and fresh, not sour or sweet. Break up the grains inside a clean bowl or directly in the spawn jar. You want individual grains, not clumps.
Open the cooled substrate bag inside the still air box. Sprinkle spawn on top of the sawdust at a rate of about 5 to 10 percent of the wet substrate weight. For a 3 kg bag, that is 150 to 300 grams of grain spawn. More spawn is not always better. A heavy spawn rate can cause the substrate to overheat during colonization. Gently mix the spawn into the top few inches of sawdust using a sterilized spoon or your gloved hand. Seal the bag.
After sealing, shake the bag gently to distribute spawn throughout the substrate. This speeds up colonization by creating many inoculation points. Be careful not to tear the bag or break the filter patch. Label each bag with the date, species, and substrate recipe. Records help you troubleshoot later. If you have multiple bags, isolate them during incubation. Cross-contamination can spread fast.
A common mistake is inoculating substrate that is still warm. This kills the spawn. Wait until the bag feels room temperature, around 20 to 24°C, before adding spawn. Another mistake is using spawn with uncolonized grains. Uncolonized grains rot and invite mold. Always inspect spawn visually. It should be bright white and consistent. If it has colored patches or wet spots, do not use it.
- Incubate in a Dark, Warm Space
Place the inoculated bags in a dark or dimly lit area. The ideal colonization temperature is 21 to 24°C. At this range, bleeding fairy helmet mycelium usually runs through the substrate in 14 to 21 days. Avoid places with temperature swings like garages or near heaters. A closet, cabinet, or small incubation tote works well. You do not need light during this stage. Light can actually trigger premature pinning in some species.
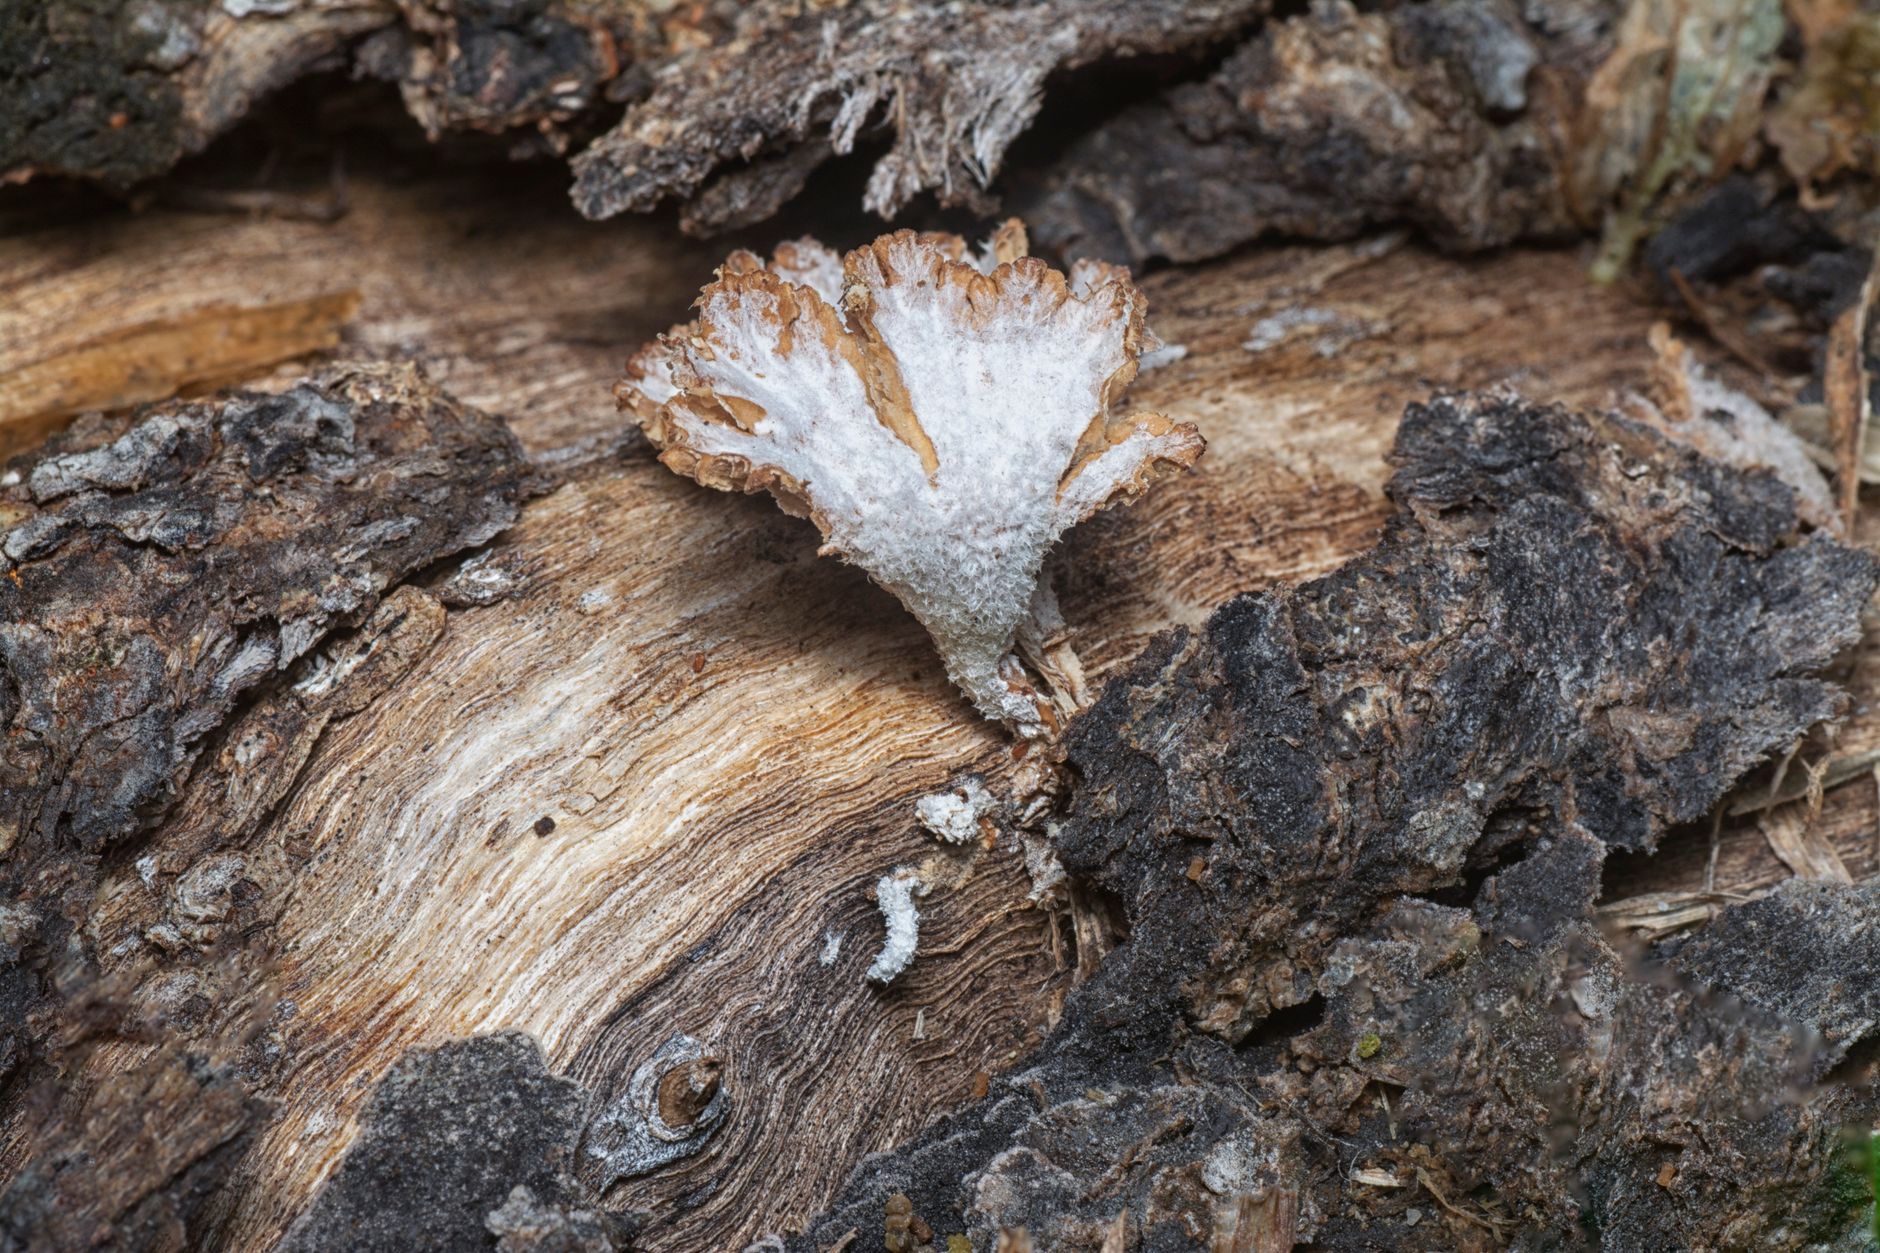
Check the bags every few days. You should see white mycelial threads spreading from the spawn grains. This growth may be slower than oyster or lion’s mane mycelium. Do not disturb the bags unless necessary. Gentle handling prevents breakage of fragile hyphae. If you notice green, black, or orange spots, or a sour smell, contamination has taken hold. Review mushroom contamination identification guide to confirm and learn how to dispose of contaminated bags safely.
After 7 to 10 days, some growers mix the bag again to speed up remaining colonization. This is optional. If you choose to mix, do it inside a still air box to reduce contamination risk. After mixing, the mycelium may stall for a day or two before resuming growth. That is normal. Full colonization is marked by the entire substrate becoming white and firm. The bag may feel like a solid block. Slight yellowing or brown metabolites can appear, which is not usually a problem.
- Cold Shock and Set Up the Fruiting Chamber
After full colonization, bleeding fairy helmet benefits from a temperature drop. Move the colonized block to a fruiting area that stays between 15 and 18°C. This cold shock from 21-24°C down to 15-18°C signals the mycelium to switch from growth to reproduction. Many wood-loving mushrooms need this change to form mushrooms. You can achieve it by moving the block to a basement, cool room, or a dedicated fruiting chamber.
Set up a fruiting chamber with controlled humidity and fresh air. A simple shotgun fruiting chamber or a small grow tent works. If you need plans, read diy mushroom fruiting chamber guide. The chamber should maintain 85 to 95 percent relative humidity. You can use a cool-mist humidifier connected to a humidity controller. Check humidity controller on Amazon for an affordable option. Do not mist directly on the block heavily. Fine mist or humidifier fog is better.
Fresh air exchange is just as important as humidity. Stale air with high carbon dioxide causes long, spindly stems and small caps. Set up an exhaust fan or open the chamber a few times a day. A small computer fan on a timer can run for a few minutes every hour. Avoid strong direct airflow that dries out the block. Aim for gentle, consistent air movement. If you notice condensation dripping on the block, reduce humidity slightly.
Light is the final trigger. Bleeding fairy helmet does not need bright light, but it benefits from a 12-hour light, 12-hour dark cycle. Indirect natural light or a cool white LED at 5000 to 6500 Kelvin works. Place the light a few feet above the chamber. Do not use hot incandescent bulbs. They can dry the mushrooms and overheat the chamber. Keep the light timer consistent to help the mushrooms orient their caps.
- Maintain Fruiting Conditions and Watch for Pins
Pins, or tiny mushroom primordia, usually appear 7 to 14 days after moving the block to fruiting conditions. Check daily for small reddish brown bumps or delicate stems. These pins are very fragile. Avoid touching them. Keep humidity steady between 85 and 95 percent. If the pins dry out, they will abort. If they sit in standing water, bacteria can rot them. A fine fog from a humidifier is ideal.
Continue fresh air exchange throughout the fruiting period. Bleeding fairy helmet clusters grow quickly once pins form, often reaching maturity in 5 to 10 days. The caps will expand from tiny bells to broader convex shapes. You may begin to see the characteristic red latex only when you cut or damage a stem. Some clusters bleed more than others. The amount of latex can vary with moisture, age, and genetics. This is normal.
Watch for common fruiting problems. Leggy, pale stems mean low light or high CO2. Dry, cracked caps mean low humidity. Small, misshapen caps can mean temperature stress. If you see problems, adjust one variable at a time. For a deeper look at environmental factors, read mushroom fruiting conditions guide. Small changes often produce better clusters within a few days. Avoid making multiple changes at once because you will not know which one worked.
Some growers report that bleeding fairy helmet fruits in flushes. After the first harvest, you can soak the block in cold non-chlorinated water for 6 to 12 hours to rehydrate it. Then return it to fruiting conditions. A second flush may appear in 10 to 20 days. The mushrooms may be smaller on later flushes. This is common across many wood-loving species. If contamination shows up after the first flush, it is usually time to compost the block.
- Harvest and Handle the Mushrooms Safely
Harvest bleeding fairy helmet when the caps have opened but before the edges flatten or curl upward. The small stems snap easily. Use clean scissors or a sharp knife to cut the cluster at the base. You can also twist gently, but be careful not to disturb neighboring pins. Harvest the entire cluster if most caps are mature. Leaving a few small pins may allow them to continue growing, but the block often aborts them after harvest.
Handle the mushrooms as little as possible. Their thin flesh bruises and dries quickly. Place them in a paper bag or wax paper, not plastic. Plastic traps moisture and causes sliminess. Store in the refrigerator at 2 to 4°C for up to a few days. Bleeding fairy helmet is not a good candidate for long storage. If you want to preserve the red latex for observation, cut a fresh stem and photograph it immediately. The color fades with time.
Do not eat bleeding fairy helmet unless a qualified expert positively identifies it and you know its edibility status. Most sources consider it inedible or of unknown edibility. Small Mycena mushrooms are easily confused with toxic look-alikes. The North American Mycological Association (NAMA) strongly recommends expert identification for any wild mushroom before consumption. Since this is an experimental home grow, treat it as an ornamental or study specimen.
After harvest, the spent substrate block can be composted or buried outdoors in a shaded spot. Some growers have success fruiting wood-loving species outdoors by partially burying colonized blocks under hardwood chips. That is a fun second experiment, but do not expect consistent results. Clean your fruiting chamber and tools with dilute bleach before starting a new culture. Good sanitation protects future grows.
Red Flags & Warnings
- 🚨 Never eat bleeding fairy helmet or any wild mushroom unless an expert positively identifies it. Small Mycena species can resemble toxic mushrooms.
- 🚨 Red latex is not a sign of safety. Some toxic mushrooms also exude latex. Do not use latex color alone for identification.
- 🚨 Discard any spawn bag or substrate block that shows green, black, or orange mold. Contamination spreads quickly in a warm, humid room.
- 🚨 Keep humidity between 85 and 95 percent, but avoid standing water on the block. Excess water can cause bacterial blotch and aborted pins.
- 🚨 Do not over-handle the delicate pins. Bleeding fairy helmet mushrooms are brittle and abort easily when touched.
- 🚨 Expect inconsistent fruiting. This species is not widely cultivated, so a failure to fruit indoors is not necessarily your fault.
Frequently Asked Questions
What is bleeding fairy helmet?
Bleeding fairy helmet is the common name for Mycena haematopus, a small wood-decay mushroom. It is known for exuding red latex when cut. It grows on decaying hardwood logs, stumps, and fallen branches.
Is bleeding fairy helmet edible?
Most sources list it as inedible or of unknown edibility. It also closely resembles other small brown and reddish mushrooms. Never eat it unless an expert positively identifies it and you know the edibility status.
How long does it take to grow bleeding fairy helmet?
After inoculation, colonization takes about 14 to 21 days at 21-24°C. Pinning usually begins 7 to 14 days after moving to fruiting conditions. Mature mushrooms may appear 5 to 10 days after pinning.
What substrate recipe works best for bleeding fairy helmet?
A reliable recipe is 80 percent hardwood sawdust, 18 percent wheat bran, and 2 percent gypsum by dry weight. Hydrate to 60 to 65 percent moisture and sterilize at 15 PSI for 90 minutes.
Can I grow bleeding fairy helmet on straw or compost?
Straw is not ideal. Bleeding fairy helmet is a hardwood lover. It prefers sawdust from maple, oak, beech, or alder. Compost or manure-based substrates are also not recommended.
Why is my bleeding fairy helmet mycelium not growing?
Check the temperature, which should be 21 to 24°C. Verify the substrate is not too wet or too dry. Also check spawn health and watch for contamination. A sour smell or colored spots means the bag is lost.
What Should You Remember?
- Species profile: Bleeding fairy helmet (Mycena haematopus) is a delicate wood-loving mushroom known for red latex.
- Substrate: Use 80% hardwood sawdust, 18% wheat bran, 2% gypsum at 60-65% moisture.
- Colonization: Incubate at 21-24°C for 14-21 days in the dark.
- Fruiting conditions: Drop to 15-18°C, keep humidity 85-95%, and provide 12 hours of light.
- Sanitation: Clean tools and workspace to avoid losing bags to mold or bacteria.
- Identification: Never eat these mushrooms unless an expert positively identifies them.
- Expectations: Home cultivation is experimental. Inconsistent fruiting is common.
This article is for general information only. Mushroom identification and consumption carry health and safety risks , never eat a wild mushroom unless positively identified by an expert, and follow sterile technique and food-safety guidance for home grows.