Grain spawn is the backbone of indoor mushroom cultivation. It gives mycelium a clean, nutritious, easily distributed medium to colonize before you introduce it to a bulk substrate. If you are new to the topic, start with the best mushroom substrate guide to see how grain fits into the larger growing process. This article shows you how to produce your own spawn at home using basic equipment and careful sterile technique.
Making grain spawn is not the same as just boiling rice or oats. You need whole grains, hydrated correctly, sterilized under pressure, and inoculated in a clean environment. The process rewards patience and precision. A single contaminated jar can spread mold spores to an entire grow space. Home growers who master grain spawn can expand cultures for years and cut supply costs.
Penn State Extension notes that grain spawn production is a foundational step in commercial and hobby cultivation. According to Penn State Extension, grain must reach an internal temperature of at least 250 degrees Fahrenheit to kill bacterial endospores. That means a proper pressure cooker, not a steam bath. When done right, rye grain spawn colonizes in about 7 to 14 days for oyster mushrooms.
You will use about 220 grams of dry rye berries and 220 milliliters of water per quart jar. That ratio gives roughly 50 percent moisture content, which mycelium prefers. Keep your incubation area between 75 and 80 degrees Fahrenheit. This tutorial walks through each stage, from choosing grain to storing fully colonized jars.
What You’ll Need
- 23 quart pressure cooker or pressure canner
- Quart wide mouth mason jars or autoclavable spawn bags
- Modified jar lids with filter discs or syringe ports
- Whole rye berries, milo, wheat, or oats
- Still air box or laminar flow hood
- 70 percent isopropyl alcohol, gloves, and a flame source
- Liquid culture or agar culture
How Do You Make Grain Spawn for Home Mushroom Cultivation?
- Choose a clean, whole grain for your spawn
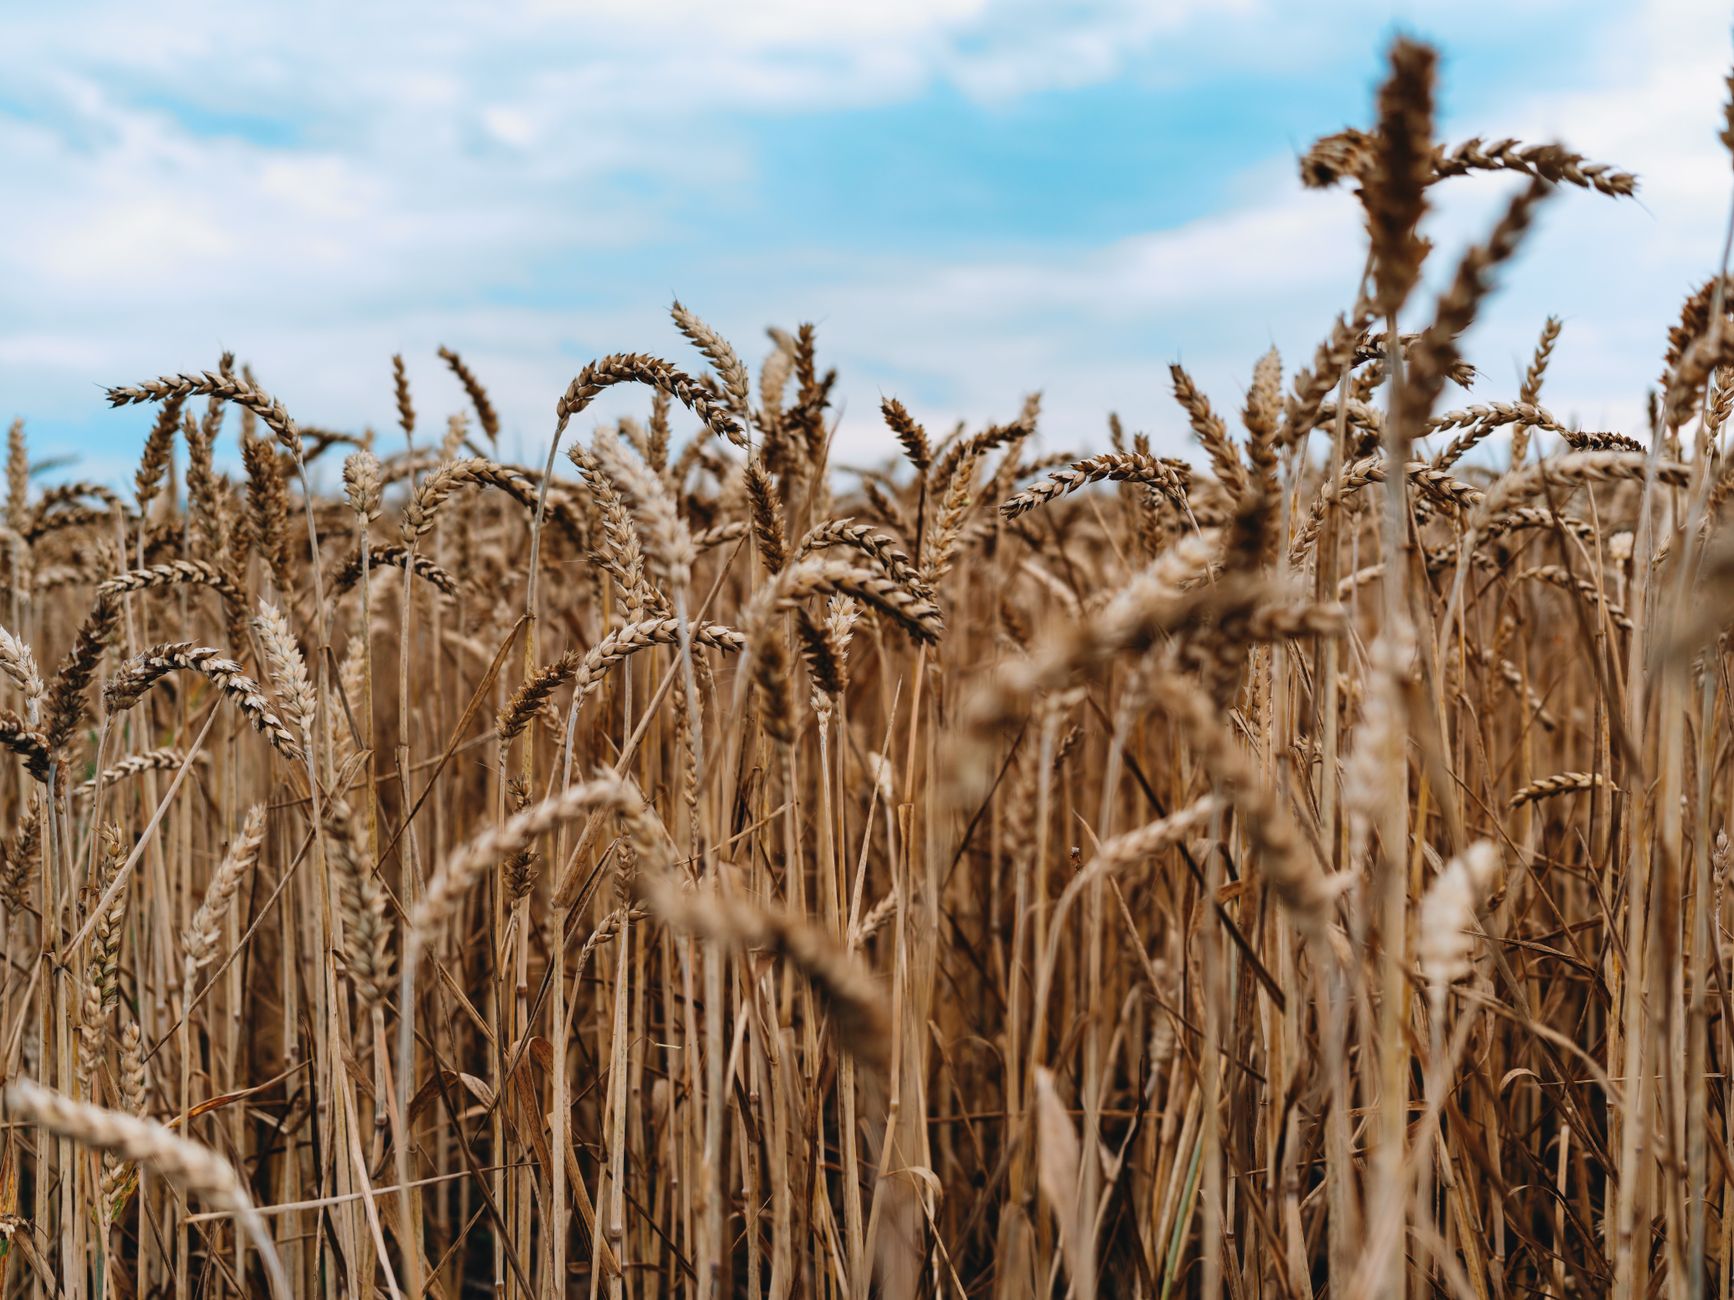
Start with whole rye berries, milo, wheat, or whole oats. Rye is the most common choice because it holds its shape, resists clumping, and hydrates evenly. Avoid rolled, pearled, or split grains. These forms turn to mush and create anaerobic pockets where bacteria thrive. A quart jar holds about 220 grams of dry rye berries, which expands to roughly 640 milliliters after soaking.
The grain you choose influences contamination resistance. Whole grains have an intact hull that helps them stay separate. If you want alternatives, whole oats are cheap and work well for many species. Still, rye has a proven track record for home growers. You can find more detail on matching substrates to species in the mushroom contamination identification guide because a clean start prevents most problems.
Inspect the grain for debris, cracked kernels, and dust. Dust and cracked pieces cause starchy clumps. Rinse the dry grain in cool water until the water runs mostly clear. This step removes field dust and some surface spores. Drain before moving to the soak. Skipping the rinse is a small mistake that can make jars sticky and harder to shake later.
Consider making enough for several jars at once. A 23 quart pressure cooker can hold about 10 quart jars or 4 spawn bags. You can check the Presto 23 quart pressure cooker on Amazon if you do not have one. Pressure canners with a gauge or weight are essential for reaching 15 PSI.
- Soak and simmer the grain to hydrate it
Place the rinsed rye berries in a large pot and cover them with water by several inches. Add a spoonful of gypsum if you have it. Gypsum is not required, but it helps keep grains from sticking and adds a little calcium. Soak the grain for 12 to 24 hours at room temperature. Soaking wakes up bacterial endospores, making them easier to kill during sterilization.
After the soak, bring the pot to a low boil and simmer for 10 to 15 minutes. You do not want to fully cook the grain. The goal is to hydrate the interior to about 50 percent moisture while keeping the hull intact. Rye berries are ready when you can bite one in half and see no dry white core. The outer surface should still be smooth and firm.
Some growers skip the long soak and simmer for 20 to 25 minutes instead. That works, but the soak method is more forgiving. Overcooking causes burst grains and wet spot bacteria. If you see more than a few burst kernels, start over. The next step is draining and drying the surface. That drying step matters as much as the simmer itself.

- Drain and dry the grain until the surface is tacky
Pour the simmered grain into a large colander and let it drain for 10 minutes. Then spread it out on a clean baking sheet or a mesh screen. Use a clean towel to pat the top. You want the outside of each grain to feel dry to the touch, while the inside stays plump with water. A simple test is to press a grain onto a paper towel. If it leaves a wet spot, keep drying.
Proper surface dryness prevents wet spot bacteria, one of the most common grain spawn failures. This contamination appears as slimy uncolonized grains and a sour smell. Dry grains also shake more easily later. The ideal moisture content is around 50 percent. You can measure by weighing a sample before and after drying, but the paper towel test works for small batches.
Do not rush this step. Even an extra 30 minutes of air drying is better than loading sopping grain into jars. If you use jars with filter patches, wet grain can clog the filter and reduce gas exchange. Once the grain passes the paper towel test, load it into containers immediately. This spawn will later be used to inoculate substrates for species like oyster mushrooms.
- Load jars or spawn bags and add gas exchange filters
Fill clean quart mason jars about two-thirds to three-quarters full with dried grain. Leave headroom so you can shake the jar later. Wipe the rim dry with a clean paper towel before adding the lid. For spawn bags, fill the bag no more than half full. Bags need extra space because the grain shifts during handling and shaking.
You need a gas exchange port. Mason jar lids should be modified with a syringe filter or a synthetic filter disc. A common setup is a quarter-inch hole covered with micropore tape or a breathable filter disc. You can buy wide mouth quart mason jars and synthetic filter discs separately. Avoid unmodified lids because jars can build pressure and crack, or suffocate the mycelium.
Cover jar lids with foil before sterilizing. The foil keeps filter discs dry during the pressure cycle. If you use bags, make sure the filter patch is not folded or blocked. Seal bags with an impulse sealer or fold the top over and clip it. Do not use ordinary plastic bags. They cannot withstand sterilization temperatures.
- Sterilize the grain at 15 PSI for 90 minutes
Place a rack or canning trivet in the bottom of your pressure cooker. Add about three inches of water, or the amount recommended by the manufacturer. Load the jars or bags so they do not touch the sides of the cooker. If you stack jars, use a second rack between layers. A 23 quart pressure cooker can process 10 quart jars at once.
Vent the cooker for 10 minutes with the weight off or the valve open. Then add the weight or close the valve and bring the pressure to 15 PSI. At sea level, 15 PSI corresponds to about 250 degrees Fahrenheit. That temperature is required to kill bacterial endospores and heat-resistant molds. Process quart jars for 90 minutes. For bags, use 2 hours because the larger mass takes longer to heat through.
Let the pressure drop naturally. Do not force-cool the cooker or open it while hot. Rapid cooling can suck contaminated air into jars through the filter. Let everything cool to room temperature overnight. This step also prevents burns when you move to inoculation. Your jars are now sterile inside. Treat them as a clean room environment from this point forward.
- Inoculate the cooled grain inside a still air box
Work in a still air box or in front of a laminar flow hood. A still air box is a clear plastic tote with arm holes. Wipe the inside with 70 percent isopropyl alcohol and let it settle. Flame-sterilize your inoculation tool until it glows red, then cool it briefly. If you use a liquid culture syringe, shake it well and wipe the needle with alcohol.
Inject one to two milliliters of liquid culture into each jar through the filter port. For agar wedges, open the jar lid just enough to drop a wedge onto the grain. Move slowly to avoid air currents. Close the lid immediately. The goal is to introduce only the desired mycelium. A single stray mold spore can ruin the whole jar.
This step connects directly to your culture source. If you do not have a clean culture yet, start with a proven liquid culture or agar plate from a reputable supplier. Avoid inoculating from a spore syringe directly into grain. Spores are not sterile and often fail or contaminate. For a deeper look at clean technique, see the diy mushroom fruiting chamber guide which covers the same principles of environmental control.
- Incubate the jars at 75 to 80 degrees Fahrenheit
Place inoculated jars in a dark, draft-free cabinet or shelf. The ideal incubation range is 75 to 80 degrees Fahrenheit. Temperatures below 70 degrees slow growth. Temperatures above 85 degrees invite thermophilic molds. Consistent temperature matters more than exact warmth. A small space heater with a thermostat works if your room is cool.
Check jars daily for white mycelium and any signs of contamination. Healthy mycelium looks like white, ropey threads spreading from the inoculation point. Oyster mushrooms often colonize a quart jar in 7 to 10 days. Lion’s mane can take 14 to 21 days. If you see green, black, pink, or slimy patches, remove the jar without opening it and throw it away outside. According to mushroom cultivation statistics 2026, more home growers are making their own spawn to save money.
Give each jar a gentle shake at about 20 to 30 percent colonization. Hold the jar by the lid and swirl the grains to redistribute mycelium. This is called a shake and break. It speeds up colonization by spreading many growth points. Do not shake too early. Young mycelium needs time to establish a network. After shaking, the jar may look like it went dormant for a day, but growth will resume with renewed speed.
- Shake, expand, or store the fully colonized spawn
Once the jar is 100 percent white with mycelium and smells earthy, it is ready. You can use it immediately to inoculate bulk substrate. One quart of colonized rye can expand to 4 to 8 quarts of new grain through grain-to-grain transfer. For grain-to-grain, shake the master jar to break it apart, then pour a small amount into newly sterilized grain jars inside a still air box.
If you are not ready to use the spawn, store it in a cool place between 35 and 45 degrees Fahrenheit. This slows metabolism and keeps spawn viable for several weeks to a few months. Do not freeze it. Do not store spawn in the same fridge as food unless it is sealed. A dedicated mini fridge avoids cross-contamination and keeps the spawn clean.
Spawn that sits too long can form thick mycelial skins or even pin inside the jar. That is not a failure. You can still crumble it into substrate. However, if the spawn develops any off odor, liquid at the bottom, or color, toss it. Your time and grain are cheaper than a failed crop. With sterile technique and patience, you can keep a culture running for years.
Red Flags & Warnings
- 🚨 Never skip pressure sterilization for grain spawn. Boiling grains does not kill bacterial endospores. Use a pressure cooker at 15 PSI.
- 🚨 Do not inoculate hot jars. Wait until jars cool to room temperature. Heat kills mycelium on contact.
- 🚨 Avoid overhydrated grain. Standing water in jars causes wet spot bacteria. Grains should be dry on the outside but moist inside.
- 🚨 Use a still air box or flow hood for all transfers. Ambient air carries mold spores that will ruin your spawn.
- 🚨 Never eat grain spawn or unknown mushrooms. Spent spawn is not food. If you fruit mushrooms, get an expert ID before eating. The North American Mycological Association offers identification resources.
- 🚨 Never use a spore syringe directly on grain. Spore syringes are not sterile and often introduce contaminants. Start with agar or liquid culture.
Frequently Asked Questions
What is the best grain for mushroom spawn?
Rye berries are the standard choice because they hold their shape, resist clumping, and hydrate evenly. Whole oats, milo, and wheat also work well. Avoid rolled, pearled, or split grains because they turn to mush and create anaerobic pockets.
How long does grain spawn take to colonize?
Oyster mushrooms usually colonize a quart jar in 7 to 10 days. Lion’s mane may take 14 to 21 days. Slower species such as shiitake can take three weeks or more. Temperature and grain moisture affect colonization speed.
Do I need a pressure cooker for grain spawn?
Yes. Grain spawn requires an internal temperature of about 250 degrees Fahrenheit to kill bacterial endospores. Boiling or steam baths only reach 212 degrees Fahrenheit. A pressure canner at 15 PSI is the reliable way to reach that temperature.
Can I use brown rice for grain spawn?
Brown rice can work, but it clumps easily and is less forgiving than rye. Rinse it very well and slightly underhydrate. Use a still air box and dry the grain surface thoroughly before loading jars.
How do I know if grain spawn is contaminated?
Look for green, black, pink, or slimy patches that do not look like white mycelium. Wet, uncolonized grains and sour smells are also signs. Remove suspect jars without opening them and throw them away outside.
Can I make grain spawn from a mushroom stem?
Not directly. A fresh stem can be cloned onto agar to grow clean mycelium, which is then transferred to grain. Spore syringes are not sterile enough for direct grain inoculation. Start with a proven liquid culture or agar plate.
What Should You Remember?
- Hydration matters: Dry grain surface and about 50 percent internal moisture prevent wet spot bacteria.
- Pressure sterilize: Always process grain at 15 PSI for 90 minutes. No shortcuts work.
- Use clean culture: Inoculate only with liquid culture or agar. Spore syringes are risky.
- Incubate warm: Keep spawn at 75 to 80 degrees Fahrenheit for 7 to 14 days.
- Shake at 20 to 30 percent: A shake and break speeds colonization significantly.
- Check for contamination: Remove any jar with green, black, pink, or slimy growth.
- Store cold: Keep fully colonized spawn at 35 to 45 degrees Fahrenheit if not used immediately.
This article is for general information only. Mushroom identification and consumption carry health and safety risks , never eat a wild mushroom unless positively identified by an expert, and follow sterile technique and food-safety guidance for home grows.