Straw is one of the most affordable and forgiving substrates for home mushroom growers. Many new cultivators start with oyster mushrooms because they colonize straw quickly. The process of pasteurizing straw for mushrooms is not complicated, but it does require attention to temperature and time. Done right, pasteurized straw gives mycelium a clean head start without the cost of a pressure cooker. Penn State Extension has long documented how heat treatment improves mushroom substrate performance. If you are planning a first grow, check this guide to growing oyster mushrooms at home before you begin.
Here’s the thing about straw: it carries mold spores, bacteria, and weed seeds. Pasteurization is not sterilization. It lowers the number of competing organisms while leaving behind some heat-tolerant microbes. Many of those survivors can actually help mushroom mycelium defend its territory. The goal is a window of 160 to 170 degrees Fahrenheit for 60 to 90 minutes when using heat. Keep the temperature in that range and you kill most contaminants without cooking the straw into mush. The right substrate texture and moisture matter just as much as the heat. This ties directly into the best mushroom substrate guide for more context on other materials.
Cold lime pasteurization is a second route that works well for straw. A hydrated lime soak raises the pH high enough to knock out spores but still allows mushroom spawn to thrive after draining. The recipe is simple: about 1 cup of hydrated lime per 20 gallons of water, soaked for 12 to 24 hours. You can also use hot water if you have a large pot and a reliable thermometer. Both methods produce a substrate that colonizes in roughly 10 to 21 days for oysters. After spawning, fruiting conditions should stay around 85 to 95 percent humidity with plenty of fresh air.
If you skip pasteurization, green mold and black mold often show up before your mycelium gets established. A contaminated batch wastes spawn and time. Starting with clean pasteurized straw is the single most important step after obtaining healthy spawn. This article walks through the full process, step by step, with clear numbers and practical gear. You will learn two proven methods, how to drain and cool straw, and how to set up your first colonizing block or bucket.
What You’ll Need
- Large pot or metal drum
- Digital probe thermometer
- Mesh laundry bag or burlap sack
- Clean water source
- Hydrated lime or propane burner
- Clean tarp or draining surface
- 5-gallon bucket or breathable grow bag
How Do You Pasteurize Straw for Mushrooms at Home?
- Gather and chop your straw
Start with clean dry straw from wheat, oat, barley, or rice. Avoid hay. Hay contains grass seed heads and often more dense leaf material. Straw stems are hollow and provide air pockets. That structure helps mycelium breathe. You need about 5 pounds of dry straw for a standard bucket grow. Chop straw into 2 to 4 inch pieces. Shorter pieces are easier to pack, but very fine dust can restrict airflow. A weed trimmer in a trash can works well for chopping. This step connects to substrate recipe ratios later.
Some growers use straw pellets sold for animal bedding. They expand in water and pasteurize evenly. But whole straw is cheaper and easier to find. Check that the straw has not been treated with fungicides. Organic or feed store straw is usually safe.
Have all equipment ready before you start. You need a large pot or metal barrel, a mesh laundry bag or burlap sack, a digital probe thermometer, and a clean surface for draining. Do not use straw that smells musty or shows visible mold. That material is already compromised. Pasteurization can help, but it cannot fix rotting straw. Use fresh dry material for the best results.
- Choose hot water or cold lime pasteurization
Hot water pasteurization is the most common method for beginners with outdoor gear. You heat a large volume of water to 160 to 170 degrees Fahrenheit. Then you submerge a bag of straw for 60 to 90 minutes. You need a thermometer and enough heat to maintain the range. This method is fast and predictable. The catch is that large pots lose heat quickly when cold straw goes in.
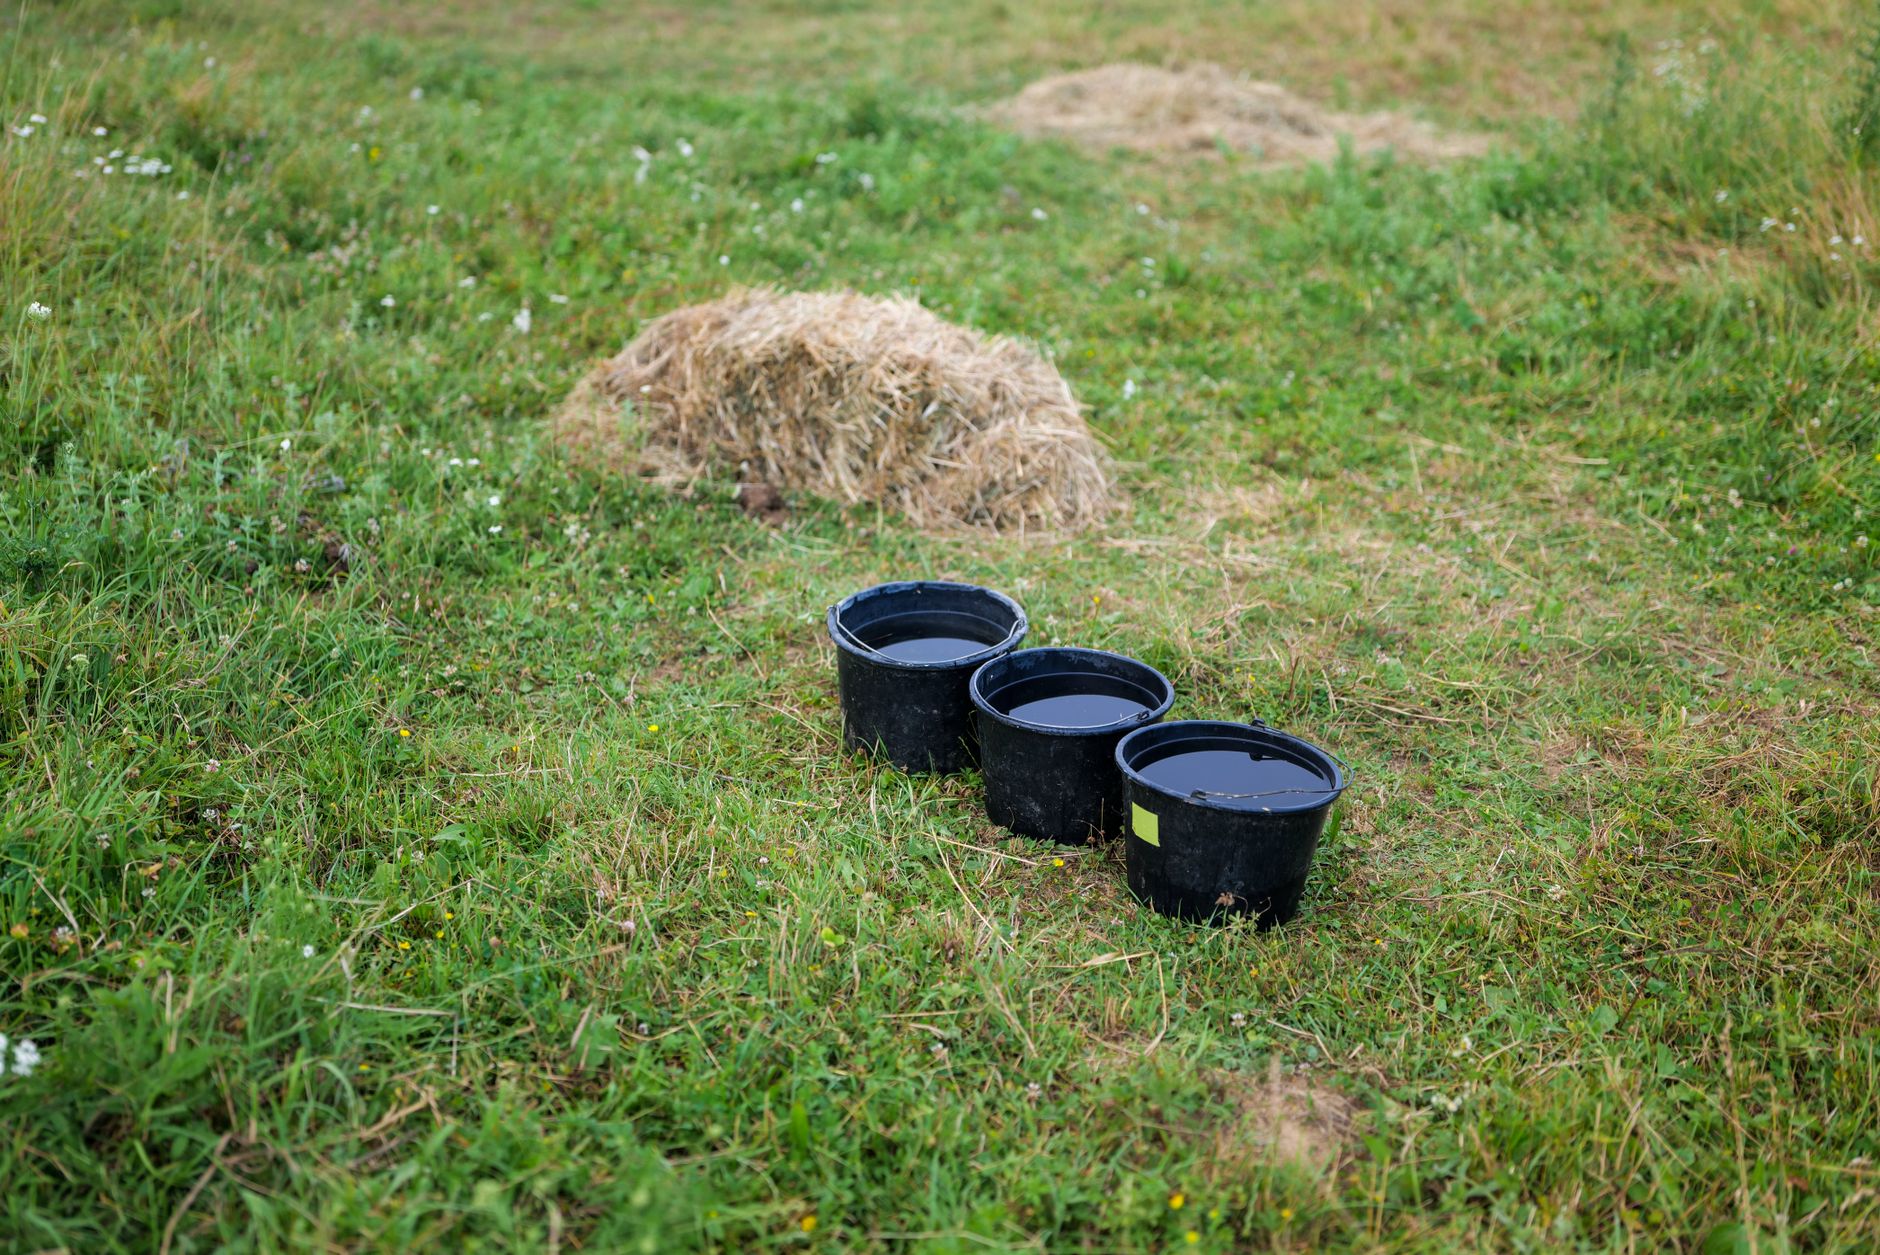
Cold lime pasteurization requires no heat source. You fill a barrel or large tote with water, add hydrated lime, and soak straw for 12 to 24 hours. Lime raises the pH to around 12. That kills many mold spores and bacteria. After draining, the pH drops as the straw is exposed to air. Mushroom mycelium tolerates the starting pH much better than contaminants. This method is easy to scale.
Both methods work well for oyster mushrooms, wine caps, and some other straw-loving species. Hot water is better if you want to spawn the same day. Cold lime is better if you have limited fuel or want to process larger batches. Whichever you choose, do not mix the two methods halfway. Pick one process and follow it fully. You will need healthy grain spawn, so check this guide to making grain spawn.
- Heat the water to the pasteurization range
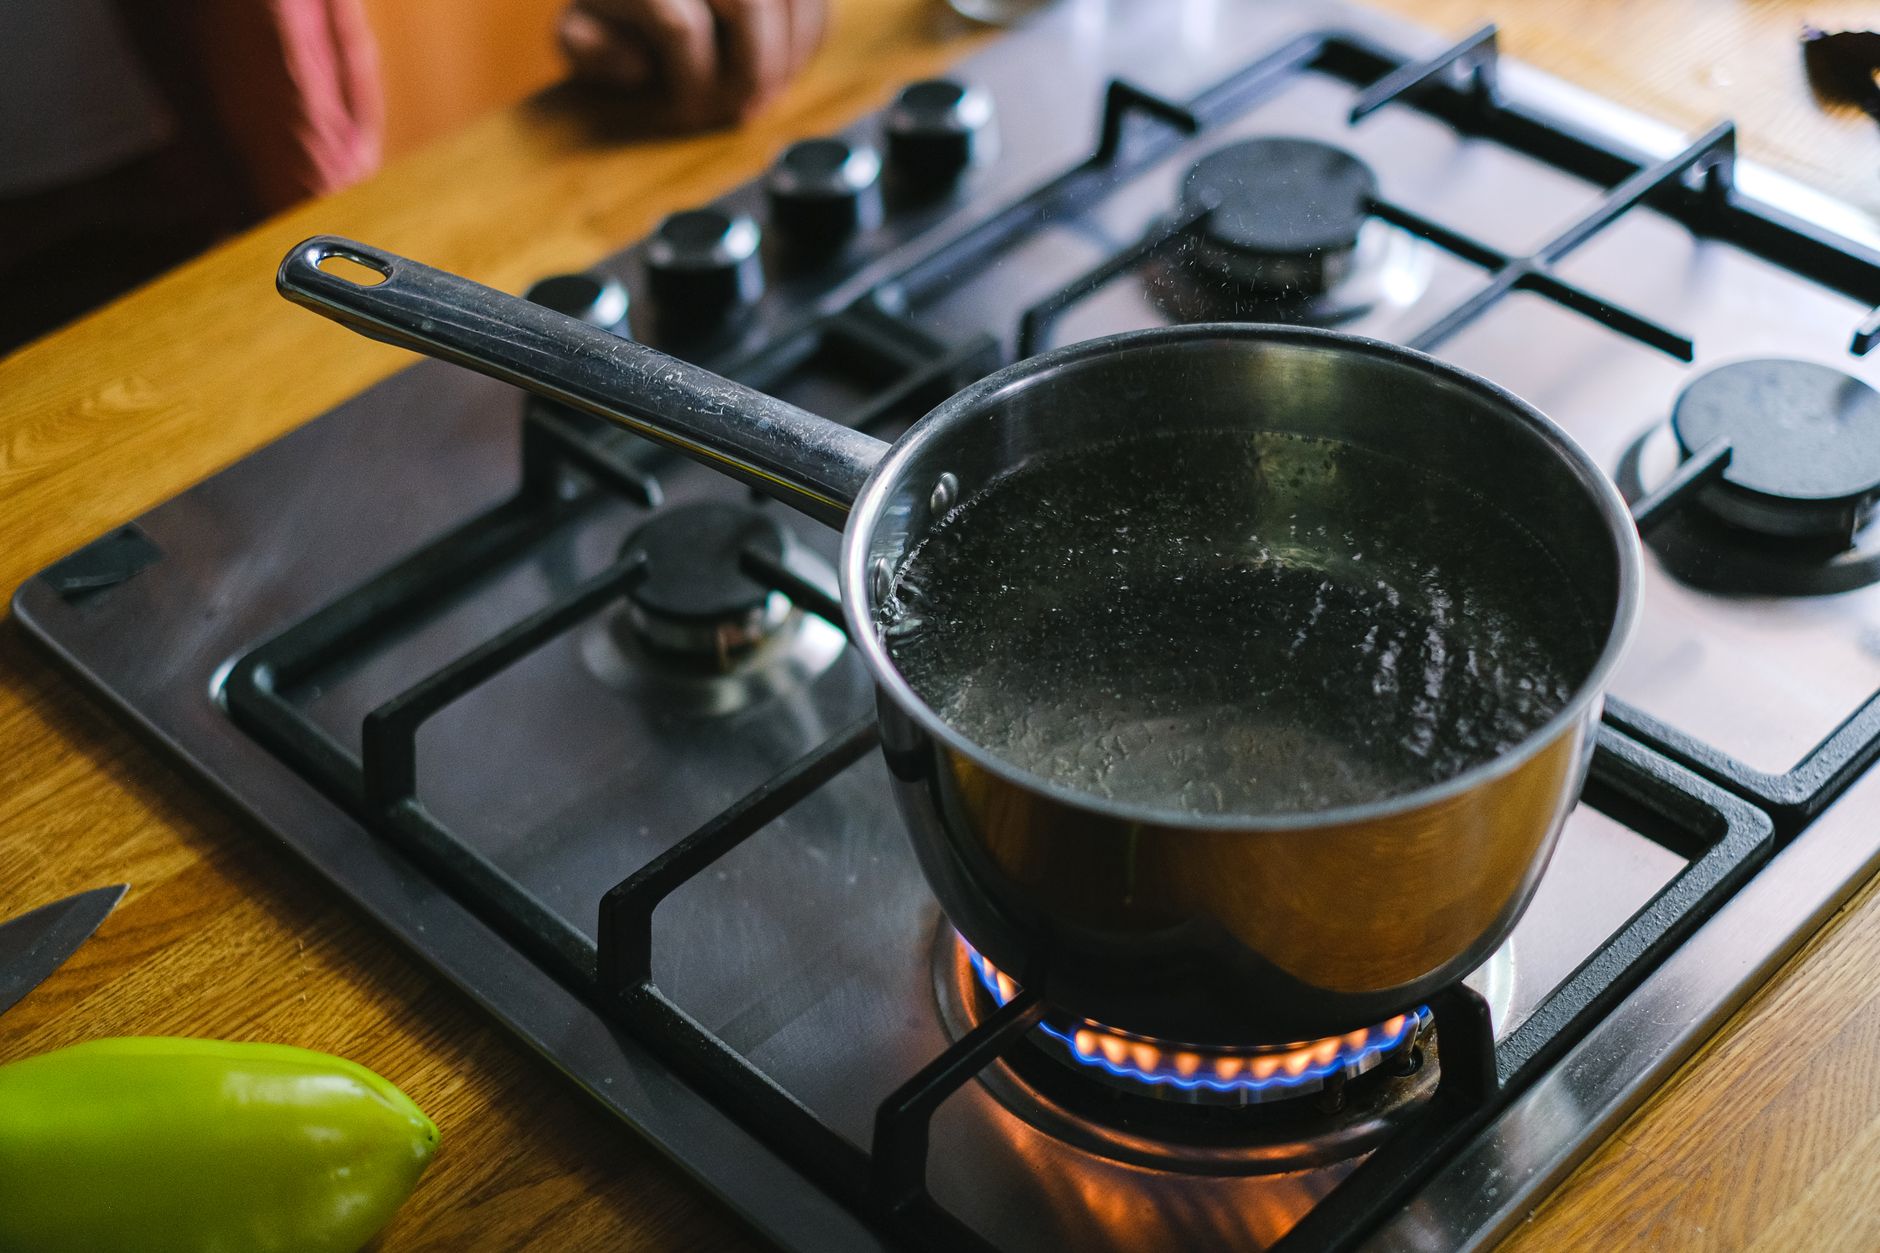
If you chose hot water, fill a large pot or drum with clean water. Use enough to fully cover your bag of straw. Place the pot on a propane burner or outdoor stove. Clip a digital probe thermometer to the side so the probe sits in the water. Heat until the water reads 170 degrees Fahrenheit at the center. Do not let it boil. Boiling can break down straw fibers and kill more beneficial microbes than you want.
The target range is 160 to 170 degrees Fahrenheit. At this range, most common mold spores and bacteria are killed after 60 to 90 minutes. Temperatures above 180 degrees can ruin the substrate. The straw becomes soft and slimy. It also becomes more inviting to fast-growing competitors after cooling. Keep the heat steady. You may need to adjust the burner every few minutes.
For cold lime pasteurization, skip the heat. Fill a barrel or tote with about 20 gallons of clean water. Add 1 cup of hydrated lime. Use hydrated lime from a garden or building supply store. Stir well with a long stick. The water will look milky. Do not use quicklime or calcium chloride. They are not the same product and can burn skin or harm spawn. The solution should have a pH between 12 and 13 if you test it.
If you do not have a thermometer, hot water pasteurization is risky. Guessing can lead to underheating or boiling. A thermometer costs less than a lost batch of spawn. Here is a simple rule: if you see steam but no rolling bubbles, you are likely in the right range. But that rule is not exact. Use a thermometer for reliable results.
- Submerge the straw and hold the time
Put chopped straw into a mesh laundry bag, burlap sack, or large pillowcase. Do not overstuff the bag. The water needs to flow through every part of the straw. Tie the top loosely so air can escape. Lower the bag into the hot water. Use a clean brick or heavy pot lid to keep the straw fully submerged. Start your timer only after the water returns to 160 degrees Fahrenheit. Adding cold straw will drop the temperature, so this may take a few minutes.
Hold the straw between 160 and 170 degrees Fahrenheit for 60 to 90 minutes. Stir the bag once or twice during the soak. This helps expose all surfaces. Add hot water if the temperature falls below 160. Do not let it spike above 180. The straw should soften slightly but it should not become mushy. A good test is to pull a few pieces out with tongs. They should still have some snap.
For lime pasteurization, lower the dry straw into the lime water. The straw will try to float. Use a board or weighted bucket to hold it down. Leave it to soak for 12 to 24 hours. The longer soak is helpful if the air temperature is cold. Stir the straw after 6 hours if you can. The lime water will smell slightly alkaline. That is normal. After the soak, you are ready to drain. If you see green fuzz during any stage, compare it to this mushroom contamination identification guide.
- Drain the straw and cool it
Lift the bag out of the hot water. Hang it above the pot or over a clean tub. Let it drain for 20 to 30 minutes. Hot water will continue to steam off. The straw should be damp but not dripping. If you used lime water, drain the straw for at least 30 minutes. But do not rinse it. Rinsing removes the lime that suppresses mold. The pH will drop naturally as the straw sits.
Cooling is critical. Hot straw will kill mushroom spawn. Wait until the center of the straw drops below 85 degrees Fahrenheit. You can spread the straw on a clean tarp to speed cooling. Use the same thermometer to check the middle of the pile. Do not inoculate warm straw. That is a common beginner mistake. The mycelium may survive a brief heat spike, but it will be stressed and slow to colonize.
While the straw cools, prepare your spawn and container. A 5-gallon bucket with holes works well for oysters. Or you can use a breathable mushroom grow bag. Make sure the container is clean. Wipe it with 70 percent alcohol if it has been used before. The draining area should be away from wind and dust. This step connects directly to mixing spawn. If you see green mold on the drained straw, discard it and start over rather than trying to save it.
- Check moisture and mix in spawn
Grab a handful of cooled straw and squeeze it hard. Only a few drops of water should come out. If water streams out, the straw is too wet. Spread it out and let it dry a bit more. If no water appears and the straw feels dry, mist it lightly with clean water. The ideal moisture content is between 65 and 75 percent. This is the same moisture range covered in the mushroom fruiting conditions guide.
Mix spawn into the straw at a rate of about 1 pound of grain spawn per 5 pounds of wet drained straw. You can use more spawn to speed colonization, but less than that may stall. Break up the spawn into small pieces before mixing. Wear clean gloves. Layer straw and spawn in your bucket or bag. Pack the straw firmly but not tight. The mycelium needs air gaps to breathe.
Seal the bag or cover the bucket with a lid. If using a bucket, drill 1/4 inch holes every 4 to 6 inches for air exchange. Put the container in a dark or dim spot around 65 to 75 degrees Fahrenheit. Colonization will take 10 to 21 days for oyster mushrooms. Check the container after 5 days. White mycelium should begin to spread from the grain spawn.
- Maintain colonization and fruiting conditions
During colonization, keep the container away from direct sunlight. A closet or basement works well. Temperatures between 65 and 75 degrees Fahrenheit are best. If the temperature drops below 60 degrees colonization slows down. Above 80 degrees, competitors can take over. Do not open the bag or bucket constantly. Each opening introduces new spores. A small clear window or the bucket holes let you check progress.
After 10 to 21 days, the straw should be covered in white mycelium. It may smell mushroomy and slightly sweet. That is normal. Now move the container to fruiting conditions. Most oyster mushrooms fruit best with 85 to 95 percent humidity and plenty of fresh air. This is the humidity window that triggers pinning. A DIY mushroom fruiting chamber helps maintain these levels. You can also mist the container several times a day.
Watch for pins forming near the holes or bag openings. Once pins appear, keep humidity high and provide light for 8 to 12 hours per day. Indirect light from a window or a small LED lamp is enough. Harvest your mushrooms before the caps flatten out. If you followed the pasteurization steps carefully, you should get a clean first flush.
Red Flags & Warnings
- 🚨 Do not exceed 180 degrees Fahrenheit when heat pasteurizing straw. High heat kills beneficial microbes and makes straw mushy, which invites green mold.
- 🚨 Never use quicklime or calcium chloride for lime pasteurization. Only use hydrated lime. Quicklime can cause skin burns and will harm mushroom spawn.
- 🚨 Always cool straw below 85 degrees Fahrenheit before adding spawn. Hot straw will kill or stress the mycelium and slow colonization.
- 🚨 Drain straw thoroughly after pasteurization. Excess water creates anaerobic pockets where bacteria and mold thrive.
- 🚨 Do not pasteurize straw indoors if using a gas burner or lime. Fumes and lime dust can irritate lungs. Work outdoors or in a well-ventilated space.
- 🚨 Discard any pasteurized straw that smells sour, ammonia-like, or shows green or black mold before inoculation. Starting over is cheaper than losing spawn.
Frequently Asked Questions
What is the difference between pasteurizing and sterilizing straw?
Pasteurization heats or soaks straw enough to kill most mold spores and bacteria, but it leaves some heat-tolerant microbes alive. Sterilization kills all living organisms. For straw, pasteurization is enough and faster. Sterilizing straw often makes it too wet and soft.
Can I use any type of straw for mushroom cultivation?
Wheat, oat, barley, and rice straw all work well. Avoid hay because it contains grass seeds and breaks down into a dense mat. The straw should be clean, dry, and free of visible mold or fungicide treatments.
How long does straw need to pasteurize?
Hot water pasteurization takes 60 to 90 minutes at 160 to 170 degrees Fahrenheit. Cold lime pasteurization takes 12 to 24 hours. Both methods produce clean substrate when done correctly.
Do I need a thermometer for hot water pasteurization?
Yes. A digital probe thermometer is the most reliable way to keep water in the 160 to 170 degree range. Guessing often leads to underheating or boiling, both of which cause problems. Inexpensive thermometers work fine.
Can I reuse pasteurization water?
You can reuse hot water for multiple batches on the same day. Check the temperature and adjust it before each batch. For lime water, reuse it once or twice if you add a little fresh lime, but it loses strength over time. Discard water that smells foul.
How long does colonization take on pasteurized straw?
Oyster mushrooms typically colonize pasteurized straw in 10 to 21 days at 65 to 75 degrees Fahrenheit. Some species may take longer. Spawn rate, moisture, and temperature all affect the speed. Check for white mycelium spreading from the spawn after about 5 days.
What Should You Remember?
- Pasteurization window: Keep hot water between 160 and 170 degrees Fahrenheit for 60 to 90 minutes.
- Cold lime method: Use 1 cup of hydrated lime per 20 gallons of water and soak 12 to 24 hours.
- Moisture check: Squeeze straw until only a few drops of water come out before adding spawn.
- Cooling step: Never add spawn to straw above 85 degrees Fahrenheit.
- Colonization range: Expect oyster mycelium to run through straw in 10 to 21 days at 65 to 75 degrees.
- Fruiting humidity: Maintain 85 to 95 percent humidity after full colonization to trigger pins.
This article is for general information only. Mushroom identification and consumption carry health and safety risks , never eat a wild mushroom unless positively identified by an expert, and follow sterile technique and food-safety guidance for home grows.