Oyster mushrooms are the best entry point for home mushroom cultivation. They grow fast, tolerate a wide range of conditions, and reward you with clusters that double in size daily. A beginner can go from a sawdust block to a full harvest in about a month. The process is not complicated. You just need clean spawn, pasteurized substrate, and a small space with high humidity. Before you choose a strain, spend a few minutes comparing substrate options. The right material makes every later step easier. This guide covers the entire cycle from spawn to second flush.
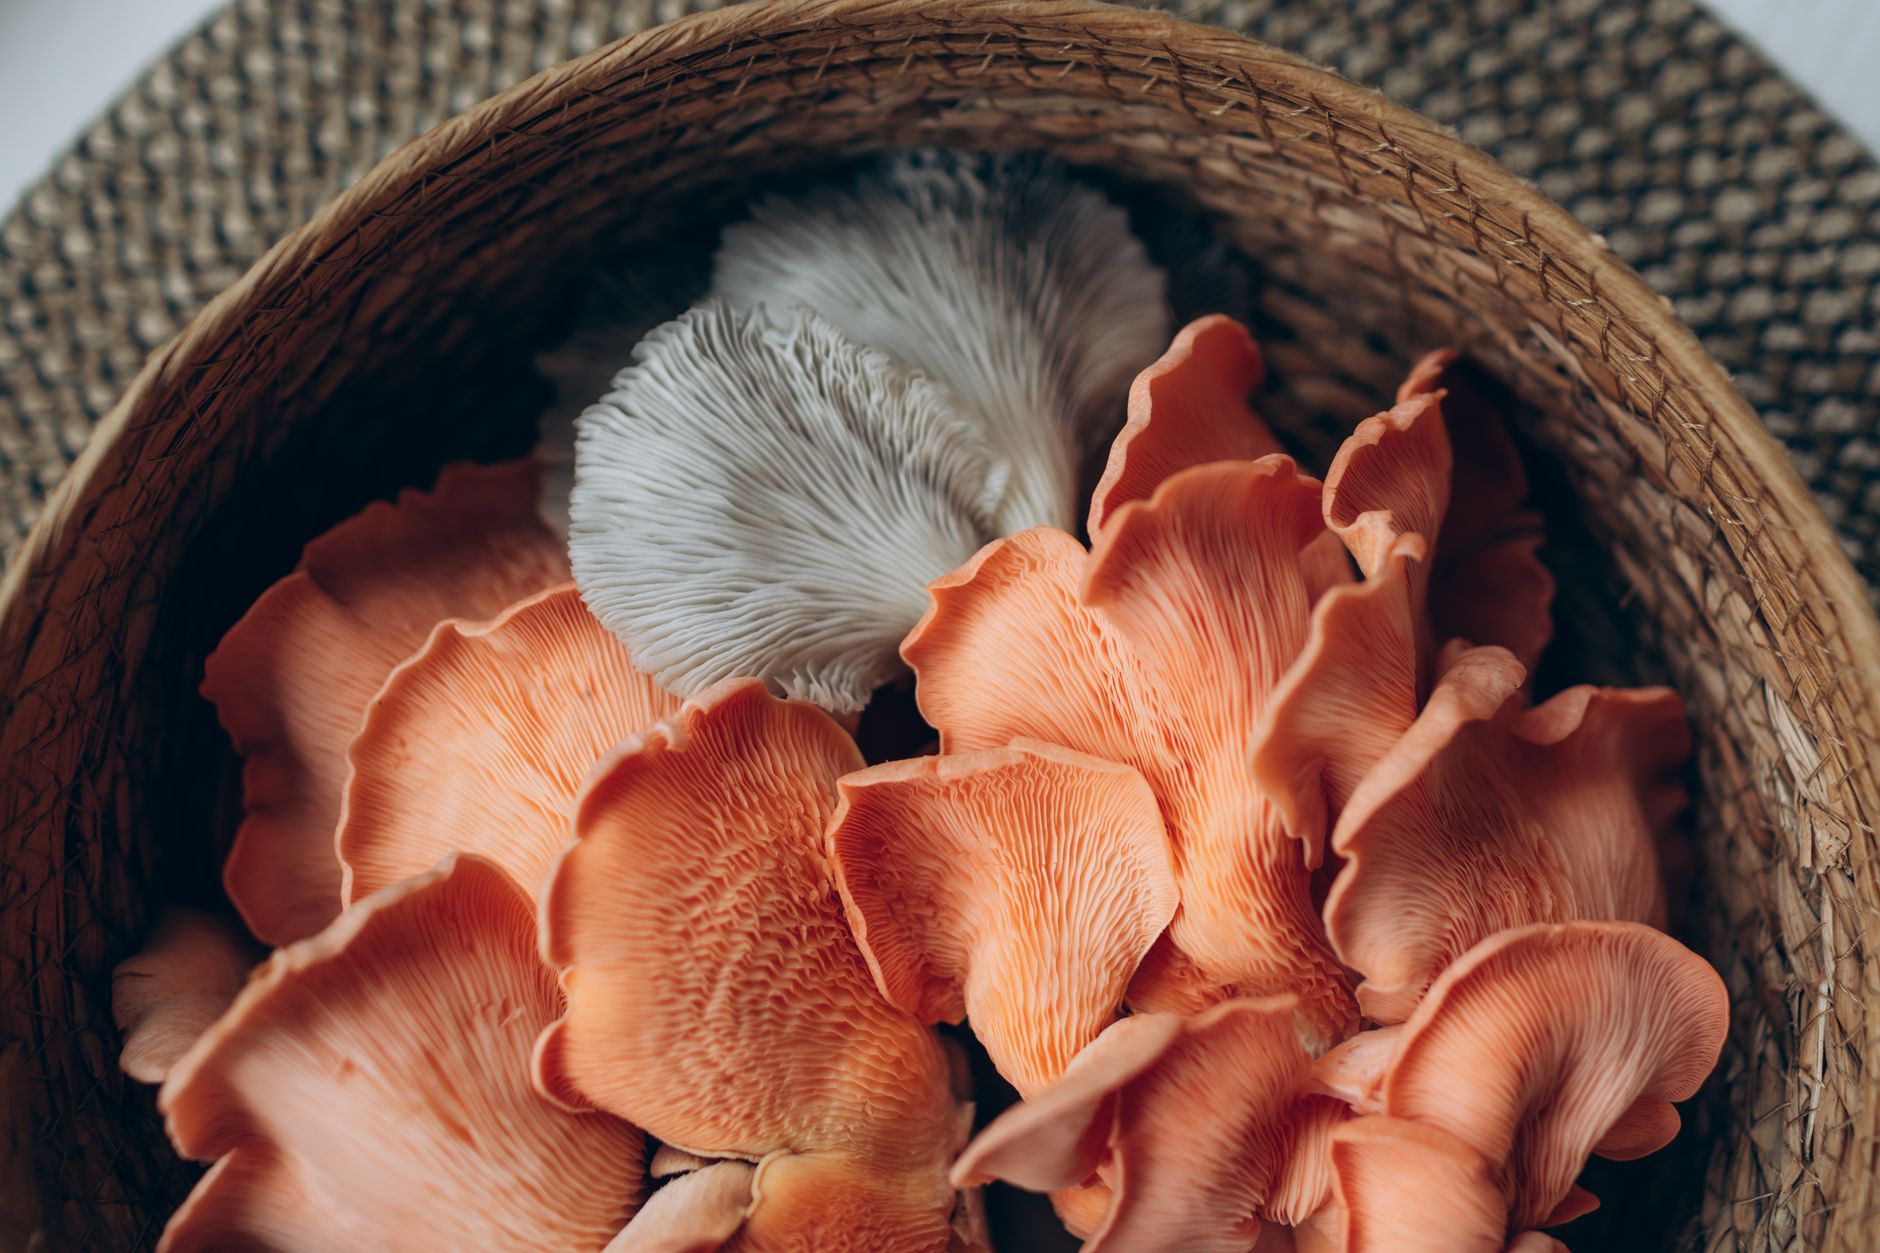
Many home growers start with blue oyster or pearl oyster mushrooms. Blue oyster fruits in cooler rooms, usually 55-65°F. Pearl oyster tolerates a wider range, roughly 50-75°F. Pink oyster is a warm-season star that grows best at 70-85°F. If your apartment runs warm, consider pink oyster before ordering spawn. Strain choice is not about skill. It is about matching your environment. A strain that fits your room temperature will fruit more easily. One that does not will stall or produce skinny, pale fruits. Start with one strain and master it.
You do not need a laboratory or a pressure cooker for oyster mushrooms. Pasteurized straw in a bucket works. A simple clear tote can serve as a fruiting chamber. Still, you need to respect cleanliness and moisture. Contamination is the most common reason a first grow fails. Two signs matter most. Green mold and sour smells mean the substrate was not clean enough. The good news is that oyster mycelium grows fast and can outcompete some weak competitors. A ready-to-fruit grow kit can also remove much of the early uncertainty. It gives you a colonized block and a clear starting point.
Oyster mushrooms are nutritious and productive. A single block can produce two or three flushes. You do not need a garden or grow tent. A kitchen counter, a closet shelf, or a basement corner all work. Plan to check your mushrooms twice a day during fruiting. Pins turn into full clusters quickly. Watch humidity and air flow. Most issues come from too little fresh air or too much direct misting. Once you learn to read the block, you can move on to other oyster colors and gourmet types. This article spells out each step so you can harvest with confidence.
What You’ll Need
- Oyster mushroom grain spawn (blue, pearl, or pink strain)
- Pasteurized straw or hardwood sawdust
- Clear plastic tote or grow bags with filter patches
- Fine mist spray bottle
- Perlite or a humidity controller
- 70% isopropyl alcohol
- Scissors or a clean knife
How Do You Grow Oyster Mushrooms at Home?
- Choose a beginner-friendly strain and source healthy spawn
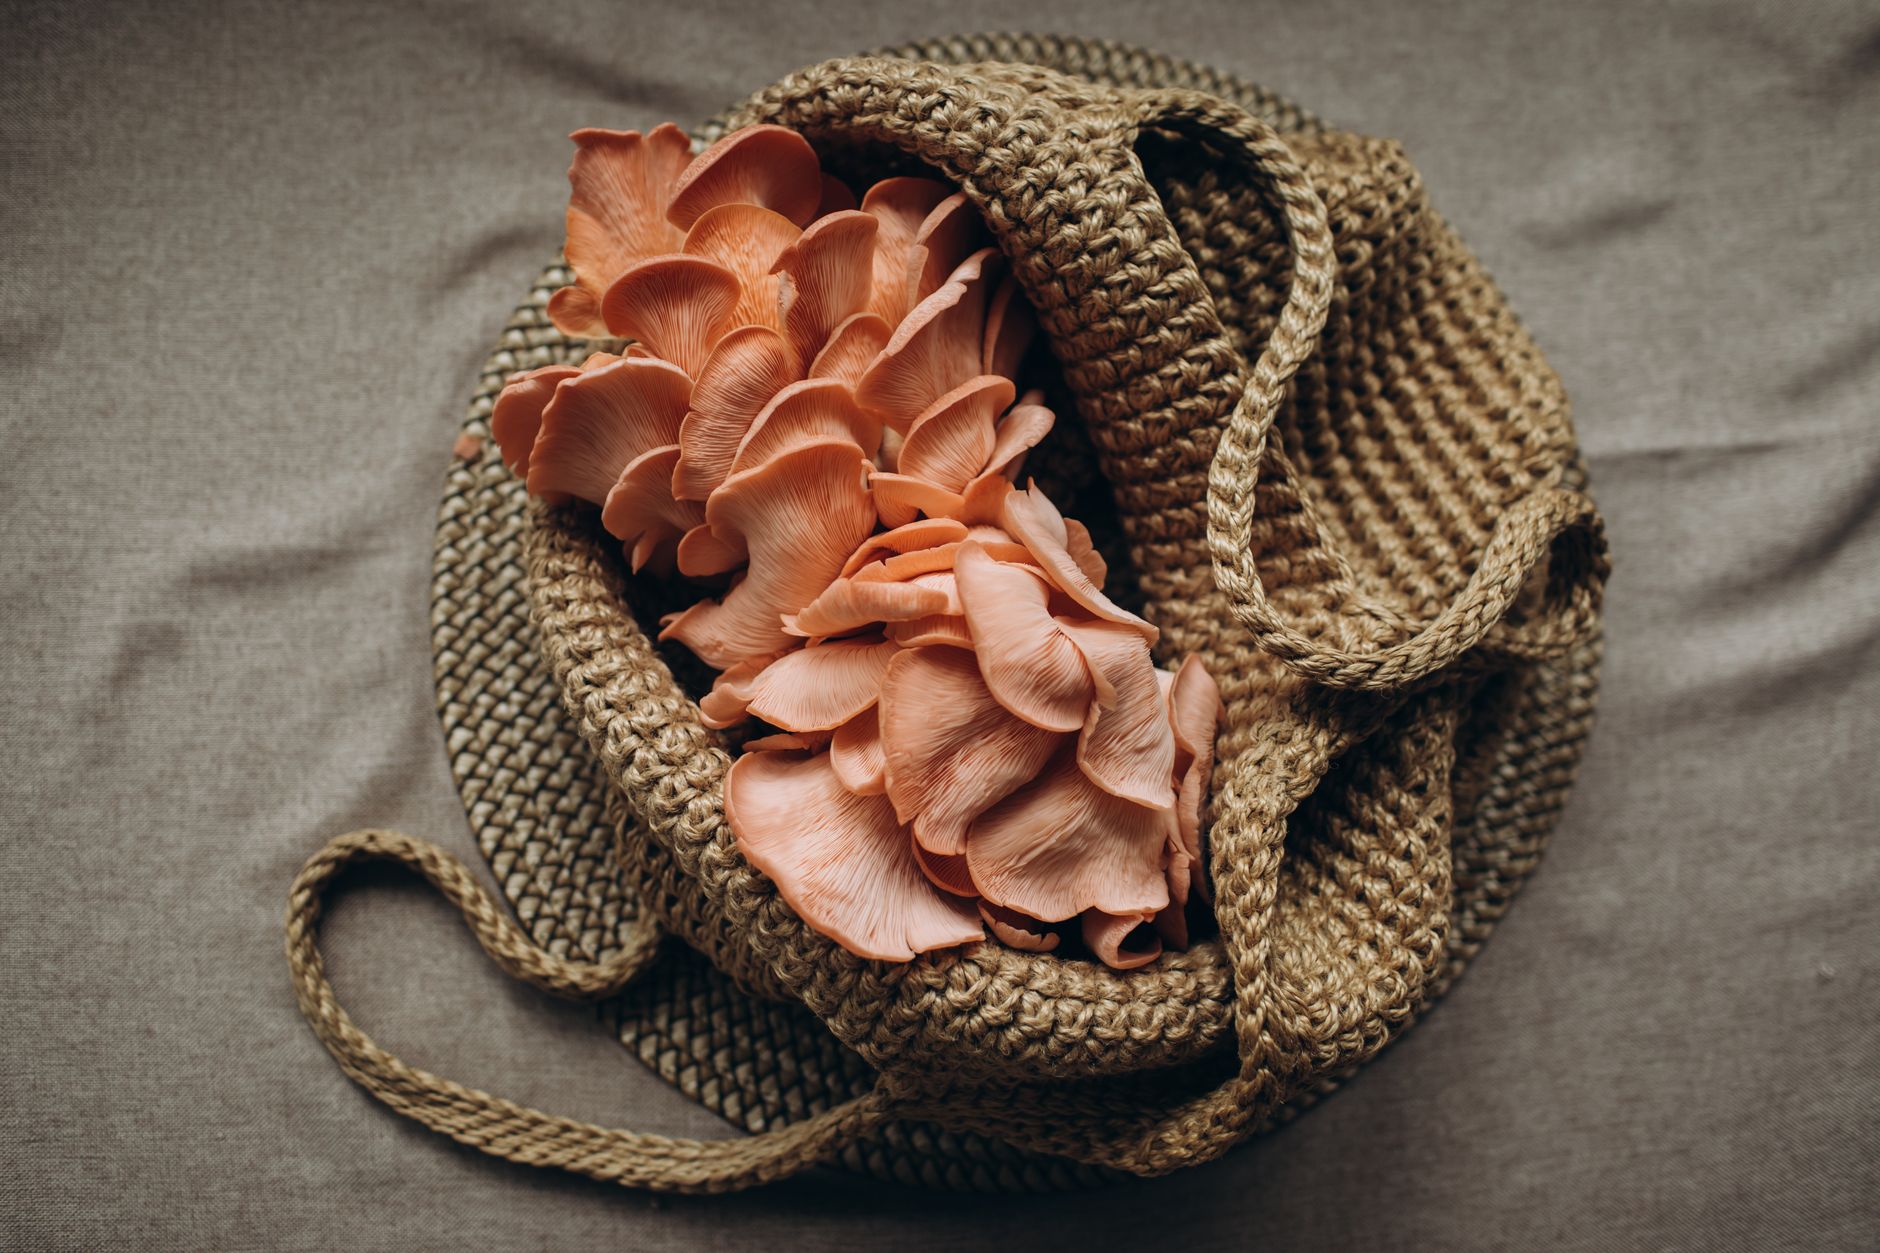
Oyster mushrooms come in many shapes, colors, and temperature preferences. Blue oyster thrives at 55-65°F. Pearl oyster handles 50-75°F. Pink oyster needs warmth, ideally 70-85°F. Blue oyster is often the most forgiving for cool basements and normal homes. Match the strain to your average room temperature. This single decision prevents most environmental stress. A strain outside its comfort zone may still colonize, but fruiting will be slow and weak.
Buy grain spawn from a supplier that specializes in mushroom cultivation. Grain spawn is sterilized rye, millet, or sorghum colonized with oyster mycelium. Look for bright white growth with no green, black, orange, or slimy spots. The bag should smell earthy and slightly mushroomy. It should never smell sour or sweet. If you are brand new, a complete oyster mushroom grow kit Check the oyster mushroom grow kit on Amazon is an excellent first project. You can start with a colonized block and learn fruiting before handling spawn.
Store spawn in the refrigerator at 40-45°F if you cannot inoculate right away. Cold storage slows growth but does not stop it. Use the spawn within two to three weeks for best vigor. Bring it to room temperature the day before you mix it into substrate. Sudden temperature shock can delay colonization. Healthy spawn is the foundation of the entire grow. Weak spawn will struggle even in perfect substrate.
- Pasteurize straw or sawdust at the right temperature
Oyster mushrooms are primary decomposers. They eat straw, hardwood sawdust, cardboard, and some agricultural waste. Straw is cheap and forgiving. A good beginner recipe is chopped wheat straw with 5% gypsum by dry weight. Gypsum reduces clumping and balances pH. For sawdust, use hardwood fuel pellets or oak sawdust with 5% wheat bran. Bran adds nitrogen and speeds colonization. The exact blend can vary. The key is a clean, moisture-balanced material.
Pasteurization kills many competing molds and bacteria without sterilizing the substrate. Focus on maintaining 160-170°F (71-77°C) for one hour. You can do this with a water bath, a steam kettle, or a large pot. Do not boil the straw for hours. Long boiling drives off oxygen and can create off-odors. A full pasteurization guide is available in our straw pasteurization article. It covers bucket pasteurization and lime pasteurization in detail.
After pasteurization, drain and cool the substrate to room temperature. It must be at field capacity. Squeeze a handful as hard as you can. A few drops should fall. A steady stream means it is too wet. No drops means it is too dry. Penn State Extension notes that many cultivated mushrooms grow best when substrate moisture is around 60-70%. This range allows the mycelium to breathe while staying hydrated. Substrate hotter than 95°F can kill oyster spawn. Patience now prevents a failed block.
Let the substrate cool in a clean container with a lid or clean cloth over it. Keep it off the floor and away from pets. Work on a wiped table with 70% isopropyl alcohol. This step connects directly to inoculation. If the substrate is too wet or too hot, your spawn will fail. Take your time.
- Inoculate the substrate and pack the container
Weigh out 5-10% spawn per weight of wet substrate. For example, use 50-100 grams of spawn for every kilogram of pasteurized substrate. A 10% spawn rate is more forgiving for beginners. It colonizes faster and gives oyster mycelium a competitive edge. Do not skimp on spawn. Slow colonization gives green mold more time to establish.
Mix the spawn evenly into the cooled substrate. Layer them like lasagna inside a clean grow bag, bucket, or tote. Even distribution means every part of the substrate gets colonized at a similar speed. For buckets, drill holes that are 1/4 inch in diameter every three to four inches. The holes become fruiting sites. For grow bags, fill the bag and pack it down to remove large air pockets. Fold the top or use a filter patch. You can also fill jars or small plastic bottles.
Work in still air. Turn off fans and close windows. Clean your hands, tools, and containers with 70% isopropyl alcohol. Do not work near compost, trash, or houseplants. Airborne mold spores are the enemy. If you want to see what contamination looks like before it spreads, read the contamination identification guide. It helps you tell healthy white mycelium from cobweb mold and trichoderma.
Label each container with the strain name and the date. Put the labeled containers somewhere clean and warm. This step leads into incubation. If contamination appears within the first week, remove that container early. Fast action can protect the rest of your grow.
- Colonize in a warm, dark space for 10-21 days
Oyster mycelium grows fast. Most strains fully colonize straw or sawdust blocks in 10-21 days. The exact time depends on strain, spawn rate, and temperature. Blue oyster colonizes well at 65-75°F. Pink oyster prefers 75-85°F during colonization. Keep containers in a closet, cabinet, or clean tote. No light is needed. The mycelium is not photosensitive at this stage.
Check the containers every two or three days. Healthy oyster mycelium appears bright white and ropey. It often smells like anise or fresh mushroom. If you see green, black, orange, or wet slime, mark the container. Do not open suspicious containers indoors. Opening a moldy bag releases millions of spores into your growing area. Remove it in a garage or outdoors if possible.
Space containers apart so heat can escape. Colonizing mycelium generates its own warmth. Stacked or tightly packed bags can overheat. Oxygen demand is low during colonization, but it is not zero. Filter patch bags allow limited air exchange. For bucket grows, cover the holes with micropore tape during incubation. This keeps moisture in and pests out.
Colonization is complete when the block is solid white and firm. Some strains begin to pin inside the container even before you cut holes. That is a signal to move to the fruiting stage. This step connects to building a fruiting chamber. A fully colonized block is resilient. It can handle more air and light than a partially colonized one.
- Set up a simple fruiting chamber with high humidity
Oyster mushrooms need a small space with high humidity and fresh air. A clear plastic tote works well for beginners. Drill 1/4-inch holes on all sides and the lid. Fill the bottom with two to three inches of damp perlite. Perlite wicks moisture and keeps humidity stable. For more detail, see our DIY fruiting chamber guide. You can also buy a small grow tent or use a shotgun chamber.
Target 85-95% relative humidity. Mist the walls and perlite several times a day. Use a fine mist spray bottle Check the fine mist spray bottle on Amazon. Do not soak the substrate. Direct heavy misting on pins causes bacterial blotch. A hygrometer will help you read the air. If your room is very dry, add a humidity controller and a small reptile fogger. This equipment keeps conditions stable while you sleep or work.
Temperature during fruiting should match your strain. Blue and pearl oyster fruit best at 55-70°F. Pink oyster stays happy at 70-85°F. King oyster fruits well at 55-65°F. Keep a thermometer inside the chamber. Sudden temperature swings can abort pins. Place the chamber in indirect daylight or near an LED lamp.
Fresh air exchange is the skill most beginners miss. Oyster mushrooms produce long stems and tiny caps in high carbon dioxide. Fan the chamber twice a day or run a small fan on a low timer. The goal is sufficient airflow without drying out the block. This step connects directly to pinning. You can have perfect substrate and still fail here.
- Trigger pinning with light and fresh air
Move your fully colonized block into the fruiting chamber. Cut two or three X-shaped slits in the bag, each about two inches long. For bucket grows, remove the tape from the holes. These openings tell the mycelium where to fruit. Light is also a pinning trigger. Give the block 12 hours of indirect daylight or a 6500K LED light every day. Light intensity does not need to be high. A shaded windowsill is enough.
Keep the cuts moist but not wet. Mist the air around the holes once or twice a day. Pins usually appear within 5-10 days. They start as tiny bumps or coral-like clusters. At this stage, the pins are fragile. Do not touch them. Do not blast them with water. A light mist on the chamber walls is enough.
If no pins appear after 14 days, try a cold shock. Place the block in the refrigerator at 40-45°F for 12-24 hours. Return it to the fruiting chamber and resume misting. Blue oyster responds well to a cold shock. Pink oyster usually does not need one. Pink oyster fruits best with steady warmth. Watch for signs of stress such as yellowing or fuzzy feet.
Once pins form, continue fanning twice a day. Fresh air and high humidity work together. Too much air dries the pins. Too little air makes them spindly. Balancing these two factors is the core of successful fruiting. This step leads to harvest. A good pin set becomes a full cluster within about a week.
- Harvest clusters before caps flatten and drop spores
Oyster mushrooms grow very fast after pinning. They often double in size daily. Harvest when the cap edges are still slightly curled under. For blue and pearl oyster, the caps are usually two to six inches across at harvest. If the edges flatten and turn upward, you have waited too long. The mushrooms will release white spore dust and the texture becomes leathery.
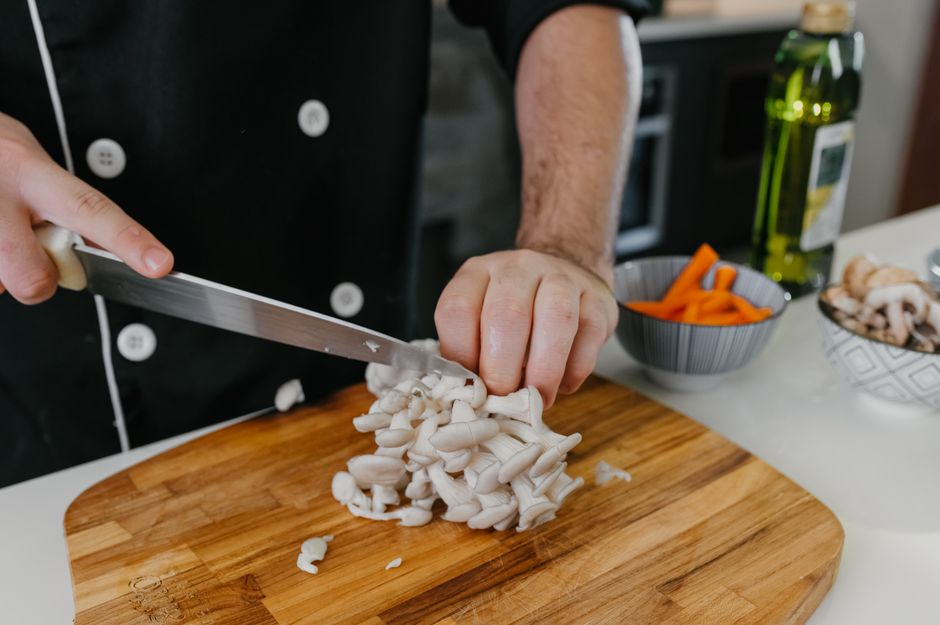
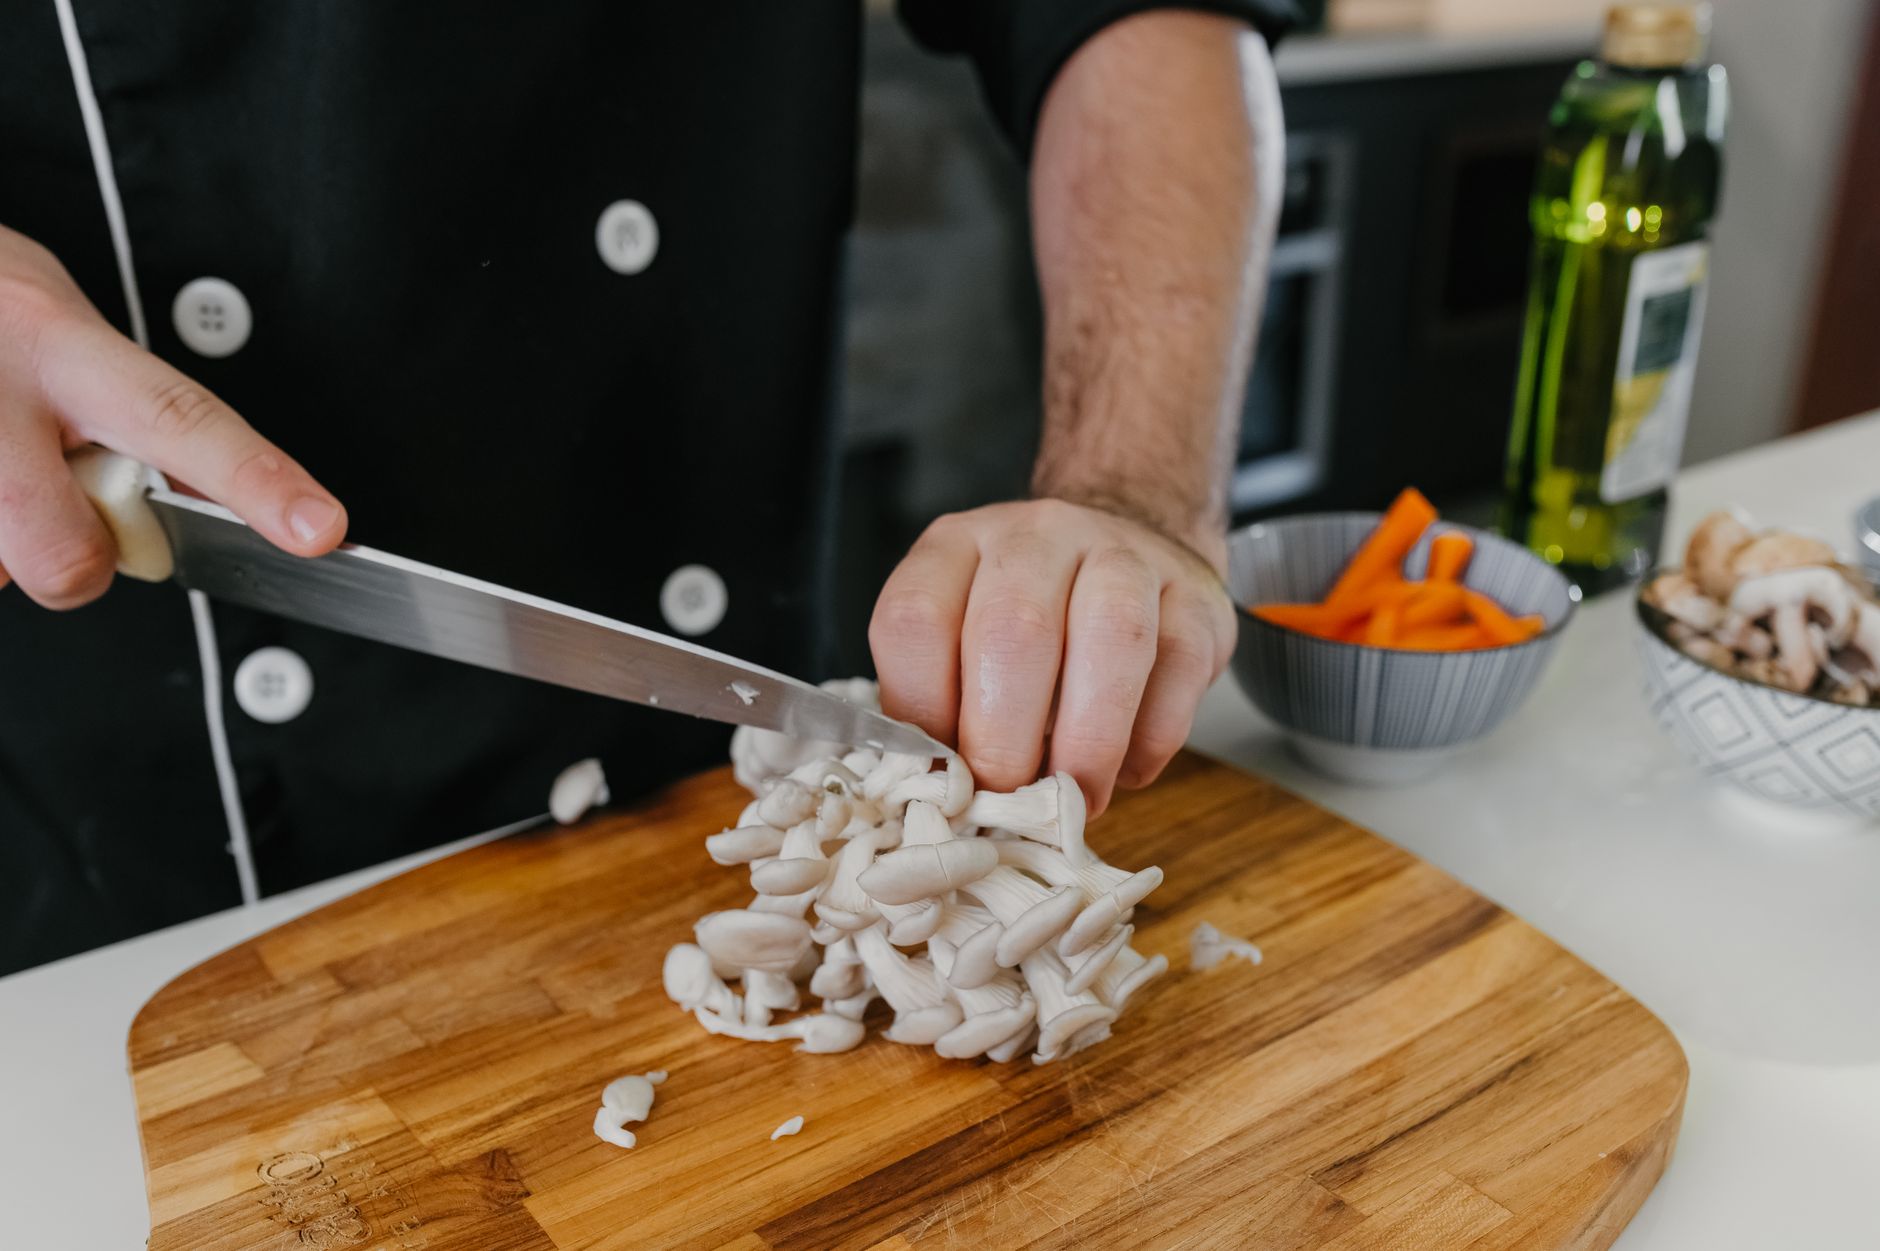
Harvest the whole cluster by twisting gently at the base and pulling it off the block. You can also cut it with a clean knife. Try to remove all of the cluster. Leaving stumps can invite rot and reduce the next flush. Inspect the block after harvest. Remove any loose stem fragments with clean hands.
Store fresh mushrooms in a paper bag in the refrigerator for up to five to seven days. Do not use a plastic bag. Plastic traps moisture and speeds decay. If you have a large harvest, cook the mushrooms before freezing. Oyster mushrooms freeze well after a quick saute. The USDA provides general guidance on safe handling and storage of fresh produce. Clean tools after harvest.
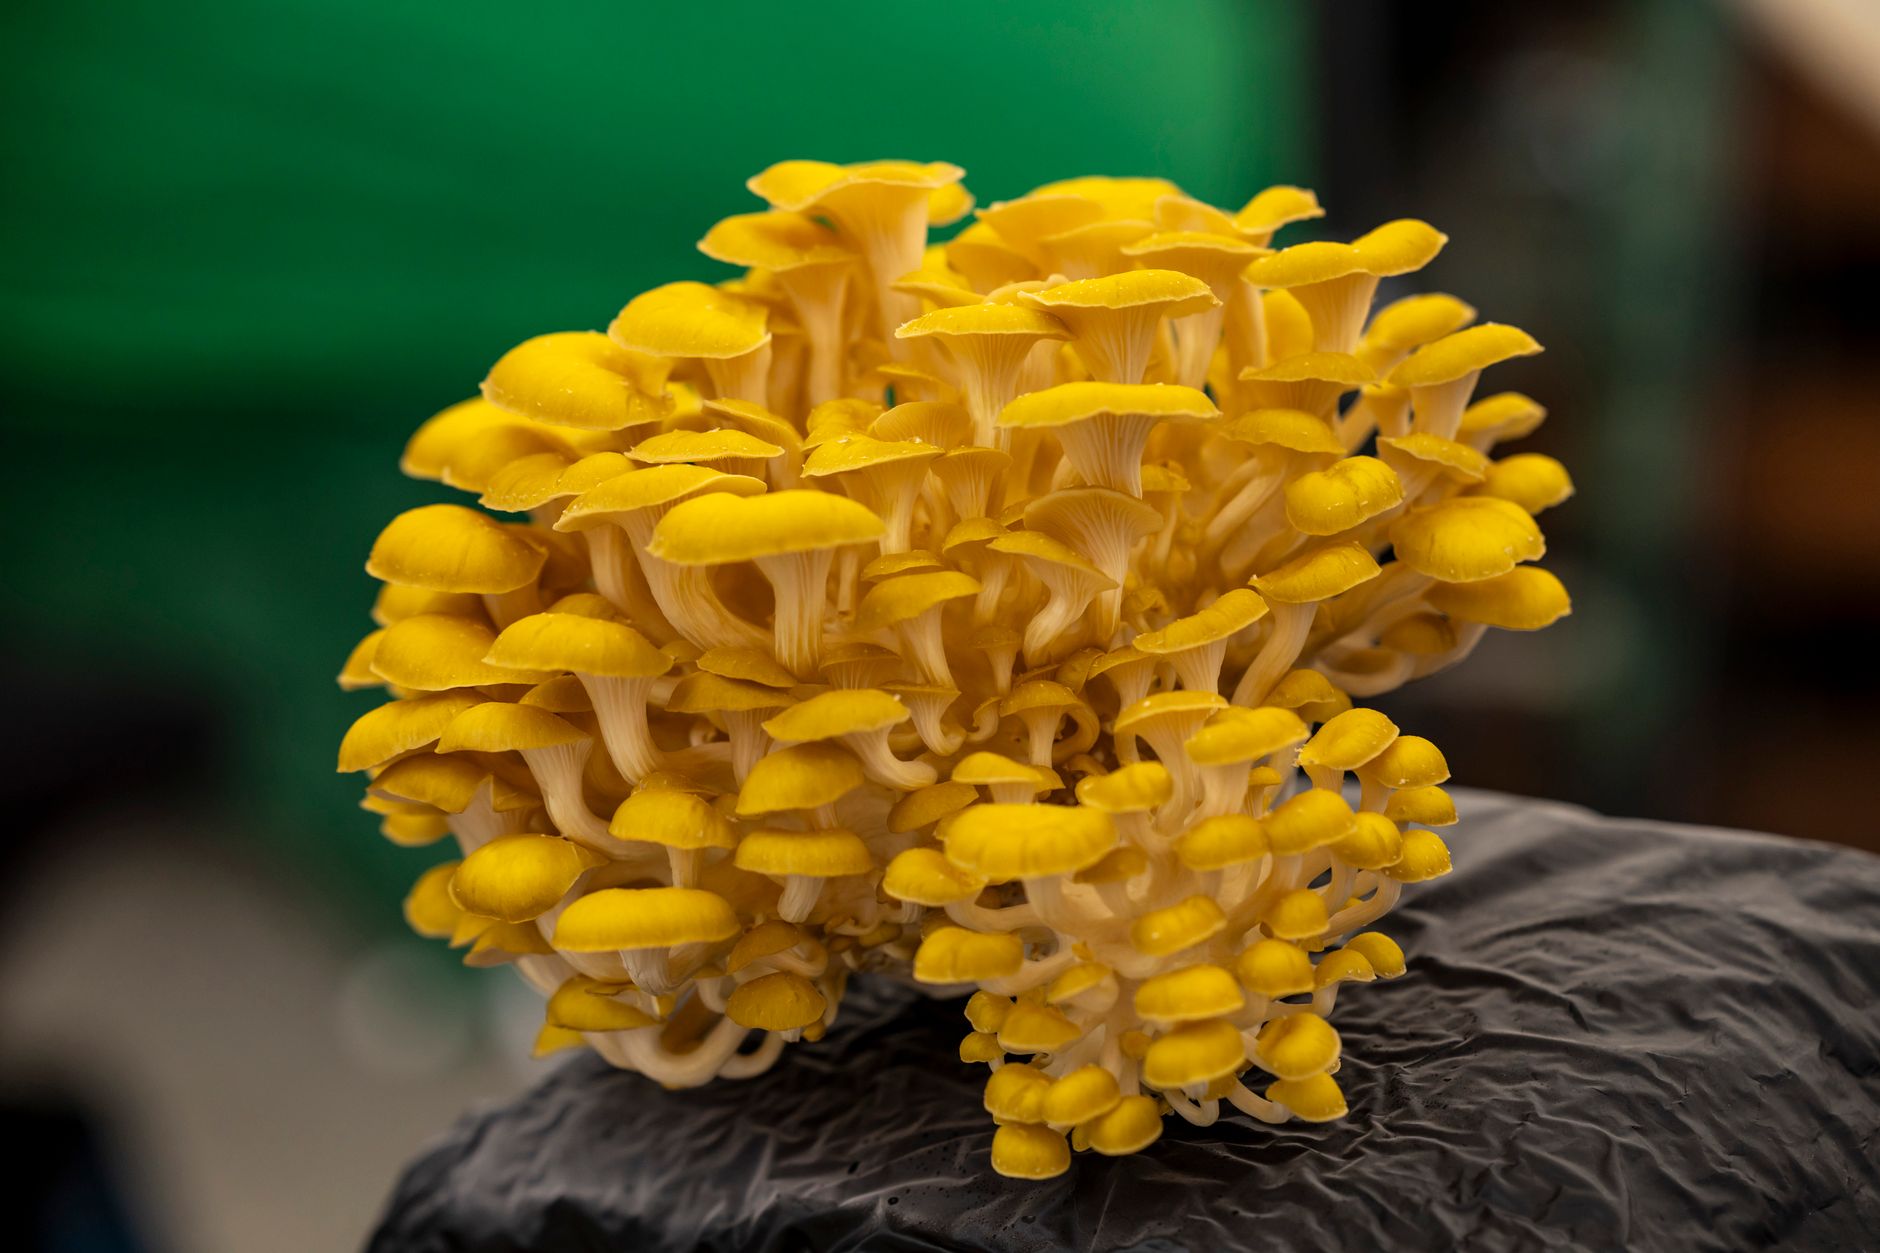
This step connects to the second flush. The block is still alive and has more nutrients left. A clean harvest sets up another round. Golden oyster and blue oyster both reward careful picking with strong second flushes.
- Soak the block and run a second flush
After harvest, the block is lighter and drier. Soak it in clean cold water for 12-24 hours. Use a clean bucket or tub. Place a plate or weight on top to keep the block submerged. Rehydration replaces the water lost during fruiting. This water fuels the next flush. Do not soak longer than 24 hours. Oversoaking can cause bacteria and mushy substrate.
Drain the block thoroughly. Place it back in the fruiting chamber. Mist the chamber walls and wait. New pins may appear within 7-14 days. The second flush is usually smaller than the first. That is normal and expected. Do not throw away a healthy-looking block just because the second flush is sparse.
You can flush oyster blocks two or three times. After the third flush, most blocks are spent. They feel crumbly and no longer produce pins. Compost the spent substrate in a garden or outdoor pile. It makes excellent soil amendment and mulch. Never pile spent blocks indoors. Old blocks attract fungus gnats, mold, and bacteria.
If the second flush stalls or contamination appears, review the signs of a healthy flush. You may need to soak again or retire the block. Once you can complete this cycle, you are ready to try other mushrooms. The same skills apply to king oyster, chestnut, and many other gourmet strains.
Red Flags & Warnings
- 🚨 Never eat wild oyster mushrooms unless an expert positively identifies them. Toxic lookalikes exist. NAMA recommends expert verification before consuming any wild mushroom.
- 🚨 Do not grow oyster mushrooms in a bedroom or a poorly ventilated space. Mushrooms release spores. Repeated exposure can cause respiratory sensitivity in some people.
- 🚨 Never mist mushrooms directly after pins form. Water pooling on caps invites bacterial blotch. Mist the chamber walls and air instead.
- 🚨 If you see green, black, or orange mold, do not open the container indoors. Opening a moldy block spreads millions of spores. Remove it outside and clean the area.
- 🚨 Long thin stems and tiny caps are a sign of too much carbon dioxide. Fan the fruiting chamber more often and increase passive air holes.
- 🚨 Do not eat oysters grown from substrates that were treated with pesticides or chemicals. Use clean straw, food-grade hardwood sawdust, or prepared mushroom substrate only.
Frequently Asked Questions
What is the easiest oyster mushroom to grow indoors?
Blue oyster and pearl oyster are the easiest strains for beginners. They tolerate typical home temperatures from 55-70°F and fruit quickly on straw or sawdust. Pink oyster is easy in warm rooms above 70°F. Choose the strain that matches your room temperature.
How long does it take to grow oyster mushrooms at home?
From spawn to first harvest usually takes four to six weeks. Colonization takes 10-21 days, depending on strain and spawn rate. Pins form within 5-10 days after you cut the bag. Harvest happens about five to seven days after pins appear.
Can I grow oyster mushrooms on coffee grounds?
Yes, oyster mushrooms can grow on coffee grounds, but the grounds must be fresh or quickly pasteurized. Used coffee grounds contaminate easily because they are nitrogen-rich. Mix them with straw or sawdust and pasteurize before inoculation for best results.
Do I need a pressure cooker to grow oyster mushrooms?
No. Oyster mushrooms grow well on pasteurized straw or sawdust. Pasteurizing at 160-170°F for one hour is enough for these aggressive decomposers. A pressure cooker is useful for grain spawn and some other species, but it is not required for a simple oyster grow.
What temperature and humidity do oyster mushrooms need for fruiting?
Most oyster mushrooms fruit at 55-75°F, with pink oyster preferring 70-85°F. Humidity should stay between 85-95%. Fresh air exchange is also critical. Without enough air, oysters grow long stems and tiny caps.
Why did my oyster mushrooms grow long stems and tiny caps?
Long stems and small caps almost always mean high carbon dioxide levels. Increase fresh air exchange by fanning more often or drilling more holes in the fruiting chamber. Low light can also reduce cap size. Maintain both fresh air and 12 hours of indirect light.
What Should You Remember?
- Choose blue or pearl oyster first: These strains tolerate normal indoor temperatures and fruit aggressively.
- Use a 5-10% spawn rate: More spawn speeds colonization and helps oyster mycelium outcompete mold.
- Keep humidity at 85-95%: High humidity plus fresh air produces large, tender oyster clusters.
- Fan the chamber twice a day: Fresh air exchange prevents spindly stems and tiny caps.
- Harvest before caps flatten: The ideal window is when cap edges are still slightly curled under.
- Soak the block after each flush: A 12-24 hour soak rehydrates the block for a second or third flush.
- Do not eat wild mushrooms: Get expert identification from NAMA or a local mycologist before consuming any wild mushroom.
This article is for general information only. Mushroom identification and consumption carry health and safety risks , never eat a wild mushroom unless positively identified by an expert, and follow sterile technique and food-safety guidance for home grows.