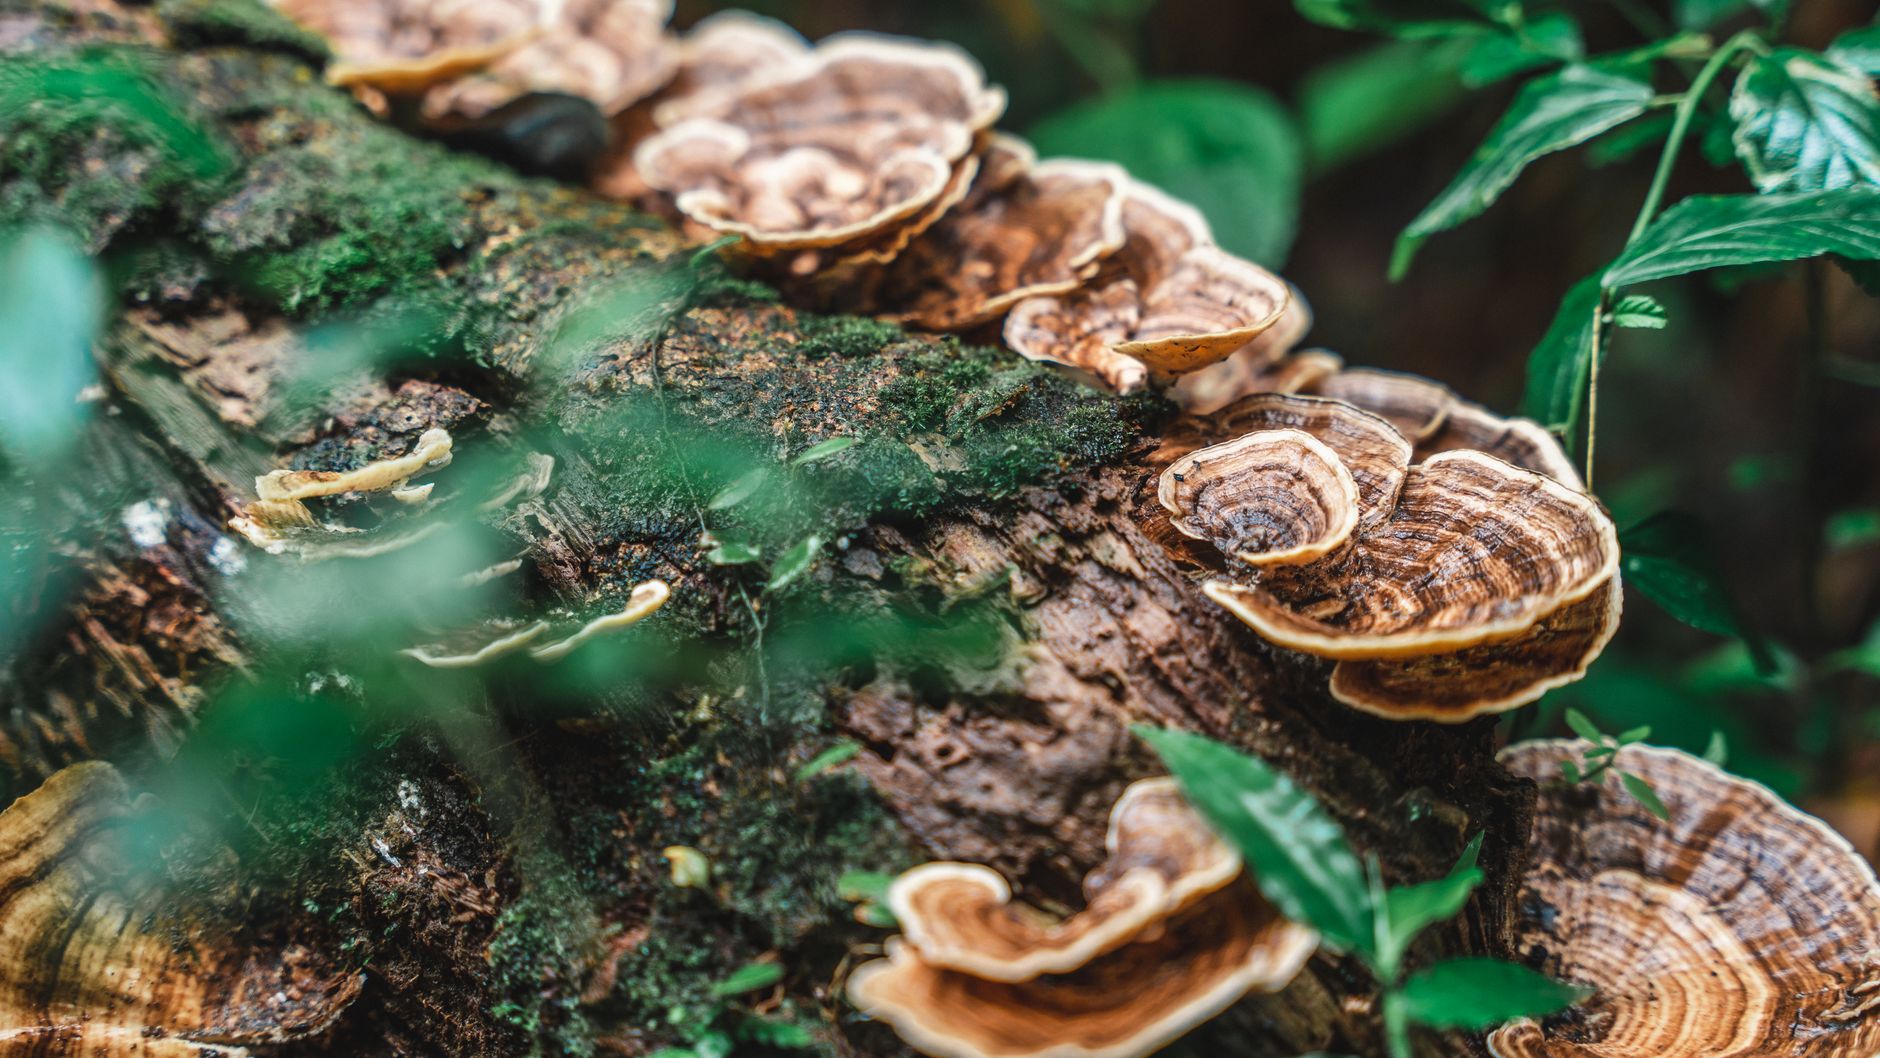
Reishi mushrooms, known as Ganoderma lucidum or lingzhi, are slow-growing wood-decay fungi prized for medicinal compounds. Home growers can produce them indoors on supplemented sawdust blocks with basic equipment. This guide walks you through substrate prep, sterilization, inoculation, fruiting, and harvest. For an overview of other species, check mushroom cultivation statistics 2026 and the best mushroom substrate guide. Reishi cultivation has been documented as a viable small farm crop, and the methods scale down well to a closet grow.
Reishi is not a beginner speed mushroom like oysters. It colonizes more slowly and needs a wood-based substrate. The payoff is a shelf-stable dried product that can be used for tea, tincture, or powder. You can produce two distinct shapes. High carbon dioxide gives you long, antler-like fruiting bodies. Lower carbon dioxide and more fresh air give you flat, varnished conks. Many home growers start with a best mushroom grow kit to learn the rhythm before mixing bulk substrate.
Before you begin, line up your tools and spawn. You will need a pressure cooker, autoclavable bags, hardwood fuel pellets, and a clean work area. The North American Mycological Association reminds foragers that wild mushrooms should never be eaten unless an expert identifies them. That warning applies to any Ganoderma you find outdoors. For indoor grows, buy reishi grain spawn from a trusted culture supplier. This guide assumes you have or can make grain spawn, detailed in how to make grain spawn.
Reishi thrives in a warm, humid environment. Colonization happens at 70-80°F for 10-21 days. Fruiting requires 75-85°F and 85-95% relative humidity. This guide includes a substrate recipe of 80 percent hardwood sawdust, 15 percent wheat bran, and 5 percent gypsum by dry weight. That blend gives reishi the nitrogen it needs without making contamination too easy. If you follow each step, you can harvest usable reishi in about 8 to 12 weeks from inoculation.
What You’ll Need
- 23-quart pressure cooker
- Autoclavable mushroom grow bags with filter patches
- Hardwood fuel pellets or hardwood sawdust
- Wheat bran or soybean hulls
- Gypsum
- Grain spawn
- Still air box or laminar flow hood
- Spray bottle with 70 percent isopropyl alcohol
- Perlite or humidity controller
- Thermometer and hygrometer
- Dehydrator
How Do You Grow Reishi Mushrooms at Home?
- Choose your reishi strain and growing method
Start by choosing a species or strain. Ganoderma lucidum is the most common red reishi. Ganoderma sessile is native to the United States and grows well on hardwood. Ganoderma multipileum is another Asian species with similar needs. Each strain may differ slightly in speed and shape. Your spawn supplier can tell you if the culture tends to produce antlers, conks, or both. This choice matters because different strains can fruit at slightly different temperatures.
Next, decide between a sawdust block grow indoors and an outdoor log grow. Indoor sawdust blocks are faster and more reliable for beginners. Outdoor logs can produce for years but often take 12 to 24 months to fruit. For indoor work, you can use a DIY mushroom fruiting chamber or a simple monotub with perlite. Logs are better if you have shaded outdoor space and want low maintenance.
Also check your spawn type. Grain spawn is easiest for sawdust blocks. Sawdust spawn works too but may add extra variable to your substrate moisture. The Penn State Extension notes that Ganoderma species grow well on hardwood sawdust with a nitrogen supplement. Avoid softwood like pine because resins inhibit growth. This step connects to substrate prep because your strain and method determine your exact recipe.
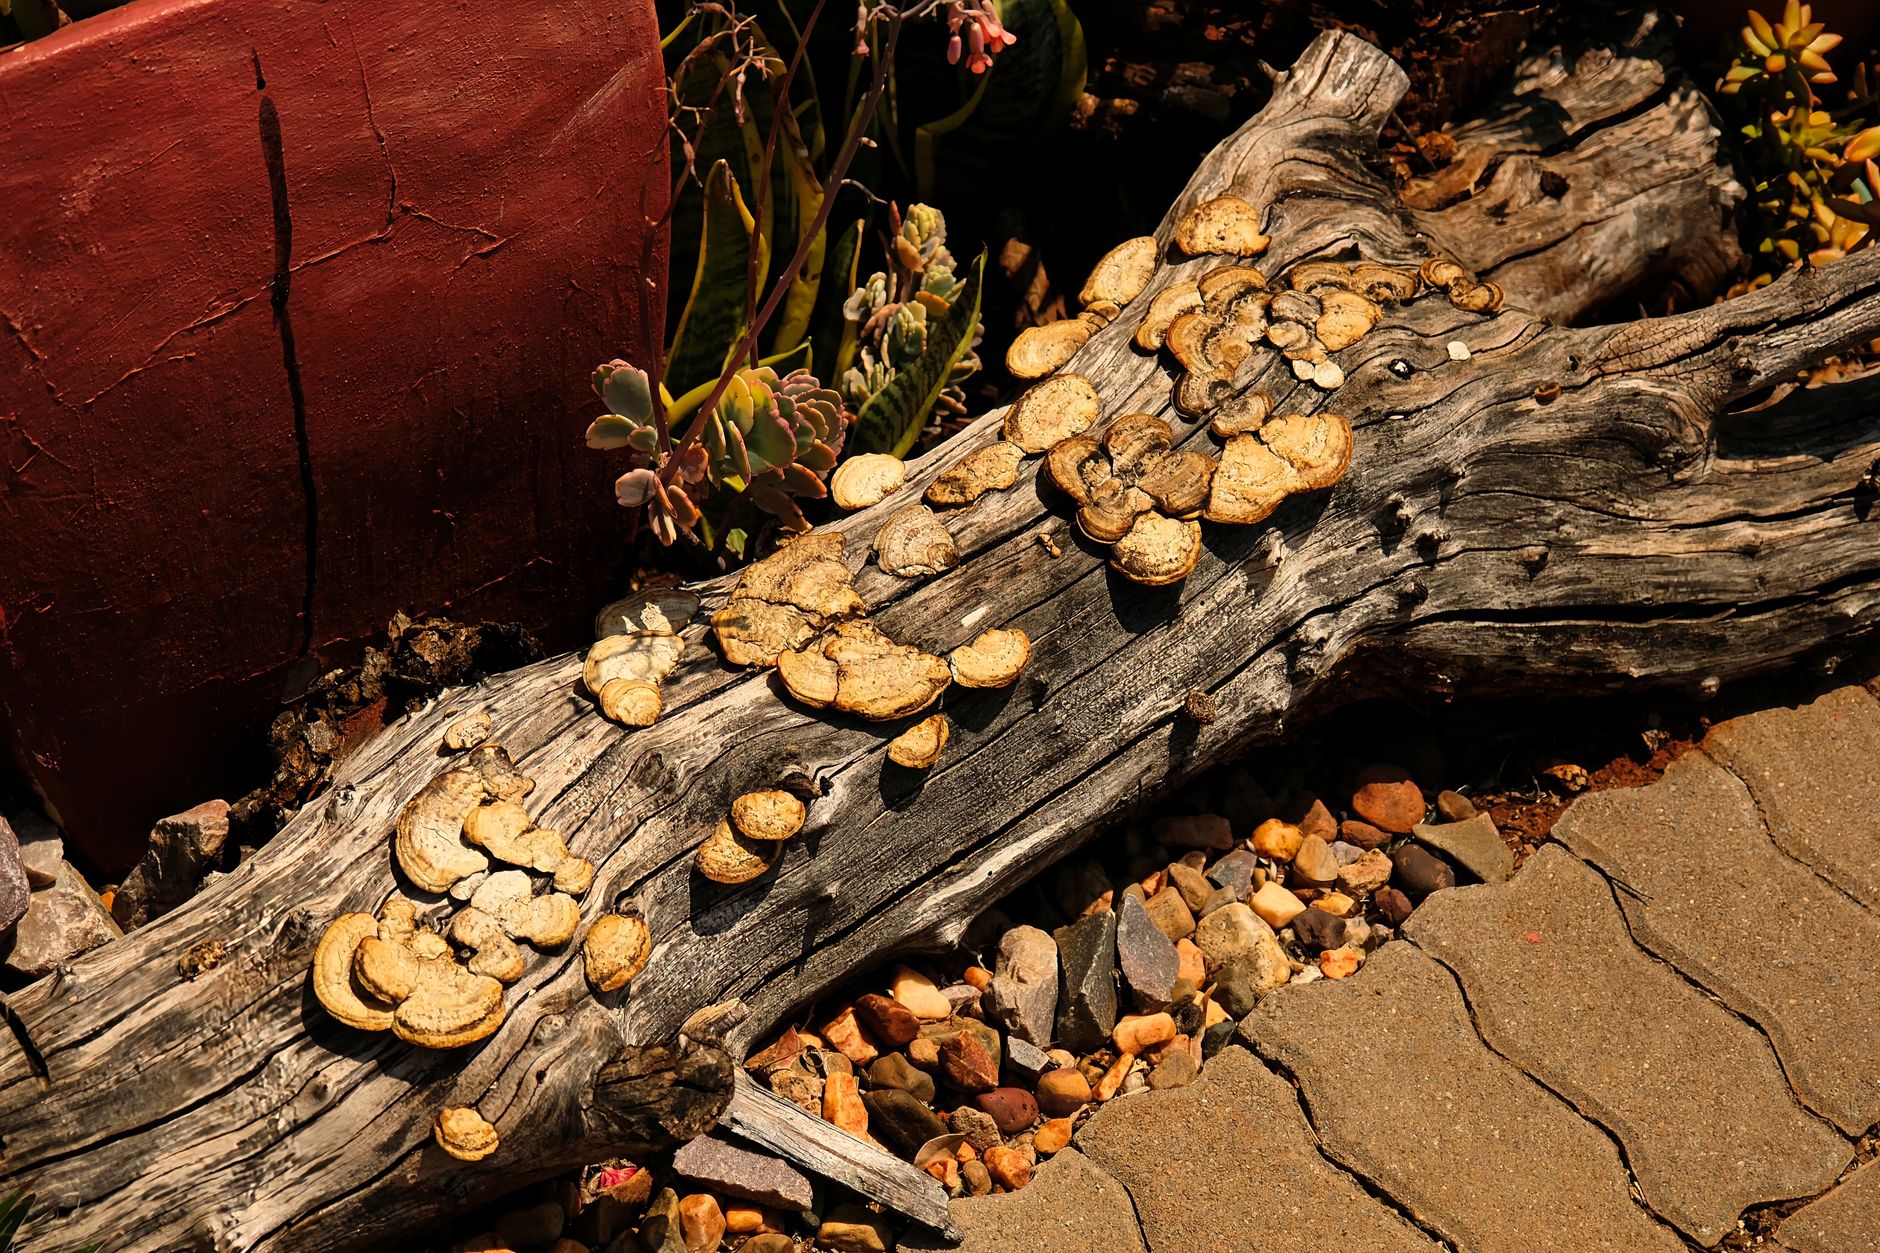
- Prepare supplemented hardwood substrate
Reishi needs hardwood sawdust or fuel pellets as the base. A simple 5-pound block recipe is 5 cups hardwood fuel pellets, 1.4 liters hot water, 1/2 cup wheat bran, and 1 tablespoon gypsum. By dry weight that is roughly 80 percent sawdust, 15 percent bran, and 5 percent gypsum. The hot water expands the pellets and hydrates the mix. Stir thoroughly until the substrate reaches field capacity. Field capacity means a handful releases only a few drops when squeezed hard.
Supplementation with bran or soybean hulls gives reishi the nitrogen it needs to form dense conks. The catch is that supplements also invite mold. That is why you must sterilize this substrate, not just pasteurize. You can find hardwood fuel pellets on Amazon at reasonable prices. Avoid barbecue pellets with added accelerants or softwood blends. Plain oak, hickory, or mixed hardwood pellets work best. For deeper substrate options, check the best mushroom substrate guide.
Once mixed, load the substrate into autoclavable mushroom grow bags. Leave enough headspace for the filter patch to breathe and for you to mix later. If you have a pressure cooker, fill 5-pound bags no more than two-thirds full. This prevents the bag from ballooning during sterilization. Check the bag seams after filling. A torn bag will contaminate during the next step.
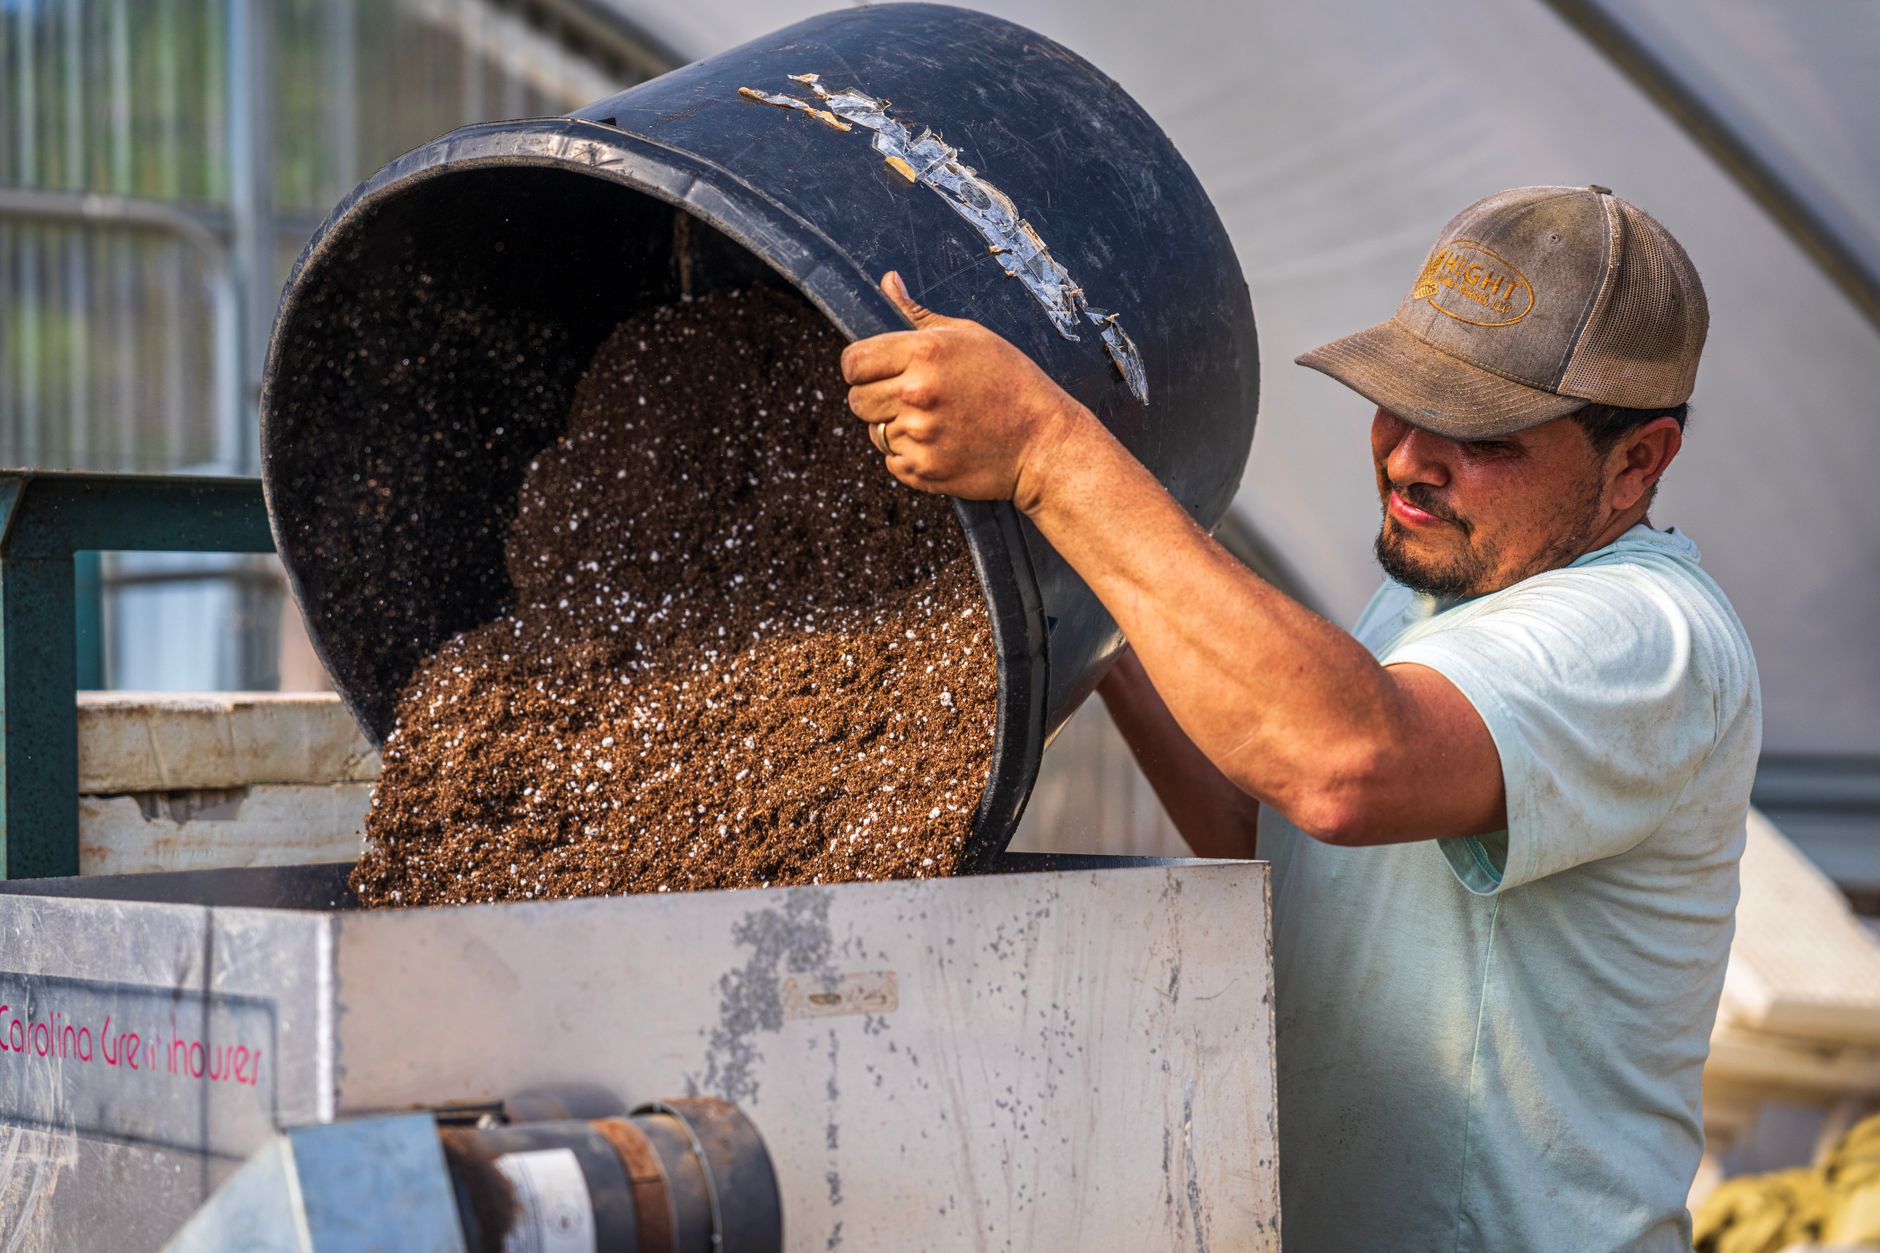
- Sterilize the substrate bags
Sterilization is non-negotiable for supplemented sawdust. Load the bags into a pressure cooker with a rack on the bottom. Add enough water to reach just below the rack. Cook at 15 PSI for 2.5 hours. That reaches about 250 degrees Fahrenheit inside the bag, which kills mold spores, bacteria, and competing fungi. Allow the cooker to cool naturally. Do not open the lid until the pressure gauge reads zero.
If you use a Presto pressure cooker, a 23-quart model holds about five 5-pound bags. Smaller cookers work but you may need more batches. You can also use an electric sterilizer. The key is holding temperature for the full time. Thick bags and dense substrate take longer for heat to penetrate. Undercooked bags are the most common cause of early contamination.
After the bags cool to room temperature, seal them and move to your inoculation area. Keep them off dirty floors. If a bag has a loose filter patch or a small tear, do not use it. Any break in the barrier invites trichoderma and other molds. For more on identifying problems later, see the mushroom contamination identification guide. This step sets up clean inoculation.
- Inoculate the bags with grain spawn
Inoculation introduces reishi mycelium into the sterile substrate. Work in a still air box or in front of a laminar flow hood. Wipe all surfaces with 70 percent isopropyl alcohol. Spray the air in your still air box and let it settle for a few minutes. Open one bag at a time. Add about 1/2 cup of grain spawn per 5-pound block, which is 5 to 10 percent by wet weight.
Pour the spawn through the bag opening without touching the inside edges. Fold the bag closed and shake gently to distribute the grain. The more evenly the spawn is mixed, the faster the mycelium will colonize. If you made your own grain spawn, review how to make grain spawn to ensure it was fully colonized. Grain spawn with uncolonized grains left invites bacteria.
Seal the bag immediately. Use an impulse sealer if your bags are autoclavable and sealable. Some growers fold the top and tape it shut. Keep the filter patch uncovered so the culture can breathe during colonization. Label each bag with the strain and date. Move to a dark or dim space at room temperature. Contamination at this stage usually shows up within the first week.
- Incubate the bags until colonized
Place the inoculated bags in a warm, dark location. Reishi mycelium colonizes best at 70-80°F (21-27°C). The lower end is safer because contamination slows a bit at lower temperatures. Expect colonization to take 10 to 21 days for a 5-pound bag. You may see white mycelium starting at the spawn points within 5 days. A tiny bit of yellow liquid called metabolite is normal.
Check the bags every few days. Healthy reishi mycelium is bright white and rope-like at first. Later it forms a thick, leathery white mat. If you see green, black, or slimy patches, isolate the bag. Do not open it inside your grow space. The mushroom contamination identification guide explains the common colors and what they mean. A fully colonized bag is often dense enough to hold shape when gently squeezed.
Once the substrate is fully white and has no uncolonized wood visible, it is time to fruit. Some growers wait an extra 5 to 7 days after full colonization. This lets the mycelium consolidate. You can also break up and re-mix at 50 percent colonization to speed the process, but that increases contamination risk. Patience is a better tool for reishi.
- Set up fruiting conditions for antlers or conks
Move the colonized block to your fruiting area. Reishi fruits best at 75-85°F with 85-95 percent relative humidity. Provide 12 hours of indirect light per day. The shape depends mainly on carbon dioxide. High CO2 produces long, antler-like fruiting bodies. Low CO2 with more fresh air produces flat, fan-shaped conks with a white outer edge.
For antlers, keep the bag mostly sealed or cut only a small slit. The mycelium senses high CO2 and grows upward as soft white to yellow antlers that later turn red. For conks, cut a larger opening or slice off the top of the bag and place it in a spot with frequent air exchange. You can use a DIY mushroom fruiting chamber to manage humidity and fresh air. A simple fruiting chamber with perlite works for both shapes.
Maintain humidity with a misting bottle or an Inkbird humidity controller and a small humidifier. Do not let water pool on the block. Standing water invites bacteria. If you see fuzzy white growth at the base of fruitbodies, increase fresh air slightly. Reishi pins often look like small yellow or white bumps. Those bumps will elongate or expand over the next few weeks.
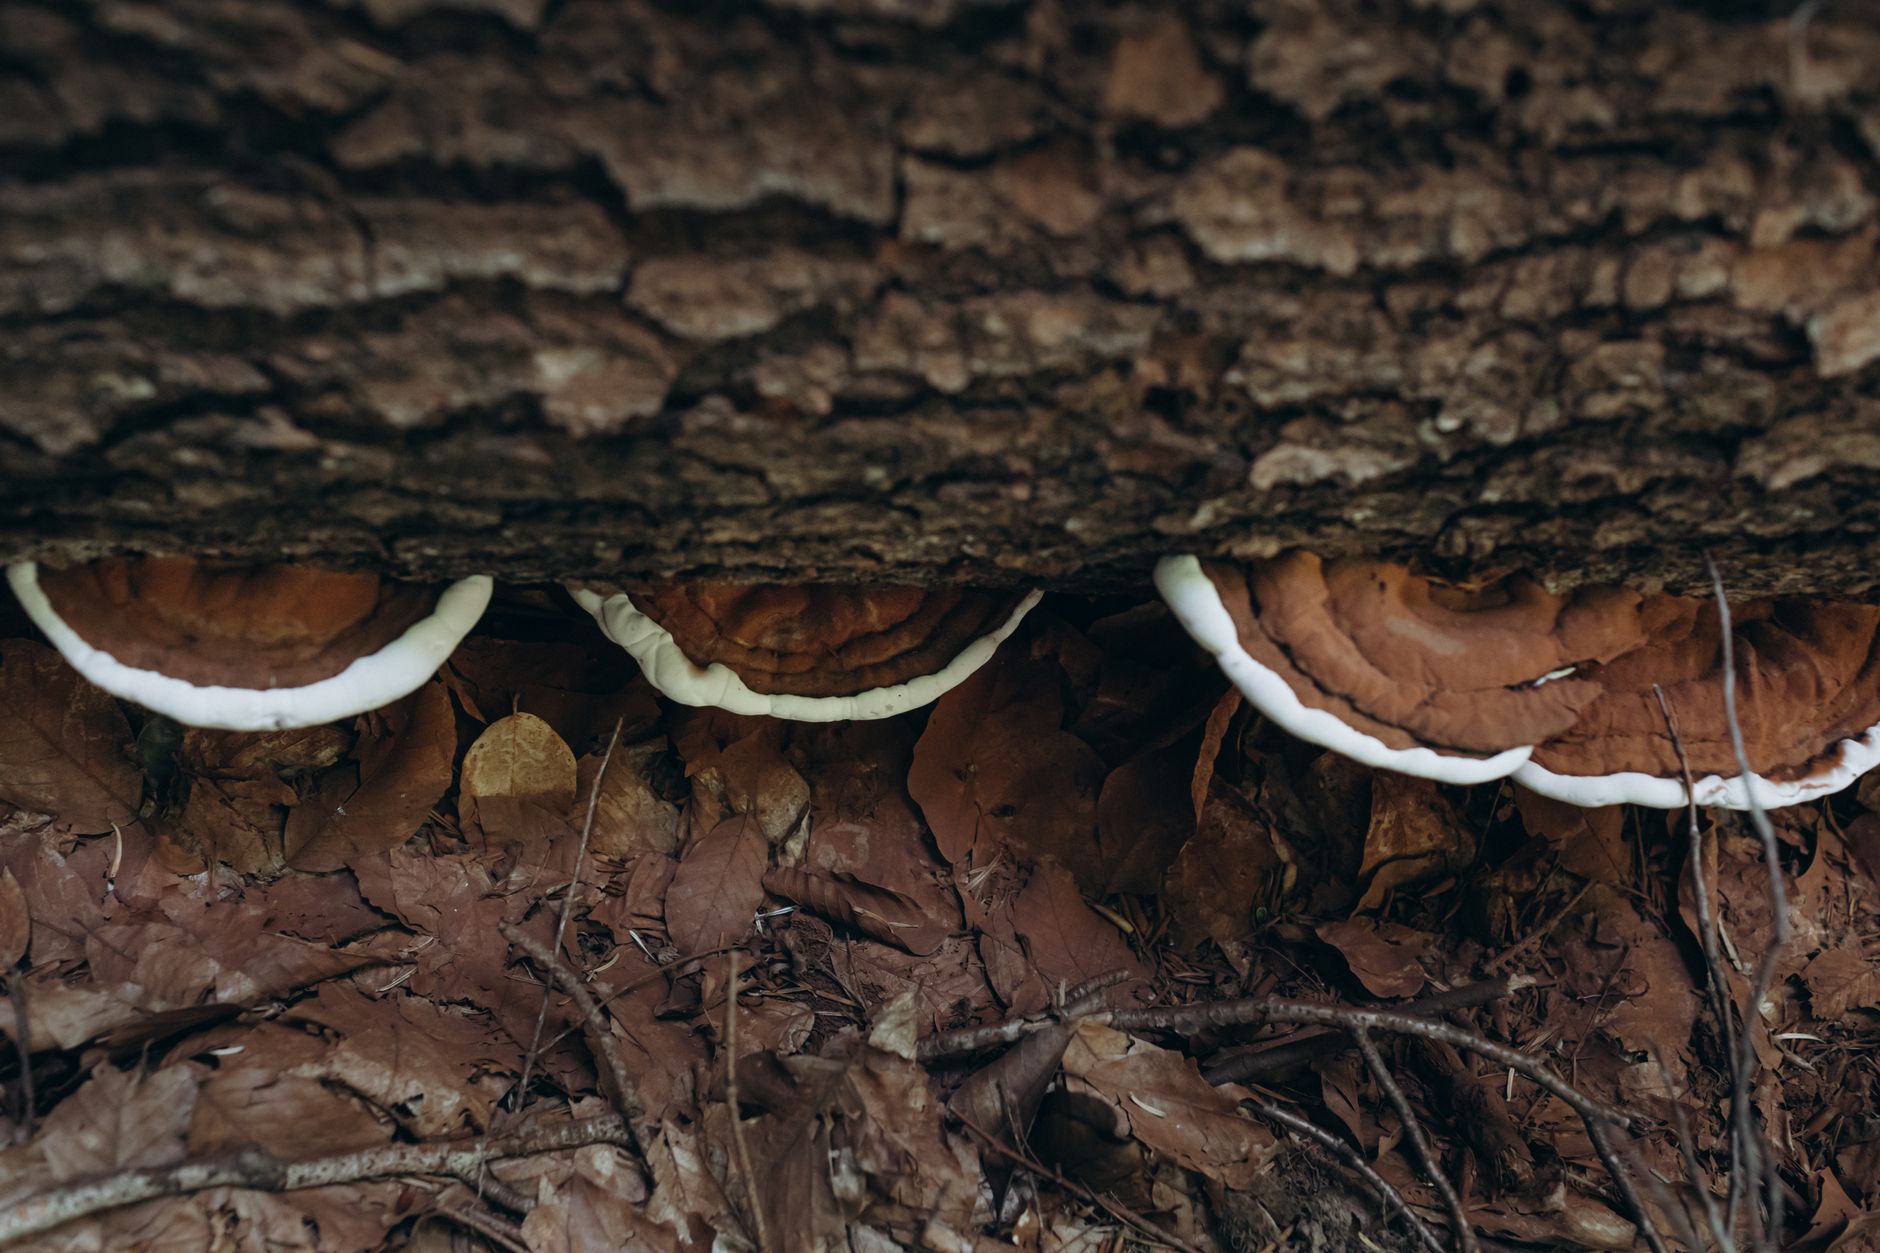
- Harvest reishi at the right time
Harvest reishi when the white growing edge starts to shrink or disappear. For antler forms, that often means 4 to 8 weeks after pinning. The antlers will be 3 to 6 inches tall and mostly red or orange with a small white tip. For conks, wait until the white margin is very thin and the cap has hardened. The top should have the classic shiny red varnished look.
Use a clean sharp knife or scissors. Cut antlers at the base where they attach to the substrate. For conks, twist gently or cut as close to the block as possible. Leaving a small stump is fine. The block may produce a second, smaller flush after you harvest. If you want a second flush, rehydrate the block by soaking it in water for 6 to 12 hours, then return it to fruiting conditions.
Harvest timing matters because early reishi has more soft white tissue. Late reishi becomes woody and tough. Both are usable, but early antlers are easier to slice and dry. If you see green mold during fruiting, harvest what you can and discard the block. For more on contamination at this stage, see why your mushroom grow kit has contamination.
- Dry and store your reishi
Fresh reishi is tough and bitter. It is not eaten like a button mushroom. Most people dry it for tea, tincture, or powder. Slice the harvested antlers or conks into pieces about 1/4 inch thick. Thinner slices dry faster and are easier to break. A dehydrator set to 110-120°F works well. Dry for 8 to 12 hours until pieces snap cleanly instead of bending.
If you do not have a dehydrator, use an oven on the lowest setting with the door propped open. Watch carefully to avoid scorching. Reishi can also air dry in a warm, dry room, but that takes several days and may invite mold in humid climates. Store dried reishi in an airtight glass jar in a cool, dark place. Properly dried reishi keeps for a year or more.
To use reishi, simmer slices in water for 1 to 2 hours for tea or soak in alcohol for a tincture. Many home growers powder dried reishi in a coffee grinder and add small amounts to broth or oatmeal. Avoid consuming wild reishi unless an expert has identified it. Consult a doctor before using reishi regularly because it may interact with blood pressure and blood sugar medications.
Red Flags & Warnings
- 🚨 Never eat wild reishi or any wild mushroom unless an expert has positively identified it. The North American Mycological Association can help you find local identifiers.
- 🚨 Do not pasteurize supplemented sawdust. Reishi substrate with bran or soybean hulls must be sterilized at 15 PSI for 2.5 hours or contamination is likely.
- 🚨 Isolate bags with green, black, or orange mold immediately. Mold spores spread fast in a grow space and can ruin future batches.
- 🚨 Keep fruiting humidity between 85 and 95 percent. Saturated, dripping surfaces encourage bacterial blotch and mold.
- 🚨 Use a still air box or flow hood during inoculation. Open air carries mold spores that colonize grain spawn faster than reishi.
- 🚨 Talk to a doctor before using reishi medicinally. Reishi can interact with blood thinners, blood pressure drugs, and diabetes medications.
Frequently Asked Questions
How long does it take to grow reishi mushrooms?
From inoculation to harvest usually takes 8 to 12 weeks on supplemented sawdust blocks. Colonization takes 10 to 21 days, and fruiting takes 4 to 8 weeks. Outdoor logs can take 12 to 24 months.
Can I grow reishi on logs outdoors?
Yes, reishi grows on hardwood logs. Oak and maple work well. Inoculate freshly cut logs in spring, keep them shaded, and wait. Logs produce for several years but are much slower than indoor sawdust blocks.
What is the difference between reishi antlers and conks?
Antlers form under high carbon dioxide levels. They are tall, unbranched, and soft at the tip. Conks form under low carbon dioxide with more fresh air. They are flat, fan-shaped, and have a varnished red top.
What temperature is best for reishi?
Colonization likes 70-80°F. Fruiting likes 75-85°F. Avoid temperatures below 65°F, which slow growth and invite contamination. Use a thermometer and check daily.
Why is my reishi block turning green?
Green is usually Trichoderma mold. It appears quickly and can out-compete reishi. Isolate the bag and discard it outside. To prevent it, sterilize supplemented substrate fully and inoculate in a clean still air box.
Do I need a pressure cooker to grow reishi?
For supplemented sawdust blocks, yes. A pressure cooker that holds 15 PSI is the most reliable way to sterilize the substrate. You can grow reishi on logs without a pressure cooker, but that method is slower and less predictable.
What Should You Remember?
- Choose supplemented hardwood: Reishi needs wood-based substrate with 5-15 percent bran or soybean hulls for nitrogen.
- Sterilize at 15 PSI for 2.5 hours: Supplemented sawdust cannot be simply pasteurized.
- Colonize at 70-80°F for 10-21 days: Wait until the block is fully white before fruiting.
- Fruit at 75-85°F with 85-95 percent humidity: Use indirect light and manage fresh air.
- Control CO2 to choose antlers or conks: High CO2 gives antlers, low CO2 gives conks.
- Dry immediately after harvest: Slice and dry at 110-120°F until pieces snap, then store in airtight glass.
This article is for general information only. Mushroom identification and consumption carry health and safety risks , never eat a wild mushroom unless positively identified by an expert, and follow sterile technique and food-safety guidance for home grows.