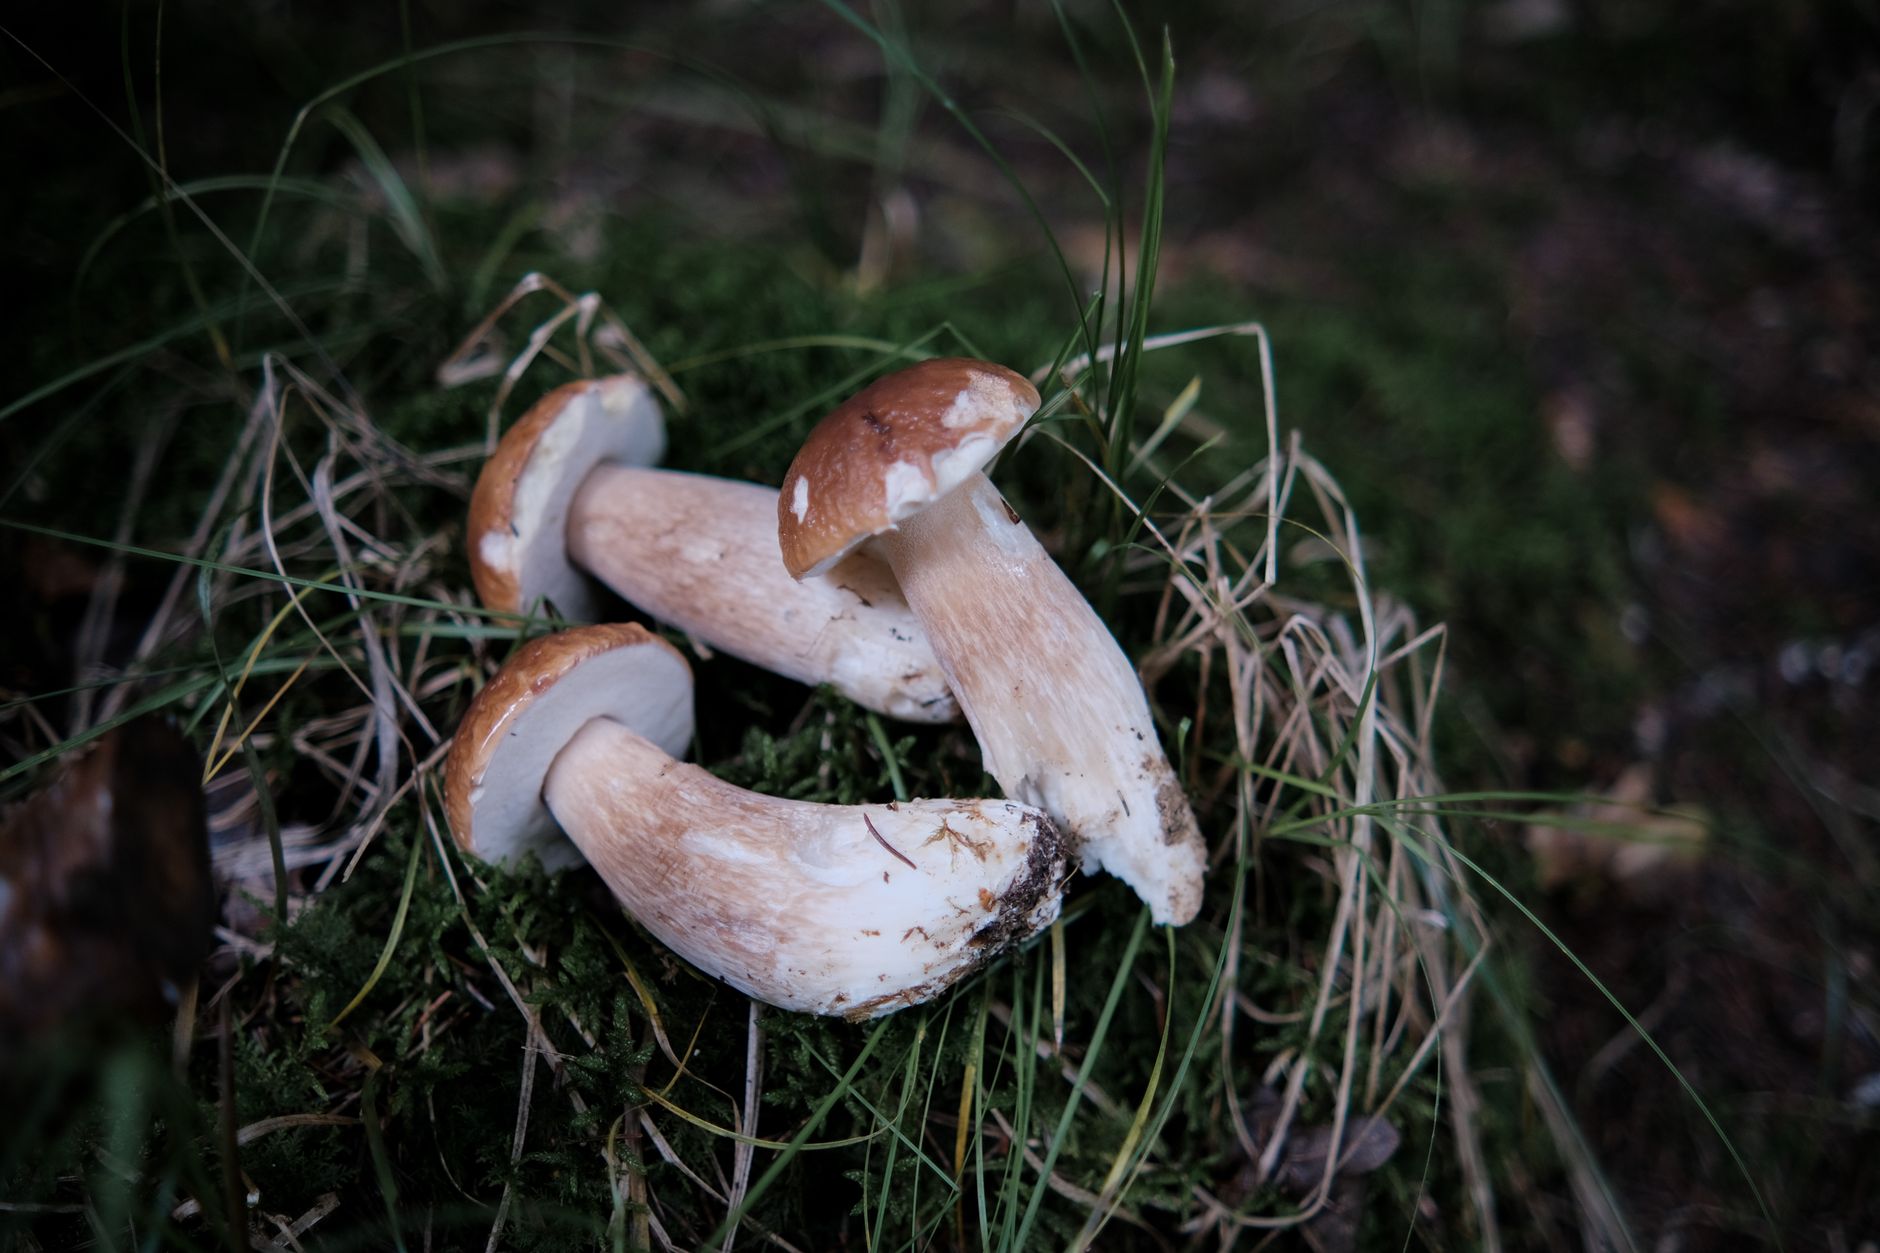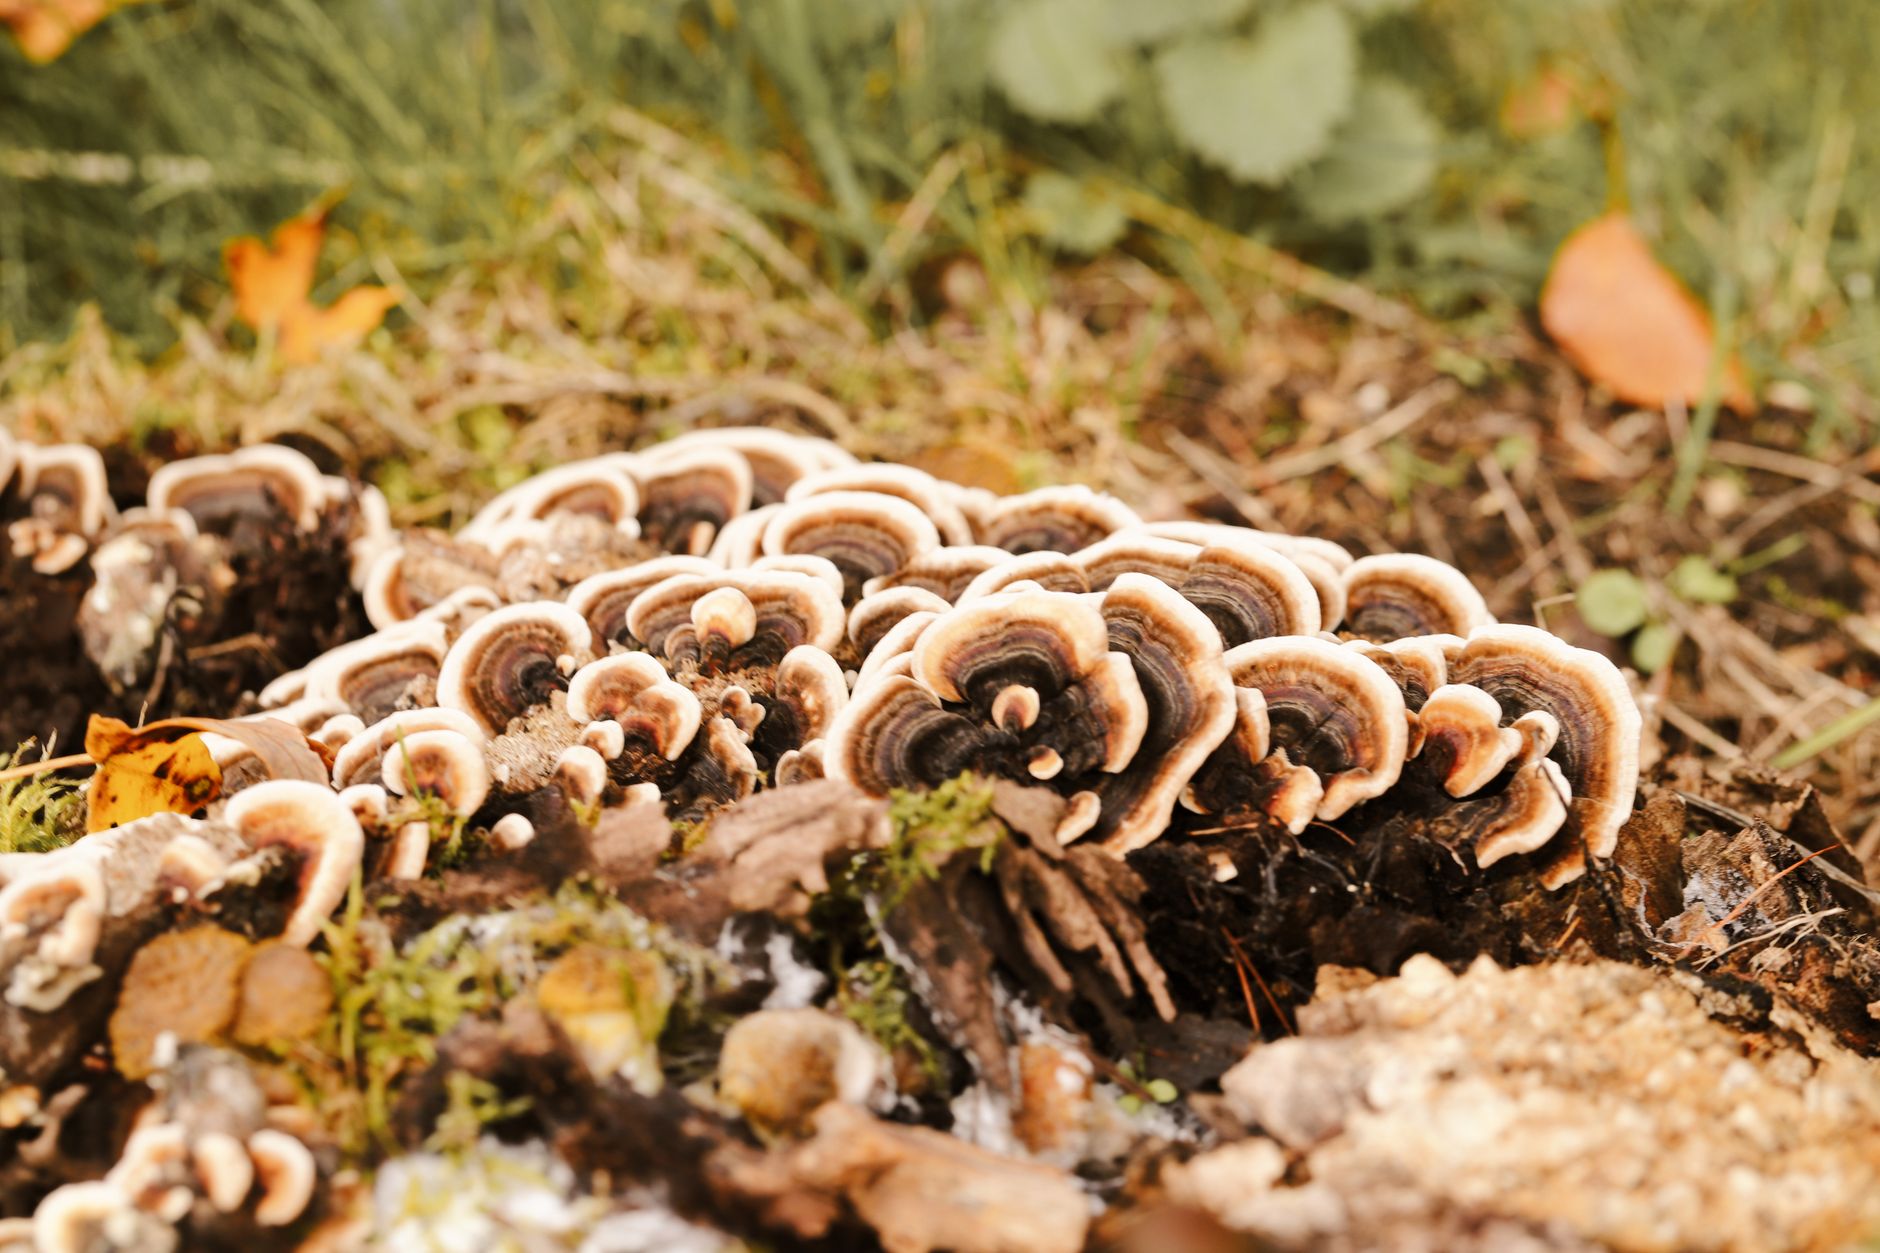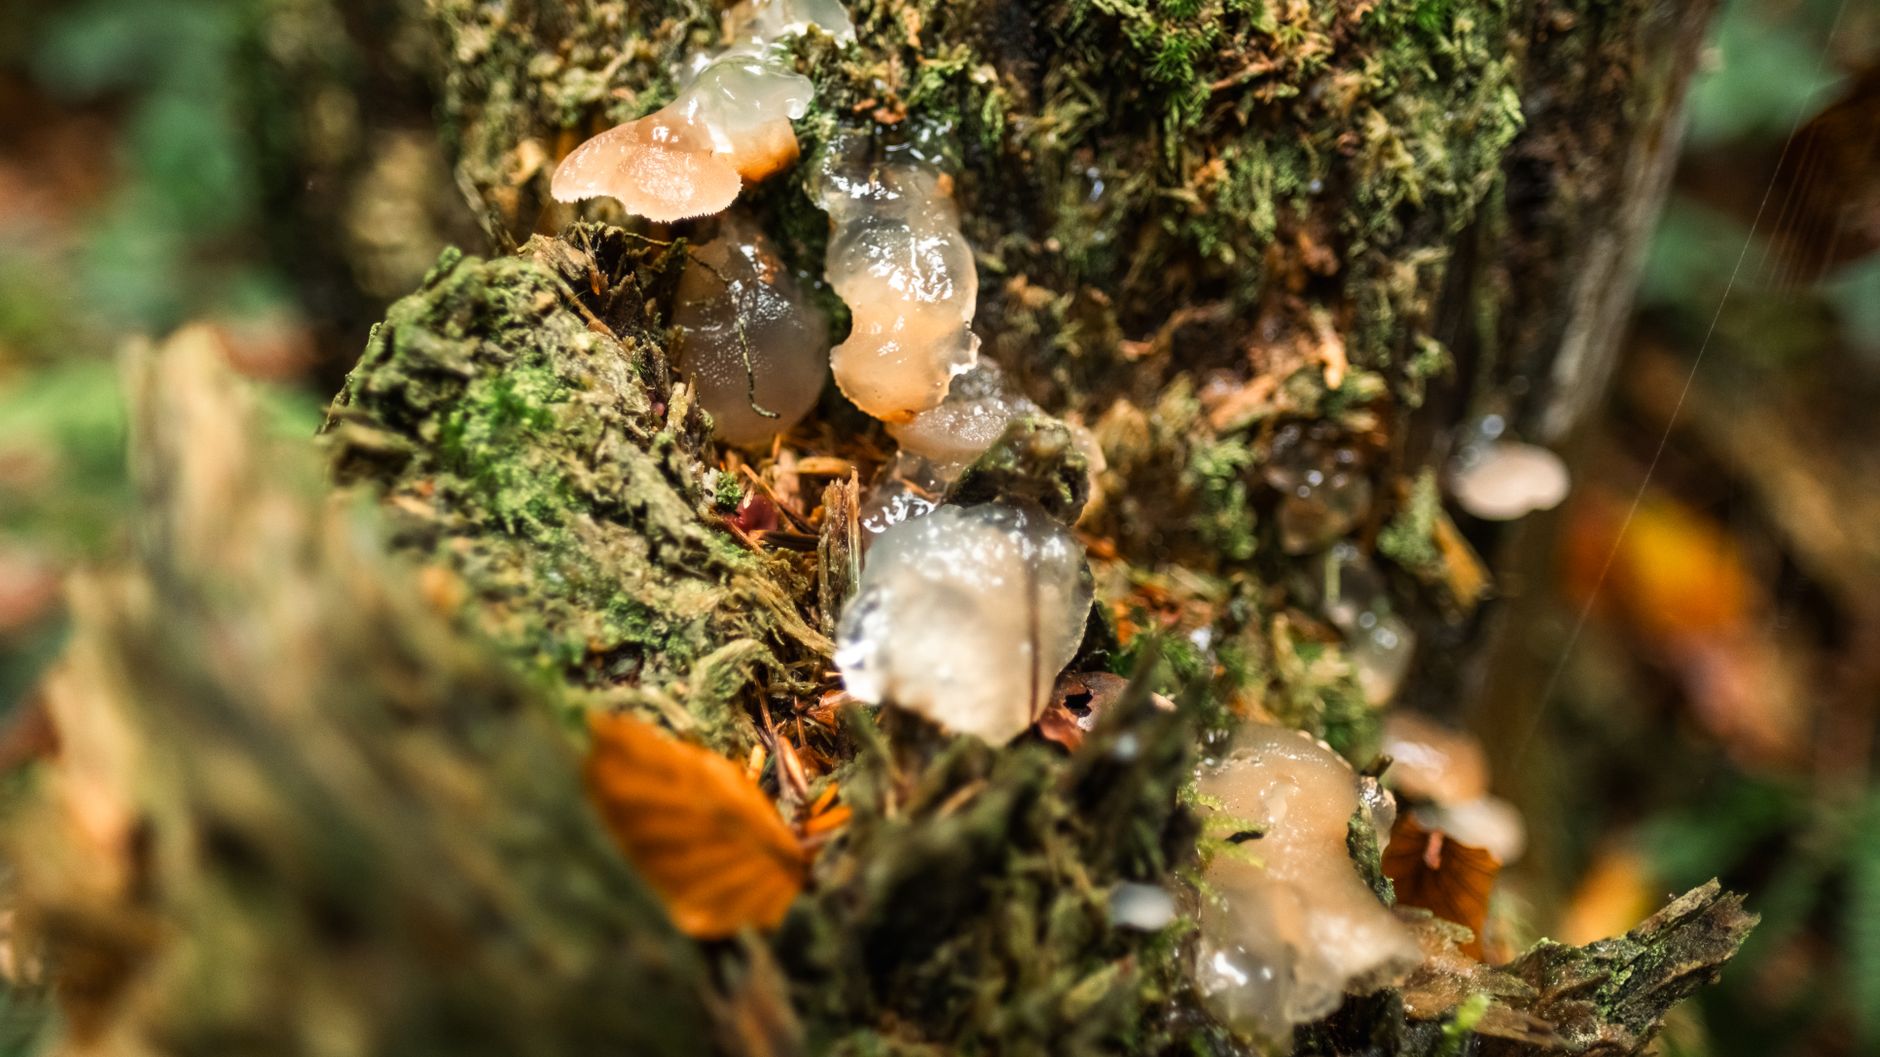
Snow fungus, also called Tremella fuciformis, is a white, translucent, jelly-textured mushroom prized in Asian cuisine and traditional recipes. Unlike oyster mushrooms, which grow vigorously on straw or sawdust, snow fungus is not a beginner-friendly species. It is a parasitic fungus that needs a helper host in the substrate to produce the edible brain-like lobes. The North American Mycological Association reminds growers to never eat any wild mushroom unless an expert positively identifies it. That rule matters here because several gelatinous wild fungi look similar.
This guide walks through indoor cultivation using supplemented hardwood sawdust blocks. If you have grown easier species like lion’s mane or shiitake, you already understand sterile technique. Snow fungus adds one twist: you must introduce both the snow fungus culture and its host fungus into the same block. The host, often Hypoxylon archeri, breaks down wood components and feeds the snow fungus. Without the host, snow fungus cannot fruit. Many home growers miss this point and end up with a fully colonized block that never produces mushrooms.
You will need a pressure cooker, mushroom grow bags, hardwood sawdust, rice bran, and a clean still air environment. Colonization typically takes 21 to 35 days at 70 to 80 degrees Fahrenheit. Fruiting succeeds best at 65 to 75 degrees Fahrenheit with 85 to 95 percent relative humidity. These data points come from standard wood-loving mushroom cultivation practice and align with guidance from Penn State Extension. Keep a grow log so you can adjust conditions.
Be patient. Snow fungus grows slowly, and even experienced cultivators lose blocks to contamination. The reward is a delicate, naturally sweet mushroom that hydrates into silvery white clusters. Use this guide alongside the mushroom fruiting conditions guide on this site to dial in the right environment. The process takes roughly two months from inoculation to first harvest. Do not rush the steps, because a single mistake can stall the entire grow. With good technique, you can produce repeat flushes. Let’s start with the biology that makes this species special.
What You’ll Need
- Pressure cooker capable of 15 PSI
- Mushroom grow bags with filter patches
- Hardwood sawdust (oak or beech)
- Rice bran or wheat bran
- Gypsum
- 70% isopropyl alcohol
- Clean spray bottle
- Still air box or laminar flow hood
- Humidity controller and hygrometer
- Snow fungus and host fungus spawn or liquid culture
How Do You Grow Snow Fungus at Home?
- Understand Snow Fungus and Its Host Relationship
Snow fungus is not a typical wood decomposer. In nature, it parasitizes other fungi, especially species in the genera Hypoxylon and Annulohypoxylon. The host fungus colonizes dead wood and breaks down complex compounds like lignin. Snow fungus mycelium then absorbs nutrients from the host. This biological pairing explains why you cannot grow snow fungus the same way you grow oyster mushrooms.
Many growers make the mistake of buying a single snow fungus culture and placing it on plain sawdust. The mycelium may run weakly for a few weeks and then stall. That is because the host fungus is missing. Commercial farms often inoculate the host first, let it establish, and then introduce snow fungus. Some suppliers sell dual-culture spawn that already contains both organisms.
Understanding this relationship matters before you buy any supplies. Ask the spawn seller whether the product is a mixed culture or a pure snow fungus culture. If it is pure, you need a separate compatible host culture. This step connects to the next one because you must gather equipment that supports sterile transfer of both organisms.
- Gather Equipment and Set Up a Sterile Work Area
You will need a pressure cooker that reaches 15 PSI. You also need filter patch grow bags, latex or nitrile gloves, 70% isopropyl alcohol, a spray bottle, and either a still air box or a laminar flow hood. These tools prevent airborne mold spores from landing in your substrate. If you need a refresher on sterile grain work, see how to make grain spawn.
Clean your work surface with soapy water, then wipe it with a 10% bleach solution followed by 70% isopropyl alcohol. Turn off fans and close windows. Work inside a still air box if you do not own a flow hood. Every movement should be slow and deliberate so you do not kick up dust.
Invest in a reliable pressure cooker. A stove-top model that holds at least 8 quart jars or several bags is plenty for home use. Do not use an instant pot, which does not reliably reach 15 PSI. This step sets up the next one, where you prepare the substrate that both fungi need.
- Make the Supplemented Sawdust Substrate
Snow fungus and its host prefer a hardwood sawdust base. A proven recipe is 80 percent hardwood sawdust by dry weight, 20 percent rice bran or wheat bran, and 1 to 2 percent gypsum. Add water until the mixture reaches 60 to 65 percent moisture content. This means a squeezed handful should feel moist but release only a few drops of water. For more recipes, see best mushroom substrate guide.
Mix the dry ingredients thoroughly in a clean tub. Slowly add water and mix until the field capacity is right. Pack the mixture into mushroom grow bags with filter patches. Leave a little headspace so you can fold the bag and mix the spawn later.
Sterilize the filled bags at 15 PSI for 90 minutes. Place a rack or towel at the bottom of the pressure cooker so bags do not scorch. Let the pressure drop naturally. Do not open the cooker until the bags are cool enough to handle. Any shortcut here invites contamination.
Common mistakes include using softwood sawdust like pine, which contains resins that slow fungal growth. Another mistake is adding too much bran, which raises the risk of mold. Stick to hardwood and keep bran at 20 percent or less. This substrate will support both the host fungus and the snow fungus during the next stage.
- Inoculate with Snow Fungus and Host Culture
Once the substrate cools to room temperature, move it to your still air box or flow hood. Spray the bags with 70% isopropyl alcohol. Open each bag carefully. If you have a dual-culture spawn, crumble it into the substrate and mix well. If you have separate cultures, add the host culture first, mix, and then add the snow fungus culture.
A common inoculation rate is 5 to 10 percent spawn by wet weight of the substrate. For example, a 2 kilogram block receives 100 to 200 grams of spawn. Use a sterile spoon or gloved hands. Work quickly but smoothly. Close the bag and fold the opening under the block so the filter patch remains exposed for gas exchange.
The host fungus will begin to run through the sawdust within a few days. Snow fungus mycelium follows more slowly. Do not worry if you see faint white fuzz that looks different from the host. That is normal. If you see green, black, or orange patches, review mushroom contamination identification guide.
Label each bag with the date and the culture type. This helps you track colonization speed and compare batches. Move the bags to the incubation area described in the next step. Avoid moving bags too much, because excess handling can tear the filter patch.
- Incubate for Colonization
Place the inoculated bags in a dark, warm area. The ideal colonization temperature is 70 to 80 degrees Fahrenheit. At this range, the host fungus and snow fungus form a dense white network in 21 to 35 days. Temperatures below 65 degrees slow the process. Temperatures above 85 degrees can kill the mycelium or encourage thermophilic molds.
Check the bags once or twice a week. Look for white growth spreading from the inoculation points. Hold the bag up to a light to see the interior. After 14 days, you may notice small brown or black specks in the host mycelium. This is often normal for Hypoxylon hosts, but watch for any fuzzy green mold.
Do not open the bags during colonization. The filter patch allows fresh air exchange, so the fungi get oxygen. Opening the bag lets contaminants in. If condensation builds inside, that is okay. A little moisture on the bag walls shows the substrate is still at proper hydration.
When the block feels firm and is mostly white, it is ready for fruiting. Some yellow or tan patches are acceptable. If the block is mushy, smells sour, or shows colored mold, discard it outdoors. Do not compost contaminated blocks indoors.
- Set Up a Fruiting Chamber with High Humidity
Snow fungus fruits best in a chamber that holds relative humidity between 85 and 95 percent. Use a clear plastic tote, a small grow tent, or a modified greenhouse shelf. Place a tray of perlite or wet clay pebbles at the bottom. A small fan on a timer can provide gentle fresh air exchange. See mushroom fruiting conditions guide for setup options.
Temperature for fruiting should be 65 to 75 degrees Fahrenheit. This is slightly cooler than colonization. A cool-down period of 5 to 10 degrees often signals the block to produce primordia. Keep the chamber away from direct sunlight, but provide indirect natural light or a low-wattage LED.
A humidity controller wired to a small humidifier makes life easier. Set the controller to turn the humidifier on at 85 percent and off at 95 percent. This prevents both drying and waterlogging. If you do not have a controller, mist the chamber walls 2 to 3 times per day, not the mushroom surface directly.
Fresh air is important because snow fungus lobes develop a firm, almost crunchy texture when CO2 levels stay too high. Aim for 3 to 5 air exchanges per hour. Avoid strong fans that could dry out the delicate jelly lobes. This chamber setup directly affects the next step, where primordia form.
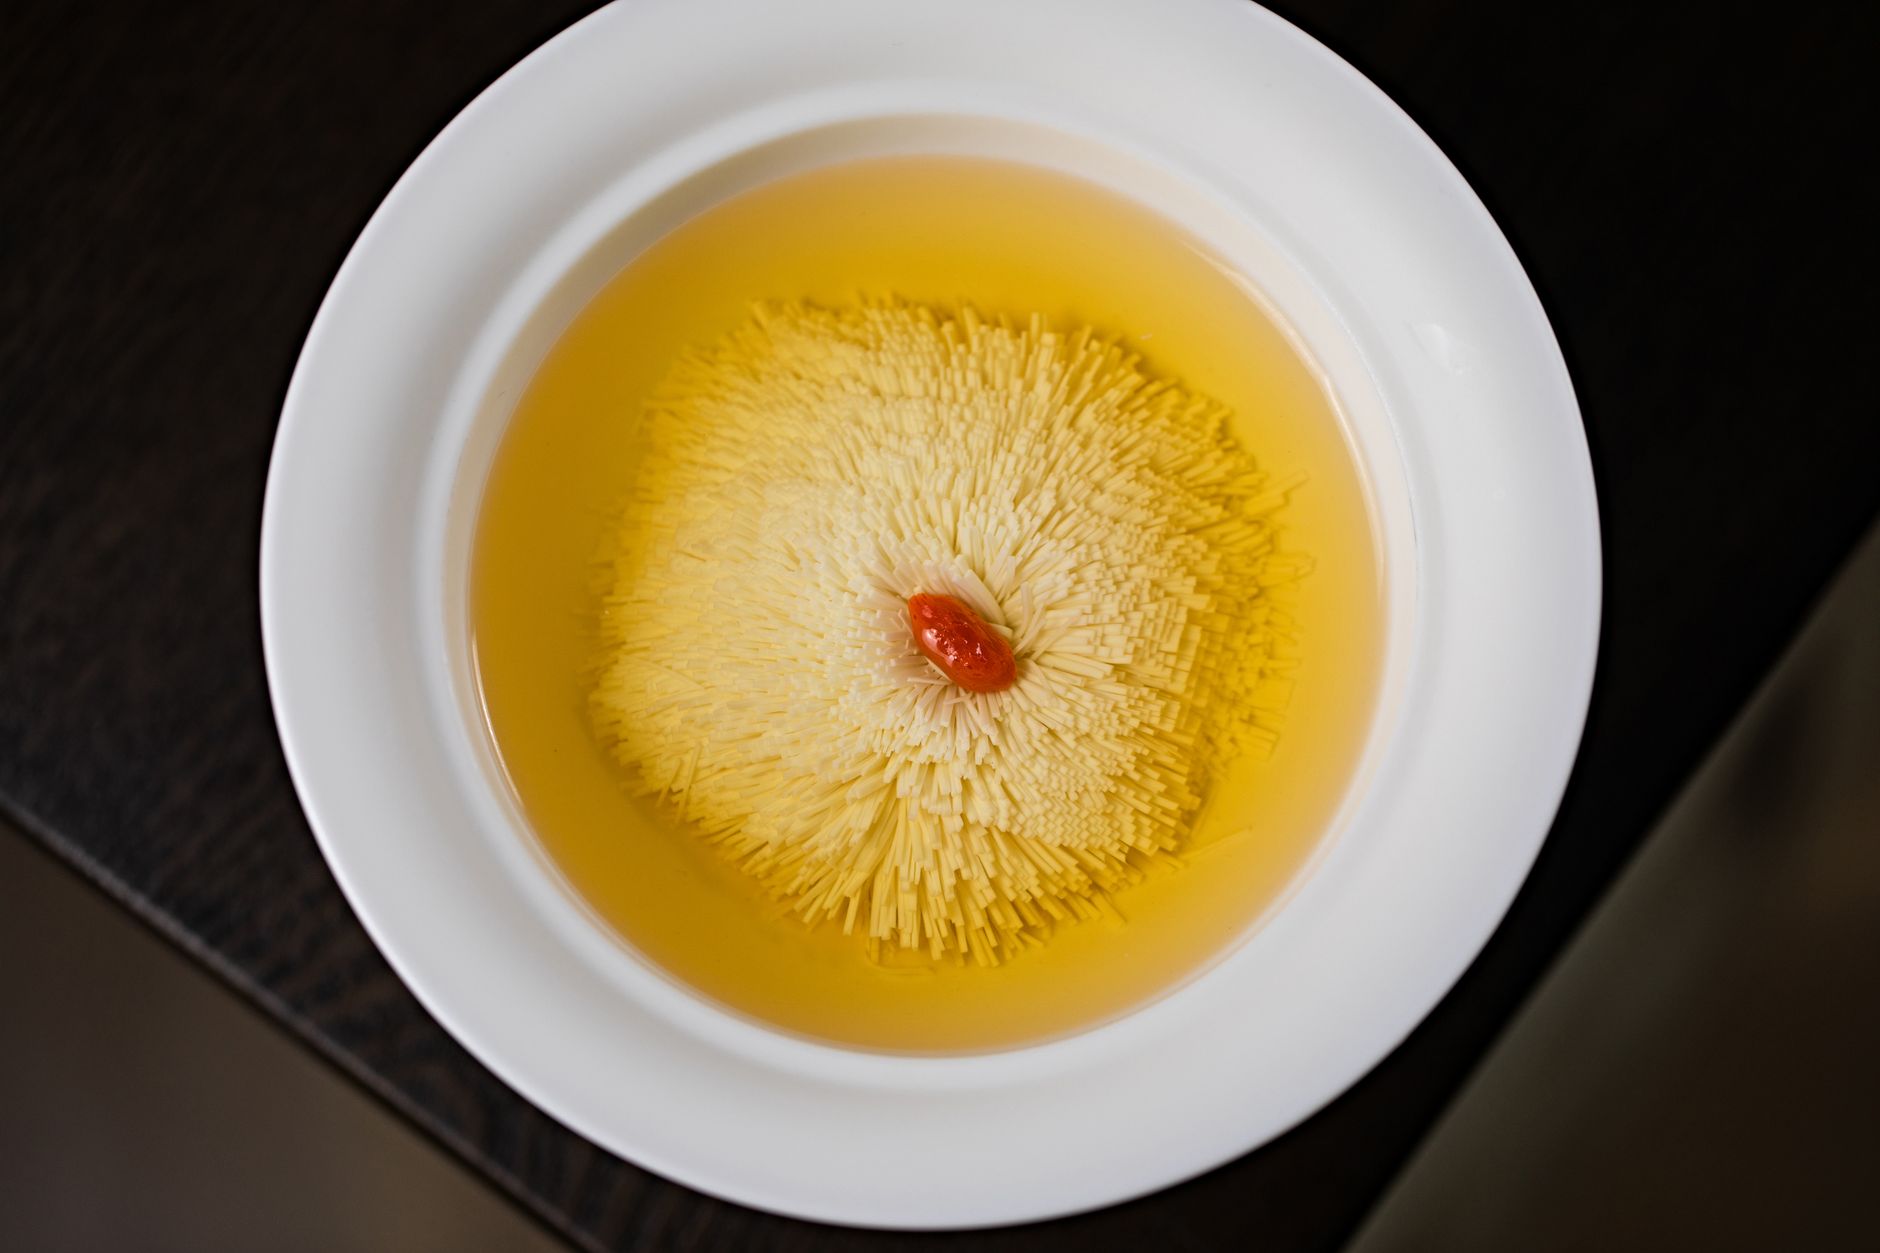
- Trigger Fruiting and Maintain Conditions
When the block is fully colonized, cut two or three small V-shaped slits in the bag. These holes expose the mycelium to fresh air and light. Do not remove the entire bag, because that dries the block too fast. Place the block in the fruiting chamber. Within 7 to 14 days, small white bumps should appear near the slits.
These bumps slowly expand into wavy, translucent lobes that look like sea coral or a white brain. Maintain humidity between 85 and 95 percent during this stage. If the lobes look dry or shriveled, raise the misting frequency. If they look water-soaked or develop soft brown spots, reduce humidity and increase air flow.
Do not rotate the block unless necessary. Snow fungus lobes are delicate and break easily when handled. A gentle light cycle of 12 hours on and 12 hours off works well. The light does not need to be bright. It mainly tells the fungus which direction to grow.
Patience matters here. Some blocks fruit in 10 days, while others take three weeks. Keep temperatures stable. Sudden swings above 80 degrees or below 60 degrees can stop primordia from developing. This step sets the stage for a clean harvest.
- Harvest and Store Snow Fungus
Snow fungus is ready to harvest when the lobes are firm, white, and have a slight bounce when you press them. Use a clean knife or scissors to cut entire clusters near the base. Do not pull the mushroom, because that can tear the substrate. Leave small pinheads on the block for a second flush.
Harvest before the edges turn brown or slimy. Once the fungus begins to break down, flavor and texture decline quickly. Rinse the lobes gently in cold water to remove any substrate particles. Pat them dry with a paper towel. Snow fungus can be used fresh or dried.
To dry, spread the lobes on a mesh screen in a dehydrator at 105 to 115 degrees Fahrenheit for 8 to 12 hours. The dried fungus should snap easily. Store it in an airtight jar away from direct light. Properly dried snow fungus lasts at least a year. For another jelly fungus with similar storage needs, see wood ear growing guide.
After harvest, rehydrate the block by submerging it in cold water for 4 hours. Return it to the fruiting chamber. A second flush may appear in 2 to 4 weeks. Discard the block when it stops producing or shows contamination.
Red Flags & Warnings
- 🚨 Never eat wild snow fungus unless a mycologist or NAMA-affiliated identifier confirms it. Many gelatinous wild fungi look similar and some are toxic.
- 🚨 Do not pressure sterilize sealed bags without filter patches. Steam pressure can burst a sealed bag and cause serious burns.
- 🚨 Watch for green, black, orange, or pink mold during colonization. If you see any colored patch, isolate the bag and discard it outside.
- 🚨 Avoid using pine or cedar sawdust. Softwood resins slow both the host fungus and snow fungus, and can lead to weak or failed crops.
- 🚨 Do not let fruiting humidity drop below 80 percent for more than a few hours. Snow fungus lobes dry out fast and abort.
- 🚨 Keep your grow away from pets and children. Contaminated substrates, cleaning chemicals, and pressure cookers are hazards.
Frequently Asked Questions
Is snow fungus hard to grow at home?
Yes. Snow fungus is an advanced species because it needs a compatible host fungus in the substrate. Beginners should first gain experience with oyster or lion’s mane mushrooms. Still, careful sterile technique and the right spawn can make home cultivation possible.
What substrate should I use for snow fungus?
Use a supplemented hardwood sawdust block. A standard recipe is 80 percent hardwood sawdust, 20 percent rice bran or wheat bran, and 1 to 2 percent gypsum. Hydrate to 60 to 65 percent moisture and sterilize at 15 PSI for 90 minutes.
How long does snow fungus take to grow from spawn to harvest?
Colonization takes 21 to 35 days at 70 to 80 degrees Fahrenheit. Fruiting begins 7 to 14 days after you open the bag. Total time from inoculation to first harvest is usually 6 to 8 weeks.
Can I grow snow fungus from dried fungus I buy at the store?
No. Dried snow fungus is not viable for cultivation. You need live snow fungus spawn or liquid culture along with a compatible host fungus culture. Dried tissue cannot be revived.
Why did my snow fungus block turn brown and slimy?
Brown and slimy lobes usually mean bacterial contamination or excessive humidity with poor air exchange. Reduce misting, increase fresh air flow, and remove affected areas. If the block smells sour, discard it.
What does snow fungus taste like and how do I use it?
Snow fungus has a mild, slightly sweet flavor and a soft jelly texture. It is often simmered in soups, sweetened drinks, and desserts. Hydrate dried pieces in water for 20 minutes before cooking.
What Should You Remember?
- Snow fungus is advanced. It requires a host fungus, so do not expect oyster-like ease.
- Substrate matters. Use 80 percent hardwood sawdust, 20 percent rice bran, and 1 to 2 percent gypsum at 60 to 65 percent moisture.
- Colonization temperature. Keep incubating blocks at 70 to 80 degrees Fahrenheit for 21 to 35 days.
- Fruiting conditions. Maintain 65 to 75 degrees Fahrenheit and 85 to 95 percent relative humidity.
- Sterile technique is non-negotiable. Contamination is the top reason home snow fungus blocks fail.
- Harvest with clean cuts. Snip whole lobes near the base before they brown or become slimy.
- Never eat wild snow fungus unless an expert identifies it. Use cultivated mushrooms for cooking.
This article is for general information only. Mushroom identification and consumption carry health and safety risks , never eat a wild mushroom unless positively identified by an expert, and follow sterile technique and food-safety guidance for home grows.