If you grow mushrooms at home, you will eventually meet contamination. It might be a bright green patch on a grain jar, a grey fuzz creeping over a casing layer, or a slimy brown spot on a mushroom cap. Learning to identify these invaders early can save your entire grow. This mushroom contamination identification guide helps you separate normal mycelium from common molds and bacteria. You will learn what to look for, what to toss, and how to protect future batches. With the right habits, you can reduce losses and grow more mushrooms with confidence. Each contaminant has a signature color, texture, and smell. Once you know these signs, you can act before a small problem becomes a room-wide outbreak.
Contamination is one of the biggest reasons home mushroom projects fail. The North American Mycological Association (NAMA) reminds cultivators that visual identification alone is not reliable for wild mushrooms. The same caution applies to contaminated substrate. Just because a block looks mostly white does not mean it is safe. Penn State Extension recommends discarding any spawn that shows green, black, or pink mold. These organisms can produce toxins and should never be eaten.
In home cultivation, prevention is always better than rescue. You can avoid many contaminations by using high-quality spawn, sterilized grain, and pasteurized substrate. If you are new, start with a reliable grow kit before moving to grain-to-grain transfers. For deeper troubleshooting, see our dedicated articles on why your mushroom grow kit has contamination and oyster mushroom grow kit contamination causes. Some growers report that contamination can reduce yields by 20 to 50 percent in oyster blocks. That is a strong reason to learn the signs early.
| Contaminant | Appearance | Smell | Best Response |
|---|---|---|---|
| Trichoderma (green mold) | White fuzz turns emerald green, powdery | Earthy or musty | Discard bag or jar outside, do not open indoors |
| Cobweb mold | Grey, fluffy, wispy, grows over pins | Moldy or stale | Quarantine and treat with hydrogen peroxide if caught early, else discard |
| Bacterial blotch | Yellow to brown slimy spots on caps | Mildly sour | Lower humidity, increase air flow, harvest undamaged mushrooms |
| Black pin mold | Black dots on stems or substrate | Dusty or stale | Discard substrate, clean fruiting area thoroughly |
| Wet spot / sour rot | Slimy grey grain, little mycelium | Sour apples or vinegar | Discard grain jar, review sterilization times |
Why Does Mushroom Contamination Happen in Home Cultivation?
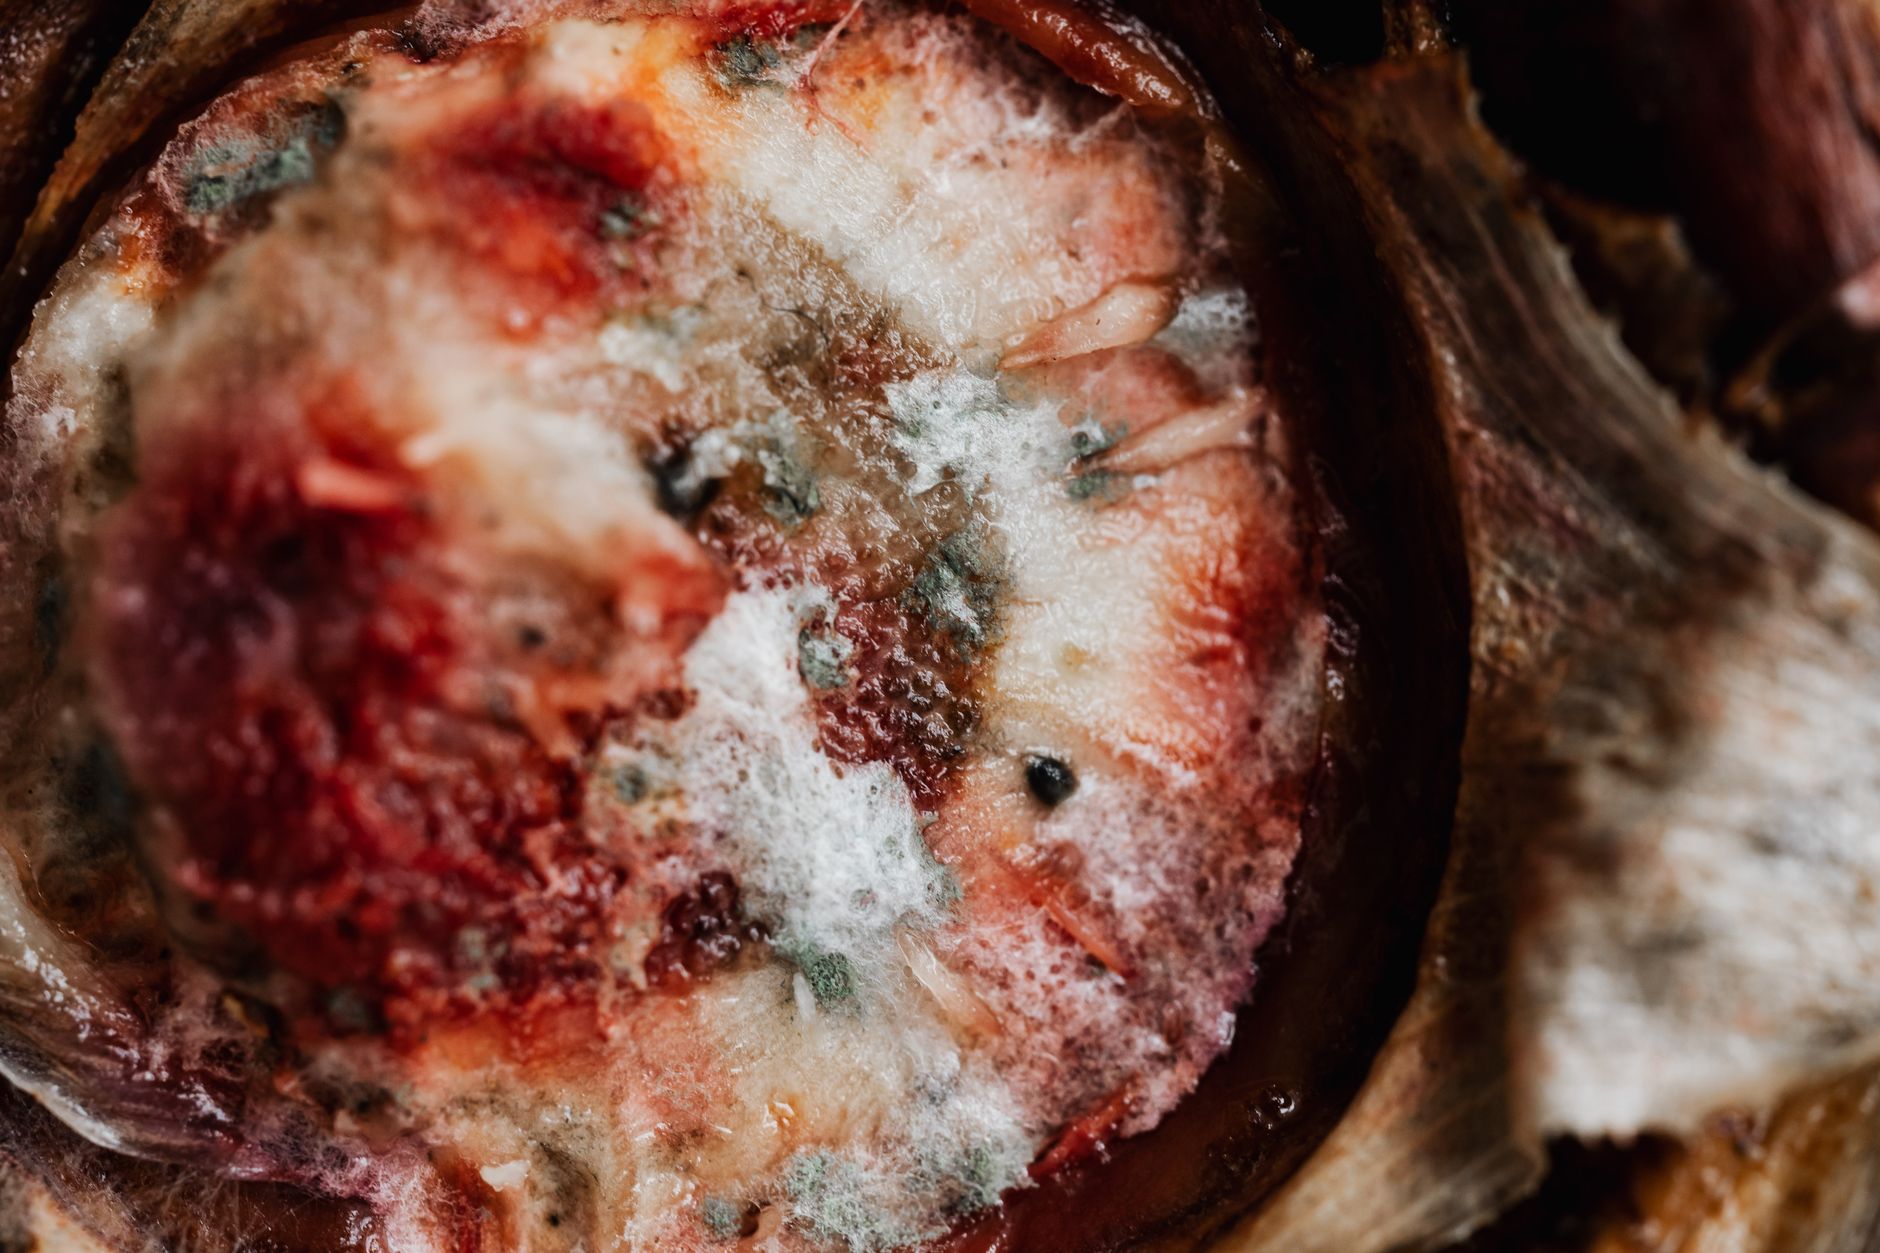
Most home contamination starts with spores or bacteria hitching a ride on grain, straw, tools, or hands. Mushroom mycelium grows on nutrient-rich substrates. So do many molds and bacteria. Penn State Extension notes that sterile technique is central to successful mushroom cultivation. Without it, competitor organisms often outpace mushroom mycelium.
The most common entry points are unsterilized grain spawn, poorly pasteurized straw, dirty fruiting chambers, and unfiltered air. A single Trichoderma spore can release millions of green spores within days. Once you see green, the contamination is already reproducing. That is why early detection matters.
Beginners often blame the mushroom culture. But the problem usually starts with preparation. If you make your own grain spawn, pressure cooking at 15 PSI for 90 minutes is standard. If you use a grow kit, check for holes in the bag. Read how to make grain spawn to understand the sterilization process. Your best mushroom substrate guide also explains pasteurization. Contamination rates in home grows vary. Some cultivators report losing 15 to 25 percent of jars in their first few months. A 2024 survey of online mushroom forums found that nearly 40 percent of beginners experienced at least one major contamination event. That does not mean you failed. It means your process needs a small adjustment.
What Are the Most Common Mushroom Contaminants and How Do You Spot Them?
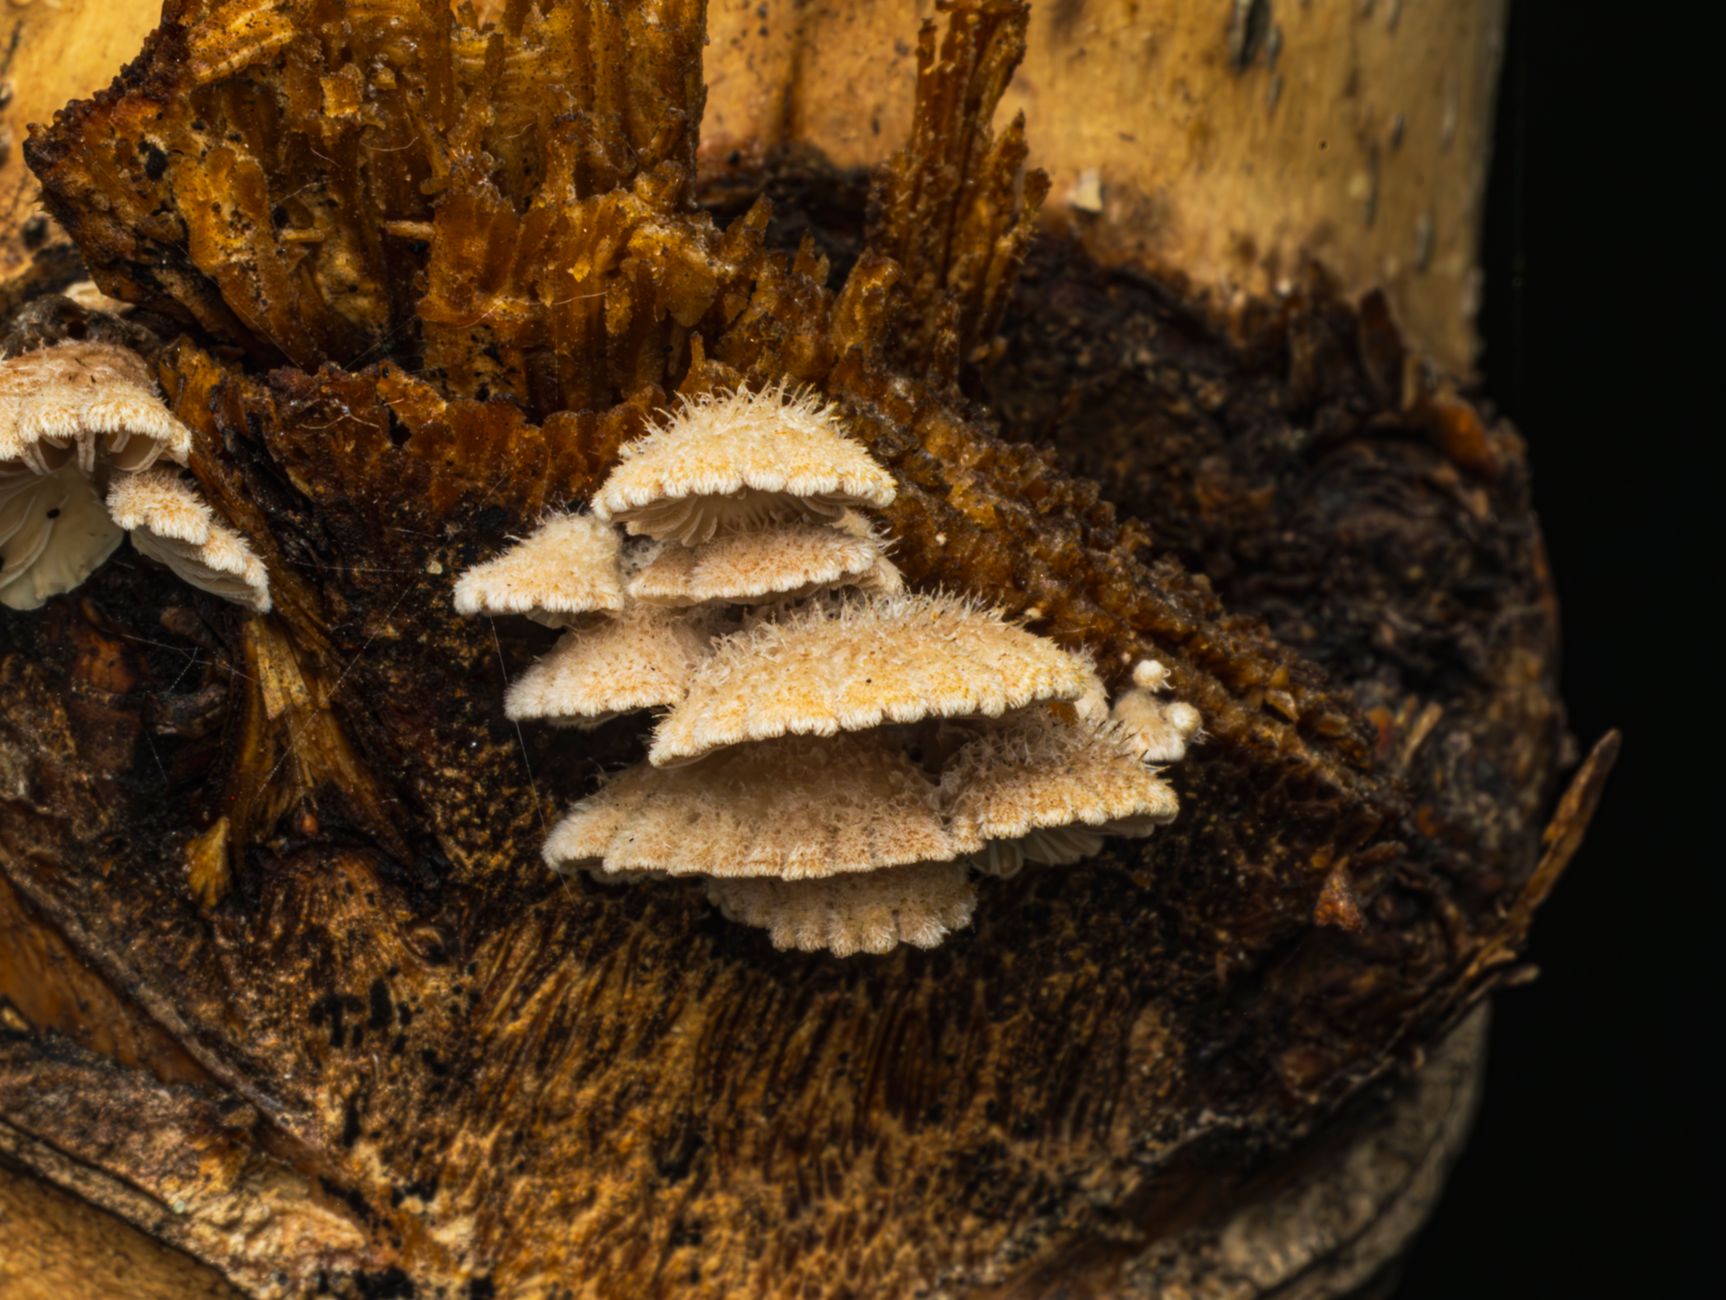
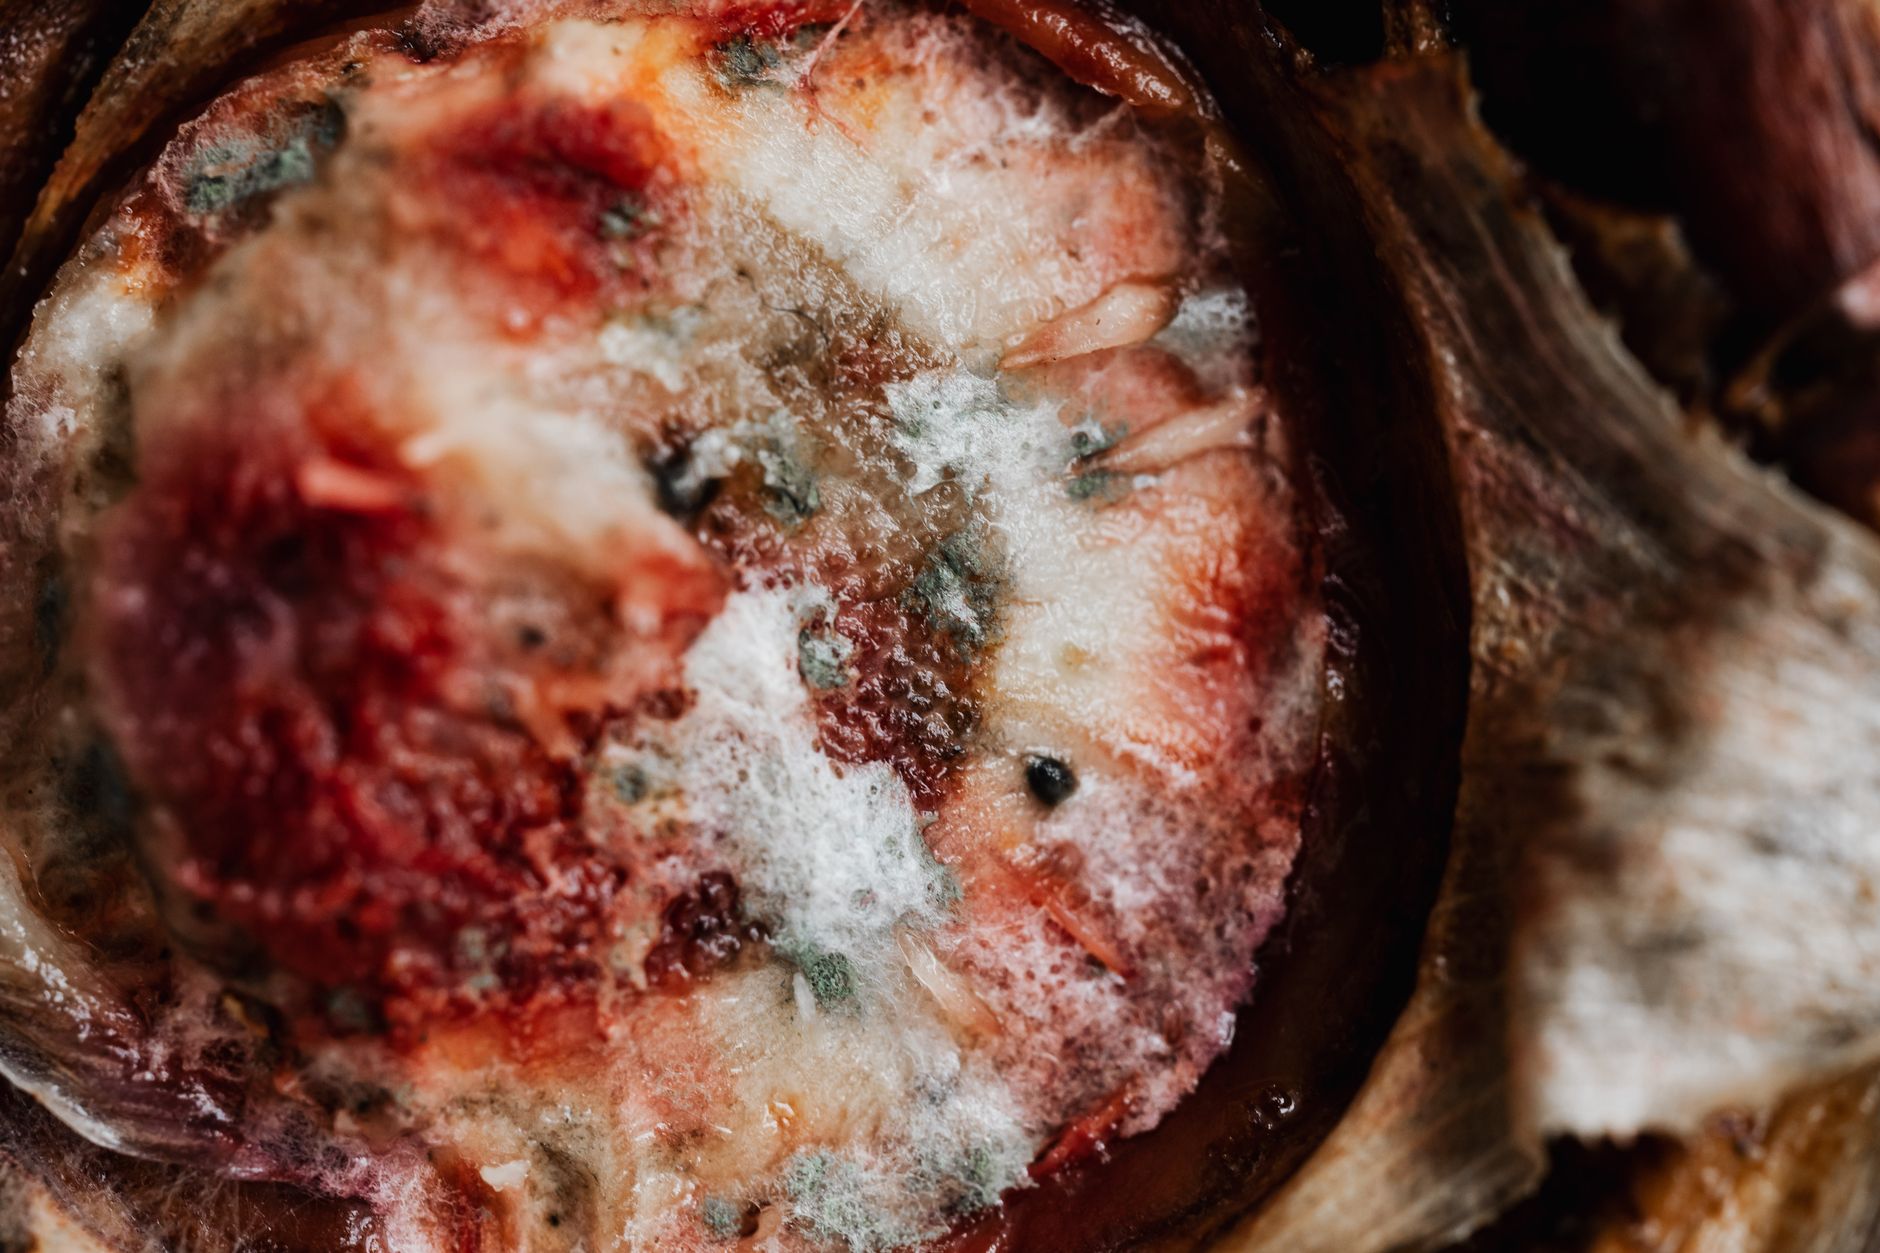
Trichoderma is the most notorious. It starts white and fluffy, then turns emerald green. Cobweb mold looks like grey cotton candy and grows over casing or pins. Bacterial blotch appears as yellow or brown slimy spots on mushroom caps. Black pin mold shows up as black dots on stems or substrate. Wet spot or sour rot smells like rotten apples and makes grain look slimy.
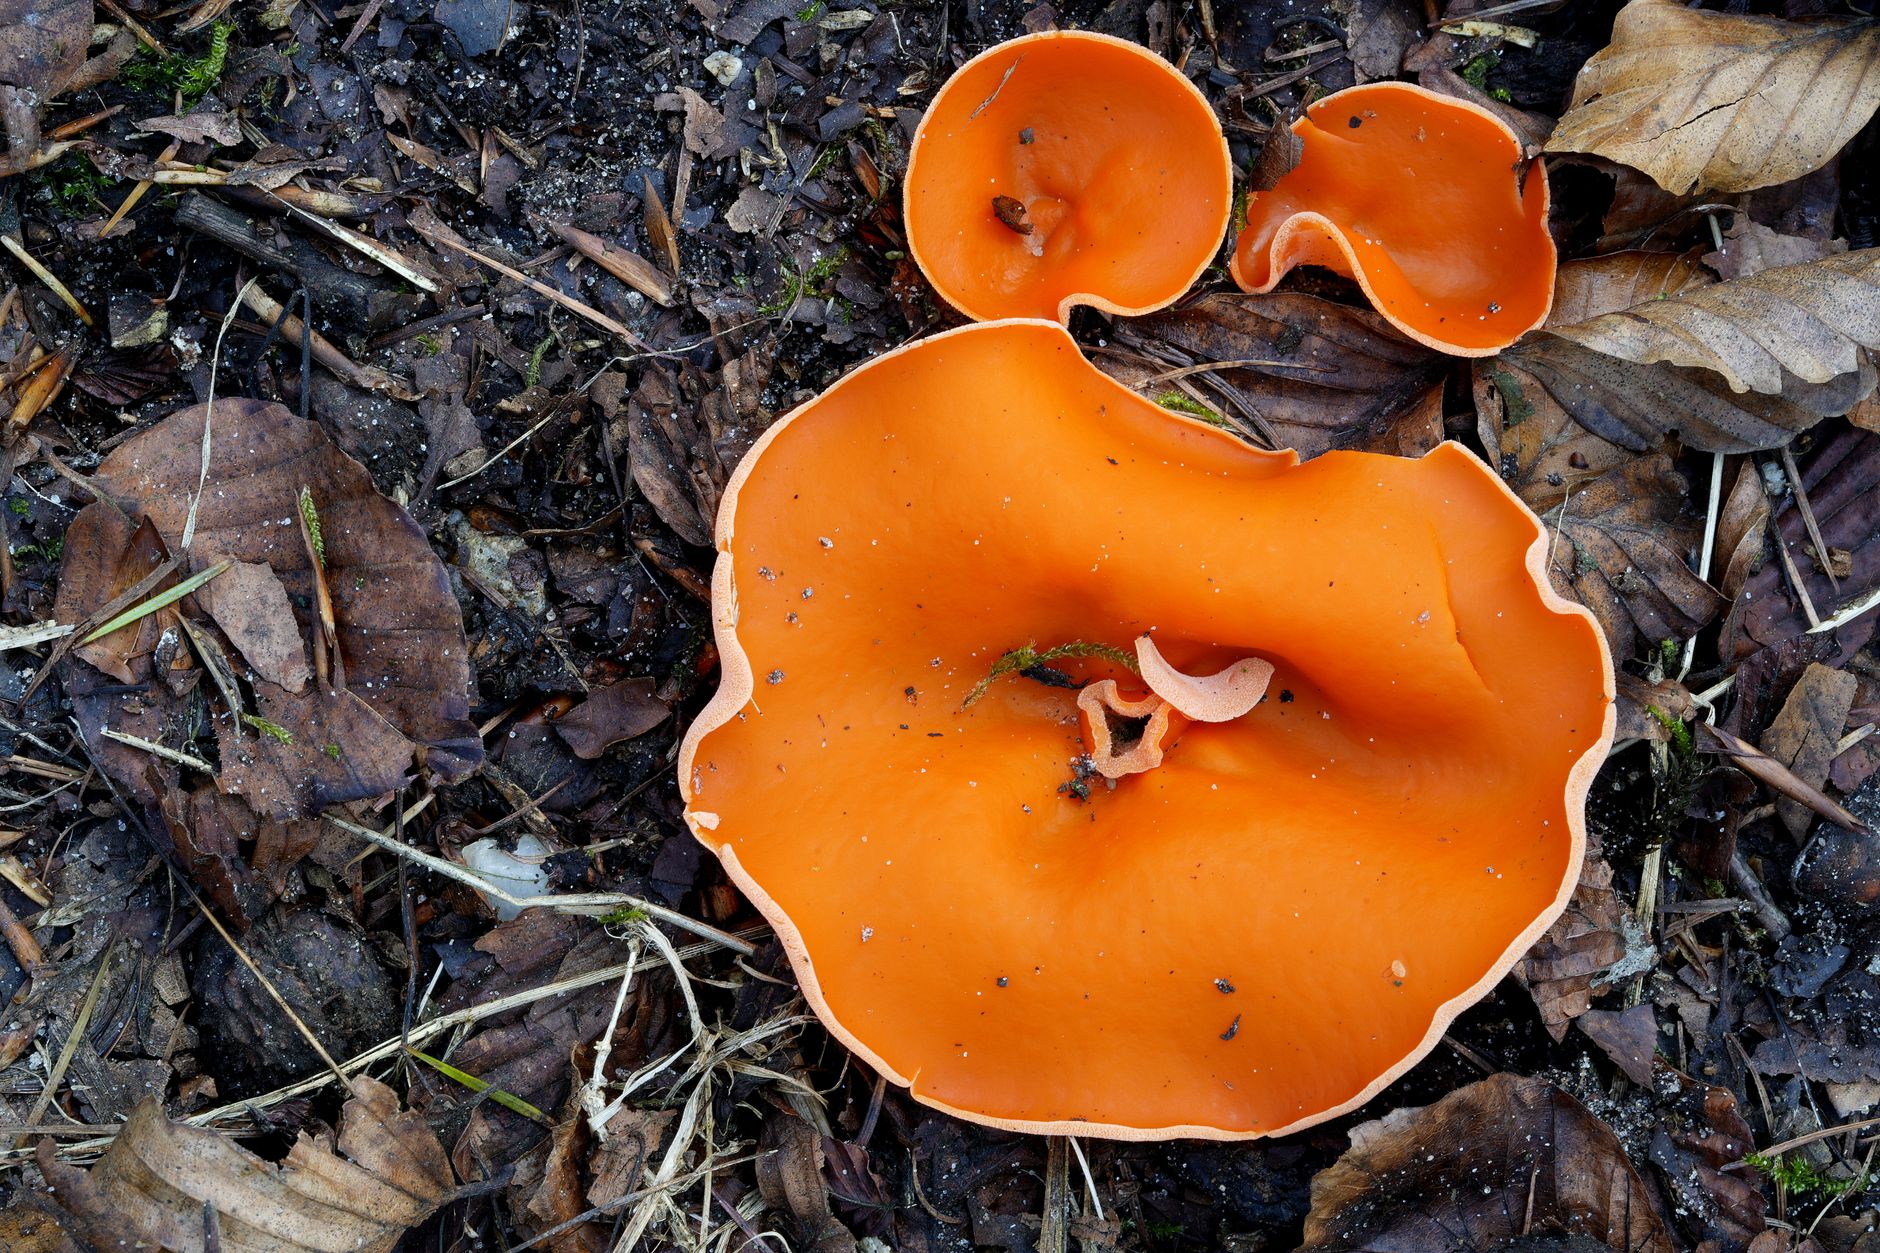
You should also watch for pink or lipstick mold, orange bread mold, and yeast. Each has a distinct color and texture. If your substrate smells sour, sweet, or fruity, that is not normal. Healthy mycelium smells earthy and mushroom-like. The North American Mycological Association (NAMA) advises that visual identification is not enough for wild mushrooms. That same caution applies to cultivated blocks. When in doubt, do not eat anything from a contaminated block. Use the oyster mushroom grow kit contamination causes guide for kit-specific signs.
Beyond appearance, contaminant growth often appears much faster than mushroom mycelium. Green mold can colonize a grain jar in 48 hours. Healthy mushroom mycelium might take five to ten days to cover that same jar. If a patch appears overnight, suspicion should rise. Some bacteria do not show color at all. They slow mycelial growth and create a glossy or slimy sheen. This is why you should inspect every jar, bag, and block daily. A quick visual check can reveal a problem before it spreads spores.
- Green mold (Trichoderma): bright green or blue-green patches, powdery texture.
- Cobweb mold (Dactylium): grey, fluffy, wispy growth; often covers pins and casing.
- Bacterial blotch: yellow or brown slimy spots on caps; linked to excessive water.
- Black pin mold: black dots on stems or substrate; often from dust or old wood.
- Wet spot or sour rot: slimy grey grain, sour apple smell, reduced mycelial growth.
How Do You Tell Contamination Apart from Healthy Mycelium?
Healthy mycelium is usually white, ropey, or cottony. It can look grey before it thickens. Bruising happens when mycelium is damaged. Bruised mycelium turns blue or blue-grey. It does not rub off on a cotton swab. Mold spores do. This is a simple test. Swab the suspect area. If the color transfers to the swab, it is likely mold spores. If the swab stays clean, it may be bruising or natural pigmentation.
Yellow liquid is often metabolite excretion. Small amounts of yellow or amber liquid can be normal. Large amounts that smell sour or look slimy suggest bacteria. Metabolites appear when mycelium is stressed. Stress comes from heat, fighting contamination, or old age.
The growth speed also matters. Mushroom mycelium spreads predictably over days. Mold can appear overnight. Green mold can go from white fuzz to full green in under 24 hours. If a patch appears suddenly and grows with a dusty or powdery center, quarantine it. Read the mushroom fruiting conditions guide to understand the environmental stress that weakens mycelium. High carbon dioxide, poor air exchange, and temperatures above 80°F all favor mold.
Your nose is a reliable tool. Healthy spawn smells like fresh mushrooms or damp forest floor. Contaminated spawn smells like sour milk, vinegar, or sweet alcohol. If you smell something off, trust that signal. Some growers also use a black light to spot bacterial contamination. Pseudomonas bacteria can glow under UV light. This is an advanced method but useful for commercial growers.
Remember that not every unusual spot is contamination. Calcium deposits can look like white crust. Mycelium can exude amber droplets. A healthy substrate can have a yellow tint from metabolites. The key is change over time. If a spot expands, smells bad, or changes color, treat it as contamination.
What Should You Do When You Find Contamination?
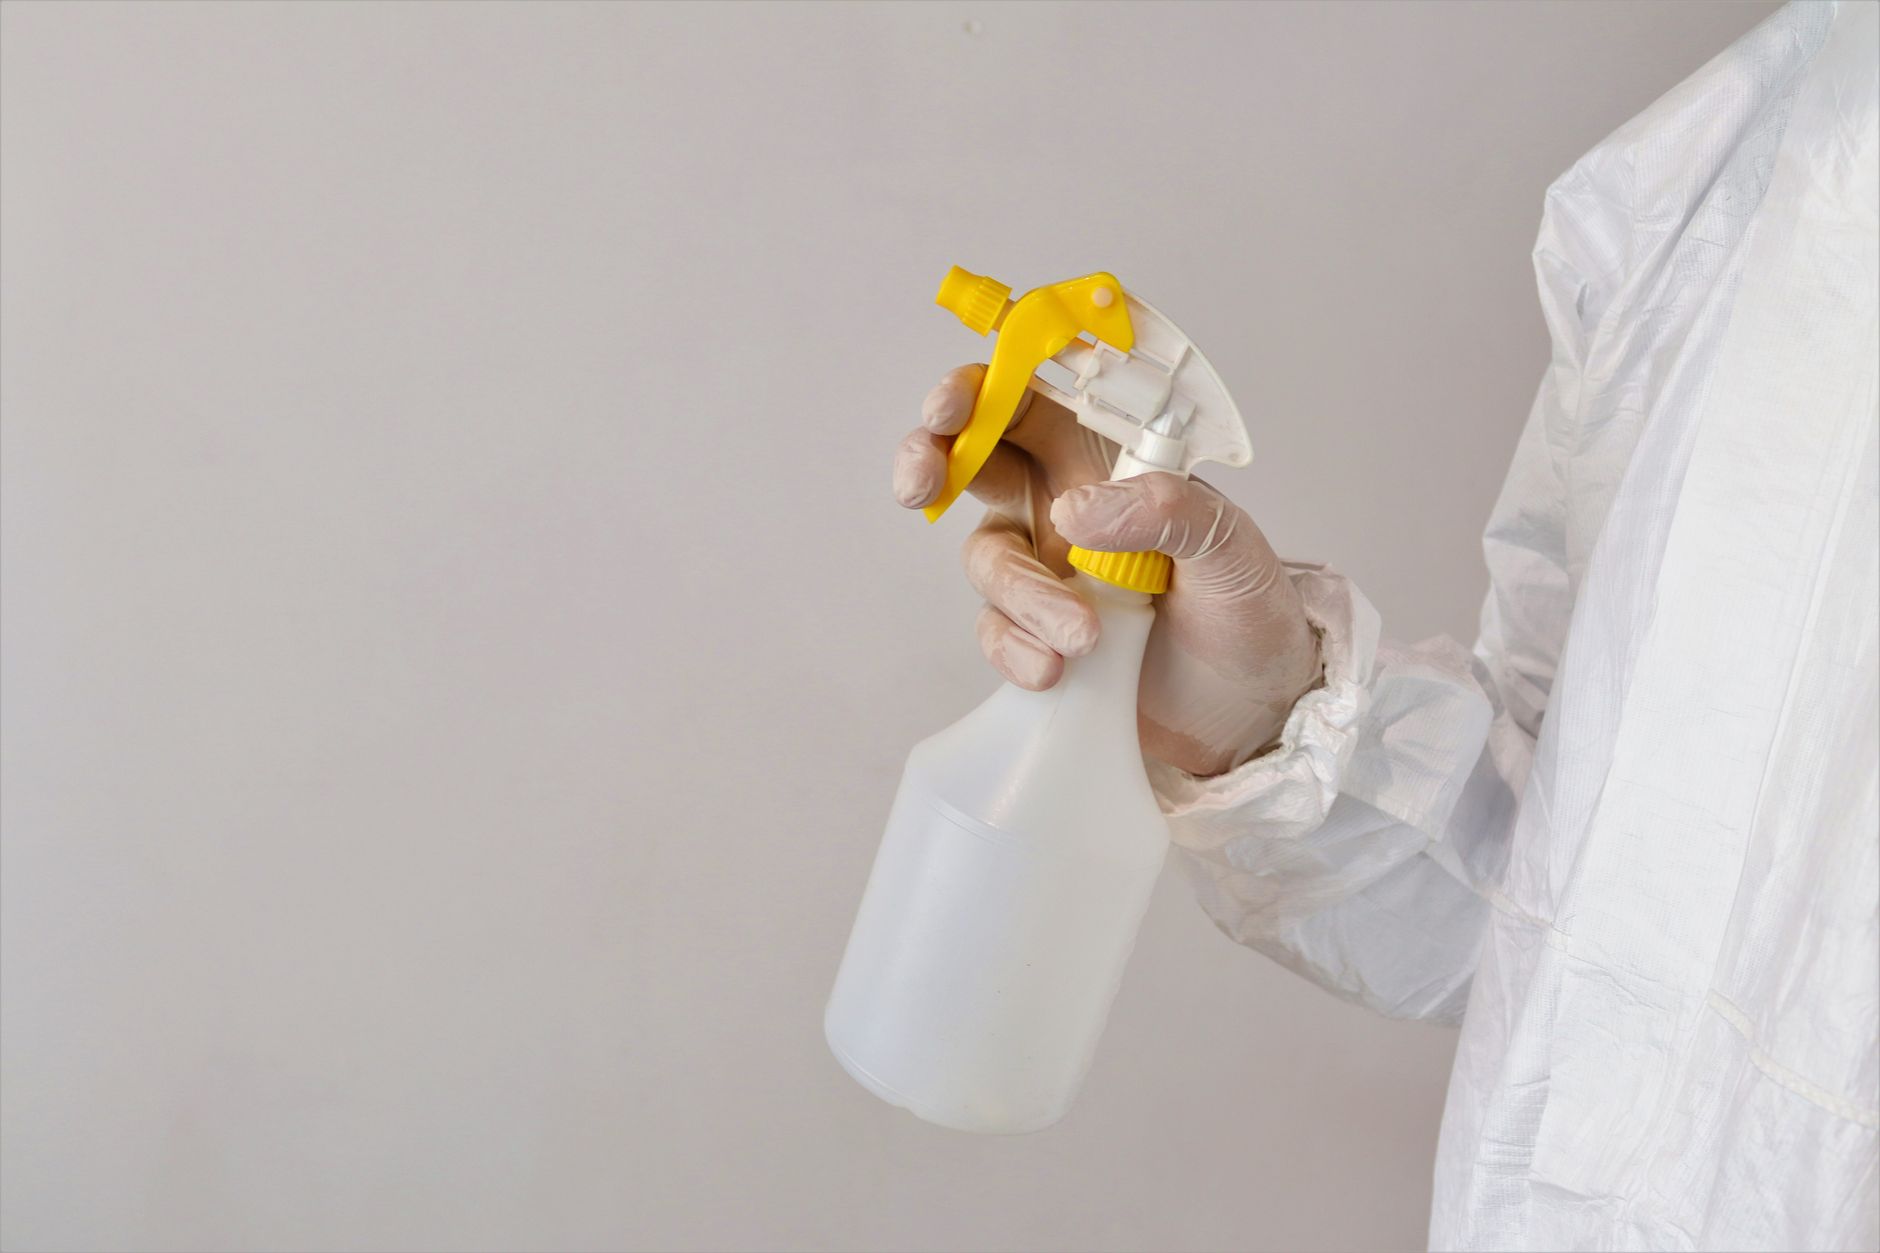
Act fast. The moment you see green, black, pink, or grey mold, stop. Move the container away from your grow area. Do not open contaminated bags or jars indoors. Opening a trichoderma-ridden bag releases millions of spores into your home. Those spores can settle in carpets, shelves, and future grows. One contaminated jar can ruin an entire grow room for months.
If the contamination is small and on a mushroom cake, some growers attempt surgery. They cut away the moldy section with a sterilized knife. This rarely works for molds like Trichoderma because invisible spores have already spread. It can work for small spots of bacterial blotch on caps if humidity is quickly lowered. For most home growers, the safest move is to throw the whole bag outside. Seal it in a plastic bag and place it in the trash. Never compost heavily contaminated substrate. It will continue to produce spores.
After disposal, clean the area. Use 10% bleach solution or 70% isopropyl alcohol. Wipe shelves, tools, and the outside of remaining containers. Wash your hands and change clothes if necessary. Wait a few days and watch remaining grows. If you use a fruiting chamber, clean and sanitize it. The diy mushroom fruiting chamber guide offers cleaning tips. For grow kit issues, the why your mushroom grow kit has contamination guide explains common causes and fixes.
Consider also your timer and humidity sensor. Contamination events are learning opportunities. Write down what you saw, the source batch, and your recent conditions. This record helps you identify patterns. If three jars from the same grain batch contaminate, the grain was likely under-sterilized. If all blocks from one supplier fail, try a different spawn source. Many successful growers keep a simple contamination log. It turns a frustrating loss into a useful diagnosis.
How Can You Prevent Contamination Before It Starts?
Prevention is easier than cure. Use high-quality spawn from a trusted supplier. Healthy spawn should be fully colonized with no uncolonized grains. If you make spawn, follow strict sterilization times. How to make grain spawn covers pressure cooking and inoculation. Use a still air box or laminar flow hood when doing agar work. Even a simple plastic tub with arm holes reduces contamination.
Pasteurize bulk substrate properly. Straw, sawdust, and manure need heat treatment to kill competitor molds but not all beneficial organisms. The exact time and temperature depend on your material. The best mushroom substrate guide breaks down methods.
Control your fruiting conditions. Molds love still, humid, warm air. Mushrooms need fresh air exchange. Keep humidity around 85 to 95 percent but avoid water pooling. Water droplets on caps encourage bacterial blotch. Penn State Extension recommends monitoring both temperature and relative humidity daily. If your grow room is above 78°F, many oyster mushrooms slow down while Trichoderma speeds up. Aim for species-specific temperatures.
Finally, keep your space simple and clean. Do not bring houseplants, compost, or old food into your grow area. Use clean clothes. Store tools covered. A contaminated bag inside a still air box can ruin the next ten inoculations. Small habits prevent big losses. In a recent community survey, growers who used a still air box reported contamination in about 18 percent of grain jars. Growers who worked in open air reported rates above 35 percent. That is a meaningful difference. Want to know how many home growers face this issue? Our mushroom cultivation statistics 2026 page has more data.
Frequently Asked Questions
What does mushroom contamination look like?
It often appears as green, black, pink, grey, or slimy patches. Healthy mycelium is usually white or cream. If a spot changes color, grows rapidly, or rubs off on a cotton swab, it is likely contamination.
Can you eat mushrooms grown on contaminated substrate?
No. Contaminated blocks can harbor harmful molds and bacteria. Even if mushrooms grow, they may have absorbed toxins or spoil quickly. Discard them or seek expert advice. Never eat a mushroom unless an expert positively identifies it.
Is all green mold dangerous?
Trichoderma is the most common green mold in mushroom cultivation. It can ruin a grow and release spores. Some Trichoderma species are beneficial in soil but not on mushroom substrate. Treat green mold as contamination.
How fast does mold spread in a mushroom grow?
Mold can appear within 24 to 48 hours under warm, humid conditions. Mushroom mycelium grows more slowly. Any patch that doubles overnight is likely contamination.
Can I save a contaminated grow kit?
Usually no. If contamination is tiny and white before sporulation, some people remove it with a sterilized tool. But once color shows, spores have spread. It is safer to discard the kit outside.
What is the best way to prevent contamination?
Use sterilized or pasteurized substrate, clean spawn, and a still air box for inoculation. Keep humidity and temperature in range. Clean your workspace before and after every session.
What Should You Remember?
- Inspect every grow daily. Look for color changes, slimy spots, and sudden fuzzy patches.
- Green mold means Trichoderma. It starts white and turns emerald green with powdery spores.
- Use the cotton swab test. Mold spores rub off; healthy bruising does not.
- Quarantine immediately. Seal contaminated bags or jars and remove them outside.
- Clean your space. Wipe surfaces with 70% isopropyl alcohol or 10% bleach after any contamination.
- Prevention beats rescue. Still air boxes, proper sterilization, and good air flow reduce contamination risk.
This article is for general information only. Mushroom identification and consumption carry health and safety risks , never eat a wild mushroom unless positively identified by an expert, and follow sterile technique and food-safety guidance for home grows.