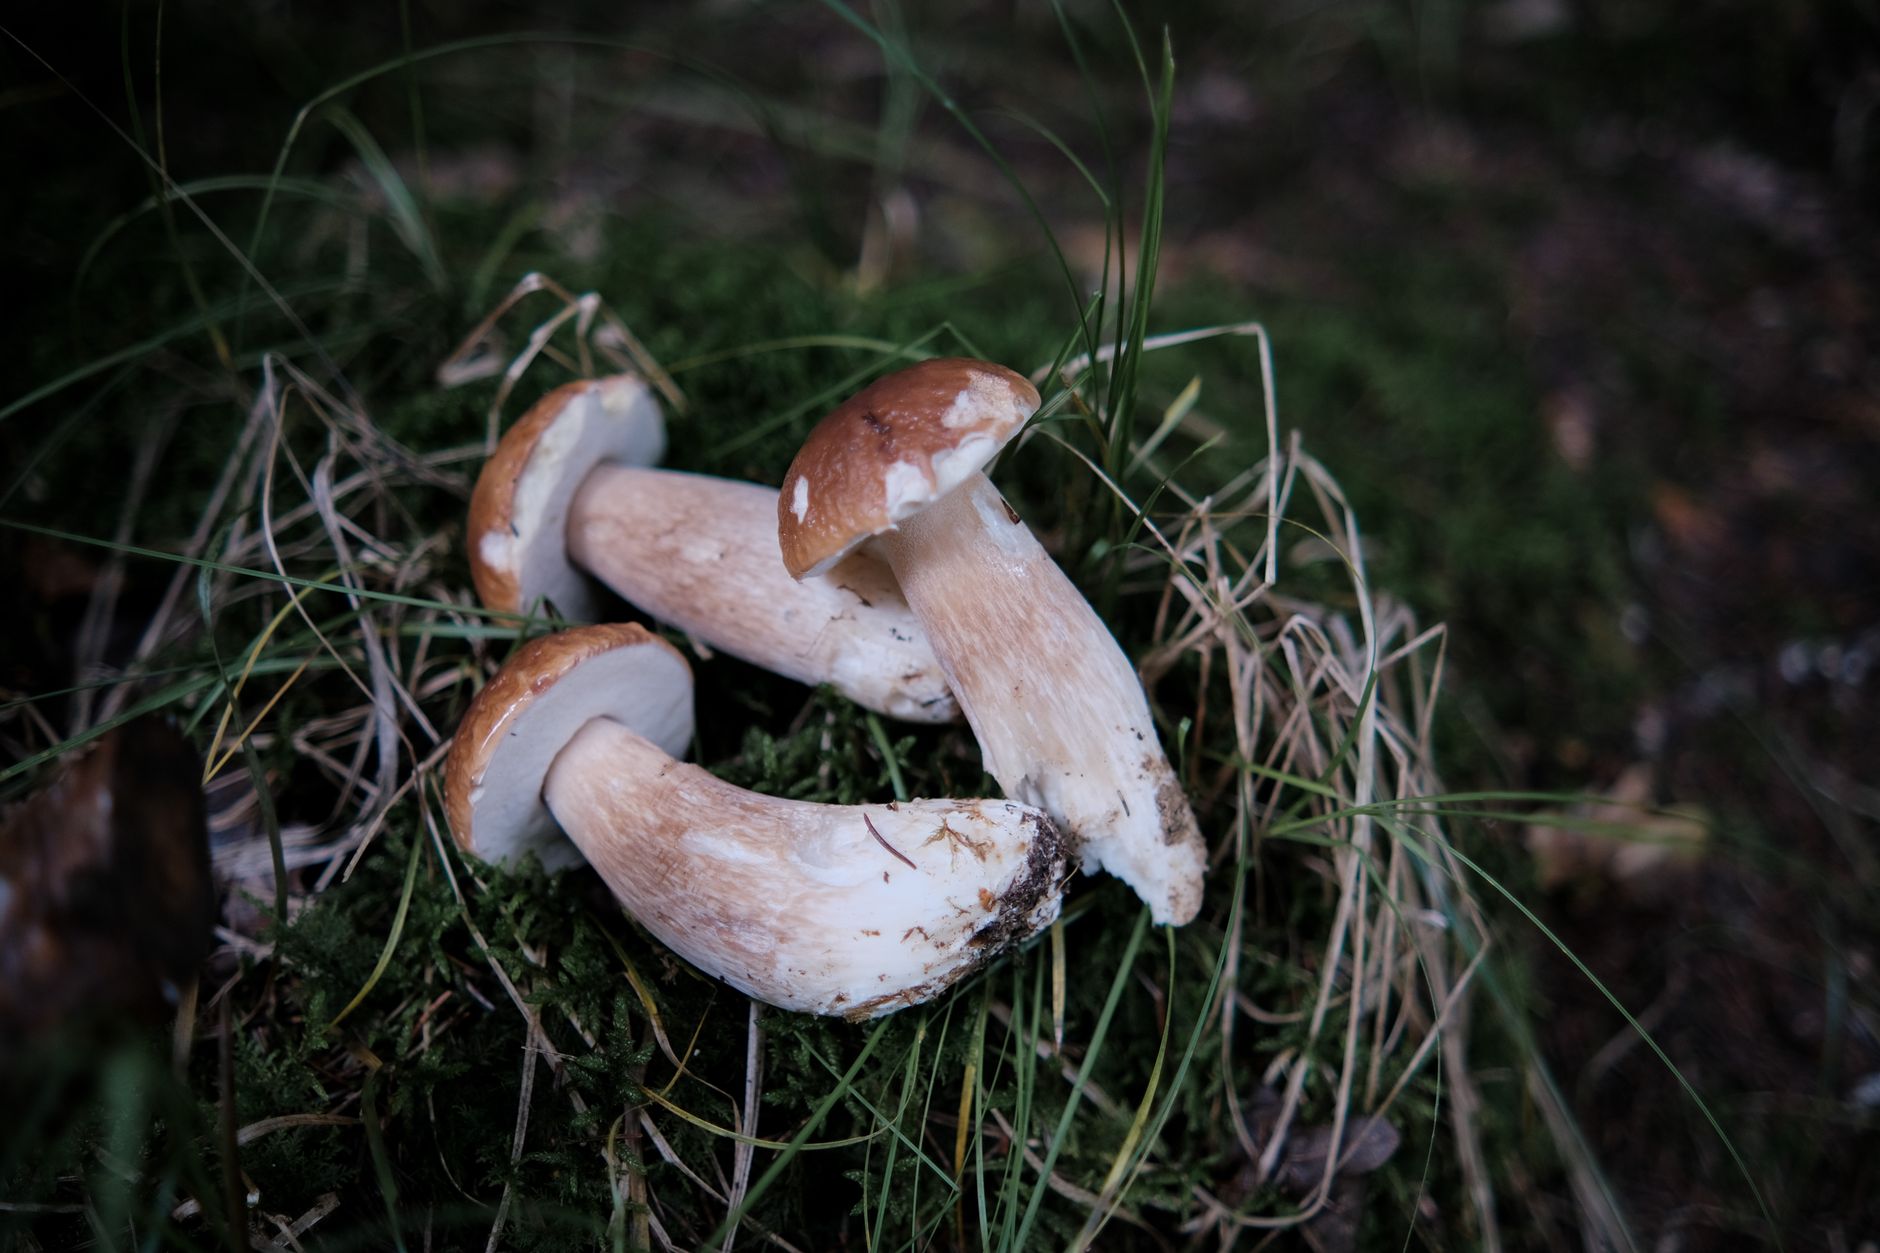
Porcini mushrooms, Boletus edulis, are among the most prized wild mushrooms in the world. Their rich, nutty flavor makes them a target for home growers. But here is the catch: porcini are mycorrhizal. They form a symbiotic bond with living tree roots. You cannot grow them on sawdust blocks or straw like oyster mushrooms. The process is closer to planting a tree than to indoor mushroom cultivation. If you want to try, you need patience, space, and a compatible host tree.
Unlike chanterelles, which are also mycorrhizal, porcini have a wider host range. Some porcini species associate with pines, spruce, oaks, beech, or birch. The relationship is specific but not impossible to replicate. Still, success rates are low outside a laboratory or established forest. Many commercial porcini products are harvested from the wild. Home cultivation remains an experiment.
This guide explains the realistic steps to grow porcini at home. You will learn about host trees, soil chemistry, inoculation methods, and long term care. I will be honest about failures. I will also show you how to avoid wasting money on fake porcini kits. For general indoor mushroom projects, see best mushroom grow kits. But do not expect porcini in those kits.
The goal is not a quick harvest. The goal is to establish a living fungal network under your trees. If it works, you might find porcini after several years of waiting. If it fails, you will still have healthier trees and a better understanding of soil ecology. Let us get into the details.
What You’ll Need
- Long-handled shovel
- Soil pH test kit
- Drip irrigation kit
- Fresh porcini caps or commercial Boletus edulis inoculant
- Tree guards or fencing
- Soil thermometer
- Non-chlorinated water source
How Do You Grow Porcini at Home?
- Understand why porcini resist standard cultivation
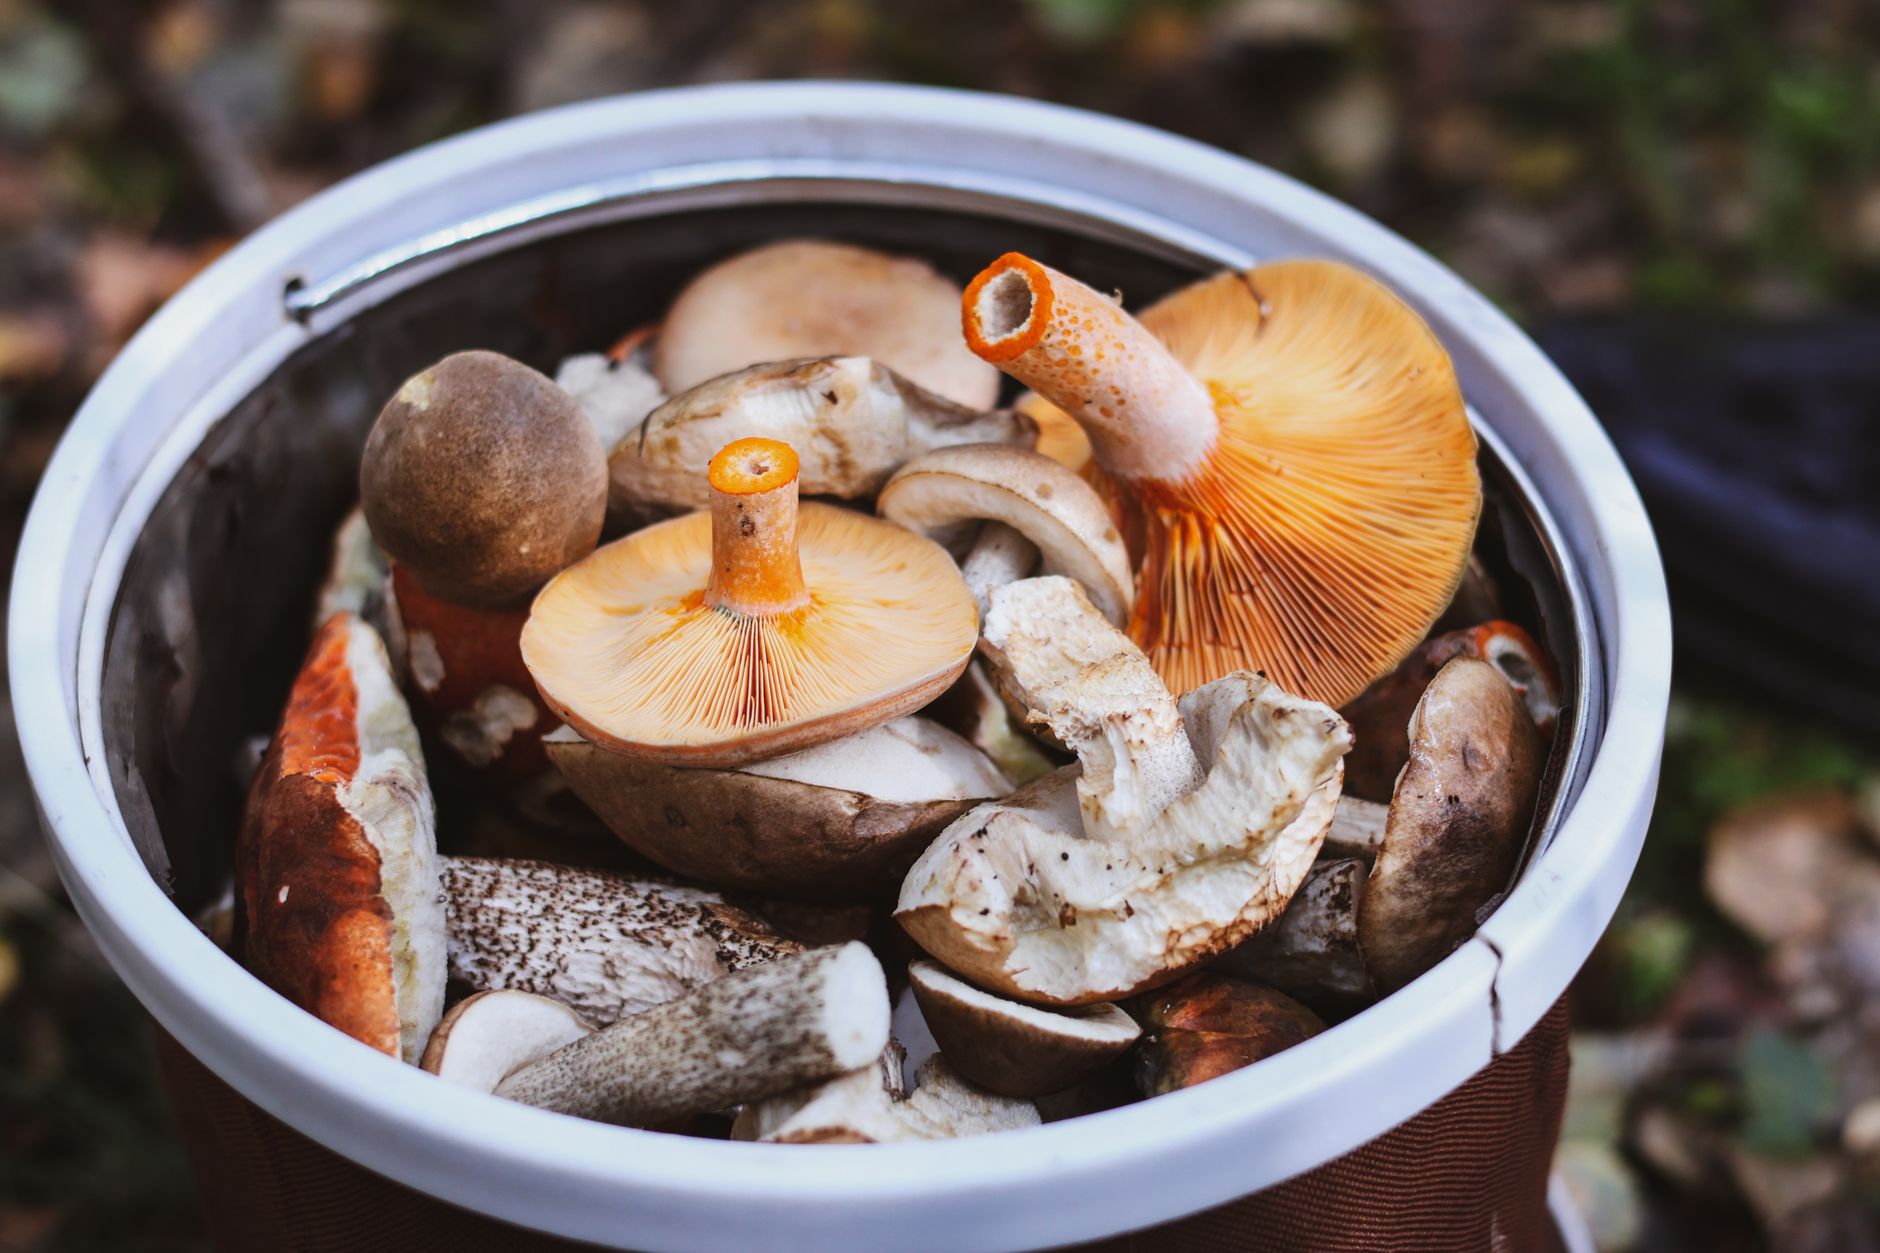
Porcini are mycorrhizal fungi. They need a living tree root partner to survive and produce mushrooms. The fungus trades water and minerals for sugars from the tree. Without that partnership, porcini mycelium cannot build the energy reserves needed for fruiting. This is different from oyster mushrooms or lion’s mane. Those species are saprotrophs that decompose dead organic matter. You can read more in this best mushroom substrate guide to see why sawdust blocks work for saprotrophs but not for porcini.
There are isolated reports of growing porcini in pots of tree seedlings. Some researchers in Europe have succeeded under controlled conditions. But home results are inconsistent. The mycelium grows slowly. It can take years to colonize enough root mass. Even then, fruiting requires specific temperature drops and soil moisture. The fungi are patient, and you must be too.
A common mistake is buying porcini spawn online and mixing it into compost or wood chips. This fails because the fungus has no living host root to colonize. Another mistake is trying to fruit porcini in a monotub or on spent coffee grounds. Those substrates work for other species, but not for porcini. Accept this early and you will save time and money.
This step matters because the rest of the guide is built around a tree-based approach. If you do not have access to a yard, large planter, or existing trees, porcini cultivation is probably not for you. The mycorrhizal relationship cannot be rushed or replaced with indoor equipment.
- Choose the right host tree species
Porcini form ectomycorrhizae with many tree families. The most reliable partners in North America and Europe are pines, spruces, firs, oaks, beeches, birches, and chestnuts. Choose a tree that already grows well on your property. Match the porcini species to the tree. Boletus edulis in Europe often associates with spruce and beech. In western North America, it associates with pine and fir. Oak-associated porcini are common in the Midwest and eastern United States.
Buy a young bare root seedling from a reputable nursery. Do not use only an established tree because inoculation success is lower on mature roots. Plant two or three seedlings to increase your odds. If you already have a compatible tree, you can attempt to inoculate its root zone. But do not disturb large roots. The fine feeder roots near the surface are the best targets.
Soil pH is critical. Porcini prefer acidic to neutral soil, usually pH 4.5 to 6.5. Test your soil before planting. Penn State Extension offers soil testing and tree planting guidance. Their resources can help you choose the right tree for your region and avoid drainage problems.
A tree species that struggles in your climate will stress the mycorrhizal system. Even if the fungus colonizes the roots, a weak tree may not support fruiting. Match the tree to your hardiness zone and rainfall. Healthy roots are the foundation of this entire project.
- Prepare the planting site and soil conditions
Choose a sunny or partly shaded location with well-drained, sandy loam. Porcini mycelium does not like waterlogged clay. A slight slope is ideal. Test drainage by digging a small hole, filling it with water, and timing how fast it drains. If water stands for more than an hour, amend the soil or plant on a mound. A simple soil pH test kit helps you monitor acidity. Check the soil pH test kit on Amazon.
Remove grass and weeds in a three foot radius around the planting hole. Mix in some pine bark or oak leaf compost, but do not add nitrogen-rich fertilizer. High nitrogen suppresses mycorrhizal fungi. Porcini mycelium grows best in low to moderate fertility soil. If your soil is heavy clay, build a raised planting area.
The site must support the host tree for decades. Porcini mycelium expands with the root system. Our mushroom fruiting conditions guide explains general environmental triggers, but outdoor porcini depend on seasonal rain and temperature shifts more than indoor humidity. The tree roots must stay cool and moist for most of the year.
Sunlight warms the soil and encourages root growth. Partial shade from a north or east exposure works well. Do not plant under a dense evergreen canopy because the soil may stay too cold and dry. The goal is a balanced microclimate where the tree thrives and the mycelium can keep exploring.
- Source or make porcini inoculant
You have three main options for inoculant. First, buy a commercial mycorrhizal product from a research-based supplier. Many products contain Pisolithus tinctorius or other ectomycorrhizal fungi, not Boletus edulis. Read the label carefully. If it says porcini but does not list Boletus edulis, skip it. Mislabeled products are common in the mushroom cultivation market.
Second, make a spore slurry from fresh, mature porcini caps. Blend a cap in non-chlorinated water with a pinch of sugar and a few grams of molasses. Let the mixture sit for 24 hours. Use it immediately. This method is low-tech but unpredictable. Spores may fail to germinate without the right soil microbes.
Third, use root-dip gel with cultured mycelium if you can get lab-grade material. This is beyond most home growers. A pressure cooker is useful only for making sterile media if you attempt tissue culture. But porcini cannot be grown out on grain like oyster mushrooms. Do not treat it like a saprotrophic project.
No matter which method you choose, keep the inoculant cool and use it within a day or two. Exposure to heat or chlorine kills spores and mycelium. Plan your planting day around the inoculant preparation so everything stays fresh and viable.
- Inoculate host tree seedlings or established trees
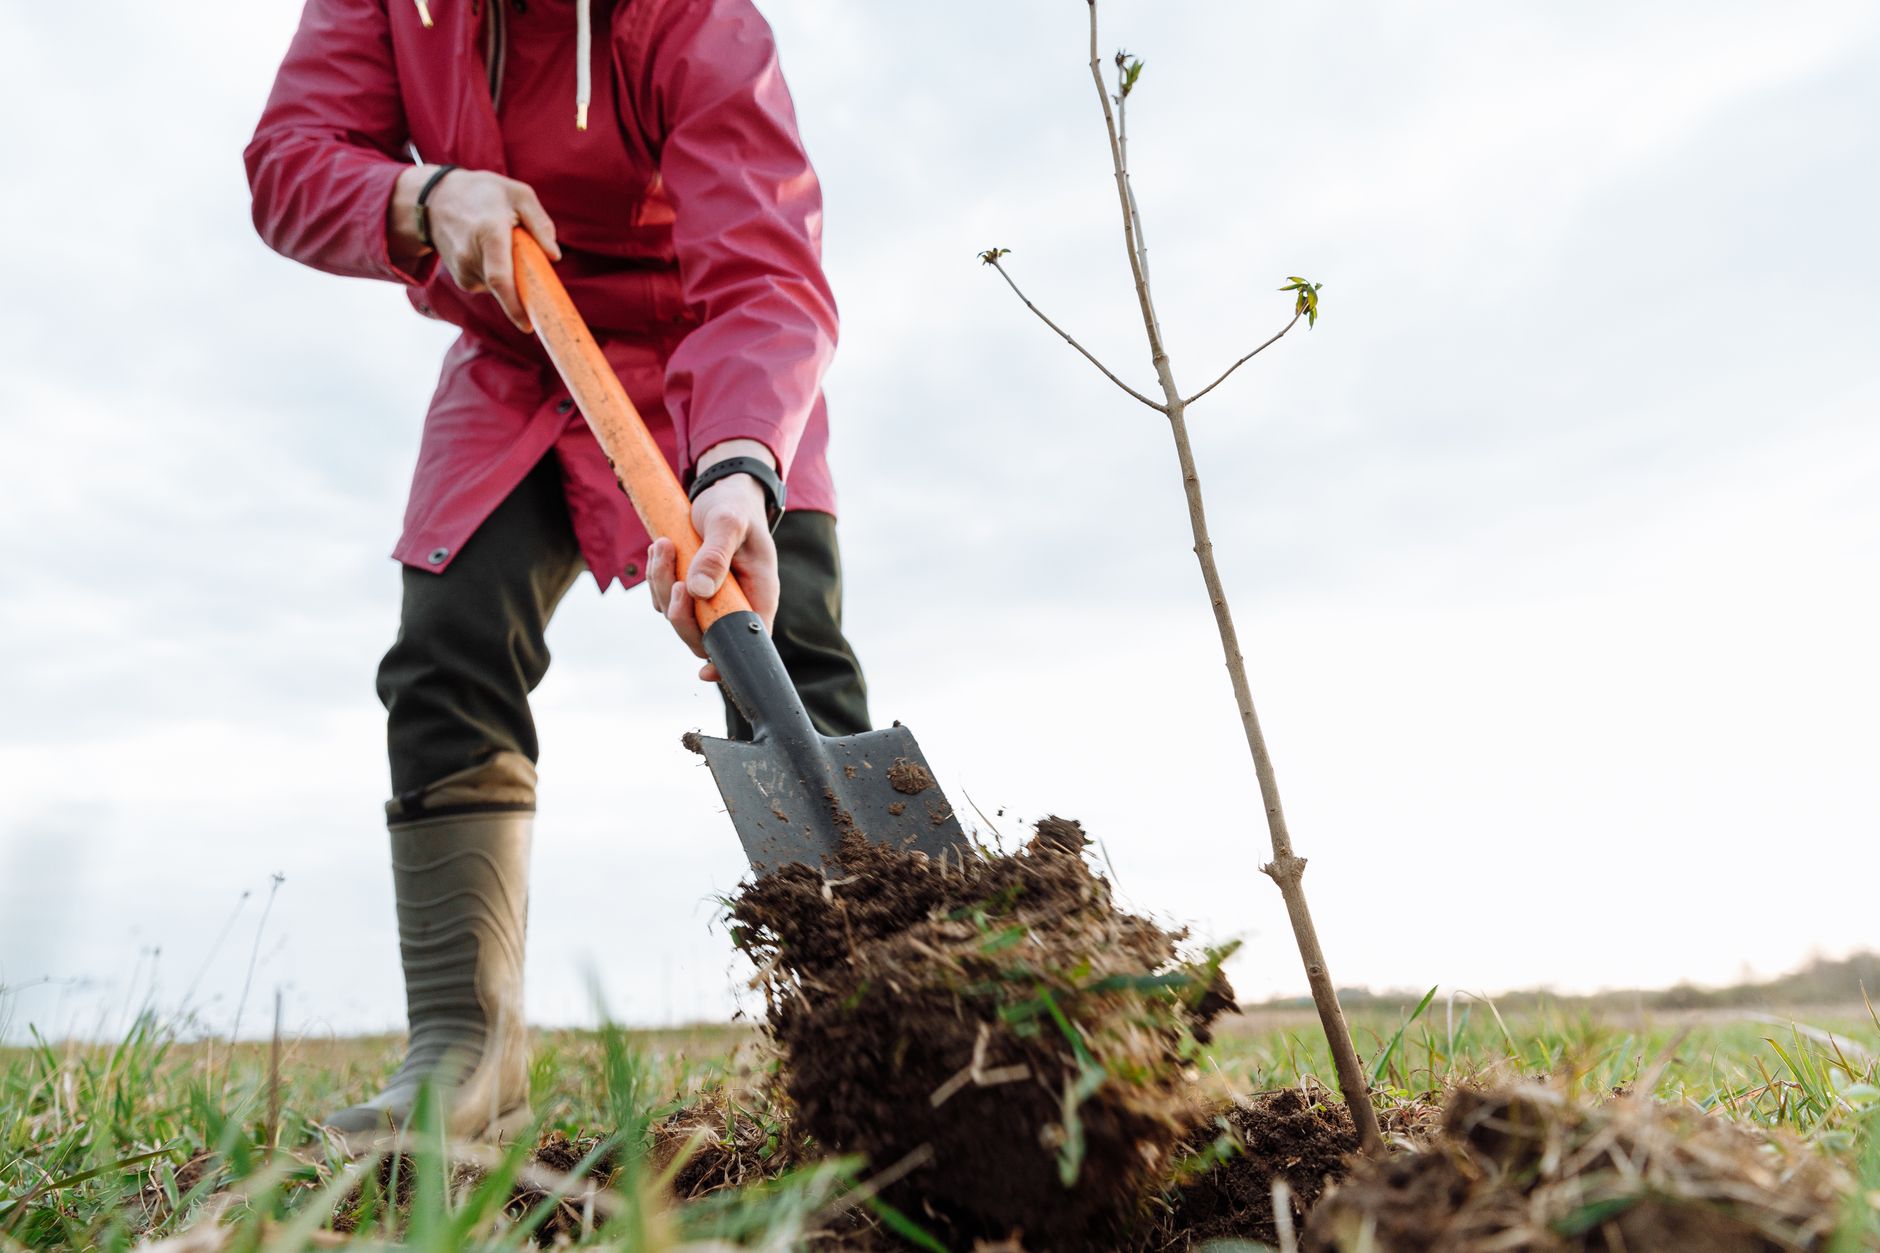
For seedlings, dip the bare roots in a slurry of inoculant and water. You can also dust the roots with powdered inoculant. Plant immediately in the prepared hole. Backfill gently. Water with non-chlorinated water. Do not pack the soil too tightly around the roots. The goal is root contact with spores or mycelium.
For established trees, find fine feeder roots. These are usually one to two inches below the soil within the drip line. Expose small sections without cutting major roots. Pour spore slurry directly onto the root zone. Cover the roots back with soil and leaf litter. Repeat in several spots around the tree.
Timing matters. Early spring or fall when soil is cool and moist gives the fungus the best chance to attach. Avoid hot summer months. Mycorrhizal fungi grow slowly. The first signs of root colonization are not visible without a microscope.
Contamination is less of an issue outdoors than indoor projects, but you still want clean tools. Do not use chlorinated tap water to rinse roots. For recognizing unwanted molds in any indoor propagation attempts, see this mushroom contamination identification guide. In the garden, healthy soil biology usually competes well enough.
- Maintain the mycorrhizal partnership for years
This is the longest step and where most attempts fail. Porcini mycelium takes three to seven years to fully colonize a young tree’s root system. During that time, you must keep the tree healthy and the soil fungal-friendly. Water deeply during droughts but allow the soil to dry slightly between waterings. A drip irrigation kit can help in dry climates. Check the drip irrigation kit on Amazon.
Do not apply high-phosphorus fertilizer. Phosphorus inhibits mycorrhizal connections. Use only mild organic mulch like pine needles, oak leaves, or wood chips. Do not use mushroom compost that may contain fungicide residues. Keep grass and weeds out of the root zone.
Protect young trees from deer, rabbits, and lawn equipment. A tree guard or small fence helps. If the tree dies, the porcini mycelium dies with it. The tree root system is the habitat. Any damage to the trunk or roots stresses the whole network.
Monitor soil pH every year. If pH rises above 6.5, lower it gradually with elemental sulfur or pine needle mulch. Do not use aluminum sulfate, which can harm mycorrhizae. A reliable soil pH test kit makes this monitoring simple. The investment is small compared to the years you will spend waiting.
- Create fruiting conditions and watch for mushrooms
Porcini fruit in late summer to autumn, depending on your region. The main triggers are a drop in temperature, sustained soil moisture, and the first fall rains. Some species also fruit in late spring after snowmelt. You cannot force porcini by using a DIY mushroom fruiting chamber because the fungus is tied to outdoor tree roots. Instead, watch weather patterns and seasonal changes.
About a week after a heavy rain, start checking the area under your host tree. Porcini often fruit near the drip line, not right at the trunk. They may appear in small groups or singly. The first flush may be small. If you see any mushrooms, avoid disturbing the surrounding soil. Mark the spot and return each year.
Soil temperature between 12°C and 18°C (54°F to 64°F) is a common trigger for Boletus edulis. A soil thermometer helps you know when to look. Daily temperature swings of 10°C or more also seem to encourage fruiting. Keep a log of rainfall and temperature to learn your local pattern.
If no mushrooms appear after seven or eight years, do not take it personally. Many university trials also fail to produce mushrooms. You can try adding another tree species nearby or re-applying spore slurry. The mycelium may still be present below ground, waiting for the right year.
- Harvest safely and verify identification
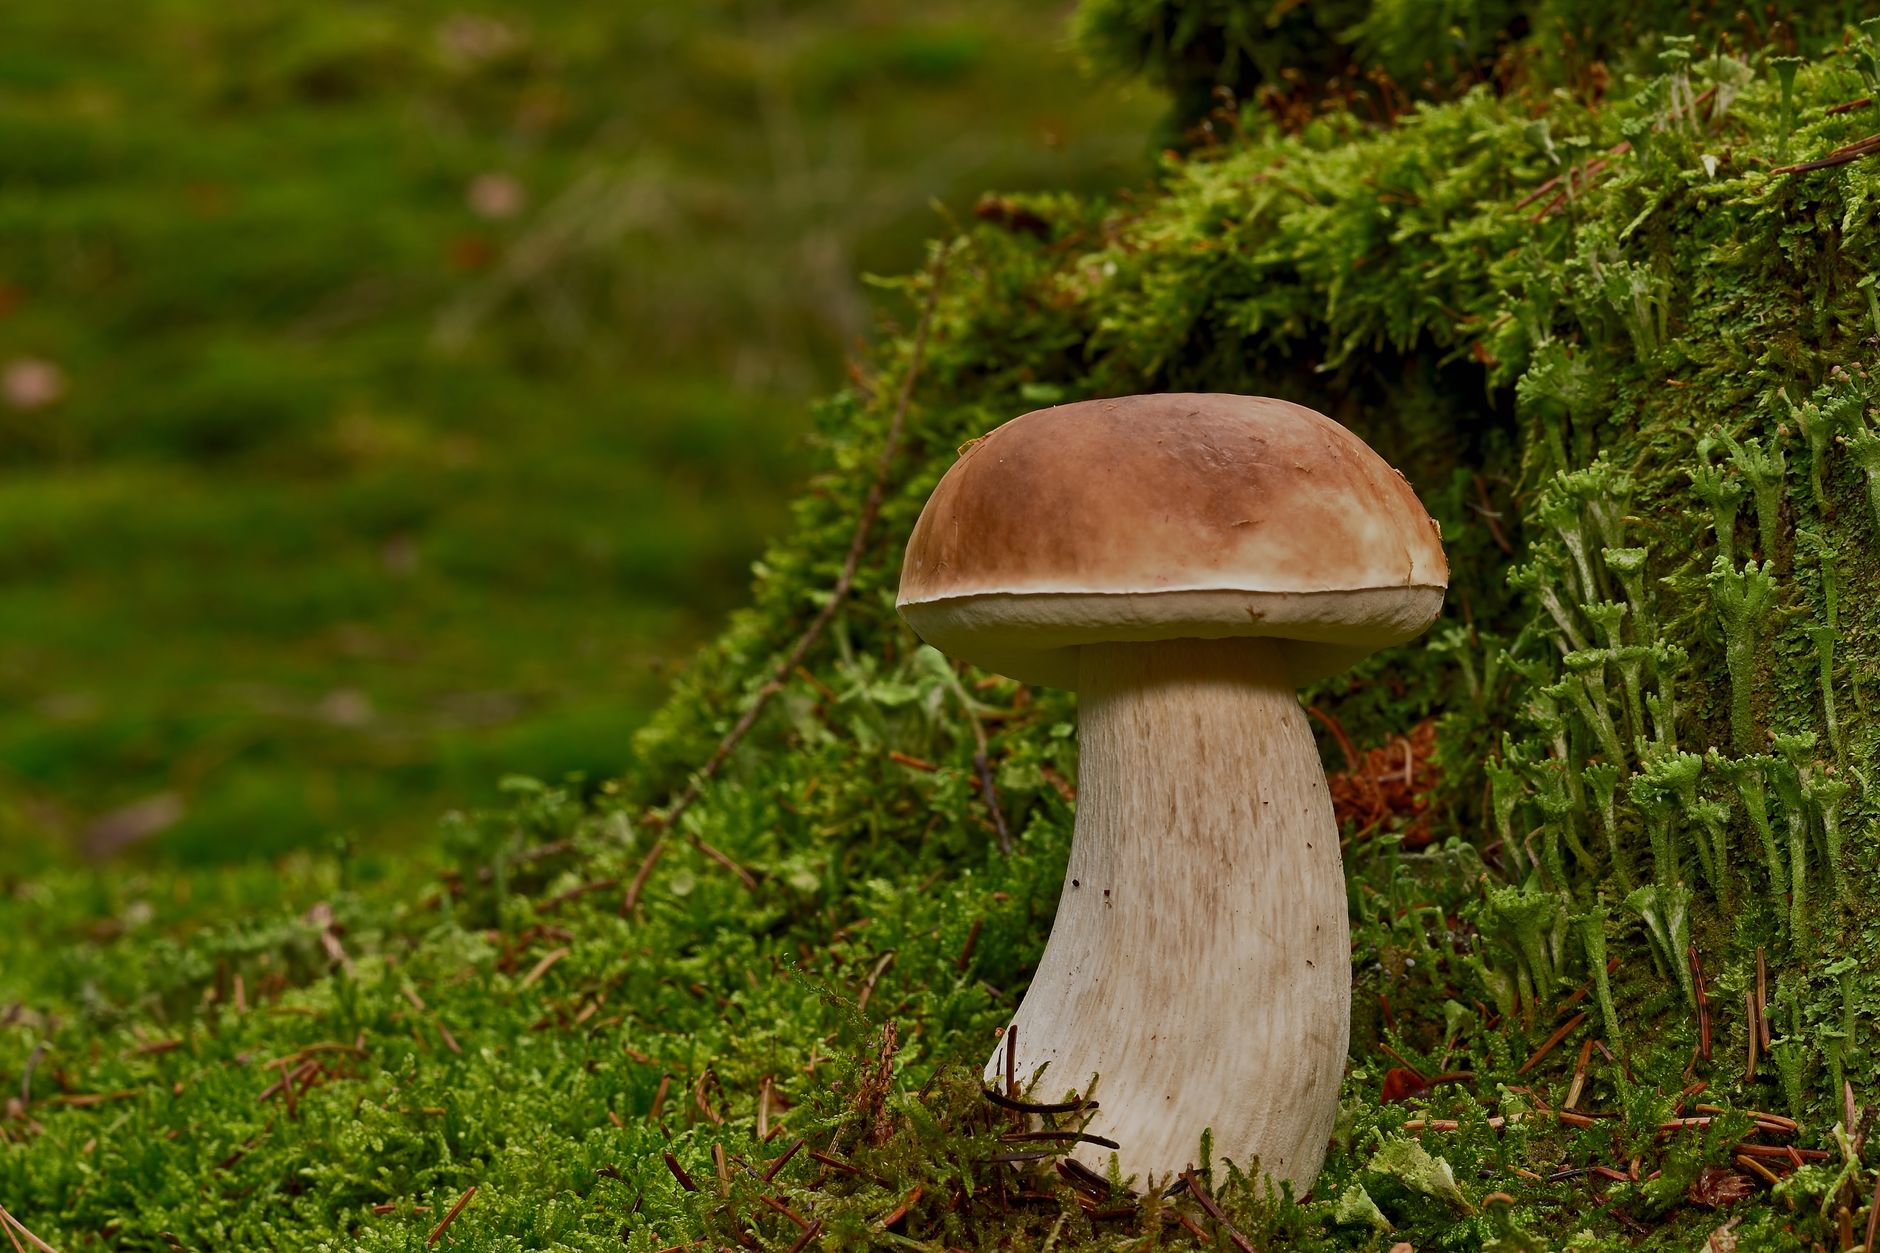
Never eat any wild mushroom unless an expert positively identifies it. Porcini have look-alikes, including some bitter or toxic boletes. The North American Mycological Association can help you find local experts and identification clubs. Always check cap color, pore surface, stem texture, and bruising. If the mushroom stains blue or red, it is not Boletus edulis.
Harvest porcini by cutting the stem at ground level or gently twisting. Do not rake the soil. Leaving the base helps future flushes. Brush off dirt. Inspect for insect larvae. Porcini are often full of maggots in warm weather. Harvest young specimens for the best texture.
Carry harvested porcini in a basket or mesh bag. This lets spores drop as you walk, possibly spreading the fungus. Do not put them in plastic bags, which make them slimy. If you want another mycorrhizal challenge, see our chanterelle growing guide. Use the same identification discipline.
If you are not 100 percent sure of the species, do not eat it. Even experienced foragers sometimes mistake Tylopilus felleus, the bitter bolete, for porcini. It is not deadly but will ruin a meal. Better to verify with a local mycological society before bringing anything to the kitchen.
Red Flags & Warnings
- 🚨 Never eat wild mushrooms unless an expert identifies them. Porcini have toxic and bitter look-alikes.
- 🚨 Do not buy porcini grow kits that claim indoor fruiting on sawdust or straw. Porcini are mycorrhizal and will not fruit that way.
- 🚨 Expect a long wait. Many home attempts produce no mushrooms even after five to eight years.
- 🚨 Avoid fertilizers high in nitrogen and phosphorus. They can suppress or kill the mycorrhizal fungi.
- 🚨 Do not mow, dig, or compact soil over the root zone. Root disturbance can destroy the mycelium.
- 🚨 Urban or contaminated soils may pass heavy metals into mushrooms. Test the soil if you plan to eat anything from it.
Frequently Asked Questions
Can porcini be grown indoors?
Not realistically. Porcini are mycorrhizal and require a living tree root partner. Indoor kits with sawdust or straw do not support the symbiosis. You might grow other species like oyster mushrooms indoors, but not porcini.
How long does it take to grow porcini at home?
If inoculation works, you may see mushrooms in 4 to 7 years. Some sites take longer or never fruit. The mycelium grows slowly with tree roots.
What host trees work best for porcini?
Pines, spruces, firs, oaks, beeches, birches, and chestnuts are common hosts. Choose a tree species adapted to your local climate and soil. Match the porcini variety to the host tree.
Can I use dried porcini to make spore slurry?
Dried caps rarely contain viable spores. Use fresh, mature porcini caps for a better chance. A blended slurry can be poured around fine roots.
How do I know if my porcini inoculation worked?
You may see mycelium on the root tips if you carefully excavate, but this is risky. Successful colonization usually shows no obvious above ground signs. The first proof is often a mushroom years later.
Are there toxic porcini look-alikes?
Yes. Some boletes are bitter or toxic. Never eat a bolete unless an expert confirms it is Boletus edulis. Use a local mycological society for identification.
What Should You Remember?
- Porcini are mycorrhizal: They need a living tree partner, not a substrate block.
- Host tree matters: Plant pines, oaks, beeches, or other compatible species.
- Soil pH is key: Aim for acidic soil between 4.5 and 6.5.
- Inoculation is slow: Mycelium may take 4 to 7 years before fruiting.
- Avoid fertilizers: High nitrogen or phosphorus suppresses the mycorrhizal bond.
- Identification is non-negotiable: Verify all wild mushrooms with an expert before eating.
- Patience beats gear: No indoor chamber can force porcini to fruit.
This article is for general information only. Mushroom identification and consumption carry health and safety risks , never eat a wild mushroom unless positively identified by an expert, and follow sterile technique and food-safety guidance for home grows.