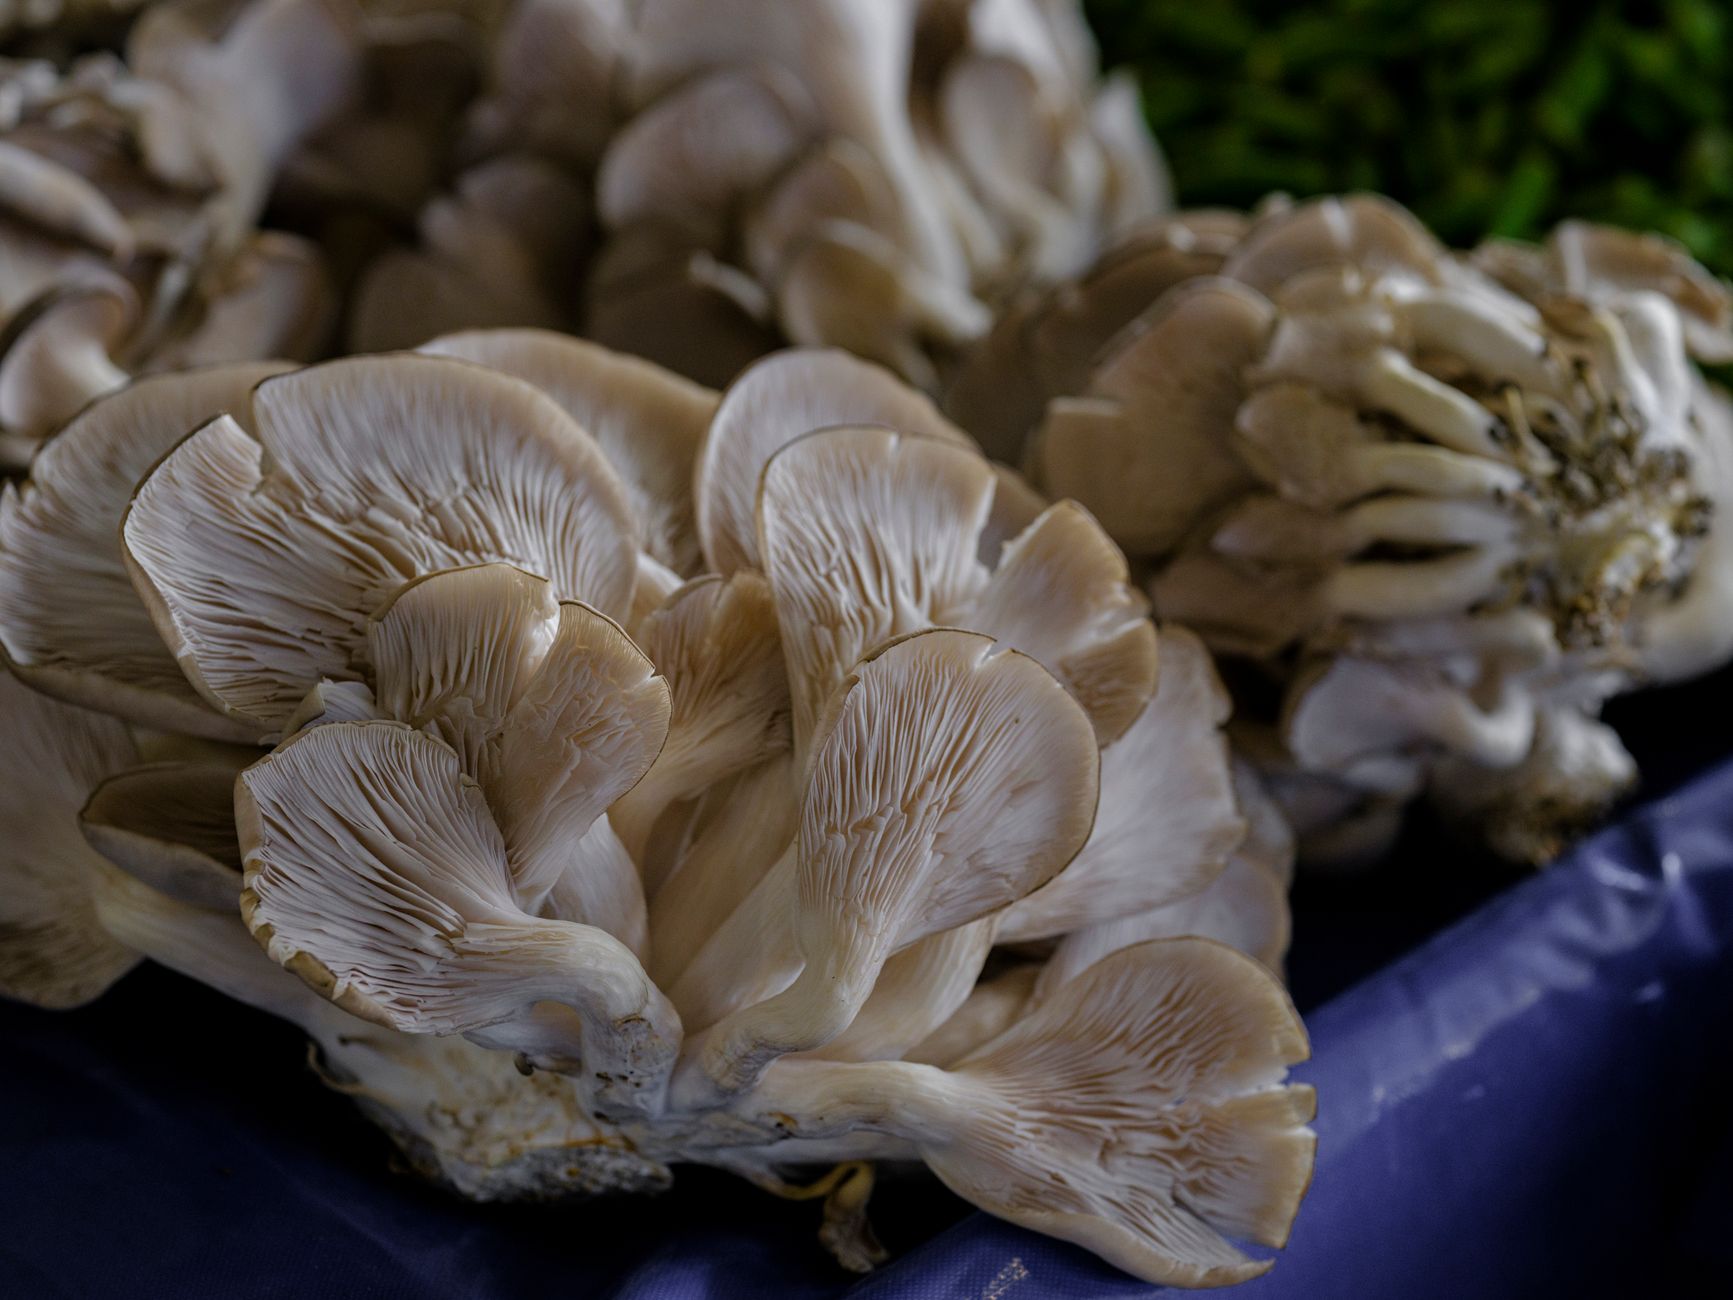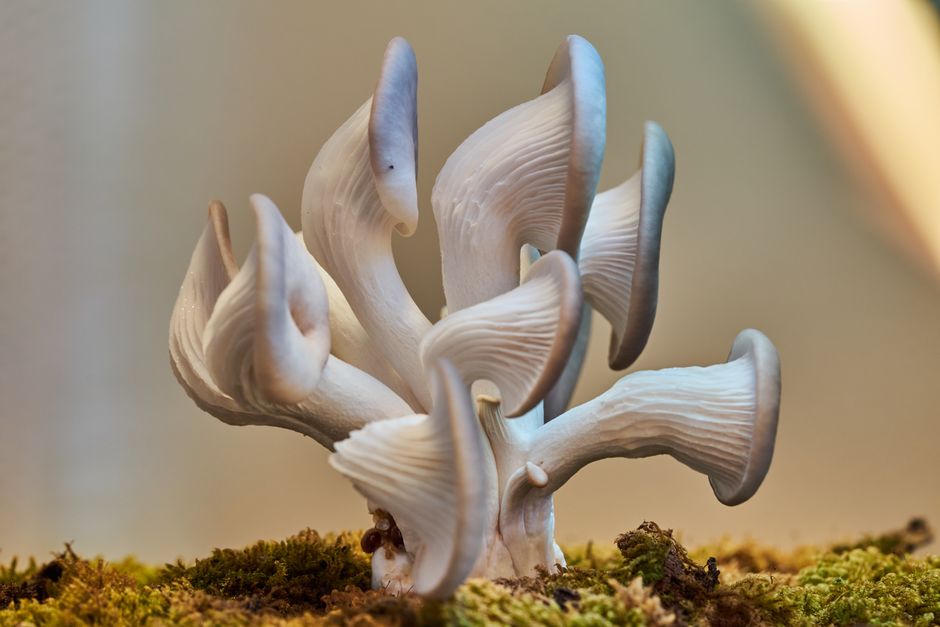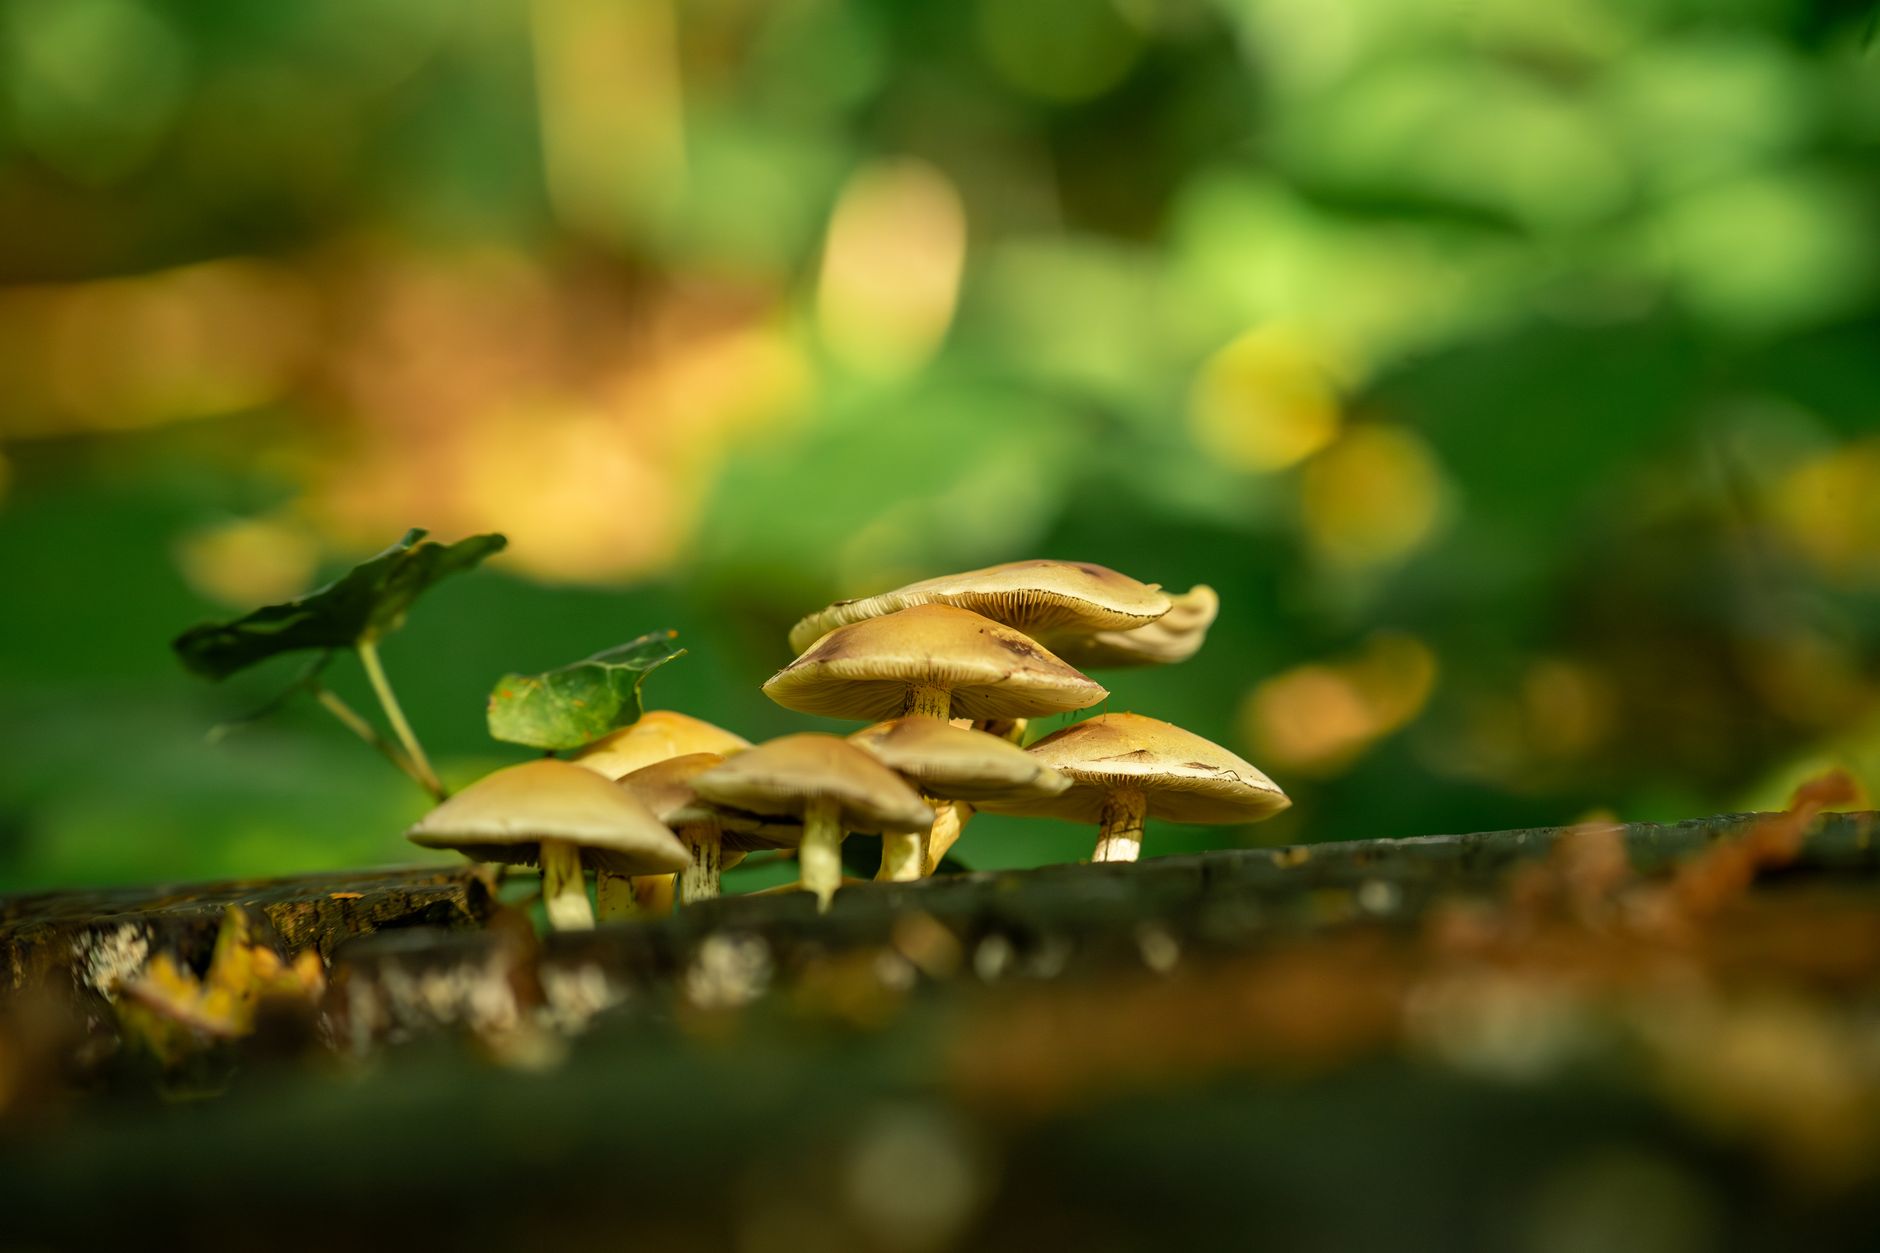
Pioppino mushrooms, also called black poplar mushrooms or Cyclocybe aegerita, are a favorite among home growers who want a nutty, earthy mushroom that performs well indoors. The clusters form tight caps on slender stems, and the flavor deepens when cooked. Unlike some finicky wood-loving species, pioppino tolerates a range of fruiting setups once you understand its temperature and humidity needs. This guide walks through the full process from spawn to harvest. You can also review general environmental setpoints in the mushroom fruiting conditions guide.
The home cultivation process mirrors other wood-loving mushrooms but has a few specific requirements. Pioppino mycelium colonizes at warmer room temperatures, then pins when moved to cooler, humid conditions. Getting the substrate right makes a bigger difference than most beginners expect. A well-made supplemented sawdust block gives pioppino the nutrition it needs for multiple flushes. If you are new to substrate choices, start with the best mushroom substrate guide to understand why hardwood sawdust beats straw for this species.
Before you start, commit to clean technique. The North American Mycological Association (NAMA) emphasizes that mushroom identification and cultivation safety depend on reliable information. Penn State Extension also provides research-based guidance on mushroom production methods. Penn State Extension notes that commercial and home growers achieve consistent yields with sterilized supplemented sawdust. Always keep a clean work area, avoid eating any mushroom you cannot positively identify, and use a pressure cooker for pioppino substrate blocks.
What You’ll Need
- 23-quart pressure cooker
- Polypropylene mushroom spawn bags
- Hardwood sawdust pellets
- Wheat bran
- Pioppino grain spawn
- Still air box or laminar flow hood
- Spray bottle
- Thermometer/hygrometer
- Isopropyl alcohol
- Gloves
How Do You Grow Pioppino Mushrooms at Home Indoors and Outdoors?
- Gather supplies and prepare a clean workspace
Pioppino cultivation requires a pressure cooker, polypropylene spawn bags, hardwood sawdust pellets, wheat bran, grain spawn, and basic sanitizing supplies. You will also need a still air box or laminar flow hood for inoculation. A 23-quart pressure cooker holds several 5 lb substrate blocks at once. Check the 23-quart Presto pressure cooker on Amazon. If you plan to make your own pioppino grain spawn, follow the steps in how to make grain spawn before moving on.
Clean the work area before you touch any mushroom supplies. Wipe down tables with isopropyl alcohol, wash your hands, and wear gloves. Pioppino mycelium recovers quickly after transfer, but bacteria and mold move faster in warm, wet substrates. A still air box reduces airborne contaminants during inoculation. You do not need a full cleanroom, but you do need consistent hygiene. Prepare the spawn bags, mixing bowl, and measuring cups ahead of time so you can work without leaving the room.
Gather the right spawn for pioppino. Use a pioppino liquid culture or grain spawn from a trusted supplier. Avoid old spawn that has sat in a hot mailbox for days. Healthy pioppino spawn smells earthy and shows white mycelium without green, black, or yellow spots. Check the mushroom contamination identification guide if you are unsure about the difference between healthy mycelium and common molds. Starting with clean spawn prevents most failures later.
- Prepare and sterilize a supplemented sawdust substrate
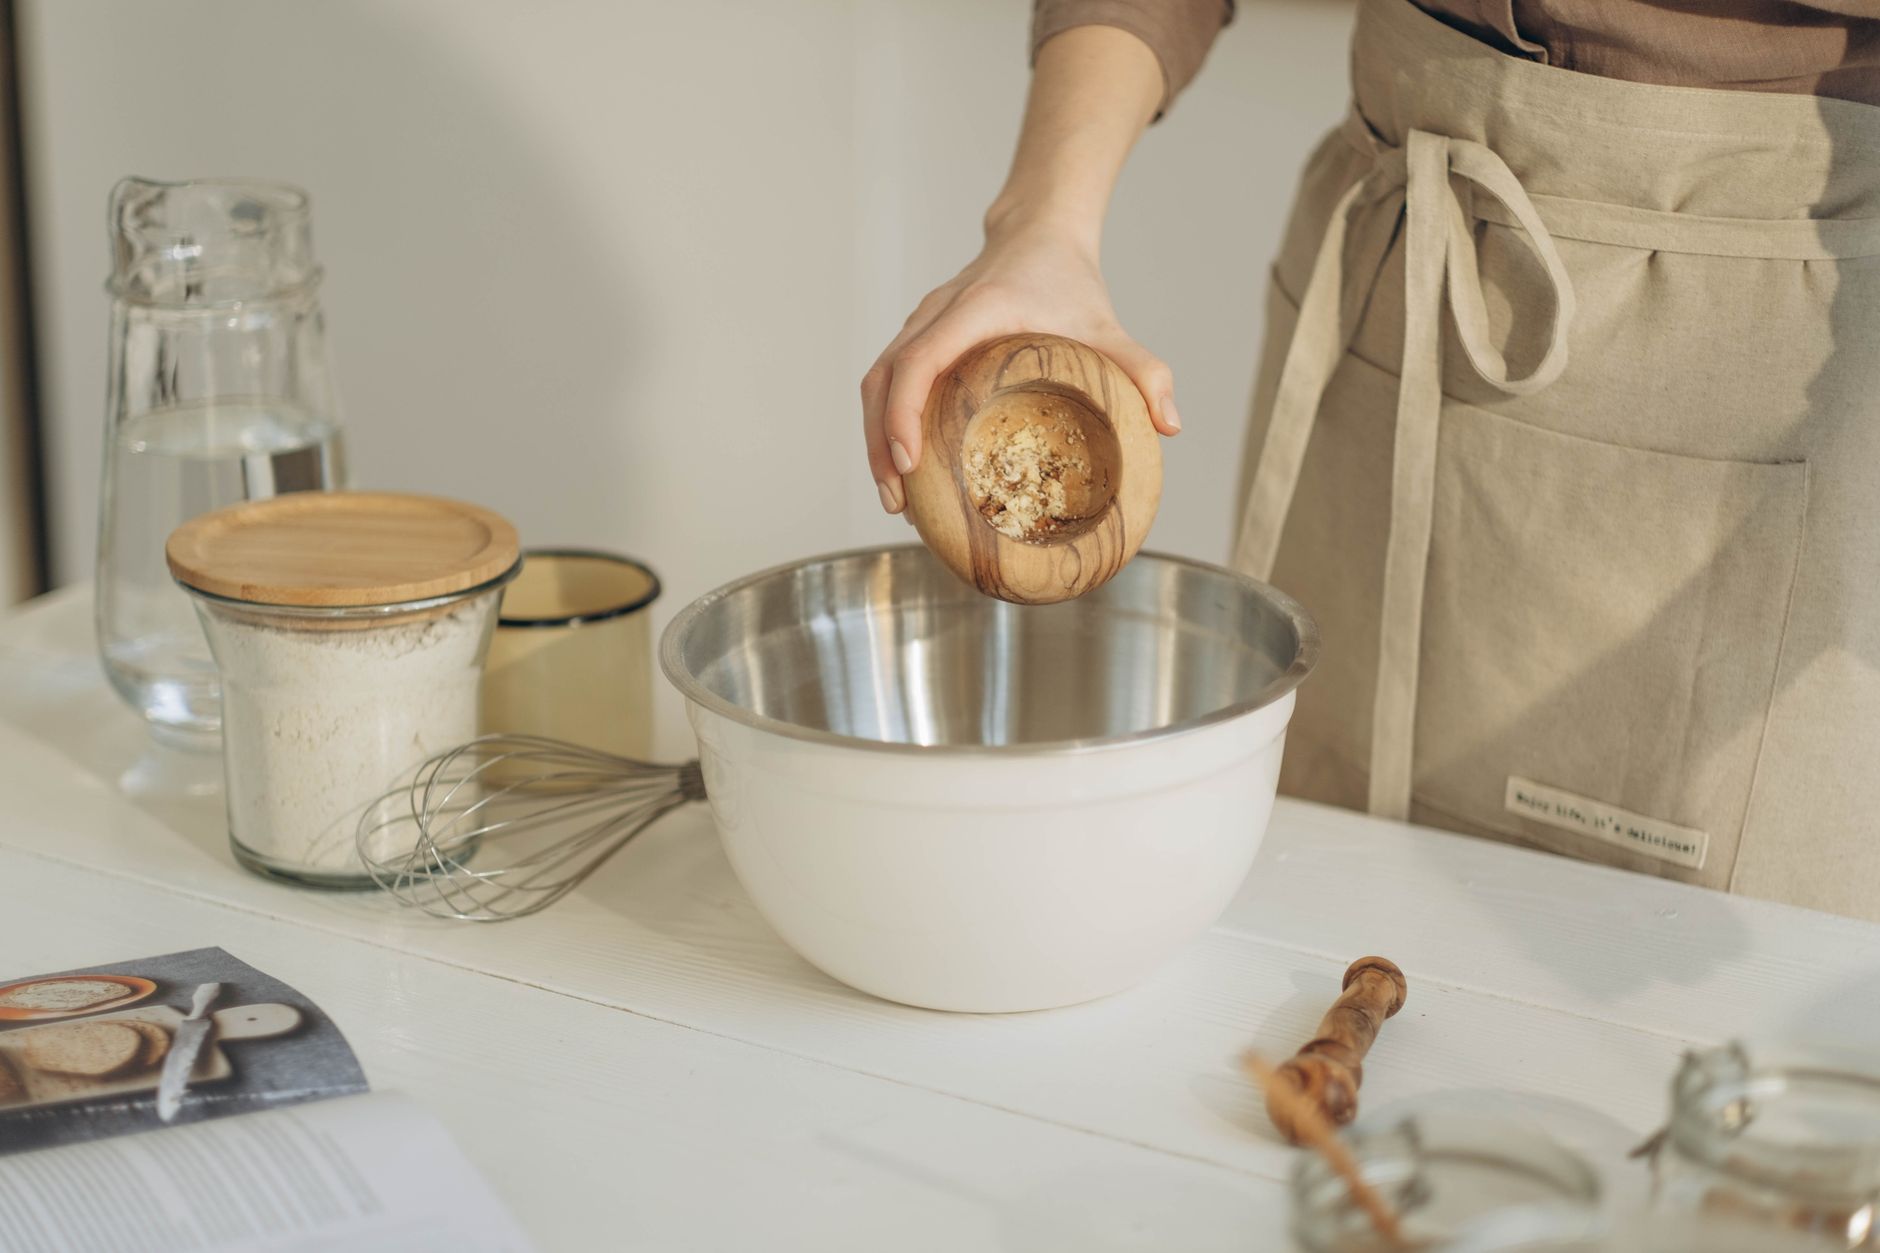
For a single 5 lb fruiting block, mix 5 cups of hardwood sawdust pellets, 1 cup of wheat bran, and 6 cups of water in a large bowl. This creates a substrate with about 20% bran supplement by dry weight. The bran gives pioppino extra nitrogen for strong clusters. Use hardwood pellets made from oak, maple, or poplar, not softwood. Check hardwood sawdust pellets on Amazon. More detail on why this mix works is in the best mushroom substrate guide.
Place the mixed substrate into polypropylene spawn bags fitted with filter patches. Leave enough room at the top to fold the bag closed. Mixing should create a moist but not dripping texture. Squeeze a handful of substrate. It should hold its shape and release only a few drops of water. If water pools in the bag, add a little more dry sawdust. Load the bags into a pressure cooker and sterilize at 15 PSI for 2.5 hours. This kills mold spores and bacteria that compete with pioppino.
Let the pressure cooker cool completely before opening. Do not rush this. Hot bags can melt or tear, and opening a cooker too early can draw unsterile air into the bags. After cooling, keep the bags sealed until inoculation. Sterile substrate can sit at room temperature for a day or two, but use it as soon as possible. This step connects directly to inoculation because any contamination introduced now will show up during the 3-5 week colonization window.
- Inoculate the cooled substrate with pioppino grain spawn
Work inside a still air box or in front of a laminar flow hood. Wipe the outside of the spawn bag and substrate bag with isopropyl alcohol. Open the substrate bag and add pioppino grain spawn at a rate of 5 to 10 percent by wet weight. For a 5 lb block, that is about 4 to 8 ounces of spawn. Check mushroom spawn bags on Amazon if you need replacement bags with filter patches. Mix the spawn into the top few inches of substrate or shake sealed bags to distribute more evenly.
Fold the bag closed and seal it with an impulse sealer or clip. Do not use tape that will fail under humidity. The filter patch allows gas exchange while keeping out mold spores. Label the bag with the date and strain. Pioppino grain spawn should be fully colonized before use, with no uncolonized grains left. If you made spawn at home, review how to make grain spawn to confirm your rye or millet was prepared correctly.
Place the sealed bags in a dark, warm area for incubation. Keep them off cold concrete floors. Some growers use a shelf in a closet or a tub with a seedling heat mat set to 75°F. Do not let the mat touch the bags directly. Use a thermometer to verify the air temperature inside the incubation space. The next step is simply waiting and watching for healthy white growth.
- Incubate at 70-75°F for 3 to 5 weeks
Pioppino mycelium colonizes best at 70 to 75°F. At this temperature range, a properly hydrated 5 lb sawdust block fully colonizes in 21 to 35 days. Some strains finish faster, while cooler rooms slow things down. Keep the bags in the dark or low light. Pioppino does not need light during colonization. Slight temperature swings are fine, but prolonged temperatures above 80°F invite mold.
Check the bags every few days without opening them. White mycelium should spread from the spawn points in a circular pattern. Look for any green, black, or slimy areas. These indicate contamination. If you see a small spot of mold, mark it. Once the mycelium grows over it, opening the bag indoors can spread spores. The mushroom contamination identification guide helps you decide when to toss a block.
Wait until the entire block is white and dense. Pioppino mycelium may form thick patches or small knots early, but that does not mean it is ready. The substrate should feel firm and hold together when lightly squeezed. A fully colonized block smells like fresh mushrooms. If the block has stalled and not grown for a week, check temperature or hidden contamination. Fully colonized blocks often begin to pin on their own in the bag, which signals readiness for fruiting.
- Move to fruiting conditions at 55-65°F with high humidity
Pioppino triggers fruiting when temperatures drop to 55-65°F and humidity rises to 85-95 percent. This mimics autumn conditions in the wild. Move colonized blocks to a fruiting chamber, shotgun terrarium, or small grow tent. Provide 12 hours of indirect light per day. A simple LED or bright room light works. Use a hygrometer to monitor humidity, not guesswork. More detailed setpoints are in the mushroom fruiting conditions guide.
Fresh air exchange matters as much as humidity. Pioppino clusters develop long, weak stems if CO2 stays too high. Open the fruiting chamber or run a fan on a timer four to six times per hour. Misting alone does not replace air exchange. If you are building a fruiting space, the diy mushroom fruiting chamber guide covers inexpensive setups. Cut a small slit or remove the top of the bag to expose the colonized surface to air.
Keep temperatures stable during pinning. A drop below 50°F slows growth but rarely kills pioppino. Temperatures above 70°F often cause weak pins or no pins at all. Place the block in a basement, root cellar, or cool room. Use a cool mist humidifier if your air is dry. Aim for visible condensation on chamber walls without standing water on the block surface. Too much direct misting bruises young pioppino pins.
- Harvest pioppino clusters before the caps flatten
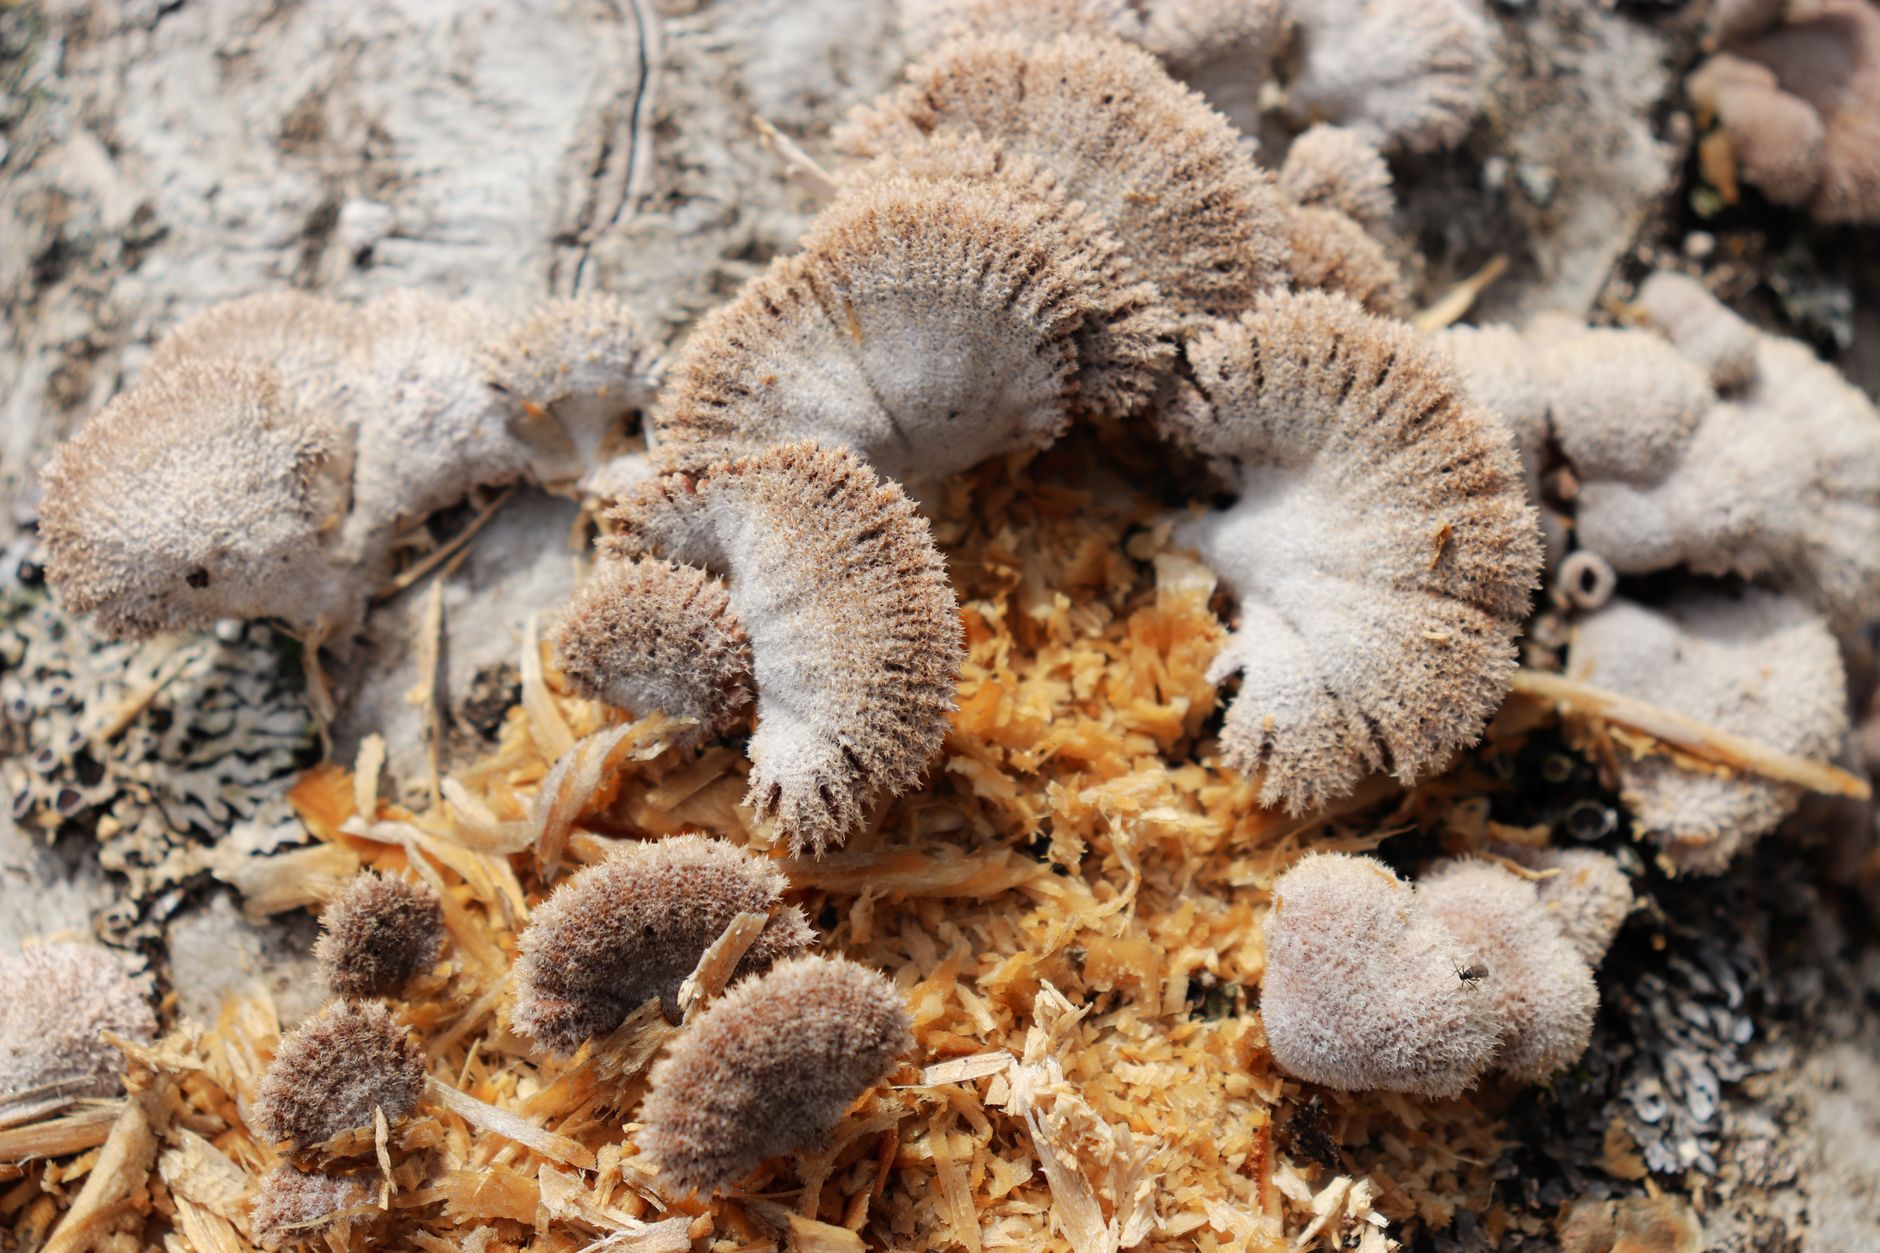
Pioppino clusters are ready to harvest when the caps are convex and the veil under the cap has just begun to stretch. Do not wait until caps flatten completely and drop spores. Young clusters have firmer texture and longer shelf life. On a 5 lb block, first flush yields usually range from 12 to 24 ounces. That yield can double or triple across 2 to 3 flushes if you keep conditions clean.
Harvest the entire cluster by twisting gently or cutting at the base with a clean knife. Avoid leaving stem bases that rot and attract mold. If the cluster splits into several smaller clusters, take each one at its own readiness. Harvested mushrooms should be cooked within a few days. Store them in a paper bag in the refrigerator, not a sealed plastic container.
After the first harvest, check the block for leftover pins or aborted mushrooms. Remove them before preparing for the second flush. Pioppino can produce multiple flushes from the same block if you rehydrate and return it to fruiting conditions. The final step covers rehydration and problem solving for later flushes.
- Rehydrate the block and troubleshoot subsequent flushes
After harvesting, soak the exhausted block in cool water for 4 to 12 hours. Use filtered or bottled water if your tap water has chlorine. Submerge the block with a weight so water reaches every side. After soaking, let excess water drain for 30 minutes. Return the block to fruiting conditions at 55-65°F and 85-95 percent humidity. New pins often appear within 7 to 14 days.
Common problems include no new pins, cracked caps, and weak clusters. No new pins usually means the block dried out or temperatures drifted too warm. Cracked caps signal humidity below 80 percent. Weak, skinny clusters mean CO2 is too high. Fix one variable at a time and watch for changes. Use the mushroom fruiting conditions guide to reset your chamber environment after each flush.
If a block develops green mold or a sour smell, do not try to save it. Contaminated blocks should be composted or thrown away outdoors. Do not open them inside your growing area. For more help with contamination signs, review why your mushroom grow kit has contamination causes and how to fix it. With clean technique and proper rehydration, many pioppino blocks produce three solid flushes before slowing down.
Red Flags & Warnings
- 🚨 Never eat a wild mushroom that resembles pioppino unless a mycologist or NAMA-affiliated identifier positively confirms it. Deadly look-alikes exist.
- 🚨 Do not open a contaminated block indoors. Green, black, or pink mold spreads spores that can contaminate other projects.
- 🚨 Keep fruiting humidity above 80 percent. Pioppino caps crack when the air is too dry, especially after pins form.
- 🚨 Use only polypropylene bags rated for high heat. Standard kitchen bags melt in a pressure cooker and ruin the batch.
- 🚨 Wait until the block is fully colonized before exposing it to fresh air. Early fruiting invites mold on uncolonized substrate.
- 🚨 Do not over-mist pioppino pins. Standing water on forming caps causes bacterial blotch and aborted clusters.
Frequently Asked Questions
What do pioppino mushrooms taste like?
Pioppino has a nutty, earthy flavor with a slight hint of pepper. The stems stay tender enough to eat, and the texture holds up well in soups, sautés, and pasta dishes.
Can I grow pioppino on straw or sawdust?
Pioppino prefers supplemented hardwood sawdust. Straight straw often works poorly because it lacks the nitrogen balance this wood-loving species needs. A mix of sawdust and 20 percent bran gives consistent yields.
How long does pioppino take to fruit after inoculation?
Expect colonization at 70-75°F for 3 to 5 weeks. After moving to fruiting conditions at 55-65°F, first pins usually appear within 10 to 20 days. Total time from inoculation to first harvest is about 6 to 9 weeks.
Why are my pioppino clusters tall and skinny?
Tall, skinny clusters indicate high CO2 levels. Increase fresh air exchange by fanning or opening the fruiting chamber more often. Also reduce the number of mushrooms per cluster if they crowd each other.
Can I use liquid culture instead of grain spawn?
Yes, pioppino liquid culture can be injected into sterilized grain or directly into supplemented sawdust blocks. Grain spawn is more forgiving for beginners because visible colonized grains show whether the culture is clean.
How many flushes can I get from one pioppino block?
Most growers get 2 to 3 good flushes from a 5 lb supplemented sawdust block. Rehydrate the block between flushes by soaking it in cool water for 4 to 12 hours.
What Should You Remember?
- Use supplemented hardwood sawdust. Pioppino fruits best on 5 parts sawdust, 1 part bran, and 6 parts water.
- Colonize warm. Keep pioppino bags at 70-75°F for 21-35 days in darkness.
- Fruit cool and humid. Shift to 55-65°F and 85-95% humidity with fresh air exchange.
- Harvest before caps flatten. Pick clusters when caps are convex for the best flavor and shelf life.
- Rehydrate between flushes. Soak exhausted blocks for 4-12 hours to trigger the next crop.
- Never eat wild mushrooms without an expert identification. Use clean spawn and sterile technique to avoid contamination.
This article is for general information only. Mushroom identification and consumption carry health and safety risks , never eat a wild mushroom unless positively identified by an expert, and follow sterile technique and food-safety guidance for home grows.