Paddy straw mushroom (Volvariella volvacea) is a tropical species that thrives in hot, humid conditions. Home growers in warm climates often choose it because it colonizes fast and fruits on simple agricultural waste like rice straw. If you have struggled with oyster or shiitake mushrooms during summer heat, paddy straw is a strong option. This guide covers the entire process from raw straw to harvest. Start with the right substrate preparation. If you are new to straw work, see our guide to pasteurizing straw for mushrooms.
Unlike many temperate mushrooms, paddy straw will not fruit in a cool basement. It needs spawn run temperatures near 35-38°C and fruiting temperatures near 28-32°C. Relative humidity must stay high, usually 85-95%, or the fast-growing pins will abort. For safety, always cultivate from known spawn rather than collecting wild mushrooms. The North American Mycological Association advises that you never eat a wild mushroom unless an expert has positively identified it. Cultivated paddy straw mushrooms from a reliable culture remove that risk.
This guide gives you eight clear steps. You will learn to choose and pasteurize straw, prepare spawn, build a layered bed, manage fruiting conditions, and harvest at the correct stage. The method works outdoors in hot weather or indoors with a heated chamber. We include temperature and humidity targets based on standard cultivation practice. You will also find troubleshooting advice for contamination and pinning problems.
What You’ll Need
- rice straw or cotton waste, chopped
- paddy straw mushroom grain spawn
- large pot or drum for pasteurizing
- thermometer
- hygrometer
- clear plastic sheeting
- spray bottle
- growing container or raised bed
- heating mat optional
- clean gloves
How Do You Grow Paddy Straw Mushrooms at Home?
- Understand Paddy Straw Mushroom Needs Before You Start
Paddy straw mushroom is different from oyster, shiitake, or button mushrooms. It grows naturally in subtropical and tropical areas on rice straw, compost, and other plant wastes. The mycelium is aggressive at high heat but fails quickly in cool conditions. If your indoor temperature stays below 25°C, you need a heated chamber or a warm outdoor season. Set your expectations based on your climate.
The key numbers are not flexible. For spawn run, aim for 35-38°C. That is hotter than most mushrooms can survive. For fruiting, drop the temperature slightly to 28-32°C. Relative humidity must stay 85-95% during fruiting or pins will dry out and abort. Full colonization of a straw bed usually takes 7-10 days under these conditions. If the temperature drops below 25°C, colonization stalls and contamination often moves in.
Rice straw is the traditional substrate because it mimics the natural environment. Wheat straw, cotton waste, and banana leaves also work. The substrate must be pasteurized before spawning. Paddy straw mycelium can outgrow some competitors at high temperatures, but it cannot beat heavy mold loads. Pasteurization reduces that pressure. You will need a thermometer and a hygrometer to monitor conditions accurately.
- Gather Supplies and Select the Right Substrate
Start with a simple supply list. You need rice straw or a similar agricultural waste, paddy straw mushroom grain spawn or sawdust spawn, a large pot or drum for pasteurizing, a growing container such as a plastic crate or raised bed, clear plastic sheeting, a spray bottle, and a thermometer. A hygrometer helps you track humidity. If you plan to expand spawn first, see our substrate guide for mixing advice.
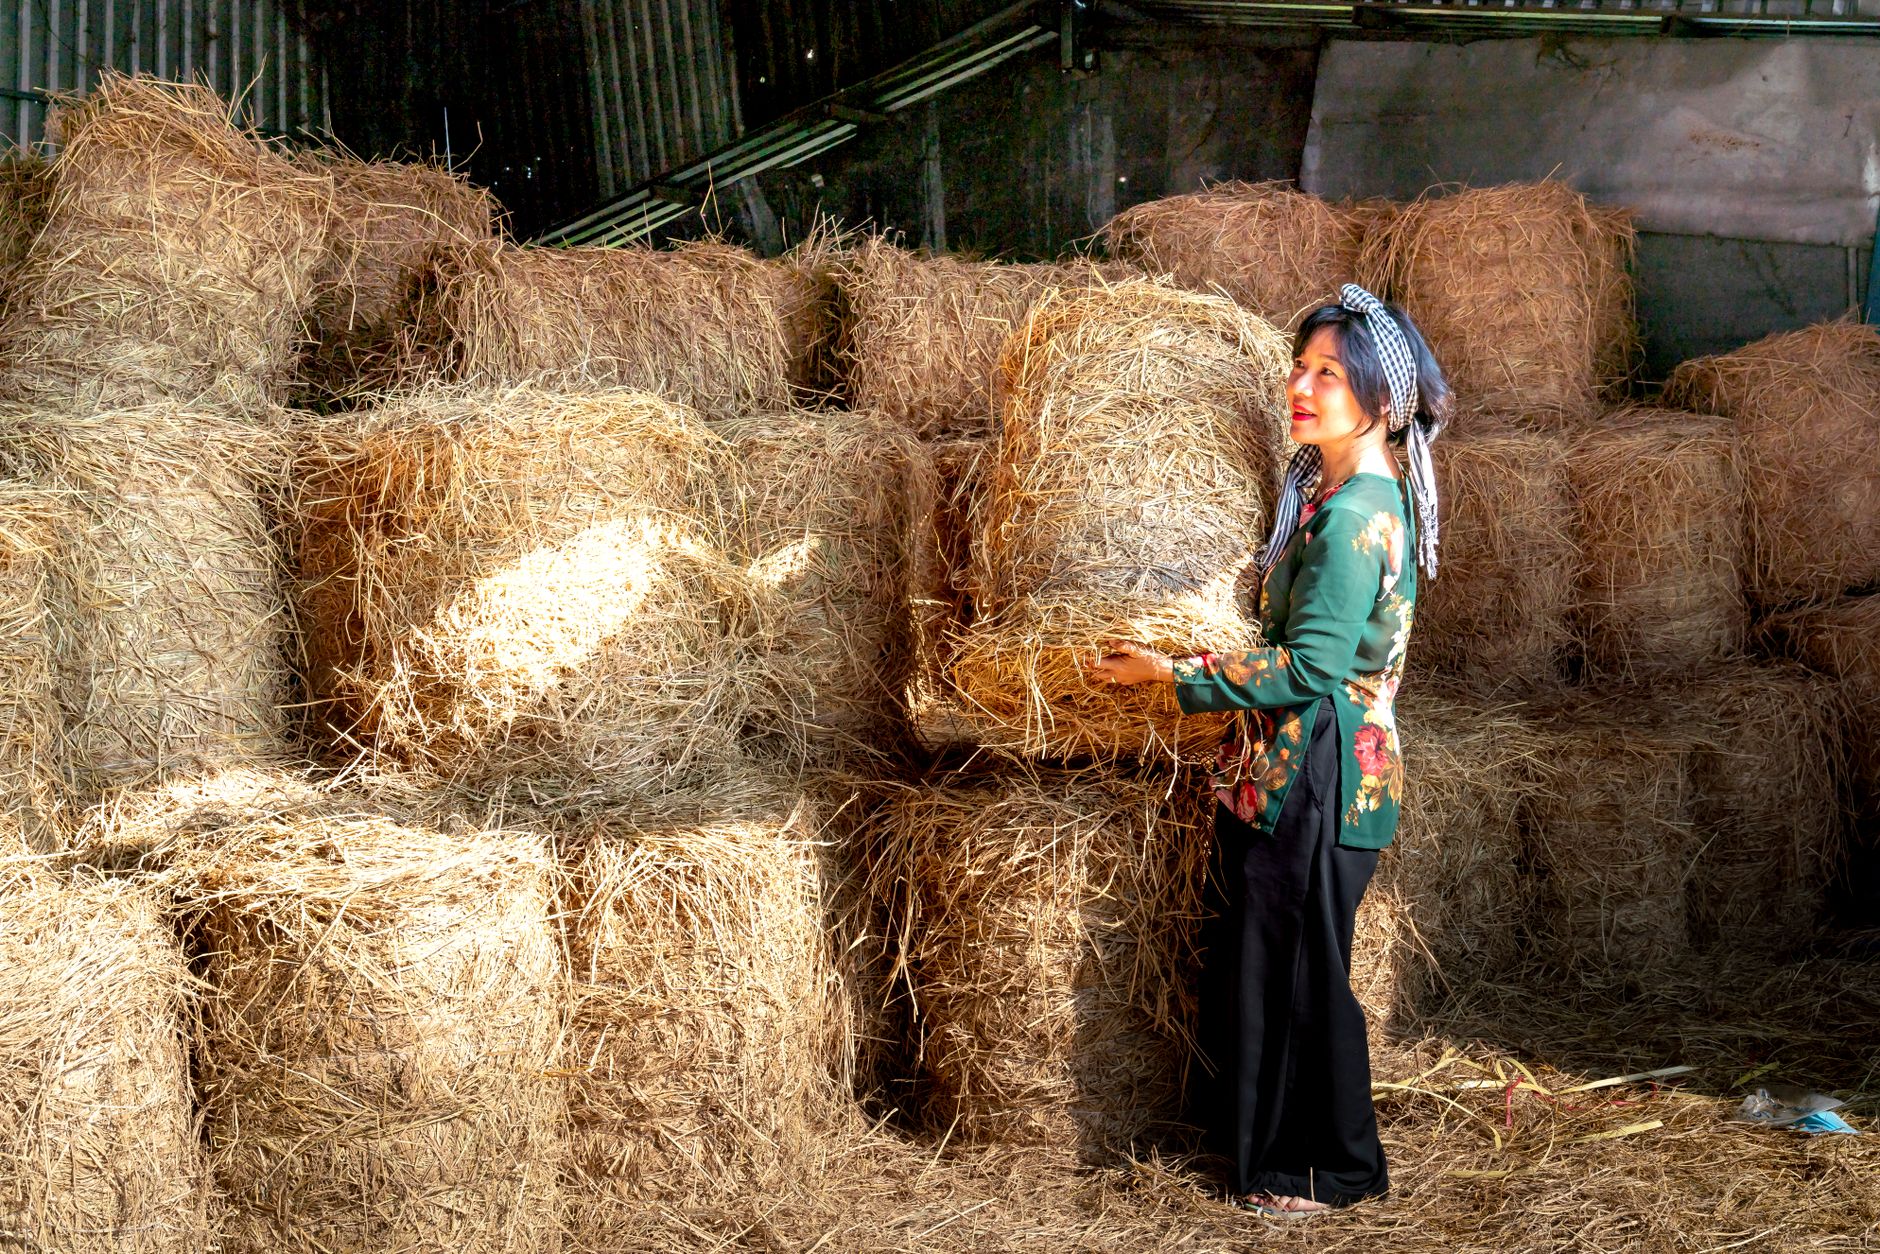
Rice straw is the best choice because paddy straw mushroom evolved on it. Chop the straw into pieces 5-10 cm long. This increases surface area for mycelium and makes the bed easier to layer. You can add 5% rice bran by dry weight to boost yields, but any supplement raises contamination risk. Penn State Extension notes that substrate moisture around 65-70% is a practical target for straw beds. The squeeze test is your best field check.
For spawn, use fresh grain spawn if possible. One 500 g bag of grain spawn can inoculate about 5 kg of wet straw. Break the spawn into small pieces before mixing it into the straw. If you need spawn bags for your own culture expansion, check mushroom spawn bags on Amazon. Do not use old or partially colonized spawn, because weak spawn invites contamination.
Choose your growing location now. Outdoors, use a shaded area with daytime temperatures above 30°C. Indoors, a heated closet, bathroom, or small greenhouse works. The container must drain well. Prepare all equipment before you start pasteurizing, because the cooled straw must be spawned quickly to avoid recontamination.
- Pasteurize the Straw Substrate to Reduce Competitors
Pasteurization is the most important sanitary step. Heat the straw in water at 65-70°C for 60 to 90 minutes. This temperature range kills most mold spores and bacteria but leaves some beneficial microbes that help paddy straw mycelium. Do not boil the straw hard, because boiling over 100°C breaks down the straw into a mushy mess. Use a thermometer to monitor the water temperature throughout.
Fill a large pot or drum halfway with water and heat it to 70°C. Place the chopped straw in a mesh bag or loose and submerge it. Keep the temperature steady for the full soak time. After 60-90 minutes, remove the straw and drain it in a clean area. Let it cool to 35°C before adding spawn. Straw that is hotter than 40°C will kill paddy straw spawn on contact.
Check moisture with the squeeze test. Grab a handful of cooled straw and squeeze hard. Only a few drops of water should come out. If water streams out, let the straw drain longer or spread it on a clean screen. Target moisture is 65-70%. Too wet straw goes anaerobic and smells sour within a day. Too dry straw stalls mycelium growth and slows colonization.
- Prepare or Obtain Healthy Paddy Straw Mushroom Spawn
You can buy paddy straw mushroom grain spawn from a mushroom supplier. Look for white, fluffy mycelium fully covering the grains. It should smell clean and mushroomy, not sour, sweet, or moldy. If you want to make your own spawn, use rye berries or millet and follow a sterile process. See our grain spawn guide for step-by-step instructions. Homemade spawn works well if you can maintain sterile technique.
Use a spawn rate of 5-10% by wet substrate weight. For a 5 kg straw bed, that means 250-500 g of spawn. More spawn colonizes faster and reduces the window for contaminants. Break the spawn into small pieces right before mixing. Wear clean gloves and work on a sanitized surface. Do not expose spawn to direct sunlight or strong airflow for long periods.
Spawn temperature at the time of mixing matters. Let the pasteurized straw cool to about 35°C, then mix in the spawn throughout the layers. Spawning into too-hot straw is a common beginner mistake. The mycelium will recover better if the straw is slightly warm but not hot. Move quickly after spawning to cover the bed and hold in heat and humidity.
- Build the Straw Bed in Layers for Rapid Colonization
Build the bed in a clean container or on a raised platform lined with plastic. Start with a 10-15 cm layer of pasteurized straw. Sprinkle a portion of broken spawn over the surface. Add another 10-15 cm layer of straw and repeat. The finished bed should be 20-30 cm deep. Do not pack the straw too tightly, because paddy straw mycelium needs air to grow through the layers.
Lightly press each layer so the spawn and straw make good contact. Gaps slow colonization, but overly dense packing creates anaerobic pockets where bacteria thrive. Aim for a firm but springy bed. Insert a thermometer into the center of the bed after building. The internal temperature should stay near 35-38°C for the next week. Check it daily.
Cover the bed with clear plastic sheeting or a breathable poly cover. Poke a few small holes for gas exchange. Place the bed in a warm spot away from direct sunlight. If the ambient temperature is below 30°C, use a heating mat under the container or a space heater nearby. White threads should appear in the straw within 3-5 days. Full colonization takes 7-10 days.
- Maintain High Humidity and Warm Fruiting Conditions
Once the straw bed is fully colonized, usually 7-10 days after spawning, shift to fruiting conditions. Paddy straw mushrooms fruit best when the temperature drops a little to 28-32°C. Keep humidity at 85-95% by misting the inside of the cover or running a humidifier. For a complete breakdown of temperature and humidity targets for different mushrooms, see our fruiting conditions guide.
Do not spray heavy water droplets directly on the bed. Fine mist on the plastic cover or the air above the bed works better. Open the cover for 5-10 minutes two or three times a day to refresh air. High carbon dioxide levels cause elongated stems and small caps. Good air exchange is essential for paddy straw mushrooms to form normal egg-shaped buttons. If your room air is dry, a simple humidity controller on Amazon can automate a small humidifier.
Watch for tiny white pinheads 2-4 days after entering fruiting conditions. Pins grow very fast. From pin to harvest can take only 4-6 days. If the air dries below 80% humidity, pins may abort and turn brown. Maintain warmth and moisture consistently. A clear tote with a vented lid or a small indoor greenhouse makes this easier.
- Harvest Paddy Straw Mushrooms at the Egg Stage
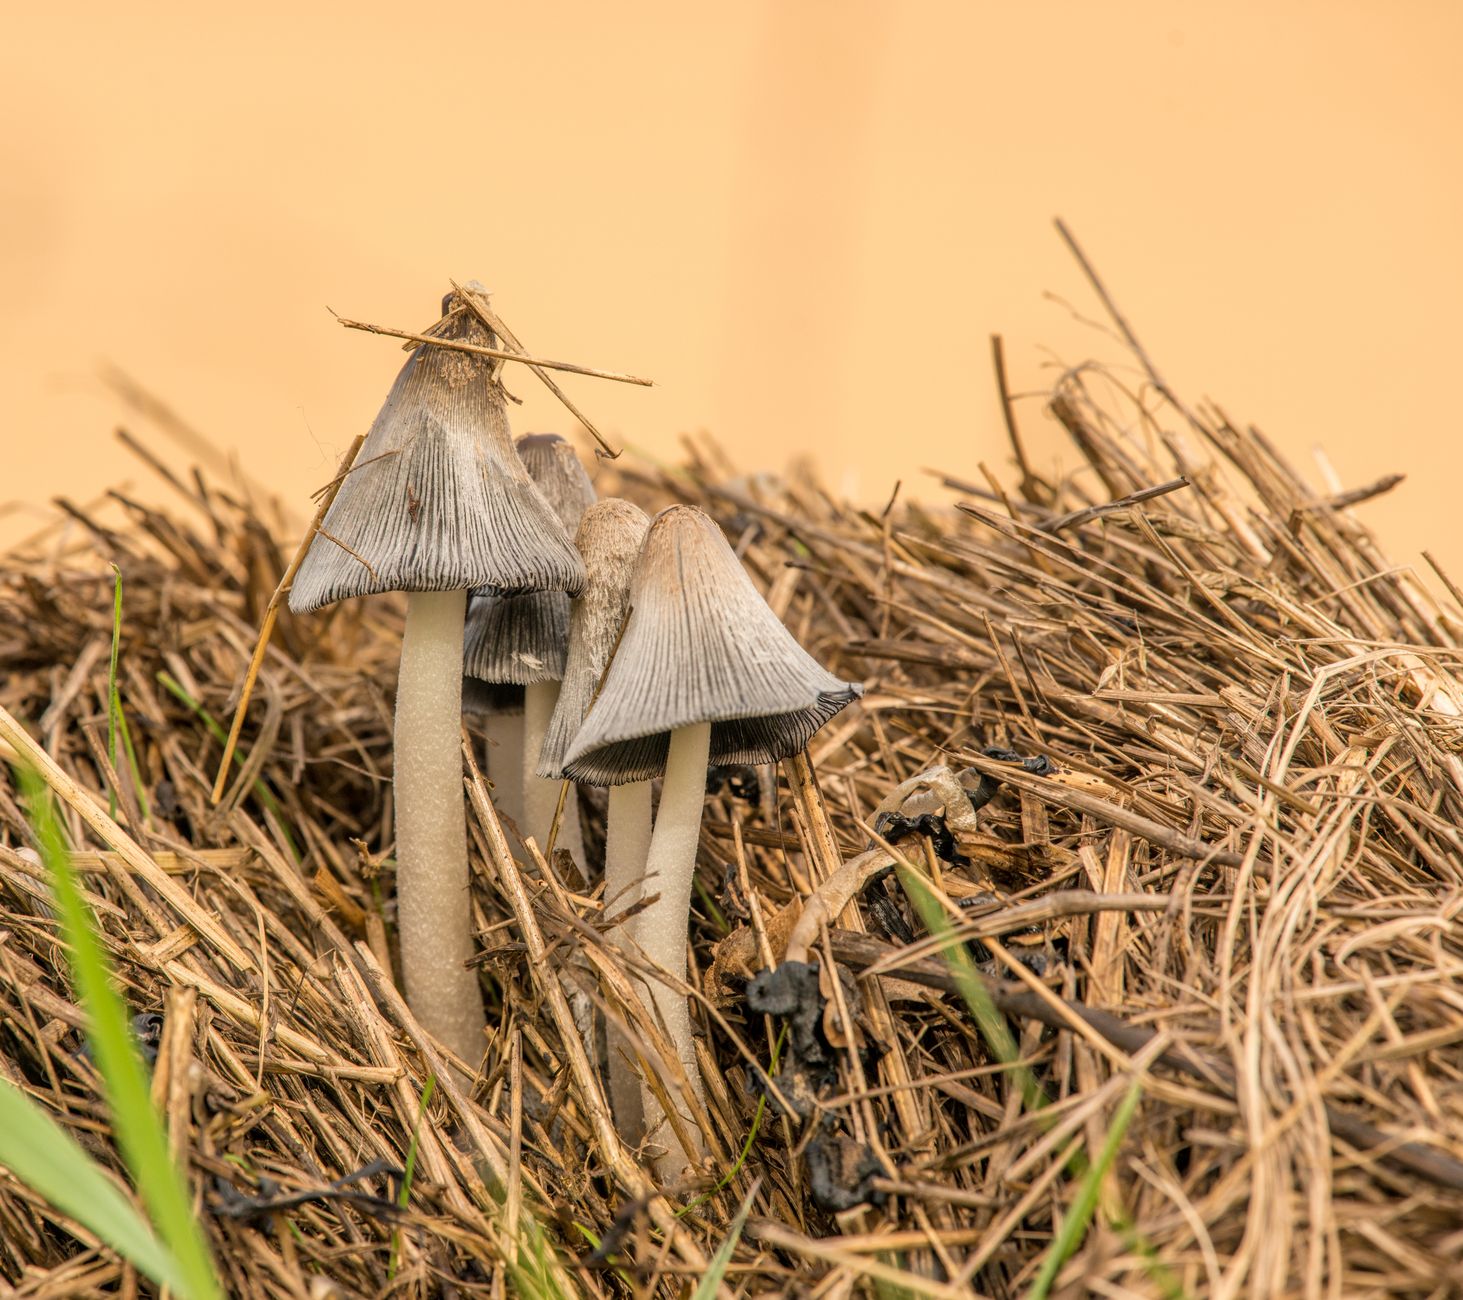
Paddy straw mushrooms are best harvested at the egg stage, before the universal veil breaks and the cap opens. At this stage the mushroom looks like a small white or grayish egg. The cap is still enclosed in a thin membrane. If you wait too long, the cap expands and the stem elongates. The texture becomes softer, and shelf life drops to less than a day at room temperature.
Harvest each egg by grasping it at the base and gently twisting. Pull straight up or cut with a clean knife. Leave small pins undisturbed so they can mature. Harvest every day once pinning starts, because the mushrooms grow very fast. In hot weather, they can go from egg to open cap in less than 12 hours. Morning and evening checks are a good routine.
After harvest, brush off any straw bits. Paddy straw mushrooms do not store well. Cook them within a day or two for best quality. You can refrigerate them in a paper bag for up to 3 days. The bed may produce a second smaller flush if you keep moisture and temperature steady for another week.
- Troubleshoot Slow Growth, No Pinning, and Contamination
Slow or no colonization usually means the temperature is too low. Paddy straw mycelium stalls below 25°C. Move the bed to a warmer spot or use a heat mat. If the straw is too wet and smells sour, bacteria have taken over. Start over with fresh pasteurized straw. To identify mold and bacterial problems correctly, see our contamination guide.
No pinning after full colonization often happens when humidity is below 80% or when air is stale. Increase misting and open the cover more often. The fruiting temperature should drop to 28-32°C. If the bed stays at 35-38°C, the mycelium may keep running instead of forming pins. A slight temperature drop is a key trigger for fruiting.
Pests like fungus gnats and mites can appear on straw beds. Cover ventilation holes with fine mesh. Remove overripe or decaying mushrooms promptly because they attract pests. Keep the area clean between flushes. If you see many tiny flies, reduce moisture on the surface and allow better air exchange.
Contamination with green mold or black mold means the straw was not pasteurized long enough or the spawn was weak. Discard heavily contaminated beds outside in the trash. Do not compost them near your growing area. Clean all equipment with a 10% bleach solution before reusing. Start a new batch only after the area is dry and sanitized.
Red Flags & Warnings
- 🚨 Never eat a wild mushroom unless an expert has positively identified it. Cultivate paddy straw mushrooms only from known, clean spawn.
- 🚨 Do not spawn straw that is above 40°C. It will kill paddy straw spawn on contact.
- 🚨 Keep humidity above 80% during pinning. Dry air causes pins to abort and turn brown.
- 🚨 Paddy straw mushrooms will not fruit well below 25°C. Use a heated chamber if your home is cool.
- 🚨 Discard any bed with green mold, black mold, or a sour smell. Do not try to save it.
- 🚨 Harvest at the egg stage. Open-cap mushrooms spoil quickly, attract pests, and lose quality.
Frequently Asked Questions
What temperature does paddy straw mushroom need to grow?
Paddy straw mushroom needs spawn run temperatures of 35-38°C and fruiting temperatures of 28-32°C. It grows poorly below 25°C. High heat and humidity are essential.
Can I grow paddy straw mushrooms indoors in a cold climate?
Yes, if you provide a heated chamber or use a space heater and a clear tote to hold warmth. You need to maintain 28-38°C during the entire cycle. A cool basement will not work without extra heat.
How long does it take to grow paddy straw mushrooms from spawn to harvest?
Full colonization of a straw bed takes 7-10 days. Pins appear 2-4 days after dropping to fruiting conditions. Harvestable egg-stage mushrooms are ready 4-6 days after pinning. Total time is about 2-3 weeks.
What substrate can I use instead of rice straw?
Wheat straw, cotton waste, banana leaves, and water hyacinth all work. Rice straw is traditional and often cheapest. Chop the material into small pieces and pasteurize it at 65-70°C for 60-90 minutes.
Why are my paddy straw mushroom pins turning brown and aborting?
Brown, aborted pins usually mean the humidity dropped below 80% or the temperature swung too low. Increase misting and keep the bed at 28-32°C with good air exchange. Remove dead pins to prevent mold.
Can I grow paddy straw mushrooms on straw without pasteurizing?
You can try, but contamination risk is high. Pasteurization at 65-70°C for 60-90 minutes greatly reduces mold and bacteria. Unpasteurized straw often fails within a few days, especially in warm conditions.
What Should You Remember?
- Heat is critical: Keep spawn run at 35-38°C and fruiting at 28-32°C.
- Humidity must stay 85-95% during fruiting or pins will abort.
- Pasteurize rice straw at 65-70°C for 60-90 minutes before spawning.
- Use 5-10% spawn by wet substrate weight for fast colonization.
- Harvest at the egg stage before caps open for best texture.
- Never eat wild mushrooms unless an expert has positively identified them.
This article is for general information only. Mushroom identification and consumption carry health and safety risks , never eat a wild mushroom unless positively identified by an expert, and follow sterile technique and food-safety guidance for home grows.