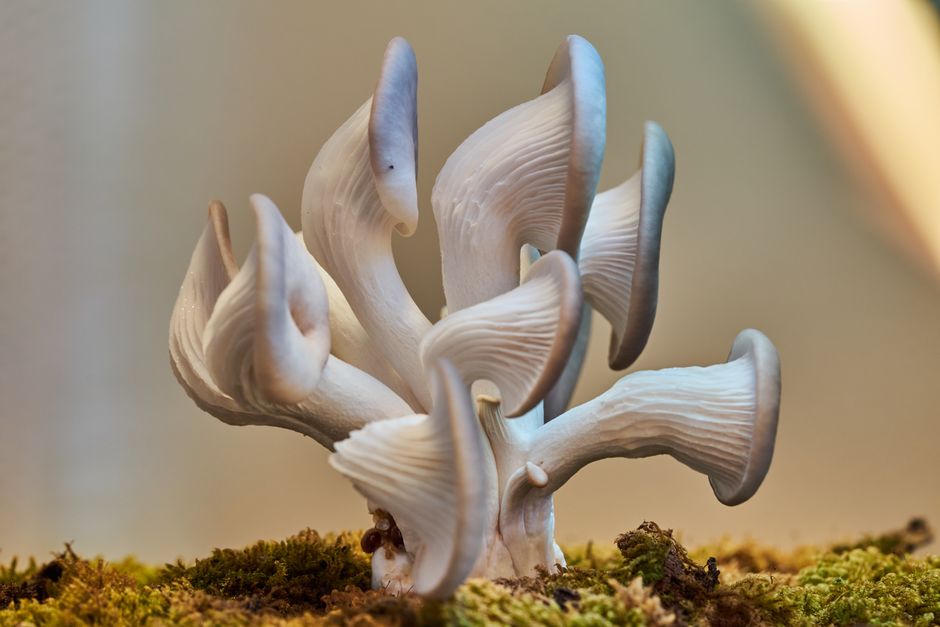
Abalone mushrooms are a meaty, dense member of the oyster mushroom family that home growers prize for their rich flavor and thick, satisfying stems. Unlike the more common blue or pearl oyster, abalone mushrooms have a tan to brown cap and a texture closer to king oyster or portobello. They grow well on hardwood sawdust blocks and produce heavy clusters. If you have already grown oysters, this project will feel familiar. Check the how to grow oyster mushrooms at home guide for a solid foundation before you start.
The abalone mushroom, often listed as Pleurotus abalonus or a close relative of the warm-weather oyster, thrives in temperatures between 60 and 75 degrees Fahrenheit. Penn State Extension notes that oyster mushrooms colonize pasteurized straw and hardwood sawdust readily, and abalone mushrooms follow that same pattern. The main difference is that abalone likes a slightly warmer colonization phase and a cool, humid fruiting phase. Penn State Extension offers detailed mushroom cultivation guides that can help you understand basic fungal biology before you begin.
This guide walks you through the entire process from preparing a supplemented sawdust substrate to harvesting your first flush. You will need grain spawn, grow bags, a pressure cooker or large pot, and a simple fruiting chamber. The two most important factors are clean technique and controlling humidity during fruiting. Many beginners rush the colonization phase or let humidity drop during pinning, which leads to poor yields. Follow the steps below and you will have clusters of abalone mushrooms in about six to eight weeks.
Abalone mushrooms are not the hardest species to grow, but they do demand attention to detail. The exact substrate recipe and temperature ranges below come from my own experience and reference guides from extension services. If you are new to making substrate, review the best mushroom substrate guide before mixing your first batch. With a little patience and a clean workspace, you can produce a steady supply of these meaty mushrooms at home.
What You’ll Need
- Hardwood sawdust pellets
- Wheat bran
- Grain spawn
- Filter patch grow bags
- Pressure cooker or large pot
- Spray bottle
- Hygrometer
- Thermometer
- 70% isopropyl alcohol
- Disposable gloves
- Clean mixing container
How Do You Grow Abalone Mushroom at Home?
- Understand abalone mushroom basics and choose your grow method
Abalone mushrooms, sometimes called abalone oysters, have a dense, chewy texture that holds up well in soups, stir-fries, and grilled dishes. Their caps are brown to tan and often curl under at the edges when young. The stems are thick and edible, unlike many oyster mushrooms that have tough or discarding stems. This species is a warm-weather grower, so it can tolerate slightly higher colonization temperatures than cold-weather oysters. Understanding these traits helps you set realistic expectations for yield and flavor.
You have three main ways to grow abalone mushrooms at home: a ready-to-fruit grow kit, a supplemented sawdust block in a filter patch bag, or pasteurized straw in a bucket or bag. For your first attempt, a sawdust block or a high-quality grow kit is best because both are forgiving and produce dense clusters. Check the best mushroom grow kits 2026 list if you want a low-effort start. Once you have one successful run, you can scale up to larger batches or try straw logs.
Abalone mushrooms grow from grain spawn, sawdust spawn, or plug spawn. Grain spawn is the most common for indoor blocks because it shakes apart easily and mixes evenly into substrate. A typical spawn rate is 5 to 10 percent of wet substrate weight. For a 5-pound block, that means 0.25 to 0.5 pound of grain spawn. Sawdust spawn works too, but you will need more to achieve the same colonization speed. The spawn rate directly affects how fast the mycelium takes over the substrate.
Before you order supplies, decide where you will incubate and fruit the blocks. Colonization needs a dark, stable spot at 70 to 75 degrees Fahrenheit. Fruiting needs a cooler area at 60 to 70 degrees with high humidity and indirect light. This separation is critical: if you fruit too early or keep temperatures too warm, the mycelium may stall or produce weak pins. Review the mushroom fruiting conditions guide to understand what environmental changes trigger mushroom formation.
- Gather supplies and set up a clean workspace
You will need a few key supplies before you start. The most important are hardwood sawdust pellets, wheat bran, grain spawn, and filter patch grow bags. You also need a pressure cooker or a large pot for pasteurization, a spray bottle, a hygrometer, a thermometer, 70 percent isopropyl alcohol, disposable gloves, and a clean mixing container. Check the mushroom grow bags on Amazon and Check the hardwood sawdust pellets on Amazon to get reliable supplies. Having everything ready prevents mid-process scrambling that leads to contamination.
A clean workspace is non-negotiable for mushroom growing. Wipe down your table or counter with isopropyl alcohol or a bleach solution before you start. Put on gloves and change them if you touch your face, phone, or anything outside the work area. Many contamination problems come from airborne mold spores, so work in a room with no drafts and avoid running fans or air conditioners during inoculation. You can use a still air box made from a plastic tote with arm holes, but a clean, calm kitchen counter works for small batches.
Why does cleanliness matter so much? Mushroom mycelium grows on the same food sources that molds and bacteria love. If you introduce a competitor, it can overtake the substrate before the mushroom spawn has a chance to establish. Green mold, black mold, and wet spot bacteria are the most common invaders. Learn to spot them early with the mushroom contamination identification guide. If you see any colored growth or a sour smell, remove the bag immediately.
Set up your tools in a logical order: substrate ingredients on one side, spawn in the middle, and empty grow bags on the other. Keep a trash bag nearby for used gloves and any contaminated material. A simple habit like taking a photo of each bag after inoculation helps you track progress and spot changes later. Good record keeping makes it easier to repeat a successful grow or identify a mistake.
- Prepare and pasteurize your substrate
The best substrate for abalone mushrooms is a mix of 80 percent hardwood sawdust and 20 percent wheat bran by dry weight. For a single 5-pound block, use 4 cups of hardwood sawdust pellets, 1 cup of wheat bran, and about 1.3 to 1.4 liters of water. The exact water amount depends on the sawdust brand, so start with less and add more until the mix passes the squeeze test. A proper mix should hold together when squeezed but release only a few drops of water. This puts moisture content at roughly 60 to 65 percent, which abalone mycelium loves.
Pasteurization is necessary to kill off competing molds and bacteria while preserving some beneficial microbes. You can pasteurize in a hot water bath at 160 to 170 degrees Fahrenheit for 60 to 90 minutes. Or you can pressure cook the substrate at 15 PSI for 90 minutes for fuller sterilization. Straw-based substrates can be pasteurized in a large pot, and the how to pasteurize straw for mushrooms guide explains that process step by step. For sawdust blocks, pressure cooking in filter patch bags is the most reliable method.
After pasteurization, let the substrate cool to room temperature before adding spawn. Hot substrate kills mycelium. You can speed up cooling by placing the bags in a clean, covered container. Never open the bags before they are cool, because the hot, moist environment draws airborne spores in as it cools. Once cooled, feel the outside of the bag with a clean hand or an infrared thermometer. It should be between 70 and 80 degrees Fahrenheit before inoculation.
If you are using straw, chop it into 2 to 4 inch pieces and pasteurize at 160 to 170 degrees for one hour. Drain and cool completely before spawning. Straw substrates colonize faster but often produce slightly smaller abalone mushrooms with longer stems. Sawdust blocks hold more moisture and lead to denser, meatier caps. Choose based on what you have available and how much effort you want to put in.
- Inoculate the substrate with abalone mushroom spawn
Inoculation is the step where you add grain spawn to the cooled substrate. Use a spawn rate of 5 to 10 percent by wet weight. For example, if you have 5 pounds of hydrated substrate, use 0.25 to 0.5 pound of grain spawn. More spawn colonizes faster and reduces the chance of contamination, but using too much can cause the bag to overheat during incubation. Weigh your substrate and spawn before mixing to keep the ratio accurate.
Break up the grain spawn inside its sealed bag before opening. Crush any clumps with your fingers through the plastic. Then, working with gloves and alcohol-sprayed hands, open the spawn bag and pour the spawn into the cooled substrate. Mix thoroughly, making sure every portion of the substrate gets some spawn. Distribute the mixture evenly into filter patch grow bags, filling each bag about three-quarters full. Fold the top down and clip it shut, but do not seal it completely; the filter patch needs to allow gas exchange.
If you want to make your own grain spawn instead of buying it, the how to make grain spawn guide covers the entire process from rye berries to pressure cooking. Homemade spawn can save money and lets you experiment with different grains, but it adds a few weeks to your timeline. For a first grow, purchasing ready-to-use grain spawn from a reputable supplier is the safest option.
Label each bag with the date and strain name. Place the bags in your incubation area immediately after inoculation. Do not disturb the bags for at least three to five days, because the mycelium needs a stable, dark environment to recover and start growing. Opening or squeezing the bags early can introduce contamination and slow down colonization.
- Incubate for full colonization
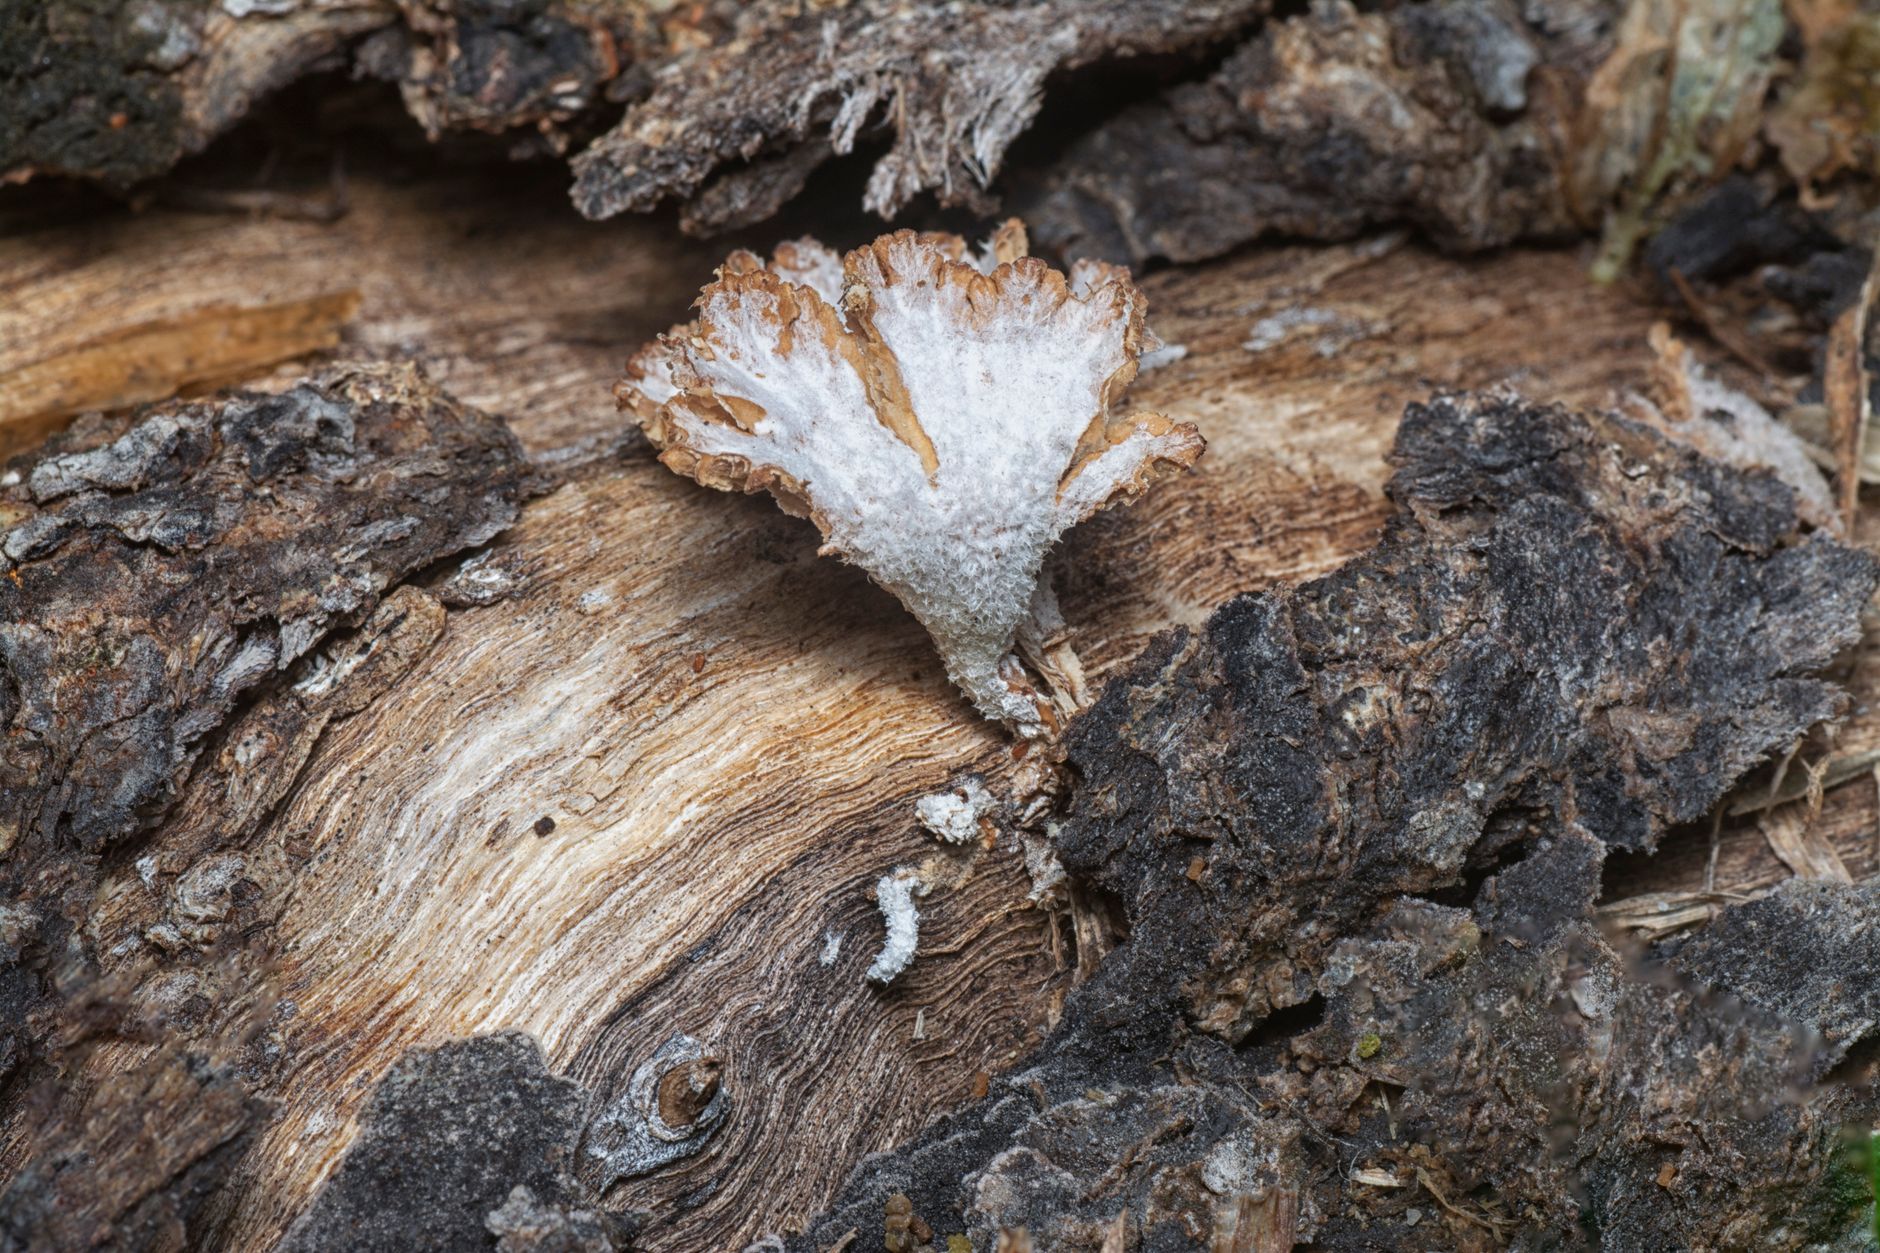
Place the inoculated bags in a dark, stable spot with a temperature between 70 and 75 degrees Fahrenheit. Abalone mushroom mycelium grows aggressively at this range and will fully colonize a 5-pound sawdust block in 14 to 21 days. Some fast strains finish in 10 to 12 days, while cooler temperatures slow things down. Check the bags every three to four days, but do not open them. Look through the filter patch or the clear plastic for signs of white, ropey mycelium spreading from the spawn points.
White mycelium is a good sign, but you must also watch for contamination. Green mold, black pin mold, or a yellow liquid known as wet spot bacteria are all red flags. Any bag that shows colors other than white, or that smells sour, should be removed outdoors and discarded. The mushroom contamination identification guide has photos and descriptions to help you distinguish healthy mycelium from unwanted invaders. Early detection prevents a single contaminated bag from spoiling your whole grow.
Patience is critical during colonization. The mycelium must digest the sawdust and bran fully before it will produce mushrooms. If you open a bag or cut a fruiting slit too early, the uncolonized substrate will be exposed to airborne contaminants. Wait until the entire bag is uniformly white, then wait another three to five days. This consolidation period lets the mycelium strengthen its network and store nutrients for fruiting.
After the consolidation period, the block should feel firm and smell pleasantly earthy, like fresh mushrooms. If it feels soft or smells off, do not fruit it. Small areas of yellow metabolite are normal, especially near the filter patch, but large pools of liquid or a rotting smell mean the block is done. Healthy blocks are dense and ready for the fruiting chamber.
- Set up a fruiting chamber and initiate fruiting
Once the blocks are fully colonized, it is time to trigger fruiting. The easiest fruiting chamber is a clear plastic storage tote with a few 2-inch holes drilled in the sides, layered with wet perlite or a humidity tray. You can also use a small grow tent or a shotgun fruiting chamber. The DIY mushroom fruiting chamber guide shows several designs that work well for oyster-type mushrooms. The goal is to create an environment with 85 to 95 percent humidity, fresh air, and indirect light.
Cut two or three 2-inch slits in the side of each grow bag, or open the top of the bag completely. Do not cut too many holes, because that can dry out the block. Place the bag in the fruiting chamber where it gets 12 hours of indirect sunlight or fluorescent light per day. Abalone mushrooms do not need direct sun, but they do need light to trigger normal cap formation. Too little light produces pale, elongated mushrooms.
Maintain temperature between 60 and 70 degrees Fahrenheit and humidity between 85 and 95 percent. A digital hygrometer helps you track both. Mist the walls of the chamber, not the mushroom block directly, to keep humidity up. If your room is dry, use a small humidifier or ultrasonic fogger. Check the humidity controller on Amazon to automate the process and prevent swings. Fresh air exchange is just as important as humidity, so open the chamber or run a small fan a few times per hour to push out carbon dioxide.
The shift from colonization to fruiting is a stress event for the mycelium. Lower temperature, increased oxygen, and light all signal that it is time to reproduce. If any of these signals are missing, the block may sit for weeks without pinning. Review the mushroom fruiting conditions guide to troubleshoot common fruiting failures.
- Manage pinning and fruit development
Small brown pins should appear within three to seven days after you cut the slits and adjust the environment. Pins look like tiny rounded bumps that quickly elongate into stem and cap shapes. Keep the humidity between 85 and 95 percent during this stage because pins are sensitive to drying. Mist the chamber walls two to three times a day if you are not using a humidifier. Do not spray the pins directly, as standing water can cause bacterial blotch and abort the mushrooms.
Fresh air exchange becomes even more important as the mushrooms grow. High carbon dioxide levels cause abalone mushrooms to develop long, thin stems and small caps. Aim for four to six air exchanges per hour. You can achieve this by opening the lid of your tote and fanning it with the lid for 30 seconds a few times a day. A small computer fan on a timer works well too. Watch the caps: if they start to flatten or curl upward, they are getting too much air or are ready to harvest.
Abalone mushrooms often form tight clusters of three to ten fruits. Let them grow until the caps are 2 to 5 inches across and the edges are still slightly curled under. At this point the texture is firm and the flavor is strongest. If you wait too long, the caps will flatten and drop a white spore print, which can make a mess and signal that the mushrooms are past prime. The oyster mushroom grow kit contamination causes article has additional tips on what can go wrong during fruiting.
Keep a simple log of the fruiting conditions and how the mushrooms respond. Note the temperature, humidity, and how many days from cut to pins. This data helps you adjust the next flush or the next grow. After the first harvest, you can often get a second flush from the same block by rehydrating it and returning it to the fruiting chamber.
- Harvest, store, and plan for a second flush
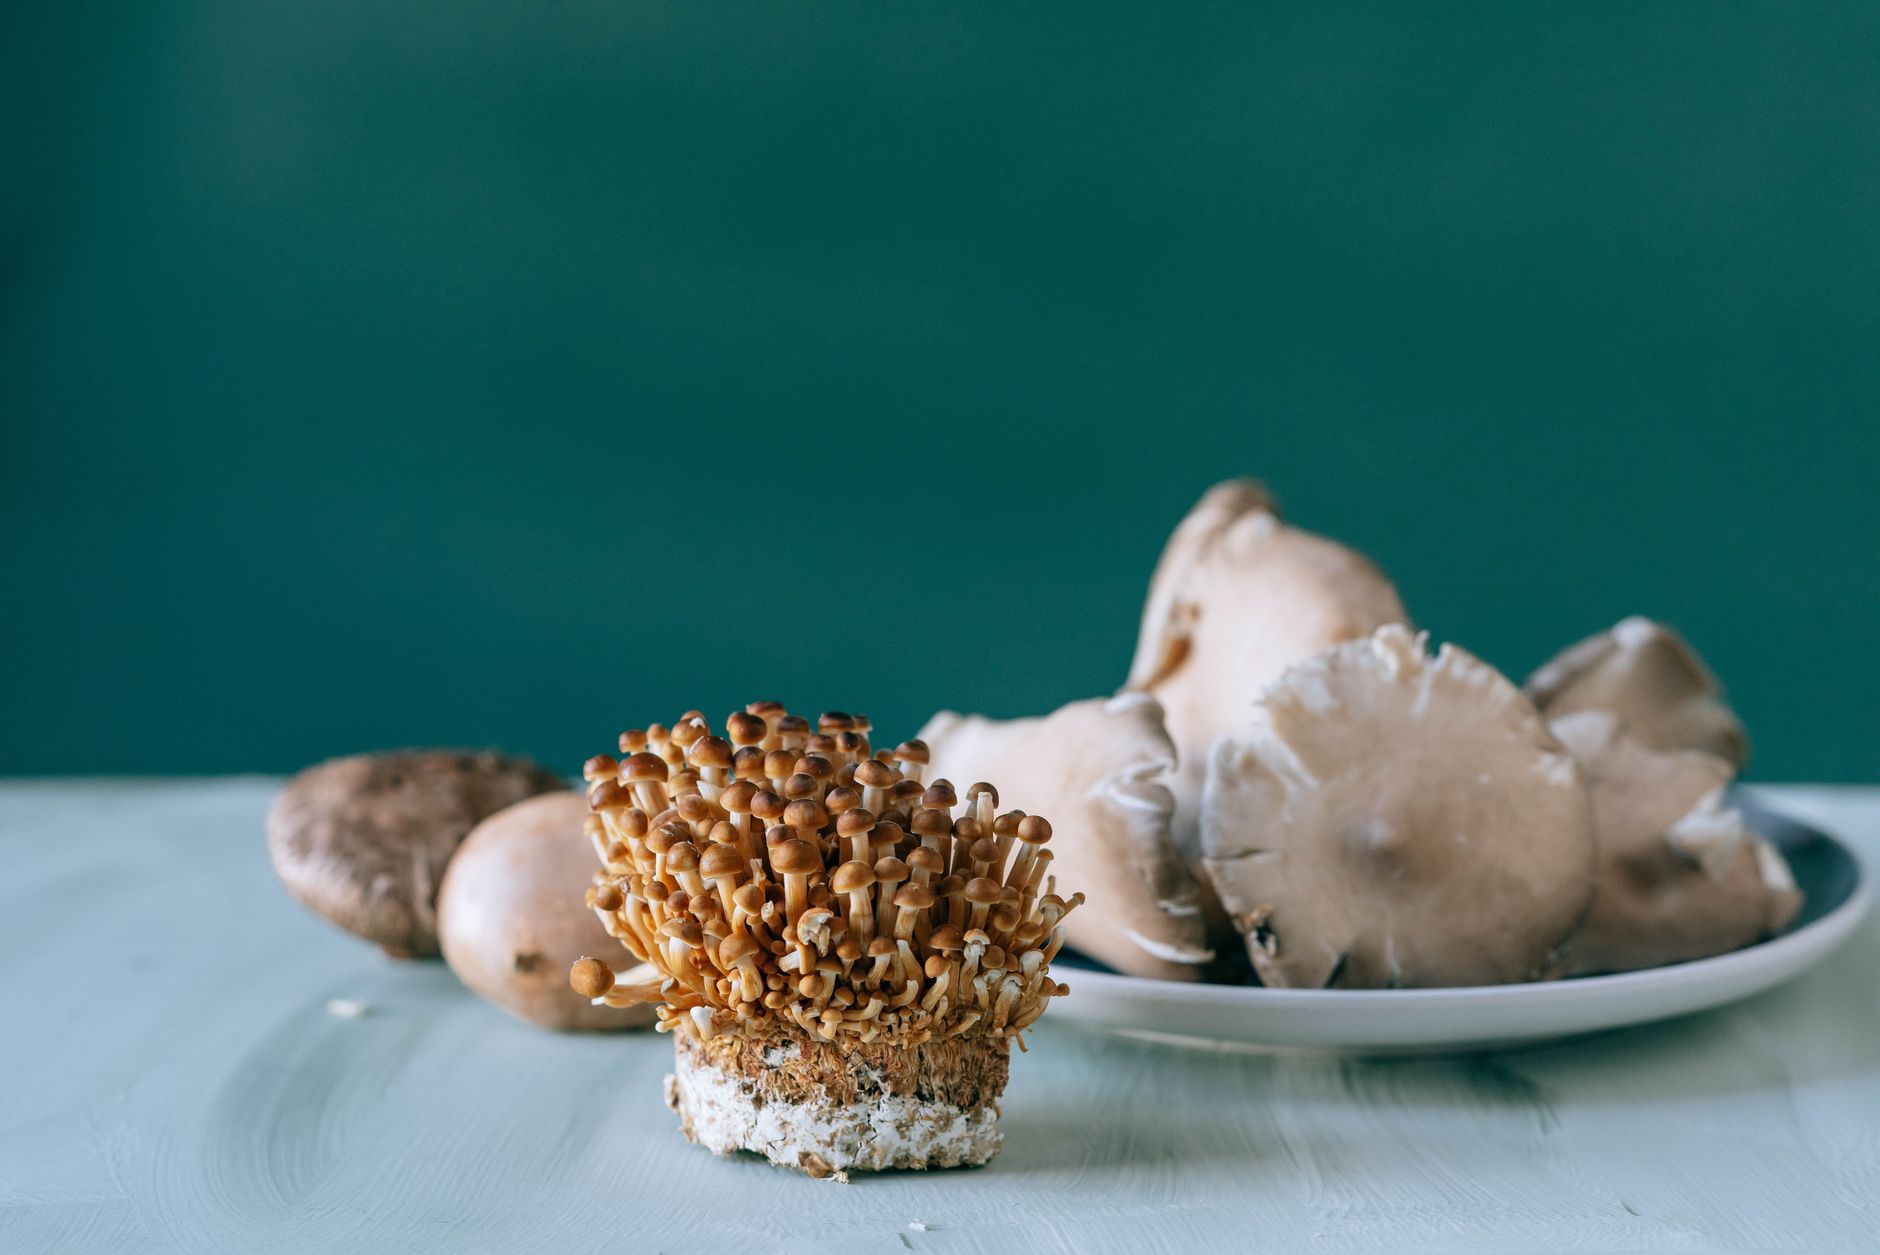
Harvest abalone mushrooms when the caps are still curled under at the edges and before they flatten out. Use a clean, sharp knife to cut the whole cluster at the base, as close to the substrate as possible. You can also twist the cluster off by hand, but cutting leaves a cleaner stump that is less likely to rot. Remove any small aborted pins or bits of substrate stuck to the mushrooms, then place the harvest in a paper bag.
Fresh abalone mushrooms store best in a paper bag in the refrigerator for up to one week. Do not store them in plastic, because trapped moisture speeds up decay. You can also slice and sauté them, then freeze the cooked mushrooms for later use. Drying works well too, but the dense texture becomes chewy when rehydrated. For the best flavor, cook abalone mushrooms with a little butter and garlic until the edges brown.
After the first flush, the block will be smaller and lighter. To encourage a second flush, soak the block in clean, cold water for 12 to 24 hours. Use a weight to keep it submerged. After soaking, return the block to the fruiting chamber and repeat the conditions from the first flush. Second flushes usually produce fewer, smaller mushrooms, but the effort is low. Some growers get a third flush, but yields drop sharply after the second.
Mushroom identification safety is serious. The abalone mushrooms you grow at home from known spawn are safe to eat, but wild mushrooms that look similar can be toxic. Never eat a wild mushroom unless an expert from the North American Mycological Association has positively identified it. Keep this rule in mind if you forage or show your homegrown mushrooms to friends.
- Troubleshoot common abalone mushroom growing problems
Even experienced growers run into problems. The most common issue is no pins after the fruiting period. First, check that the temperature actually dropped to the 60-to-70-degree range. If the room stayed warm, the mycelium may continue to grow vegetatively instead of fruiting. Second, check humidity. If the hygrometer reads below 80 percent, the surface of the block may be too dry to form pins. Third, increase fresh air exchange. A buildup of carbon dioxide can stop pinning altogether.
Contamination is another frequent challenge. Green trichoderma mold, black pin mold, or pink bacteria can show up during colonization or fruiting. If you see any colored patches or smell something sour, remove the bag outdoors and clean your fruiting chamber with a 10 percent bleach solution. The why your mushroom grow kit has contamination causes and how to fix it guide covers the same issues in detail and offers practical fixes.
Sometimes the mushrooms grow but look stretched or pale. This is almost always a sign of high carbon dioxide or too little light. Increase air exchanges and move the chamber closer to a window or add a grow light on a 12-hour timer. If the caps crack or the edges split, the humidity is too low. Raise the humidity by misting more often or adding a larger water reservoir inside the chamber. Small, skinny stems with tiny caps often mean the block is running out of nutrients or water, which is normal for a later flush.
Keep track of what you change and what works. Every grow space is different, and small adjustments to temperature, humidity, or air flow can have a big impact. If you want to compare abalone mushrooms with other species, the king oyster mushroom growing guide offers a similar meaty texture but different fruiting requirements. The lessons you learn from abalone will transfer to many other home mushroom projects.
Red Flags & Warnings
- 🚨 Never eat a wild mushroom unless an expert from the North American Mycological Association has positively identified it. Abalone mushrooms have lookalikes that can be toxic.
- 🚨 Do not open colonizing bags before the substrate is fully white. Opening early invites mold spores and can stall colonization for days.
- 🚨 Keep humidity above 80% or pins will abort. Use a hygrometer and mist walls, not mushroom caps, to avoid bacterial blotch.
- 🚨 High CO2 causes long stems and tiny caps. Provide fresh air exchange at least three to four times per hour during fruiting.
- 🚨 Contaminated substrate should be removed outdoors. Never try to cut out a small mold spot and save the rest, because spores have already spread.
- 🚨 Do not pressure cook sealed grow bags unless they are rated for high heat. Use filter patch bags or leave a vent to avoid bursting.
Frequently Asked Questions
What is an abalone mushroom?
Abalone mushroom, also called abalone oyster, is a meaty, warm-weather oyster relative. It has a thick stem and tan to brown cap. It grows on hardwood and produces clusters.
How long does abalone mushroom spawn take to colonize?
Colonization at 70, 75°F typically takes 14, 21 days for a 5-pound sawdust block. Some aggressive strains finish in 10 days. Wait an extra 3, 5 days after full colonization before fruiting.
What is the best substrate for abalone mushrooms?
A mix of 80% hardwood sawdust and 20% wheat bran works well. You can also use pasteurized straw, but sawdust gives denser fruits. Keep moisture at 60, 65%.
What temperature and humidity do abalone mushrooms need to fruit?
Fruiting temperature should be 60, 70°F with 85, 95% humidity. Provide 12 hours of indirect light daily and fresh air exchange four to six times per hour.
Why are my abalone mushrooms not pinning?
Common causes are lack of a temperature drop, low humidity, insufficient light, or high CO2. Ensure the fruiting chamber is moist, cool, and well ventilated. Pins usually appear within seven days.
Can I grow abalone mushrooms on straw?
Yes, abalone mushrooms grow on pasteurized straw, but yields may be lower and stems longer. Hardwood sawdust blocks produce meatier caps. Pasteurize straw at 160, 170°F for one hour.
What Should You Remember?
- Substrate recipe: Use 80% hardwood sawdust and 20% wheat bran with 60, 65% moisture for best results.
- Spawn rate: Mix grain spawn at 5, 10% of wet substrate weight. Higher rates colonize faster.
- Colonization: Keep bags at 70, 75°F for 14, 21 days until fully white, then wait 3, 5 days.
- Fruiting conditions: Maintain 60, 70°F, 85, 95% humidity, 12 hours of light, and fresh air exchange 4, 6 times per hour.
- Harvest timing: Pick clusters when caps curl under, before they flatten and drop spores.
- Contamination control: Work clean, pasteurize substrate, and never open bags before full colonization.
This article is for general information only. Mushroom identification and consumption carry health and safety risks , never eat a wild mushroom unless positively identified by an expert, and follow sterile technique and food-safety guidance for home grows.