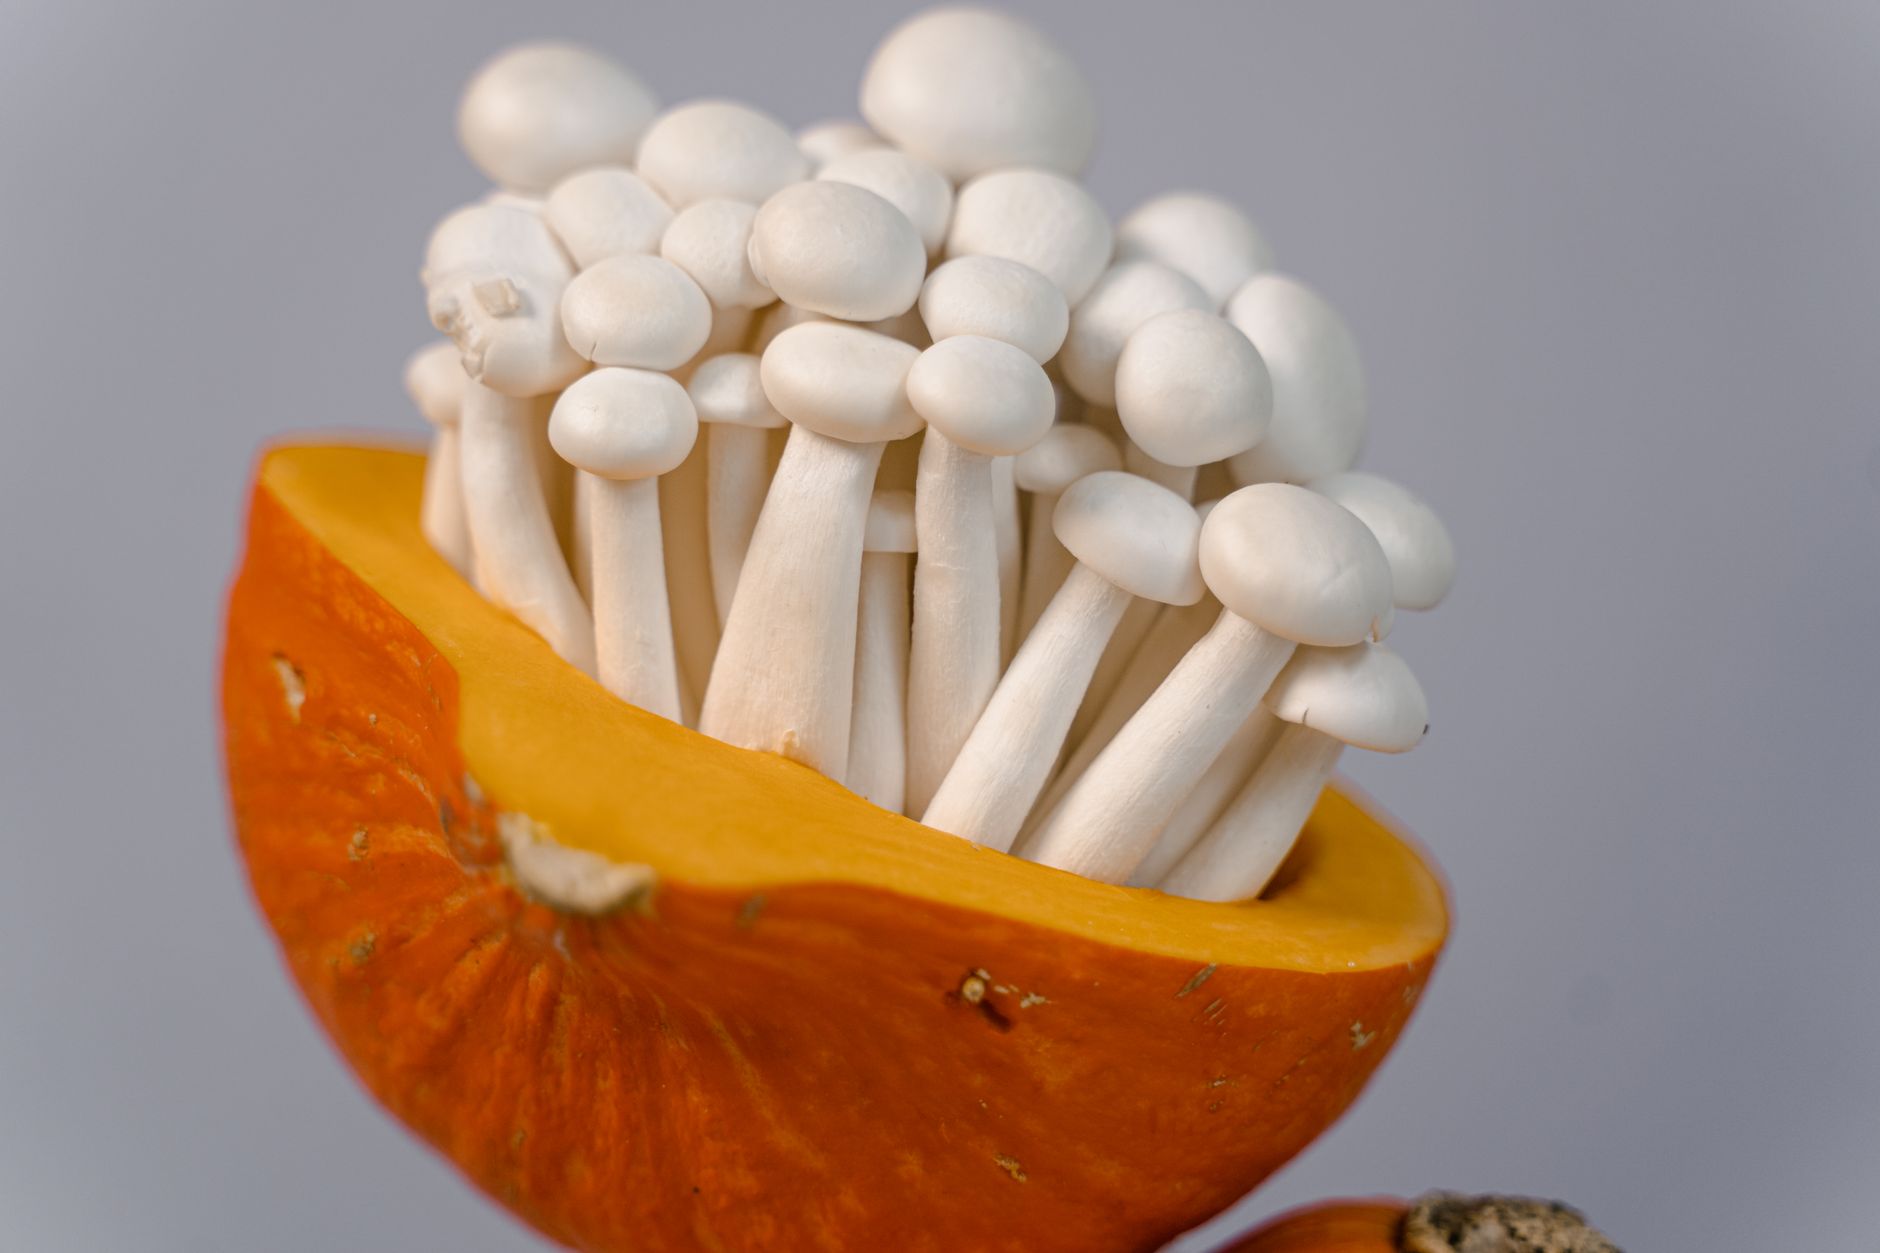
Beech mushrooms, also known as Shimeji, are prized in Japanese and European cooking for their firm texture, nutty flavor, and tight clusters. They grow naturally on hardwood trees, which tells you a lot about how to cultivate them at home. If you have grown oyster mushrooms or lion’s mane before, you already have many of the skills needed. This guide covers brown beech and white beech forms. For a quicker start, see best mushroom grow kits in 2026 to compare ready-to-fruit options. Still, growing from spawn on your own substrate is satisfying and gives you more control over yield.
Beech mushrooms require a supplemented hardwood sawdust substrate, a warm colonization phase, and a cool fruiting phase. The key measurements are specific: 80 percent hardwood sawdust, 10 percent wheat bran, and 10 percent soybean hulls, hydrated to about 60 percent moisture. Colonize the block at 70 to 75 degrees Fahrenheit for 14 to 21 days, then fruit at 55 to 65 degrees Fahrenheit with 85 to 95 percent humidity. Understanding why these numbers matter will help you troubleshoot when conditions drift. You can read best mushroom substrate guide for more on substrate science before you mix your first batch.
This guide assumes you are comfortable with basic sterile technique or willing to learn it. Each step builds on the previous one, from selecting a culture to harvesting full clusters. You will see links to related guides for making spawn, building a fruiting chamber, and identifying contamination. Follow the measurements closely, but watch your bags and make small adjustments based on how the mycelium responds. With clean spawn and careful conditions, you can produce dense clusters of beech mushrooms in your own kitchen, closet, or basement.
What You’ll Need
- Pressure cooker or autoclave
- Autoclavable mushroom grow bags with filter patches
- Grain spawn or liquid culture
- Hardwood sawdust, wheat bran, soybean hulls
- Digital humidity controller and fogger
- Spray bottle and clean misting water
- Still air box or laminar flow hood
How Do You Grow Beech Mushroom Shimeji at Home?
- Choose a clean beech mushroom culture or grain spawn
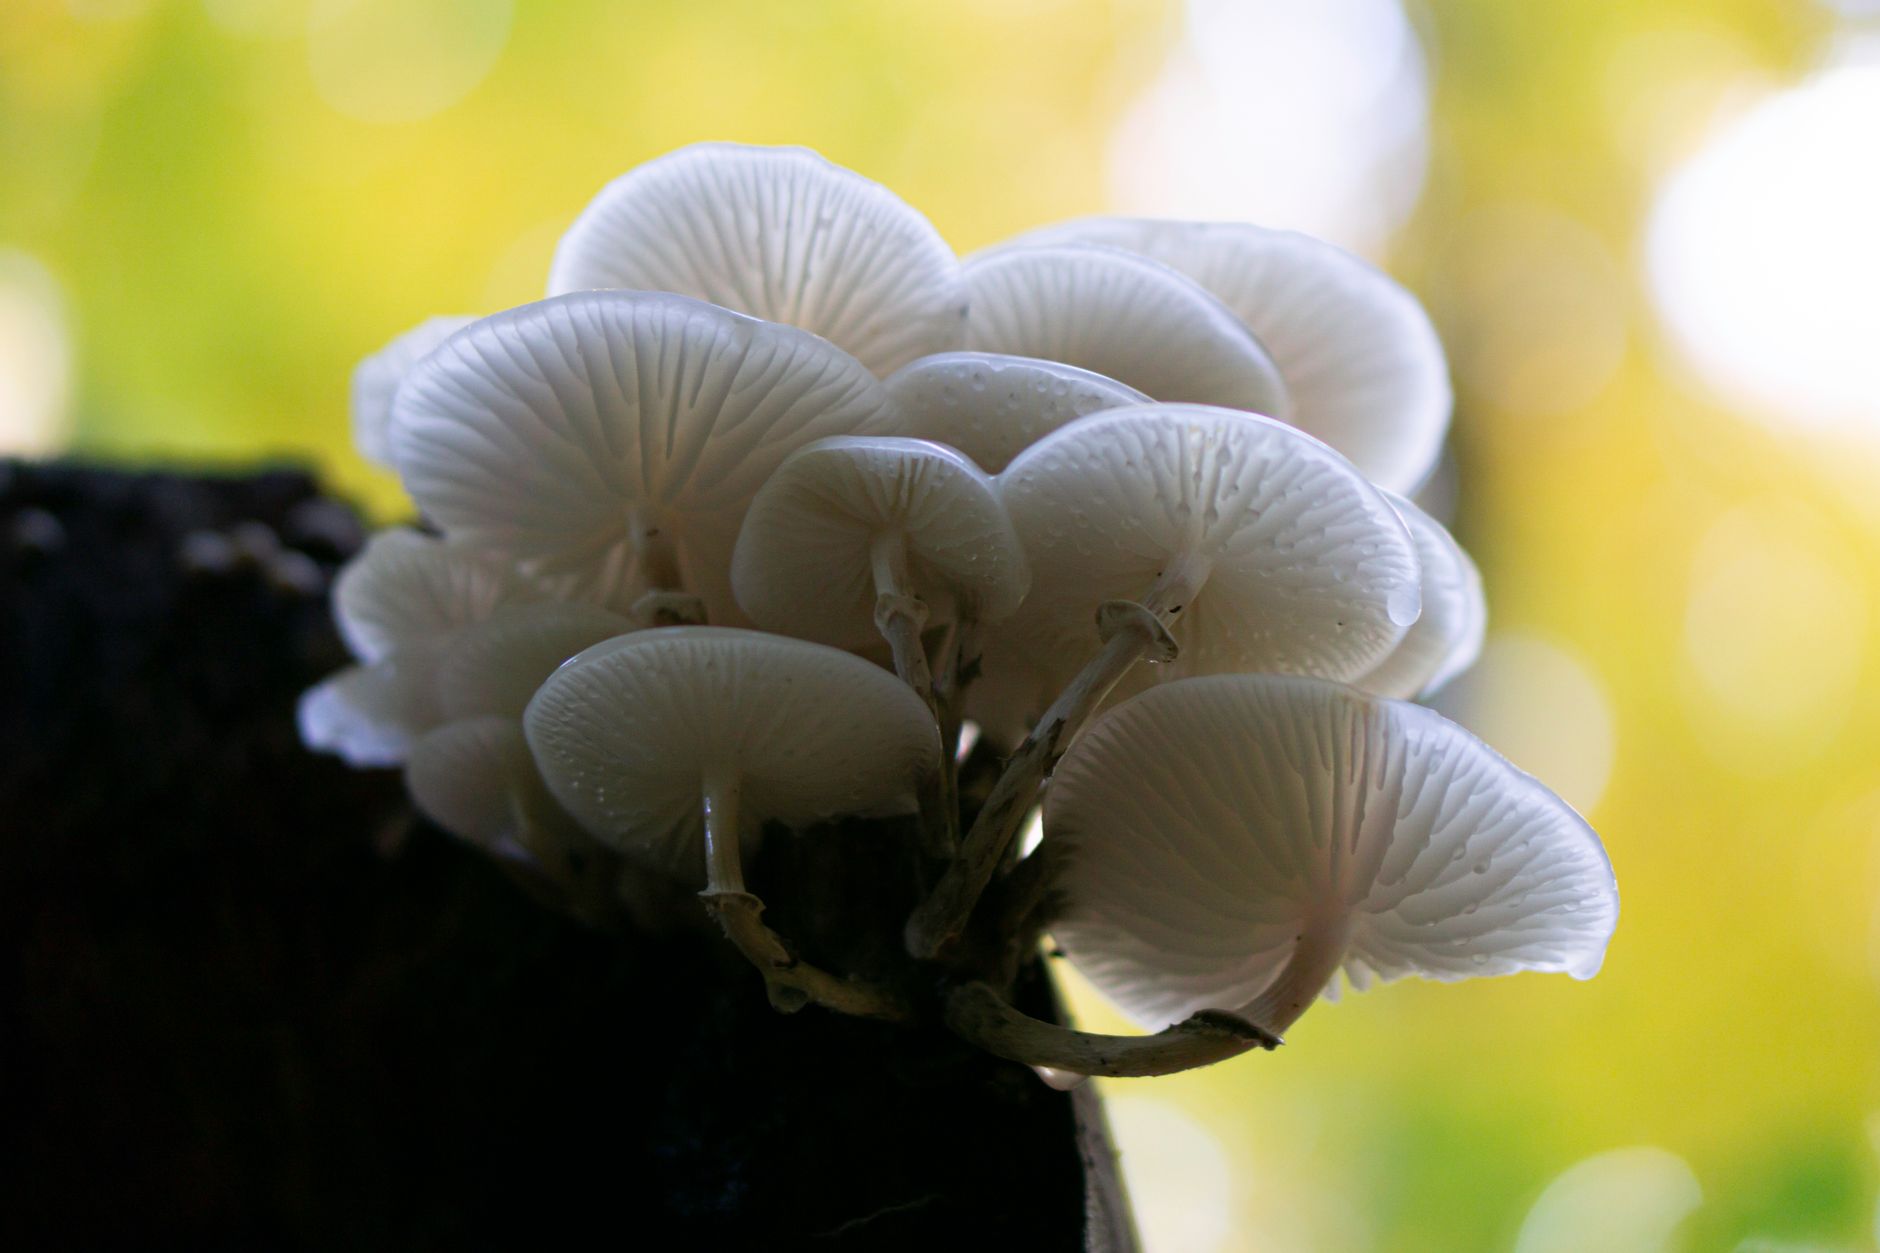
Starting with a clean, vigorous culture is the foundation for any successful beech mushroom grow. Beech mushrooms are Hypsizygus tessulatus, and commercial growers separate them into two forms: brown beech (Buna-shimeji) and white beech (Bunapi-shimeji). Brown beech has a nuttier flavor and slightly darker caps, while white beech is milder and more commonly sold in clamshells. Either form grows under the same conditions. You can obtain a liquid culture, agar plate, or colonized grain spawn from a reputable supplier. If you want a fast start, a ready-to-fruit block is another path, and best mushroom grow kits in 2026 reviews several options that include beech mushrooms or similar wood-loving species.
Once you have a culture, expand it into grain spawn before moving to sawdust substrate. Rye grain, millet, and sorghum all work well for beech mushrooms because they provide a large number of inoculation points. If you have not made spawn before, review how to make grain spawn for a full walkthrough. The process requires sterile technique, a pressure cooker or autoclave, and patience. A one-quart jar of fully colonized grain spawn can inoculate three to five pounds of supplemented sawdust. Make several extra jars in case one contaminates during expansion.
Common mistakes at this stage include using old cultures, skipping agar testing, and accepting green or black growth in spawn. A clean beech mushroom culture smells earthy and mushroomy, never sour or sweet. Label every jar with strain and date so you can track how quickly each one colonizes. Slow growth may mean the culture is weak or the grain is too dry. This step connects directly to substrate preparation because healthy spawn cannot fix a poorly made substrate. Start with clean spawn and everything downstream becomes more predictable.
- Prepare a supplemented hardwood sawdust substrate
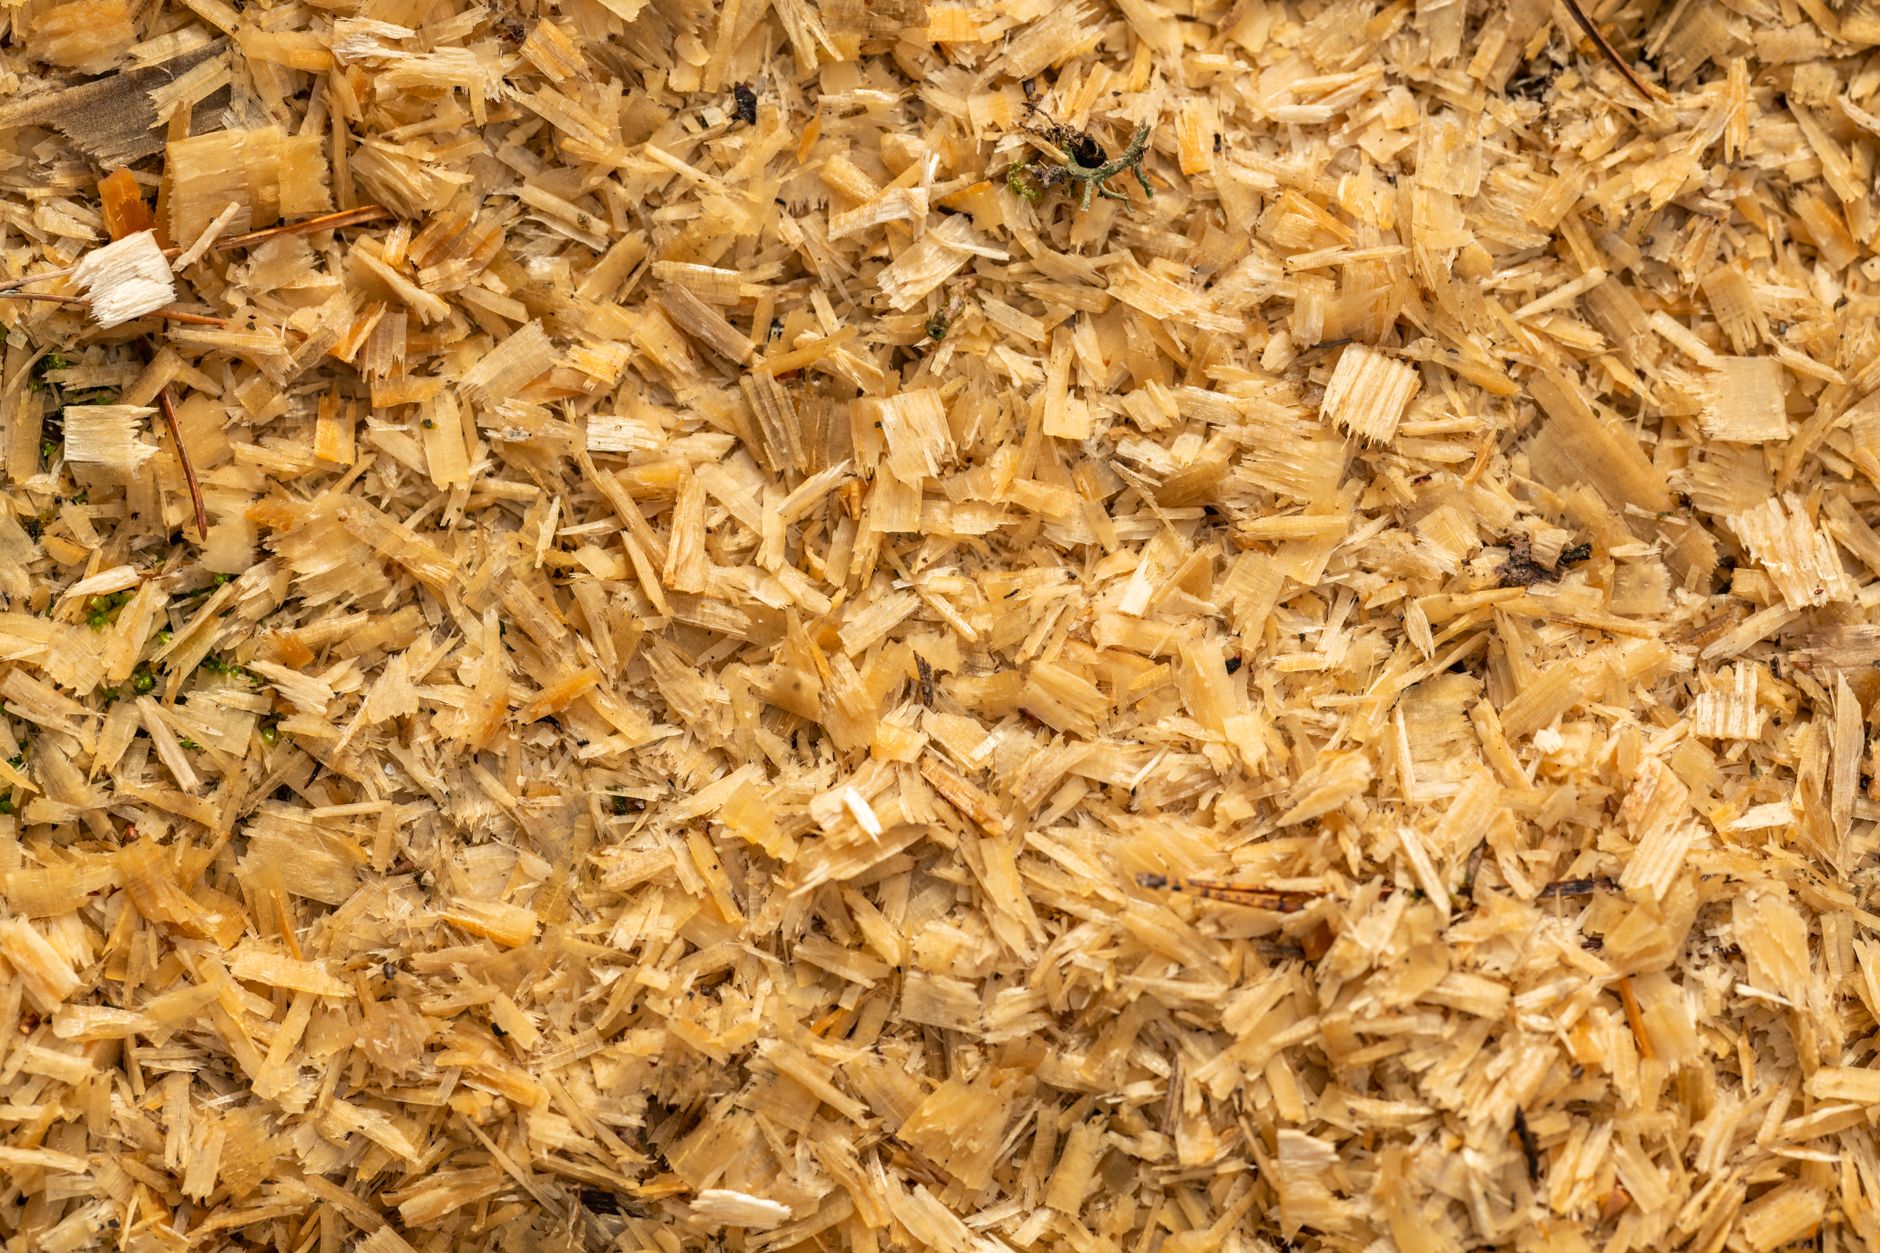
Beech mushrooms are primary wood decomposers, so they need a lignocellulose-rich substrate. A reliable recipe by dry weight is 80 percent hardwood sawdust, 10 percent wheat bran, and 10 percent soybean hulls. Hardwood sawdust from oak, beech, maple, or birch works best. Avoid softwood sawdust from pine or cedar because the resins and phenols can inhibit mycelial growth. Add water slowly and mix until the substrate reaches roughly 60 percent moisture content. A simple squeeze test: a handful should clump together but release only a few drops of water when squeezed hard. This recipe balances nutrition and structure, and best mushroom substrate guide explains why different wood types and supplements change yields.
Mix the dry ingredients first, then add water in stages. Wheat bran and soybean hulls are nutritious but they also make the substrate more prone to contamination if not sterilized properly. Use a clean tub or cement mixer for larger batches. The final texture should feel damp but not muddy. If you use hardwood sawdust pellets, they expand when hydrated, so add water and let them absorb for 30 minutes before checking moisture. You can find hardwood sawdust pellets on Amazon if local feed stores do not carry them. Consistent moisture helps the mycelium colonize evenly and produce dense clusters later.
Once hydrated, load the substrate into autoclavable mushroom grow bags equipped with a filter patch. Filter patches allow gas exchange while keeping contaminants out. Do not overpack: each bag should have some headspace so you can mix in spawn later. Fold the bag top over and secure it with a rubber band or impulse sealer before sterilization. This step matters because uneven moisture or poorly mixed supplements create pockets where bacteria thrive. A well-mixed batch gives uniform mycelial growth and reduces the chance of stalling halfway through colonization.
- Sterilize the supplemented sawdust substrate
Supplemented hardwood sawdust cannot be pasteurized the way straw can. The high nutrient content from bran and soybean hulls means you must sterilize the substrate to kill bacterial endospores and fungal spores. Research from Penn State Extension notes that supplemented substrates require true sterilization at 15 PSI and 250 degrees Fahrenheit for at least 90 minutes. If you are using an autoclave or pressure cooker, maintain the full pressure for the entire cycle. Larger bags may need 120 minutes. A typical 23-quart pressure cooker can hold two to four small bags, depending on size. Always check seals and pressure gauges before starting.
After sterilization, let the bags cool inside the pressure cooker or a clean still-air environment for at least eight hours or overnight. Moving hot bags into open air creates a vacuum that pulls unfiltered air and contaminants into the substrate. The filter patch helps but is not perfect during extreme temperature swings. Use clean gloves and wipe surfaces with 70 percent alcohol before handling. mushroom contamination identification guide can help you spot early signs of green mold, wet spot bacteria, or cobweb before they spread. If you do not have a pressure cooker, an atmospheric steam setup can work but it often requires 8 to 10 hours and is less reliable for supplemented formulations.
The bags themselves matter as much as the sterilization time. Use polypropylene bags rated for high heat, not polyethylene oven bags that can melt. Check mushroom grow bags on Amazon for autoclavable options with filter patches. Inspect each bag after cooling for tears or gaps. If a bag stays soft and pliable after a proper cycle, it is ready for inoculation. Rushing this step is the most common cause of contamination in beech mushroom grows. Take the extra time to sterilize fully and cool completely.
- Inoculate the cooled substrate with grain spawn
Inoculate the cooled substrate with clean grain spawn in the cleanest space you can manage. A still air box or laminar flow hood dramatically reduces the number of airborne contaminants that land in the bag. Use a spawn rate between 5 and 10 percent of the wet substrate weight. For a 3-pound bag, that is roughly 2.4 to 4.8 ounces of grain spawn. Break the spawn into individual kernels inside its jar, then pour it into the substrate bag. Work quickly but carefully. Keep the filter patch facing away from your hands and avoid touching the inside of the bag.
After adding spawn, close the bag and gently shake or knead it to distribute the grains throughout the sawdust. This increases the number of inoculation points and speeds colonization. Seal the top with an impulse sealer or fold it over with strong clips. Do not use tape over the filter patch. Label each bag with the date and strain. In a clean environment, this step takes only a few minutes per bag. The more evenly you mix, the sooner the beech mushroom mycelium will form a strong network.
Think of this as the point where your clean spawn and sterile substrate finally meet. If either one carries hidden contamination, it will show up within days. That is why keeping a few control jars or bags is useful. Watch for any growth that is not white or off-white. Beech mushroom mycelium is usually white with a slightly fine, fluffy texture. Move the inoculated bags to your incubation area promptly. Delays at room temperature can allow competitor molds to establish before the mycelium recovers from being broken up.
- Incubate bags in the dark for spawn run
Place the sealed bags in a dark, warm area for spawn run. Beech mushroom mycelium colonizes best at 70 to 75 degrees Fahrenheit. At this temperature, a 3-pound bag usually fully colonizes in 14 to 21 days. The exact time depends on spawn rate, moisture, and genetics. Do not open the bags during this phase. The filter patch provides gas exchange, and opening the bag breaks the sterile barrier. Keep the bags off the floor and away from direct light, which can trigger premature pinning and make the mycelium use energy before full colonization.
Check the bags every few days through the clear plastic. You should see white mycelium expanding from each grain kernel. If you notice green, black, pink, or orange growth, isolate the bag immediately and dispose of it outside. A sour smell when the bag is sealed is often wet spot bacteria. The mushroom contamination identification guide shows what common contaminants look like on sawdust blocks. Healthy beech mushroom spawn run looks clean, white, and evenly distributed. Some brown metabolites may form near the bottom, which is normal for older mycelium, but foul odors are not.
Once the bag looks like a solid white block and feels firm, give it a few extra days to consolidate. This delay lets the mycelium digest nutrients deeper inside the block. At the end of spawn run, some beech mushroom strains may begin to form tiny pins near the filter patch. That is your signal to move to fruiting. If you need more detail on what to change, mushroom fruiting conditions guide covers the transition from spawn run to fruiting for several species. Focus on darkness and stable warmth now, then adjust the environment for pins.
- Move the block into fruiting conditions
To initiate fruiting, move the fully colonized beech mushroom block into a fruiting chamber with controlled temperature, humidity, and light. Beech mushrooms fruit best at 55 to 65 degrees Fahrenheit. Many growers give the block a short cold shock by placing it at 50 to 55 degrees for 12 to 24 hours before the main fruiting phase. This is not strictly required but can encourage more even pins. Cut or open the top of the bag, leaving the sides intact so the block holds its shape. Humidity should stay between 85 and 95 percent. Use a diy mushroom fruiting chamber guide to build or choose a chamber that fits your space.
Light is also important. Beech mushrooms form strong clusters when given 12 hours of light per day at 500 to 1,000 lux. A simple LED or T5 fixture works. Light does not feed the mycelium the way it feeds plants, but it triggers proper cap formation and color. Provide fresh air exchange several times per hour to prevent carbon dioxide buildup. If CO2 is too high, stems stretch and caps stay small. A small fan on a timer or manual venting twice a day can help. A digital humidity controller on Amazon paired with a fogger makes it much easier to keep the range stable.
Pins typically appear within 7 to 14 days after moving to fruiting conditions. Watch the block daily. Mist the air around the block rather than spraying water directly onto tiny pins, which can cause them to abort. If the surface starts to dry, humidity is too low. If droplets pool on the block, reduce misting. Common mistakes include opening the bag too early, dropping the temperature too fast, and letting humidity swing wildly. Consistent conditions produce tight clusters with thick stems and rounded caps. Once pins form, they will mature quickly, so prepare for harvest.
- Harvest clusters and prepare for later flushes
Harvest beech mushrooms when the caps are about 1 to 2 centimeters across and still slightly convex. The stems should be thick and firm. If you wait until the caps flatten and release spores, the texture becomes tough and the delicate flavor fades. To harvest, grasp the entire cluster at the base near the substrate and twist gently or cut with a clean knife. Beech mushrooms grow in tight clusters, so harvesting as a whole clump is easier and keeps the block clean. The first flush from a 3-pound block can produce 6 to 12 ounces of mushrooms, depending on strain and conditions.
After harvest, clean any stumps or aborted pins from the block surface. This prevents bacteria from rotting the next flush. Soak the block in cold water for two to four hours, drain thoroughly, and return it to fruiting conditions. The second flush usually appears in 14 to 21 days and is smaller than the first. You can often get two to three flushes before the block loses vigor. Between flushes, keep humidity lower for a few days to let the surface recover. If contamination appears later, discard the block rather than trying to save a weak flush.
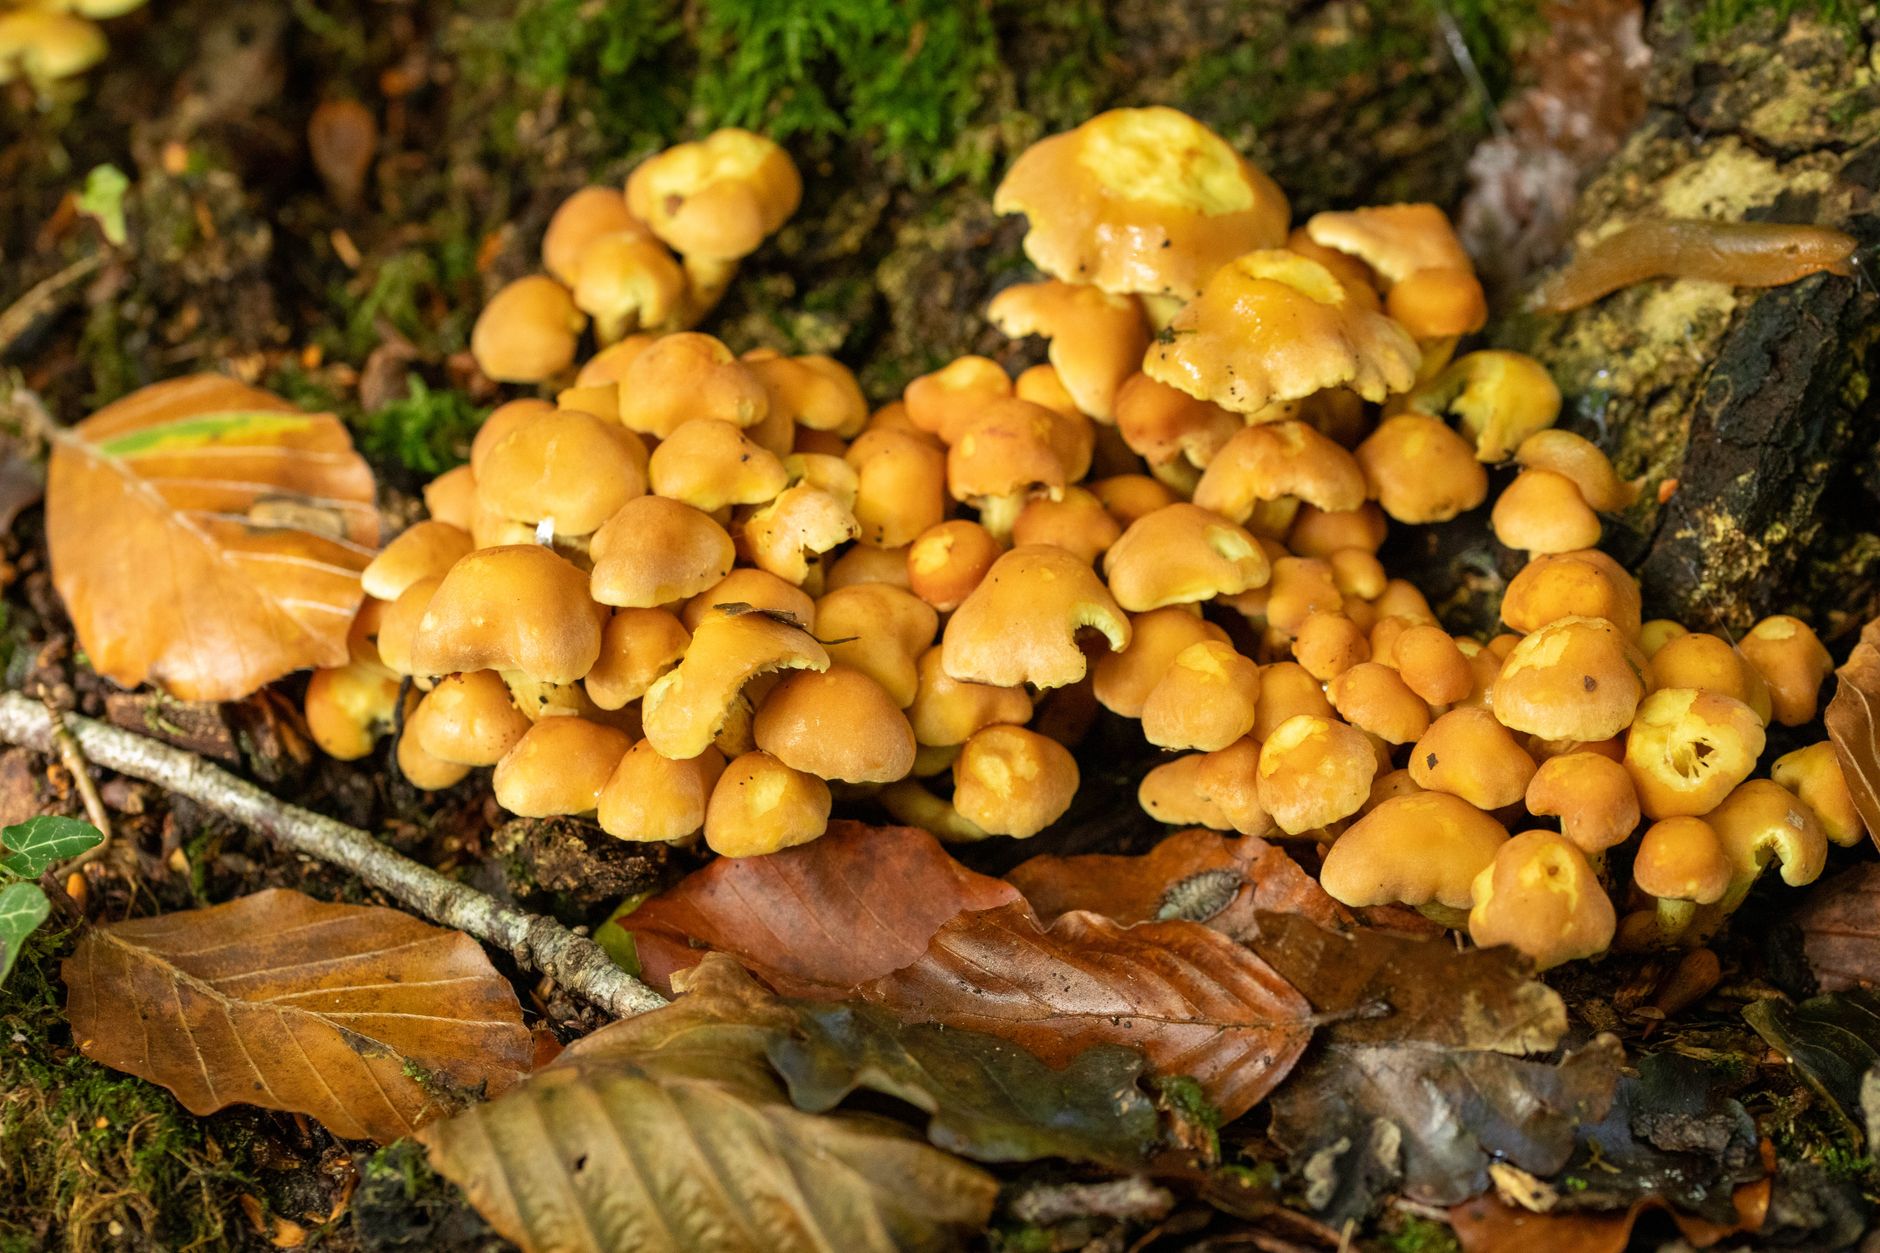
Store harvested beech mushrooms in a paper bag in the refrigerator for up to five to seven days. Do not wash them until just before cooking. Use a damp cloth or soft brush to remove substrate bits. Beech mushrooms should always be cooked before eating because raw forms can be bitter and hard to digest. This guide focuses on cultivated indoor blocks, but if you ever collect wild mushrooms that resemble beech mushrooms, do not eat them unless an expert such as the North American Mycological Association has positively identified them. Safe identification is a separate skill from indoor cultivation.
Red Flags & Warnings
- 🚨 Never eat wild mushrooms unless an expert from North American Mycological Association or a certified mycologist positively identifies them. Cultivated beech mushrooms are safe when cooked, but wild look-alikes can be toxic.
- 🚨 Do not skip sterilization for supplemented sawdust. The 80/10/10 recipe is nutrient dense, and pasteurization alone may leave bacterial endospores that destroy your grow. Sterilize at 15 PSI for 90 minutes.
- 🚨 If you see green, black, orange, or pink growth during spawn run, isolate and discard the bag immediately. Healthy beech mushroom mycelium is white. Check mushroom contamination identification guide before taking action.
- 🚨 Keep spawning bags in the dark at 70 to 75 degrees Fahrenheit. Early light exposure can cause premature pinning and reduce even colonization. Light only becomes helpful once you enter the fruiting phase.
- 🚨 Avoid soaking the substrate before colonization is complete. Wet spots from overhydrated substrate or pooling moisture can create anaerobic conditions that invite bacteria. Maintain moisture at about 60 percent.
- 🚨 Do not spray water directly onto beech mushroom pins. Fine mist around the block is safer. Direct sprays can cause pins to abort or develop bacterial blotch.
Frequently Asked Questions
What is the difference between brown beech and white beech mushrooms?
Both are Hypsizygus tessulatus. Brown beech, or Buna-shimeji, has a nuttier, earthier flavor and tan caps. White beech, or Bunapi-shimeji, is milder and often less bitter. They grow under the same conditions and can be treated the same way.
Can I grow beech mushrooms from a ready-to-fruit kit?
Yes. Many grow kits include a colonized beech mushroom block. You cut the bag, keep humidity high around 85 to 95 percent, and maintain 55 to 65 degrees Fahrenheit. Kits are a good way to learn fruiting before making your own substrate. See best mushroom grow kits in 2026 for options.
How long does a beech mushroom grow take from spawn to harvest?
Expect 14 to 21 days for spawn run and another 7 to 14 days for pinning after fruiting conditions begin. From inoculation to first harvest usually takes 4 to 6 weeks. A second flush adds another 2 to 3 weeks.
Why are my beech mushrooms growing tall, thin, and pale?
That usually means too little fresh air and too much carbon dioxide. Increase air exchange in your fruiting chamber and provide 12 hours of light per day at 500 to 1,000 lux. Keep humidity in the 85 to 95 percent range without letting the surface get soggy.
Can I use straw or coffee grounds for beech mushrooms?
Beech mushrooms are wood decomposers, not straw or compost lovers. A supplemented hardwood sawdust substrate works best. Straw pasteurization is suitable for some oyster mushrooms but not for beech mushrooms. Use the 80/10/10 sawdust recipe for dependable yields.
How many flushes can I get from one beech mushroom block?
Most home growers get two to three flushes. The first flush is the largest, and the later flushes become smaller. After each harvest, soak the block in cold water for two to four hours and return it to fruiting conditions.
What Should You Remember?
- Substrate: Use an 80 percent hardwood sawdust, 10 percent wheat bran, and 10 percent soybean hull mix hydrated to 60 percent moisture.
- Spawn run: Colonize bags in darkness at 70 to 75 degrees Fahrenheit for 14 to 21 days.
- Fruiting: Trigger pins at 55 to 65 degrees Fahrenheit with 85 to 95 percent humidity and fresh air.
- Light: Give blocks 12 hours of low light per day at 500 to 1,000 lux for solid cap color and cluster formation.
- Harvest: Cut or twist whole clusters when caps are 1 to 2 centimeters across and still slightly convex.
- Contamination: Sterilize supplemented substrate and inspect spawn daily. Discard any bag with green, black, or sour-smelling growth.
This article is for general information only. Mushroom identification and consumption carry health and safety risks , never eat a wild mushroom unless positively identified by an expert, and follow sterile technique and food-safety guidance for home grows.