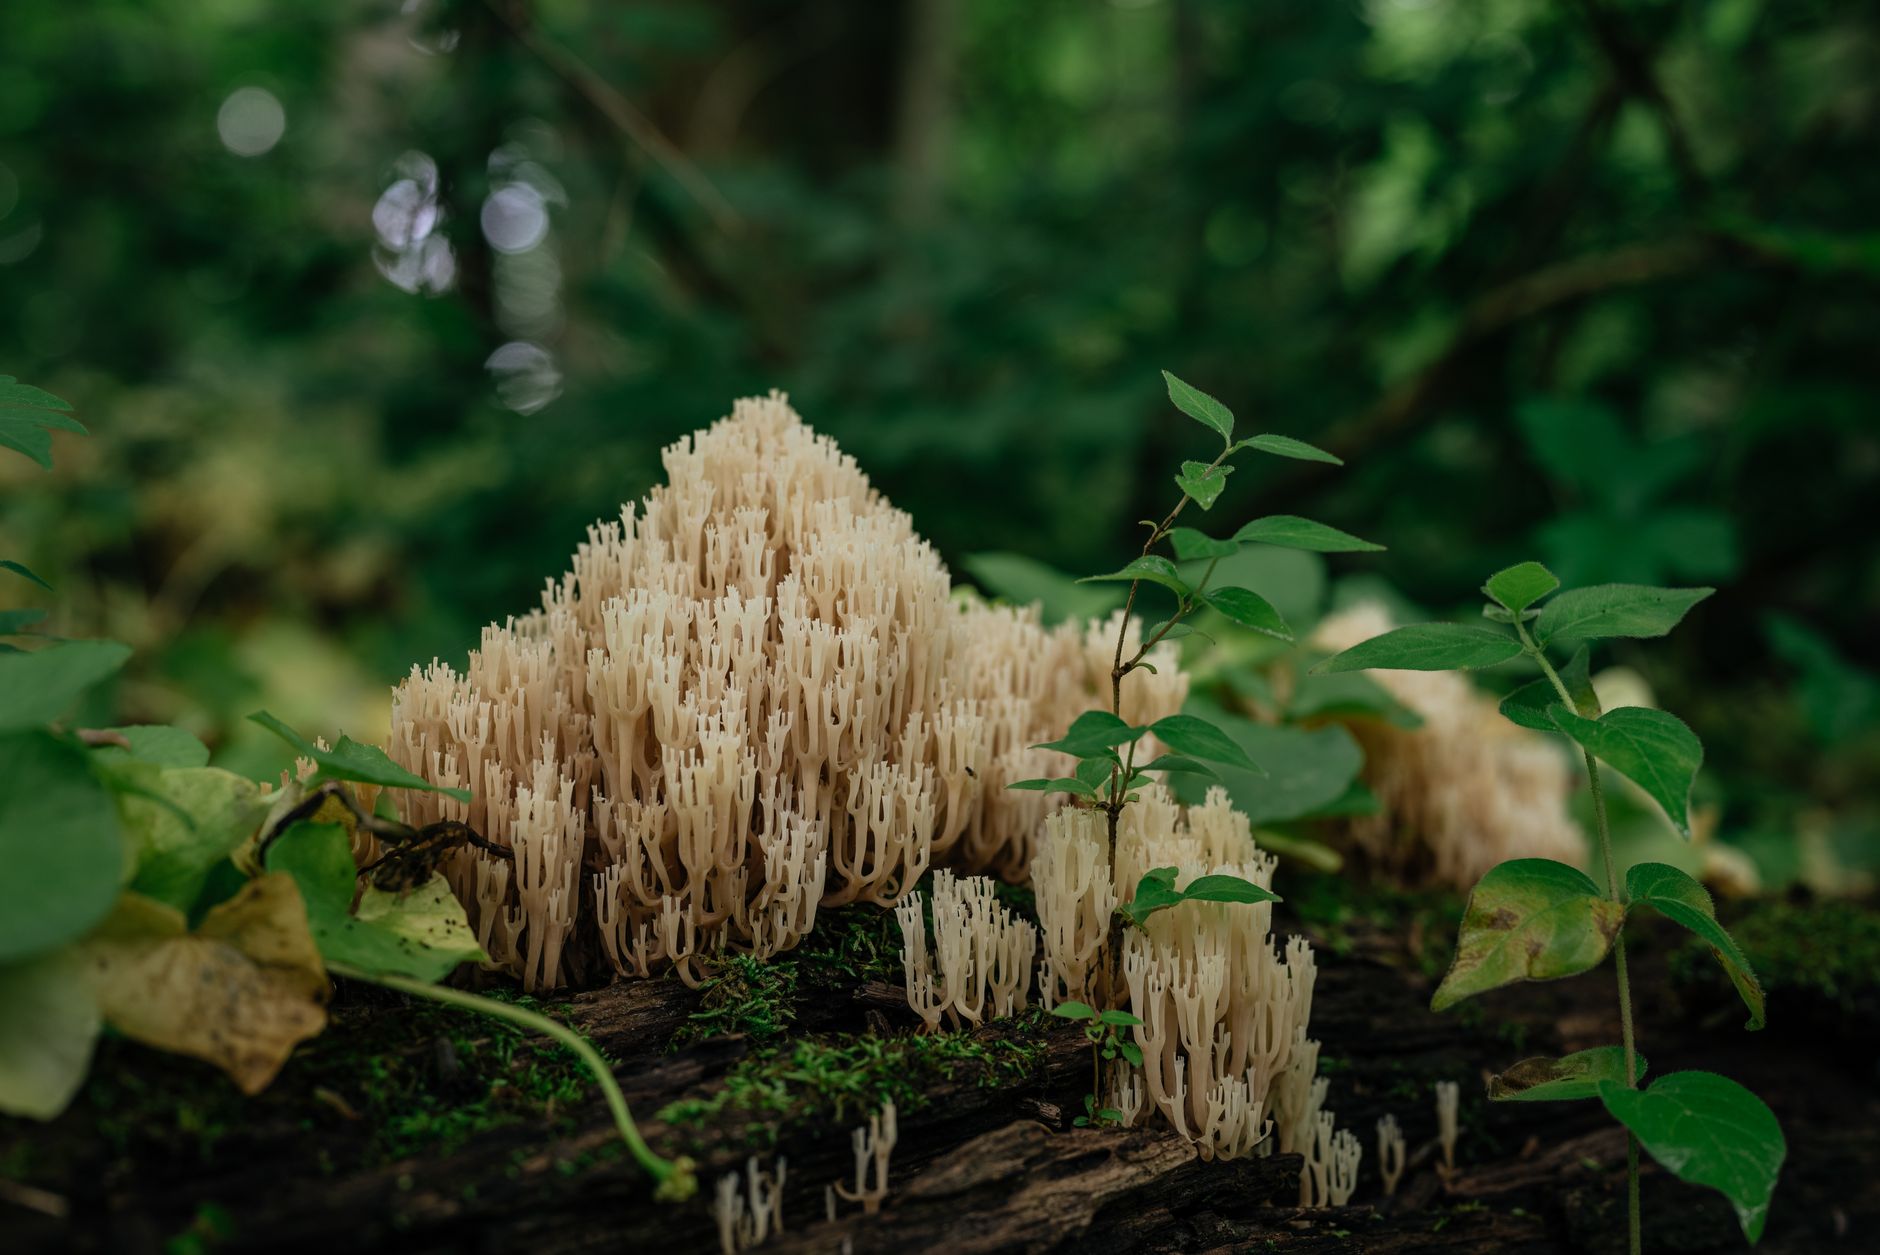
Cauliflower mushroom, or Sparassis crispa, is one of the most striking edible fungi you can grow at home. It forms a large, ruffled, pale mass that looks like a pile of egg noodles or a brain. Home growers prize its mild, nutty flavor and tender, slightly crisp texture. This species is not a beginner mushroom, though. It colonizes slowly and demands a clean, high-humidity fruiting space. Before you invest in supplies, read our best mushroom substrate guide because the base material matters more than most first-timers expect.
Cauliflower mushroom is a weak parasite and saprobe on conifers, especially pines. That means it feeds on both living and dead wood. In cultivation, it behaves like other wood-loving species but with longer timelines. You will need a pressure sterilizer, a reliable spawn source, and a way to hold humidity above 90 percent during fruiting. The reward is a unique mushroom that holds its texture in soups, stir-fries, and sauces. This guide walks you through spawn selection, substrate mixing, sterilization, inoculation, incubation, fruiting, harvest, and common fixes.
One caution applies to anyone who plans to clone a wild specimen. The North American Mycological Association (NAMA) stresses positive identification before eating or cloning any wild mushroom. Several pale, branched or ruffled fungi share the same habitat and can make you sick. For this reason, most home growers start with lab-raised liquid culture or grain spawn from a supplier. Cultivated spawn removes the risk of misidentification and gives the fastest start. Still, always practice clean technique because this mushroom punishes sloppy work.
What You’ll Need
- Pressure canner or cooker that reaches 15 PSI
- Filter patch mushroom grow bags or quart jars
- Hardwood sawdust or pellets
- Wheat bran
- Gypsum
- Cauliflower mushroom grain spawn or liquid culture
- Still air box or laminar flow hood
- Thermometer and hygrometer
- Humidity controller and fine mist humidifier
- Sharp knife
How Do You Grow Cauliflower Mushroom at Home?
- Choose Healthy Cauliflower Mushroom Spawn
Start with healthy spawn from a trusted supplier. Cauliflower mushroom is not as common as oyster or shiitake, so look for Sparassis crispa or Sparassis latifolia liquid culture, agar wedge, or grain spawn. Healthy mycelium looks creamy white with fine, branching strands. If you see green, black, or slimy spots, do not use it. If you plan to clone a wild specimen, take a small piece of clean interior tissue onto agar. This cloning route takes extra weeks and often carries hidden contaminants.
Why does clean spawn matter so much? Cauliflower mushroom grows slowly, especially in the first two weeks. Any mold or bacteria in the spawn will outrun it and ruin the block. Always expand your culture on rye grain or millet if you have some experience. Our how to make grain spawn guide covers the process in detail. A 5 percent spawn rate by weight works for supplemented sawdust, but slightly more spawn shortens colonization time.
A common mistake is buying dried cauliflower mushrooms or mycelium supplements and hoping they will grow. Dried tissue is dead. You need living mycelium. Order from a supplier that specializes in mushroom cultures, and plan for the spawn to arrive right before you are ready to inoculate. If you cannot inoculate right away, store grain spawn in the refrigerator for up to four weeks. Do not freeze it. This step connects to substrate preparation because strong spawn alone cannot fix a bad substrate recipe.
- Mix a Supplemented Hardwood Substrate
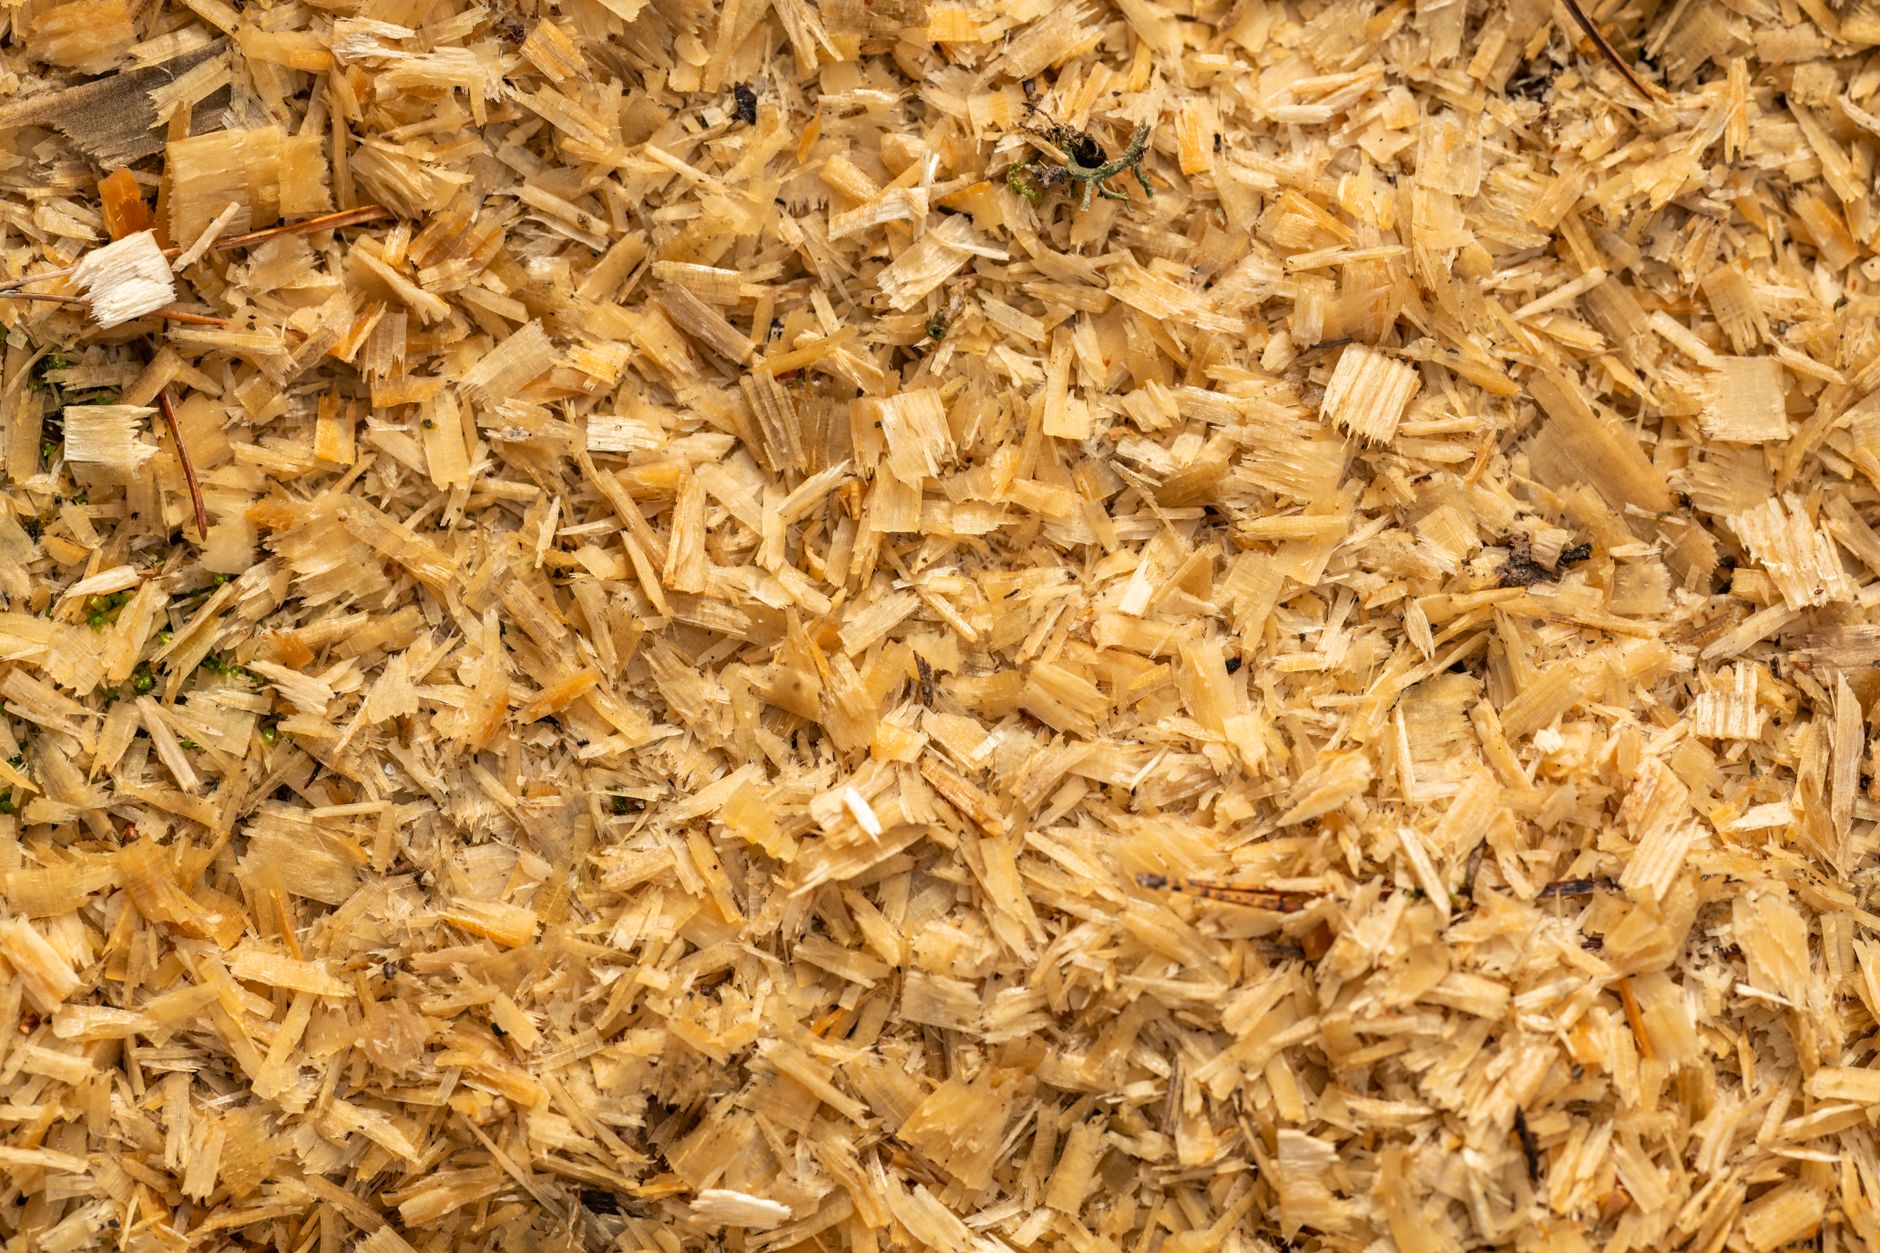
Cauliflower mushroom grows on conifer wood in the wild, but supplemented hardwood sawdust works well indoors. A dependable recipe is 5 cups hardwood sawdust, 1 cup wheat bran, and 1.25 to 1.5 cups water. The mixture should feel like a damp sponge. When you squeeze a handful, a few drops should come out. Add about half a cup of gypsum if the sawdust is very fine. Gypsum prevents clumping and helps the mycelium move through the substrate.
Wood selection matters. Oak and maple sawdust are easy to source and perform well. Some growers add 10 to 20 percent pine or fir sawdust to mimic the mushroom’s natural conifer diet. Never use cedar, redwood, or treated lumber because these contain antifungal compounds. The wheat bran adds nitrogen, which speeds up growth. But that nitrogen also feeds mold and bacteria. Our best mushroom substrate guide explains why supplemented mixes require true sterilization instead of simple pasteurization.
If you cannot find sawdust locally, hardwood pellets are a clean option. Use hardwood sawdust pellets on Amazon and soak them until they expand. Mix the dry sawdust and bran first, then add water slowly. Inconsistent moisture creates dry patches where the mycelium stalls. Penn State Extension notes that any substrate with nitrogen supplements must be sterilized at a full pressure canning temperature to kill heat-resistant spores.
- Sterilize the Bags at 15 PSI
Load the moistened substrate into filter patch mushroom grow bags or quart jars with breathable lids. Fill each bag about two-thirds full. Fold the top loosely to allow pressure equalization. Place the bags on a rack inside a pressure canner. Sterilize at 15 PSI for 90 minutes. This is the most important step for cauliflower mushroom because supplemented sawdust is a breeding ground for contaminants if not fully sterilized.
Ninety minutes at 15 PSI kills endospores that survive boiling. A pot of water at 100 degrees Celsius will not heat the center of a bag enough. Penn State Extension explains that pasteurization is only safe for low-nutrient substrates like straw. Wheat bran pushes the nutrient level high enough that pasteurization is risky. Use a pressure canner on Amazon that holds 15 PSI reliably. Test the seal and vent the canner before timing begins.
Let the bags cool inside the canner overnight or for at least eight hours. Moving hot bags condenses moisture and pulls contaminated air through the filter. Once cooled, seal the bag tops or secure the jars. Work in a still air box or in front of a laminar flow hood from this point forward. Review our mushroom contamination identification guide so you can recognize clean substrate and early warning signs.
- Inoculate the Cooled Substrate
Open each bag just enough to pour in 5 to 10 milliliters of liquid culture or a few tablespoons of colonized grain spawn. Reseal immediately. Shake the bag gently to spread the spawn through the top few inches. Using more spawn per bag speeds up colonization, which matters because cauliflower mycelium is slow. A 5 percent spawn rate by weight is a good starting point.
Cleanliness is your only defense at this stage. Turn off fans and close windows. Wipe the still air box, tools, and your hands with 70 percent isopropyl alcohol. The moment you open a sterilized bag, airborne mold spores can enter. Work quickly but carefully. If you are using filter patch bags, do not cut extra holes. The patch already allows gas exchange. Additional holes let in contaminants that your slow mycelium cannot outpace.
After sealing, label each bag with the date and strain. Place the bags in a dark, warm spot for incubation. Use filter patch mushroom grow bags on Amazon if you need a reliable source. This step connects to the next one because the first two weeks of incubation determine whether your spawn takes hold or mold wins.
- Incubate at 20 to 24 Degrees Celsius
Place your inoculated bags in a clean tub or closet at 20 to 24 degrees Celsius. Cauliflower mushroom colonization is slow. You may see the first white spots after 7 to 14 days. Full colonization of a one-quart bag usually takes 30 to 45 days. Some strains need 60 days, especially if temperatures drop at night. Keep the bags in the dark. Light is not harmful but can trigger early pinning before the block is fully colonized.
Check bags twice a week. Healthy mycelium is white, ropey, and slightly powdery. Any green, blue, black, or orange spots mean contamination. Isolate those bags immediately. Brown metabolites are normal in older cultures and should not be confused with contamination. Green sporulating mold, on the other hand, spreads fast.
Cauliflower mushroom sometimes forms dense, ruffled primordia while the bag is still sealed. This is a good sign. It means the culture is healthy and has switched to fruiting mode. Once the substrate is fully white and firm, wait five more days. This consolidation period strengthens the mycelial mat. Then move the bag to fruiting conditions. Rushing this step produces small, misshapen heads and wastes your earlier effort.
- Trigger Fruiting with Light, Fresh Air, and High Humidity
Cauliflower mushroom fruits best at 12 to 18 degrees Celsius. A cool basement, cellar, or temperature-controlled tent works well. Cut a one-inch slit in the bag or open the top. Move the bag into a chamber with 90 to 95 percent relative humidity. Use a humidity controller and a fine mist humidifier if your space runs dry. Our mushroom fruiting conditions guide covers the exact settings for wood-loving species.
Fresh air exchange is just as important as humidity. High carbon dioxide levels cause the ruffled lobes to become loose, coral-like, and stemmy. Use a small fan on a timer or open the chamber twice a day. Keep the substrate moist but not soaked. Give the mushroom 8 to 12 hours of indirect daylight or a low-intensity 6500K LED. Cauliflower mushroom does not need bright light, but it helps shape the head.
Primordia appear as small white bumps at the slit within 7 to 21 days. They grow into a pale, curly mass over the next two to three weeks. Do not spray the young primordia directly with heavy mist. Instead, mist the chamber walls and maintain high ambient humidity. Overhead watering causes bacterial blotch, which turns lobes yellow and slimy. Patience at this stage pays off in a dense, tight head.
- Harvest Before the Lobe Edges Darken
A cauliflower mushroom head is ready when the lobes are firm, creamy white to pale tan, and fully expanded. Harvest before the edges turn brown or leathery. This usually happens 10 to 20 days after primordia form. Use a sharp knife to cut the entire cluster at the base where it attaches to the substrate. Do not pull it off, because pulling damages the mycelial mat underneath.
Harvest in the morning if possible. The mushroom’s moisture content is highest then. Gently brush off any substrate debris. Cauliflower mushrooms have hundreds of folds, so rinse only if truly needed and pat dry. Store the harvest in a paper bag in the refrigerator for up to one week. Do not store them in plastic, which traps moisture and causes sliminess.
After the first harvest, you can attempt a second flush. Remove dead tissue and soak the block in cold water for 8 to 12 hours. Return it to fruiting conditions. Second flushes are often smaller and may take another three to five weeks. If contamination appears during the soak or second flush, discard the block. Do not try to save a moldy block, because the spores will spread to your other projects.
- Troubleshoot Common Cauliflower Mushroom Problems
Slow colonization is usually a temperature problem. If the bag sits below 18 degrees Celsius, mycelium stalls. Move it to a warmer room at 20 to 24 degrees Celsius. If no growth appears after three weeks, the spawn was probably weak or dead. Start a new bag with fresh spawn. Do not wait indefinitely, because uncolonized substrate invites green mold. The longer a bag sits with no living mycelium, the higher the chance a competitor moves in.
Small or misshapen heads come from low humidity or poor air exchange. Measure your chamber with a hygrometer. If relative humidity falls below 80 percent, the outer lobes dry out and stop expanding. Increase misting frequency or add a cool mist humidifier. A DIY mushroom fruiting chamber guide can help you build a more stable environment. Sometimes the fix is simply moving the bag away from a heat vent or dehumidifier.
Bacterial blotch appears as yellow, wet spots on the lobes. It is caused by standing water and poor air movement. Cut off affected parts, increase airflow, and reduce direct misting. If the whole head is affected, harvest any clean lobes and discard the rest. Sterilize your fruiting chamber before the next run. Keep notes on temperature, humidity, and timing so you can repeat your successes and avoid the same problems.
Red Flags & Warnings
- 🚨 Never eat a wild cauliflower mushroom unless an expert positively identifies it. Pale, branched fungi can be toxic look-alikes. If you clone a wild specimen, use the North American Mycological Association (NAMA) resources to confirm the species first.
- 🚨 Do not pasteurize supplemented sawdust. Wheat bran invites heat-resistant mold and bacteria. Use a pressure canner at 15 PSI for 90 minutes on all supplemented wood substrates.
- 🚨 Do not open sterilized bags outside a still air box or laminar flow hood. Airborne contaminants enter in seconds and outgrow slow cauliflower mycelium. Clean surfaces with 70 percent isopropyl alcohol.
- 🚨 Do not mist young cauliflower primordia directly. Heavy water droplets cause bacterial blotch and slimy, discolored lobes. Mist the chamber walls instead and maintain 90 to 95 percent humidity.
- 🚨 Be patient with colonization. Healthy cauliflower spawn can take 45 to 60 days on a one-quart block. Discarding a slow bag too early wastes good work, but watch for green mold during the wait.
- 🚨 If you clone a wild specimen, never use tissue from the outer surface. Dirt and spores carry contamination. Only use clean interior tissue and plate it on agar for several transfers.
Frequently Asked Questions
Can I grow cauliflower mushroom from a wild harvested specimen?
Yes, but it takes extra work. You must clone clean interior tissue onto agar, then transfer until the culture is free of contaminants. Wild clones are often slower and less predictable than lab spawn. If you do collect, get a positive ID from an expert or a local mushroom club.
How long does it take to grow cauliflower mushroom from spawn to harvest?
Plan for about 60 to 80 days total. Colonization takes 30 to 45 days at 20 to 24 degrees Celsius. Fruiting then takes another 20 to 35 days from primordia to harvest. Some strains take longer, so treat these as minimums.
What substrate is best for cauliflower mushroom?
Supplemented hardwood sawdust works well. A standard mix is 5 cups oak sawdust, 1 cup wheat bran, and enough water for 60 to 65 percent moisture. You can add 10 to 20 percent pine or fir sawdust. Always pressure sterilize this mix at 15 PSI for 90 minutes.
Is cauliflower mushroom the same as hen of the woods?
No, they are different species. Cauliflower mushroom is Sparassis crispa and has a loose, noodle-like ruffled appearance. Hen of the woods is Grifola frondosa and grows in layered, gray-brown clusters. Both are edible, but they have different habitats and growing requirements.
Why does my cauliflower mushroom block show no growth after two weeks?
The most likely reasons are low temperature, dry substrate, weak spawn, or hidden contamination. Check that the room is at 20 to 24 degrees Celsius and the bag is not dried out. If the spawn was old or exposed to heat, start a new bag. Small spots of white may appear later, but three weeks with nothing is a red flag.
Can I grow cauliflower mushroom outdoors on logs?
Possible but unreliable. Cauliflower mushroom naturally fruits at the base of living or dead conifers, not on standard log cultivation. Some growers inoculate stumps with spawn, but results take years and are inconsistent. Indoor supplemented sawdust gives more control.
What Should You Remember?
- Wood-loving species: Use supplemented hardwood sawdust with 10 to 20 percent conifer sawdust.
- Pressure sterilize: Never pasteurize supplemented substrate. Use 15 PSI for 90 minutes.
- Slow colonizer: Expect 30 to 60 days for full colonization at 20 to 24 degrees Celsius.
- High humidity needed: Maintain 90 to 95 percent relative humidity during fruiting.
- Fresh air matters: Low air exchange causes loose, coral-like lobes instead of tight ruffles.
- Harvest early: Pick before lobe edges darken for the best texture and flavor.
This article is for general information only. Mushroom identification and consumption carry health and safety risks , never eat a wild mushroom unless positively identified by an expert, and follow sterile technique and food-safety guidance for home grows.