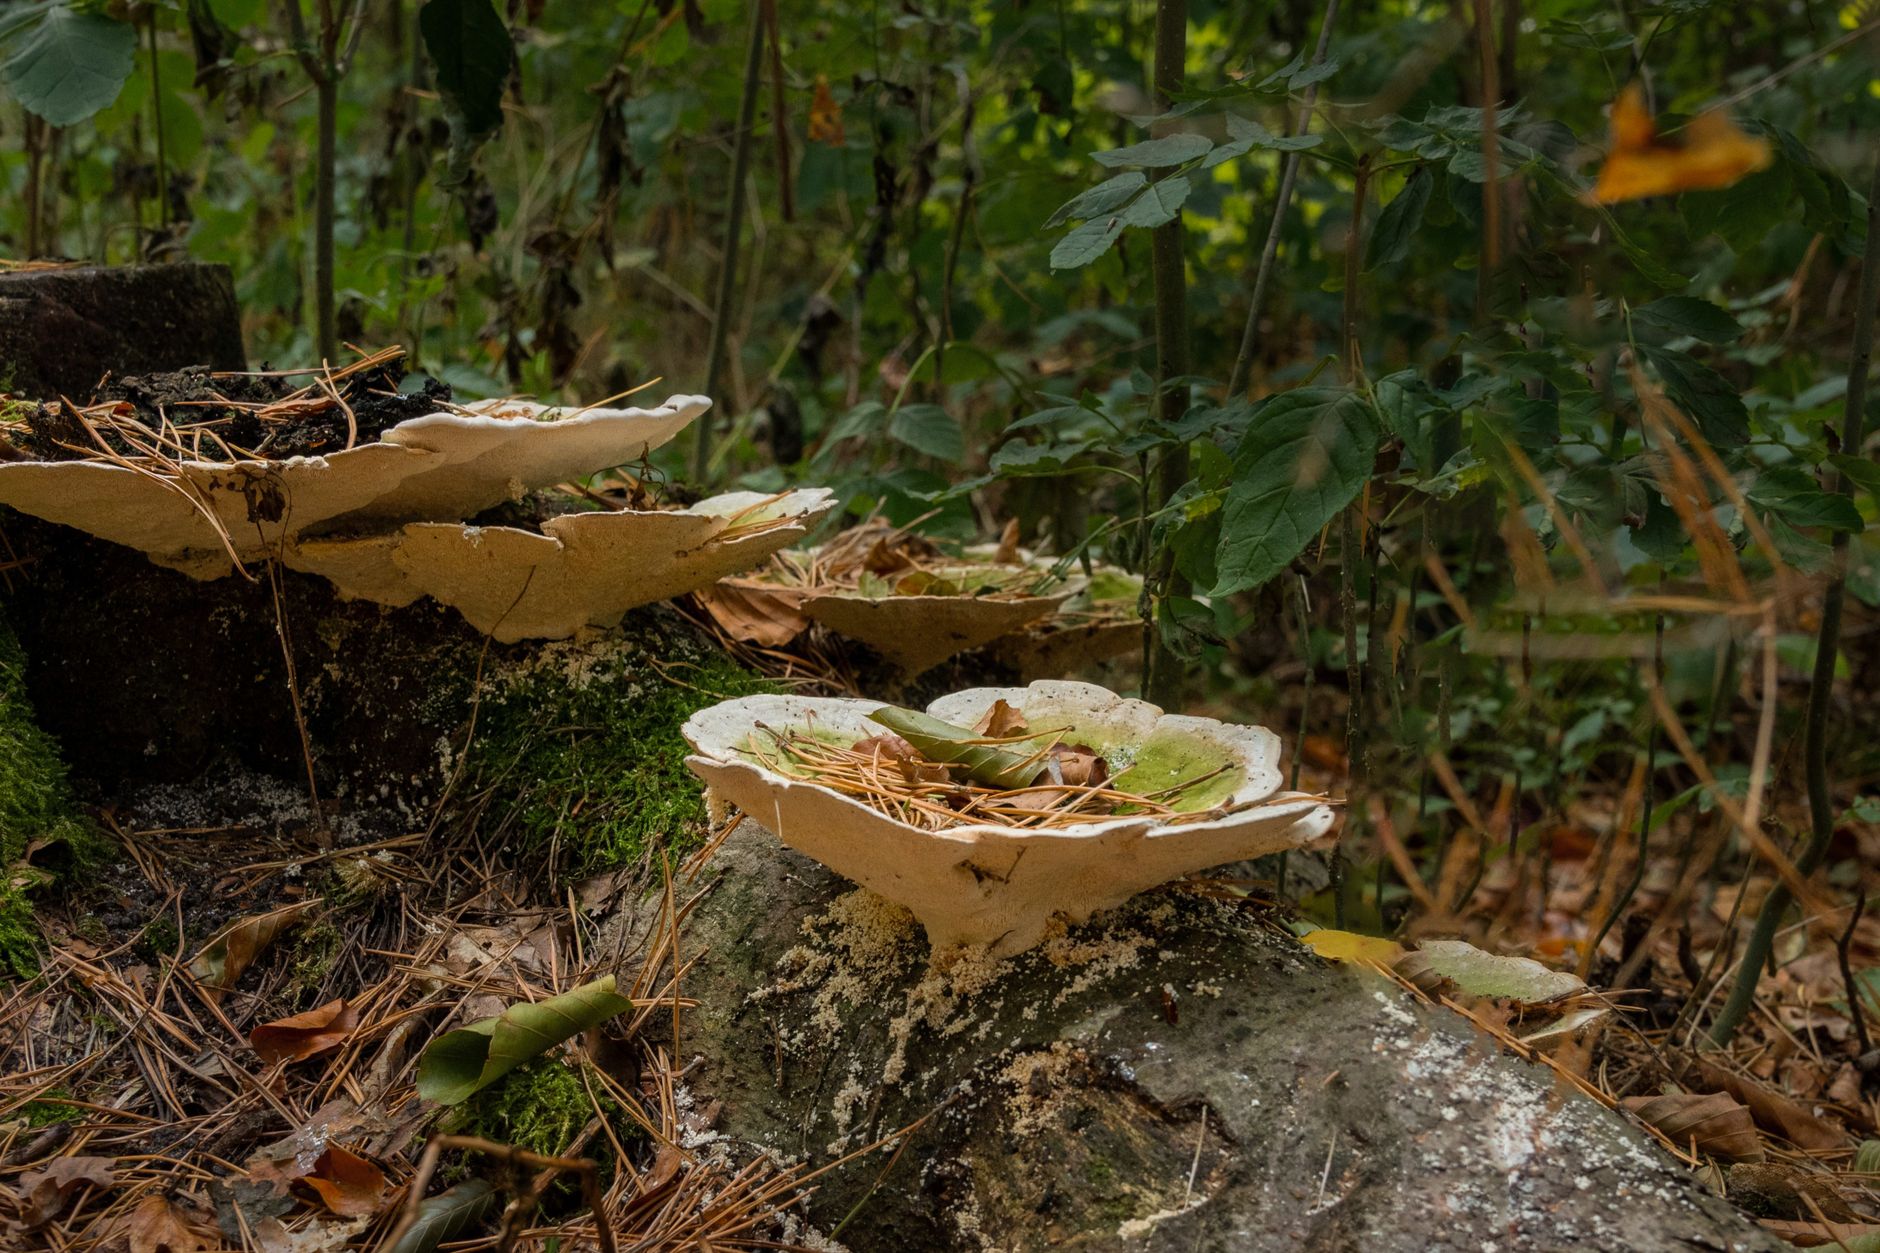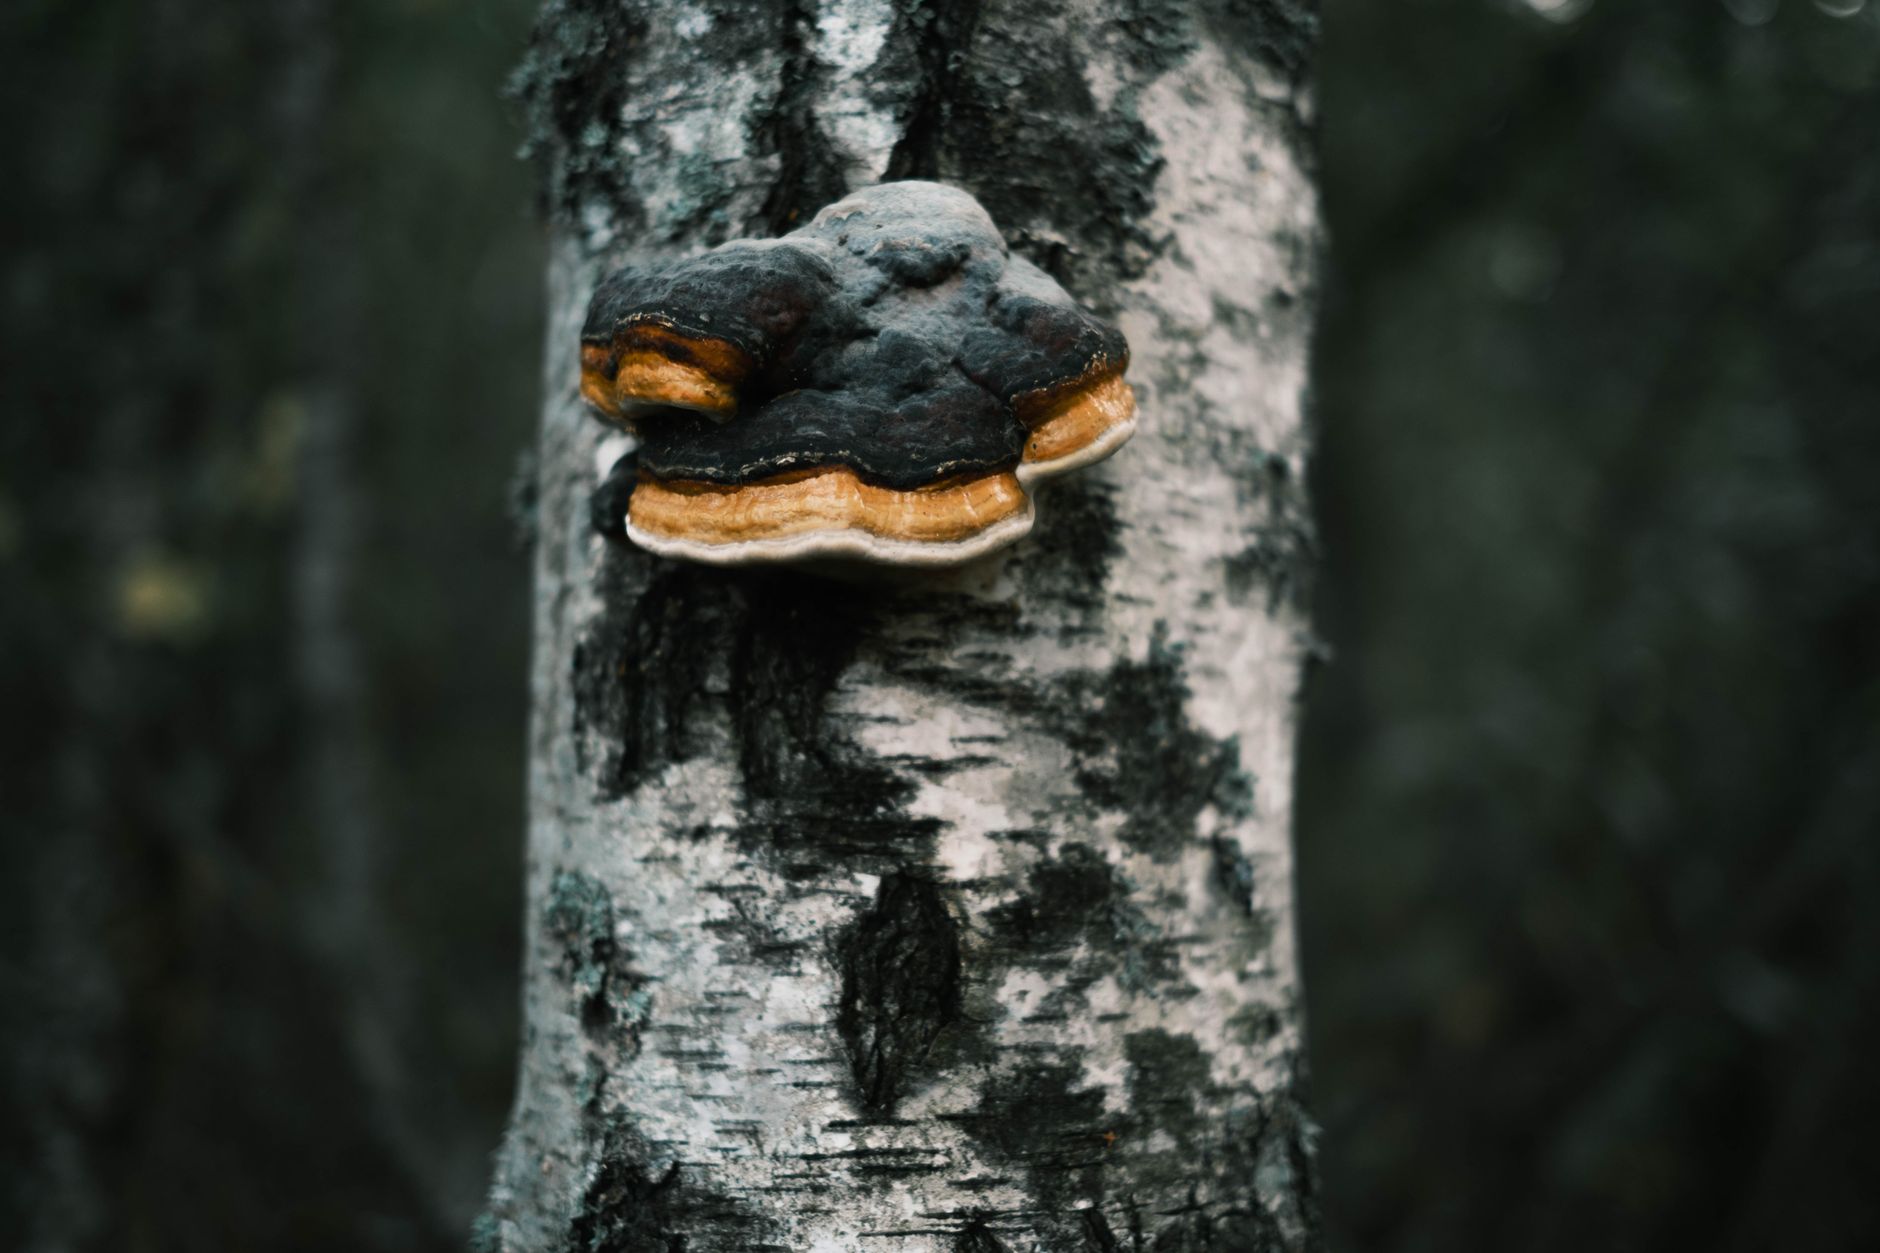
Chaga (Inonotus obliquus) is not a typical cap and stem mushroom. It forms a hard, charcoal-like sterile conk called a sclerotium on living birch trees. Many growers ask how to grow chaga at home expecting an indoor sawdust block, but this fungus requires a living tree or large log for years. If you want a faster indoor project, review the best mushroom substrate guide for species better suited to controlled indoor fruiting. Chaga is a long term outdoor investment, not a quick grow kit crop.
Commercial chaga is still almost entirely wild harvested. Still, home cultivation is possible if you own or have access to mature birch forest or a shaded outdoor site for cut logs. You cannot fruit chaga in a monotub or on pasteurized straw. The process is closer to forest farming. Introduce clean plug spawn into a healthy host, protect the wounds, and let nature do the work. Penn State Extension’s mushroom resources describe outdoor log cultivation as slow but rewarding for wood loving species. That guidance applies even more strongly to chaga.
Expect the first usable chaga mass after at least two to four years, sometimes longer on living trees. A wild sclerotium can take a decade to reach harvestable size. That is why conservation minded harvesters leave a portion of each conk. The North American Mycological Association stresses that no wild fungus should be eaten unless an expert positively identifies it. This rule is critical because chaga lookalikes exist and some grow on trees that are not birch.
This guide walks through the most realistic home method for growing chaga. You will select the right birch host, prepare tools, inoculate with plug spawn, seal wounds, maintain the site, and harvest small amounts over time. It is a land based, multi season commitment, not a weekend project. If you follow each step and respect the fungus, you can produce a renewable chaga source on your own property. The method uses specific temperature, humidity, and spacing numbers to improve your odds.
What You’ll Need
- High speed drill
- 5/16 inch drill bit
- Rubber mallet
- Chaga plug spawn
- Food grade cheese wax or beeswax
- Small wax brush or dauber
- 70% isopropyl alcohol
- Chicken wire cage
- Clean hatchet or saw
- Drying screen and glass jars
How Do You Grow Chaga at Home?
- Understand chaga biology and choose a realistic cultivation site
Chaga, Inonotus obliquus, spends almost its entire life inside living birch sapwood. The hard black mass you see on a tree is a sterile conk called a sclerotium. It is not the reproductive mushroom. The reproductive stage is a flat, annual pore surface that appears under the bark once the tree is nearly dead. That means your growing project is not about producing mushrooms in a bag. It is about inoculating the right tree and waiting for that sclerotium to form.
Because chaga is a parasite, do not expect to fruit it in a shotgun fruiting chamber. Indoor cultivation has not been successfully scaled by home growers. Instead, plan for outdoor cultivation in a cool, humid woodland. Ideal conditions resemble the fungal host range: daytime temperatures between 55°F and 70°F (13°C to 21°C) during the growing season and relative humidity at or above 80%. For comparison, common indoor mushrooms need tighter control, as described in this fruiting conditions guide. Chaga will tolerate wider outdoor swings but grows slower if conditions are too dry.
Choose a site with mature birch trees or room to place cut logs. Northern or eastern exposures work well because they hold moisture longer. The site should have dappled shade, not full sun or deep dark. Full sun dries bark and stresses the host. Deep shade encourages competing fungi. Also ensure you can reach the site in all seasons for monitoring and eventual harvest.
Set a realistic timeline before ordering supplies. Under good conditions, plug spawn may colonize a log within 12 to 24 months. Visible chaga sclerotia typically appear after two to four years. On a living tree, it may take five years or longer for a harvestable mass. This is a long term project. If you want a faster mushroom crop, choose oyster or lion’s mane and return to chaga when you have patient woodland space.
- Select healthy birch host trees or cut logs
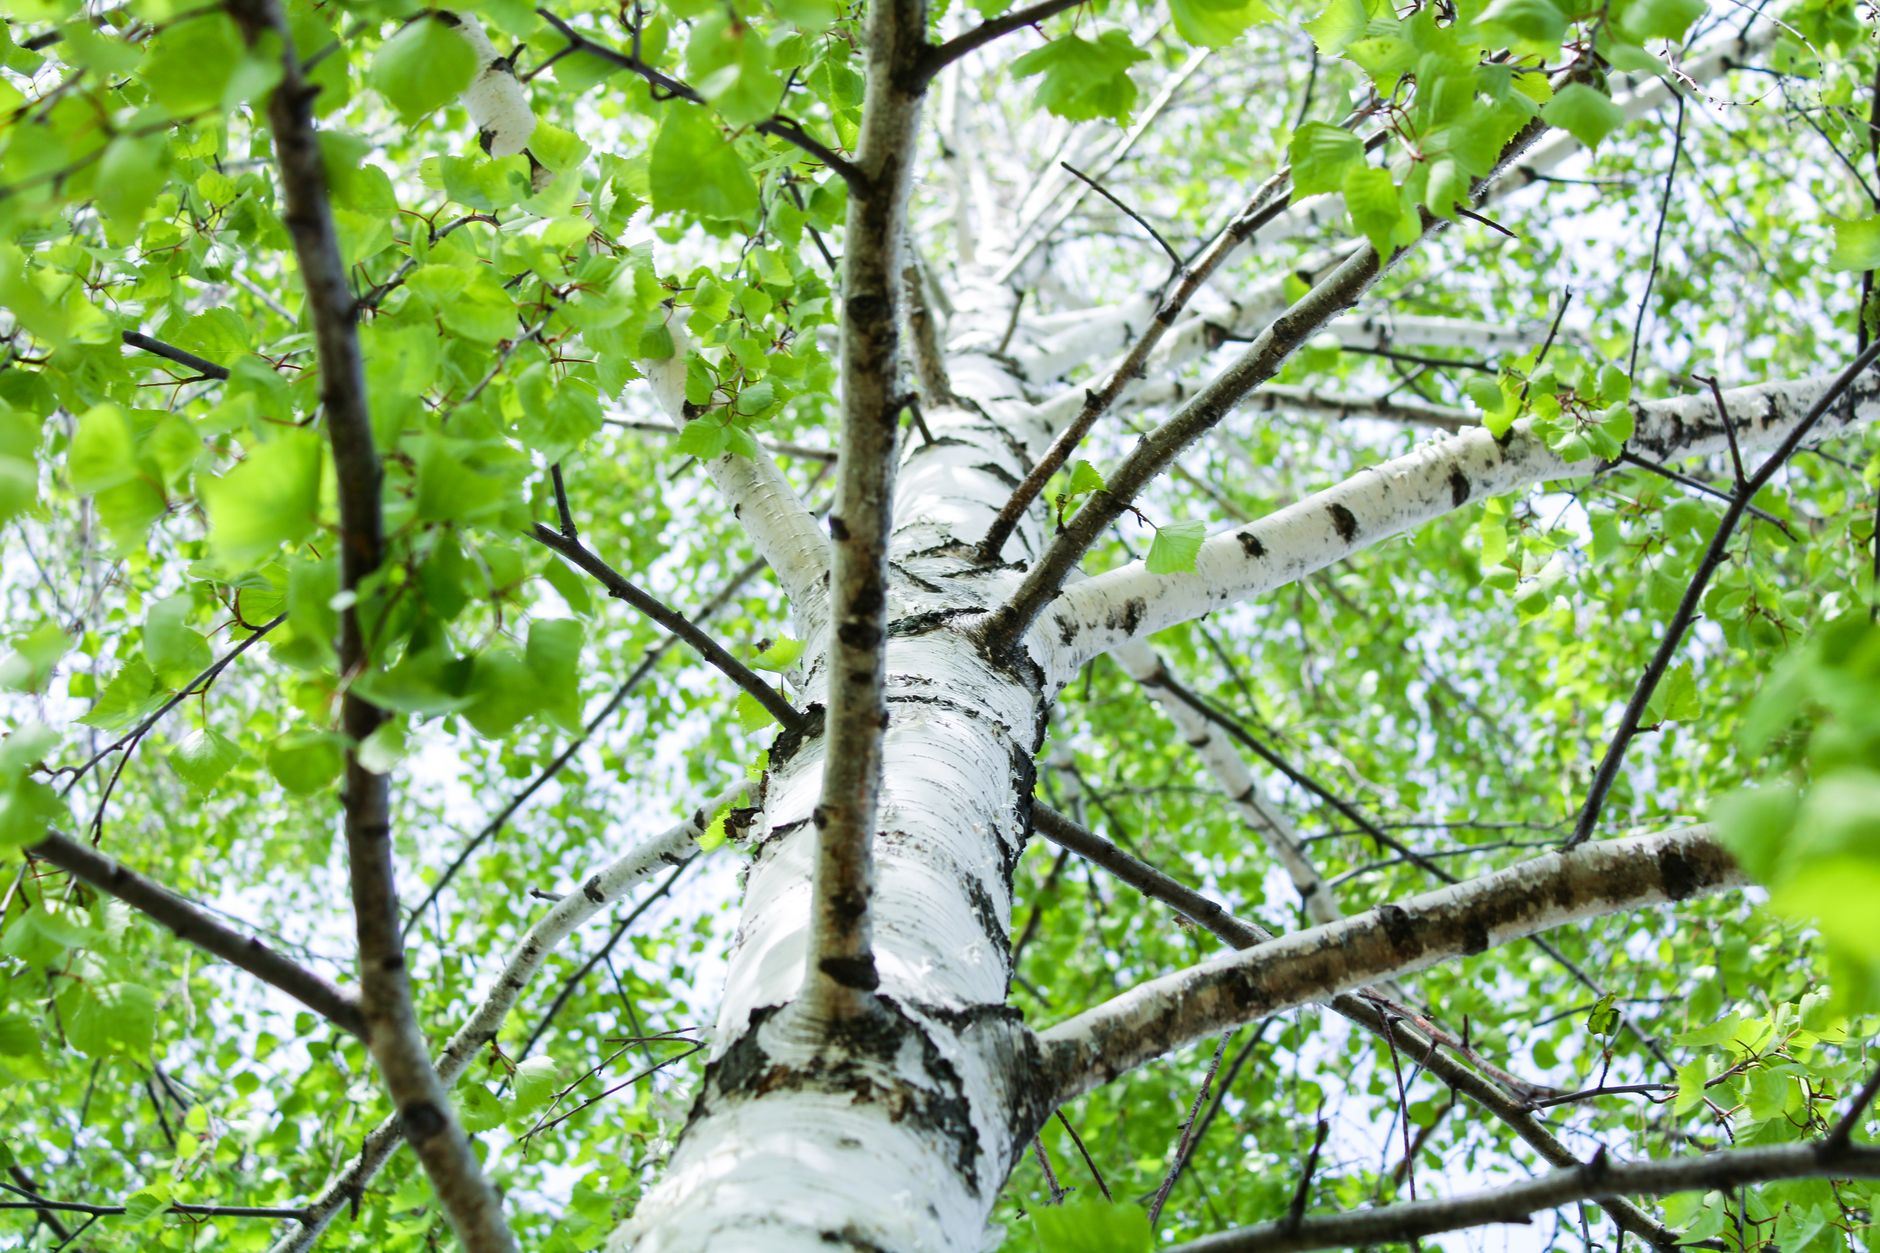
Chaga grows almost exclusively on birch, especially white and yellow birch in North America. Mycologists warn against using or harvesting chaga from other trees because lookalike species on alder and beech may be different fungi with unknown safety. For cultivation, use a living birch that is at least 4 to 8 inches in diameter and free of serious wounds or dieback. A stressed tree will die before the chaga can establish.
You can inoculate freshly cut birch logs, but cut logs do not live long enough to produce large chaga under most home conditions. Living trees provide the continuous sap flow and nutrients chaga needs. If you use logs, select healthy, dormant season cuts, 3 to 4 feet long and 6 to 10 inches in diameter. Keep them shaded and off the ground. Log cultivation may never produce the big black sclerotium; it often only shows white mycelial fans.
The sweet spot for host diameter is 6 to 10 inches measured at chest height. Trees smaller than 4 inches can suffer too much vascular damage from inoculation. Very large trees can survive but make harvest difficult. Inoculate only one to three trees per site at first. This reduces the chance of introducing fungal disease into a vulnerable stand.
Do not wound the tree beyond the planned drill holes. Remove loose bark carefully where you will drill, but do not strip large sheets. The outer bark protects the cambium. If the area is covered with moss, brush it away gently. Healthy birch bark should be tight and white or copper colored, not black and brittle over large areas.
- Prepare clean tools and high quality plug spawn
You need a high speed drill, a 5/16 inch drill bit, a rubber mallet, a small brush, and food grade wax. Clean the drill bit and any metal tools with 70% isopropyl alcohol before you begin. This prevents introducing mold or bacteria into the inoculation holes. A 5/16 inch bit matches most commercial plug spawn. Check a 5/16 inch drill bit on Amazon.
Use high quality chaga plug spawn from a reputable supplier. Plug spawn is small wooden dowels colonized with Inonotus obliquus mycelium. Sawdust spawn can work but requires more packing and a special inoculating tool. Plug spawn is easier for beginners and fits standard drill holes. Check the spawn for black or green mold before buying or opening. If a mushroom contamination identification guide shows green trichoderma or black pin mold, do not use the batch.
Keep plug spawn refrigerated until the day of inoculation. Take it out one hour before use so the mycelium can warm slightly. Do not let the bag sit in direct sun. Warm spawn is easier to slide into holes without cracking the dowels. If the plugs look dry and shriveled, they may be dead. Healthy plug spawn should smell fresh and earthy, not sour.
Some growers ask about making their own spawn with rye or birdseed. That approach works for many mushrooms and you can learn it in this grain spawn guide. Chaga is different. It does not colonize grain reliably, and homemade chaga spawn often fails due to slow growth. Stick with supplier produced plug spawn unless you have sterile lab experience.
- Drill and inoculate the birch host
Inoculate in early spring or late fall when the tree is not under heat stress. Sap flow is slower then, but the bark is still workable. Avoid days with heavy rain, which can wash contaminants into fresh holes. Choose a location on the north side of the trunk or log, about 3 to 5 feet above ground on living trees. This keeps the wounds cooler and wetter.
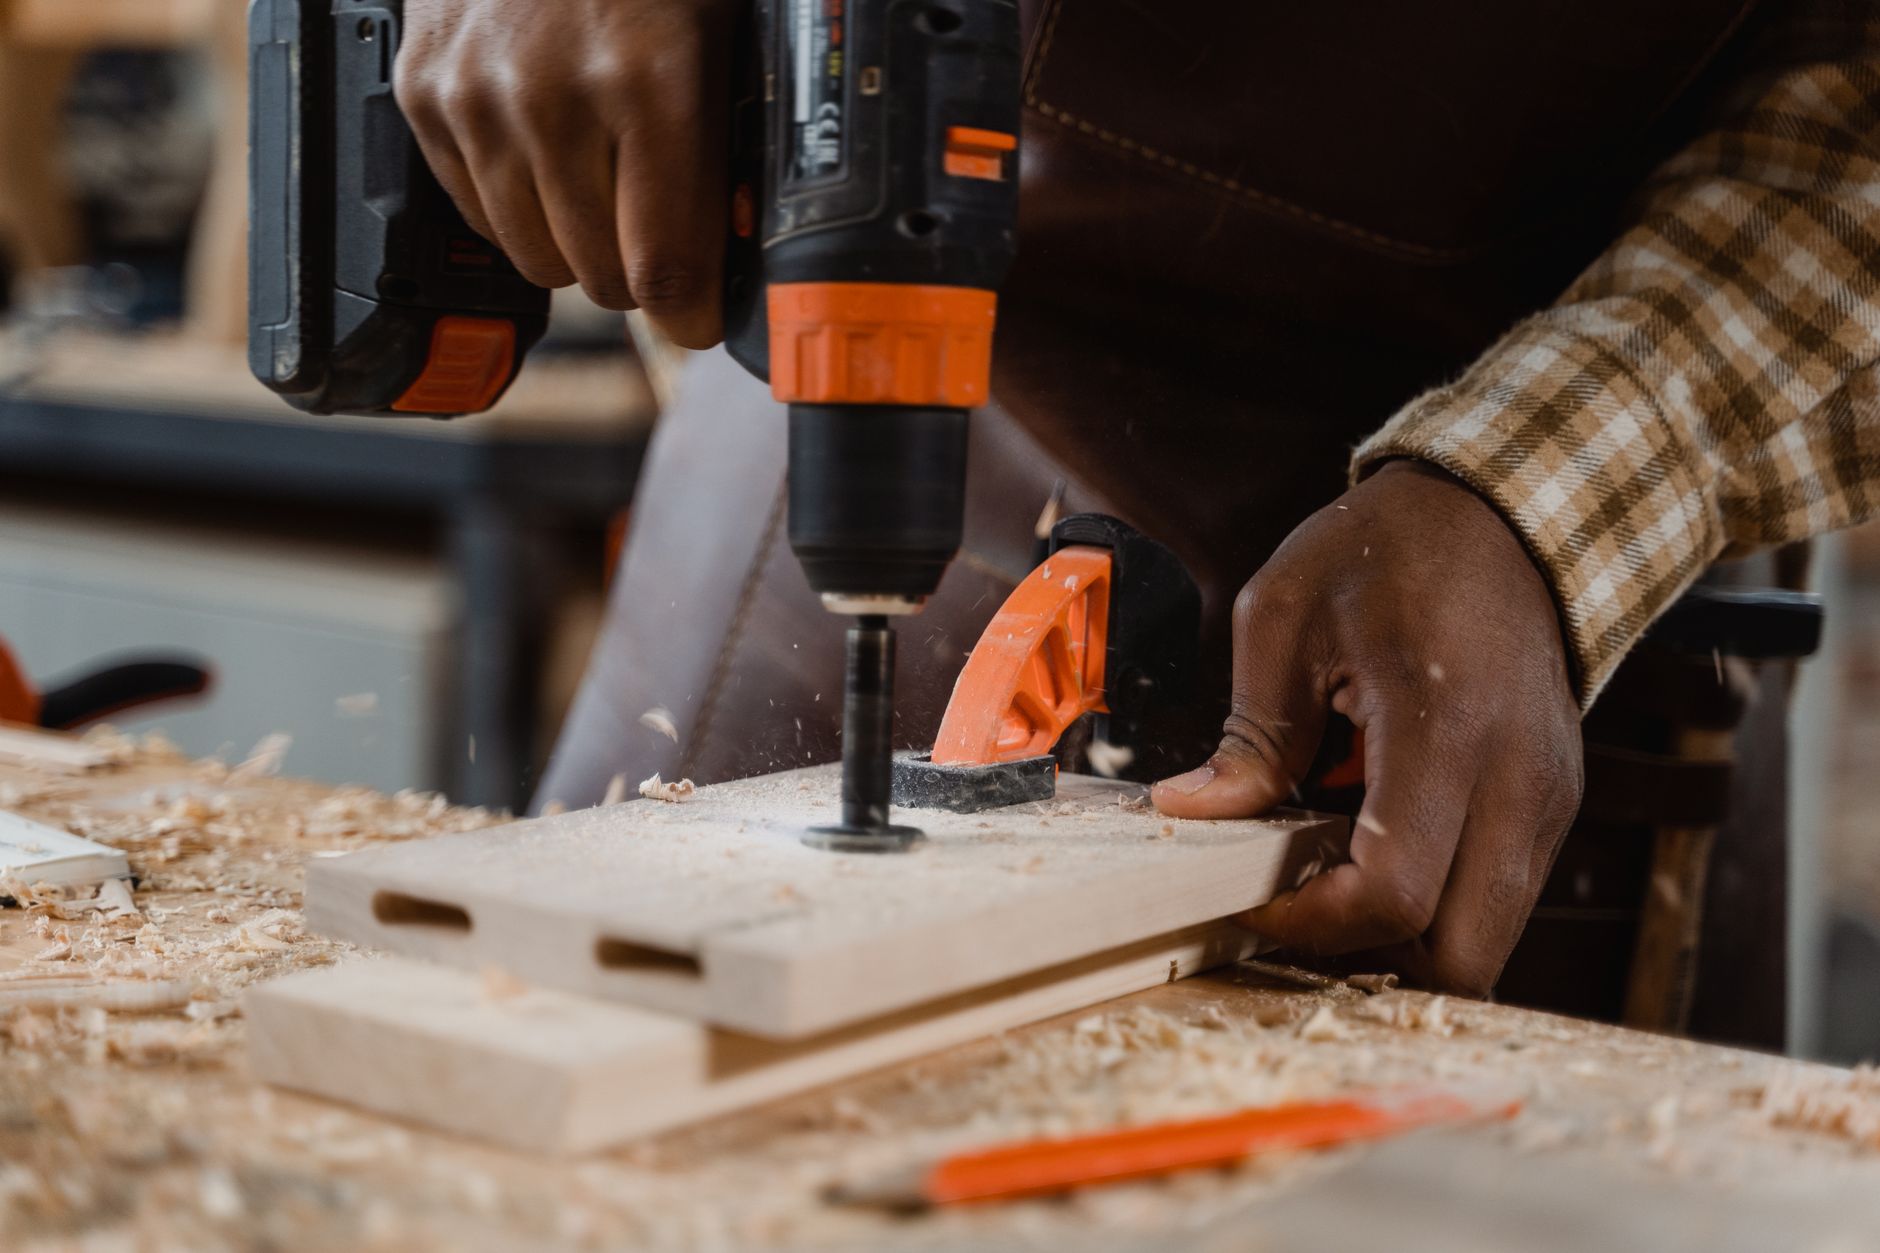
Drill each hole 1 inch deep with a clean 5/16 inch bit. Space holes 6 to 8 inches apart in a diamond pattern around one side of the tree, not wrapped fully around the trunk. This protects the tree’s vascular system. For a log, drill two or three rows along one face. Blow or brush out sawdust with a clean tool. Do not use your breath because that adds bacteria.
Insert one plug spawn into each hole immediately after drilling. Tap it gently with a rubber mallet until the top is flush with the bark. Do not crack the plug or hammer it below the surface. A cracked plug dries out and loses viability. If a plug is too tight, ream the hole slightly or use a fresh plug. The mycelium needs contact with live cambium or fresh sapwood to run.
Work quickly and keep unsealed holes covered as you go. Wind, sun, and insects can contaminate an open wound in minutes. Have your wax ready before the first hole is drilled. This step connects directly to sealing, which must happen the same day.
- Seal all inoculation points and protect the site
After inserting each plug, cover the hole with melted food grade wax. Cheese wax or beeswax works well. Check cheese wax on Amazon. The wax locks in moisture and blocks insects and competing fungi. Use a small brush or wax dauber to apply a thin layer over the plug and the rim of bark. Do not overheat the wax; it should be liquid but not smoking.
Open holes dry out quickly and become entry points for green mold, yeast, and bark beetles. A tight wax cap can mean the difference between successful colonization and a failed plug. Recheck the seals after two weeks. If a cap has cracked or fallen off, reseal the hole. This is especially important in winter when freeze thaw cycles can break wax.
If deer or rodents browse the bark, install a loose wire cage or tree tube around the inoculated area. Chicken wire with 1 inch holes is enough. Keep the cage at least 2 inches away from the bark so it does not trap moisture against the tree. In areas with heavy snow, mark the site with a stake because deep snow can hide the lower inoculation points.
Unlike indoor projects where you might build a DIY mushroom fruiting chamber, chaga cannot be rushed by enclosing it. Avoid greenhouse plastic tightly wrapped around the trunk. The tree needs air exchange and natural cycles.
- Maintain moisture, shade, and monitor for contamination
During dry spells, water the area around the tree’s root zone rather than spraying the trunk directly. Chaga mycelium grows inside the wood, so the key is preventing host stress from drought. Mulch the base with 2 to 3 inches of hardwood chips, but keep mulch 6 inches away from the trunk to avoid rot at the root collar. A healthy, well hydrated birch supports faster chaga growth.
If nearby trees fall or branches die, adjust the canopy to keep dappled shade over your inoculated area. Too much sun can heat the bark and kill the young mycelium. Too little light weakens the birch. You do not need to prune heavily. Remove only enough branches to let broken light through. A north facing trunk already has natural shade.
Every few months, inspect the wax caps and surrounding bark for signs of failure. If you see green, black, or pink fuzzy growth around a plug, it may be contamination. Use the visual cues from a mushroom contamination identification guide to distinguish healthy white chaga mycelium from mold. You cannot remove contamination from inside a tree. Mark failed plugs and reseal neighboring holes if needed.
If you want a faster indoor harvest while the chaga colony establishes, compare year round kits in the best mushroom grow kits 2026 guide. Do not neglect the chaga site while focusing indoors. Seasonal checks matter.
- Harvest chaga sustainably and process the sclerotium
Harvest only after the sclerotium is at least the size of a grapefruit, usually 3 to 5 years after inoculation. A small conk means the fungus is still building its mass. Removing it early kills the colony. On living trees, the black outer layer should be deeply cracked and hard. The interior should show a golden brown to orange core. This color is one of the key identification markers.
Use a clean hatchet, chisel, or saw to remove no more than 80% of the conk’s mass. Leave at least 20% attached to the tree so the fungus can regrow. Cut away from the trunk, leaving a thin layer of black outer tissue intact. Do not cut into the living bark or cambium beyond the conk. A wound that penetrates the tree can introduce decay fungi.
Break the harvested chaga into 1 to 2 inch chunks while it is still slightly moist if possible. If it has dried hard, use a saw or hammer. Dry the chunks on a screen in a warm, well ventilated area below 115°F (46°C). Store fully dried chaga in glass jars away from light. Properly dried chaga will be rock hard and snap cleanly.
Before consuming home grown or wild chaga, have an experienced mycologist confirm the specimen. The North American Mycological Association provides club resources and identification support. Chaga impostors include black witches butter and certain burned or cankered bark. Only harvest chaga from birch trees. Chaga from alder, beech, or poplar may be a different fungus entirely and is not safe to assume edible.
Red Flags & Warnings
- 🚨 Never eat chaga or any wild mushroom unless an expert mycologist has positively identified it. Chaga lookalikes on non-birch trees can be unsafe.
- 🚨 Do not inoculate a tree that is already wounded, diseased, or severely stressed. Chaga can kill a healthy tree, and adding it to a weak tree accelerates death.
- 🚨 Use only birch host species. Inonotus obliquus grows on birch; lookalikes on alder, beech, and other hardwoods are not the same and may be toxic.
- 🚨 Do not harvest the entire conk. Leave at least 20% of the mass attached to the tree to allow regrowth and protect the host.
- 🚨 Check plug spawn for green, black, or pink mold before use. Contaminated spawn will fail and can introduce pathogens to your trees.
- 🚨 Sterilize drill bits and tools between trees with 70% isopropyl alcohol. Moving tools directly from one tree to another can spread fungal and bacterial diseases.
Frequently Asked Questions
Can I grow chaga indoors on sawdust or straw?
No. Chaga is a parasitic fungus that needs living birch sapwood or large birch logs. It does not reliably colonize sawdust blocks, grain, or straw the way oyster or lion’s mane mushrooms do.
How long does chaga take to grow at home?
Plug spawn may colonize a log within 12 to 24 months. Visible black sclerotia usually appear after two to four years. A harvestable mass may take five years or more on a living tree.
What type of birch is best for chaga cultivation?
White birch and yellow birch are common hosts in North America. Choose healthy trees with a diameter of 4 to 10 inches. Avoid black or paper birch species if you are unsure of local chaga compatibility.
Is it safe to eat home grown chaga?
Only if an expert mycologist confirms it as Inonotus obliquus from birch. Never assume safety based on appearance alone. The North American Mycological Association recommends expert identification for all wild fungi.
Can I use store bought chaga chunks to start my own culture?
Chaga chunks are dried sclerotium tissue and are not a reliable starting culture. The tissue is often sterile and does not grow like a mushroom tissue culture. Use commercial plug spawn instead.
Why did my chaga plugs turn green?
Green growth on or around plugs is usually Trichoderma mold, a sign of contaminated spawn or a dirty tool. Remove the failed plug if possible and reseal the hole. Do not use the same spawn batch on other trees.
What Should You Remember?
- Patience: Chaga is a multi-year outdoor project, not an indoor quick crop.
- Host selection: Use healthy birch trees 4 to 10 inches in diameter.
- Inoculation: Drill 5/16 inch holes, insert plug spawn, and seal with wax.
- Environment: Keep humidity above 80% and seasonal temperatures between 55°F and 70°F.
- Harvest: Wait until the sclerotium is grapefruit sized and leave at least 20% on the tree.
- Safety: Confirm chaga identification with NAMA or an experienced mycologist before consuming.
- Monitoring: Inspect wax caps and bark for contamination every few months.
This article is for general information only. Mushroom identification and consumption carry health and safety risks , never eat a wild mushroom unless positively identified by an expert, and follow sterile technique and food-safety guidance for home grows.