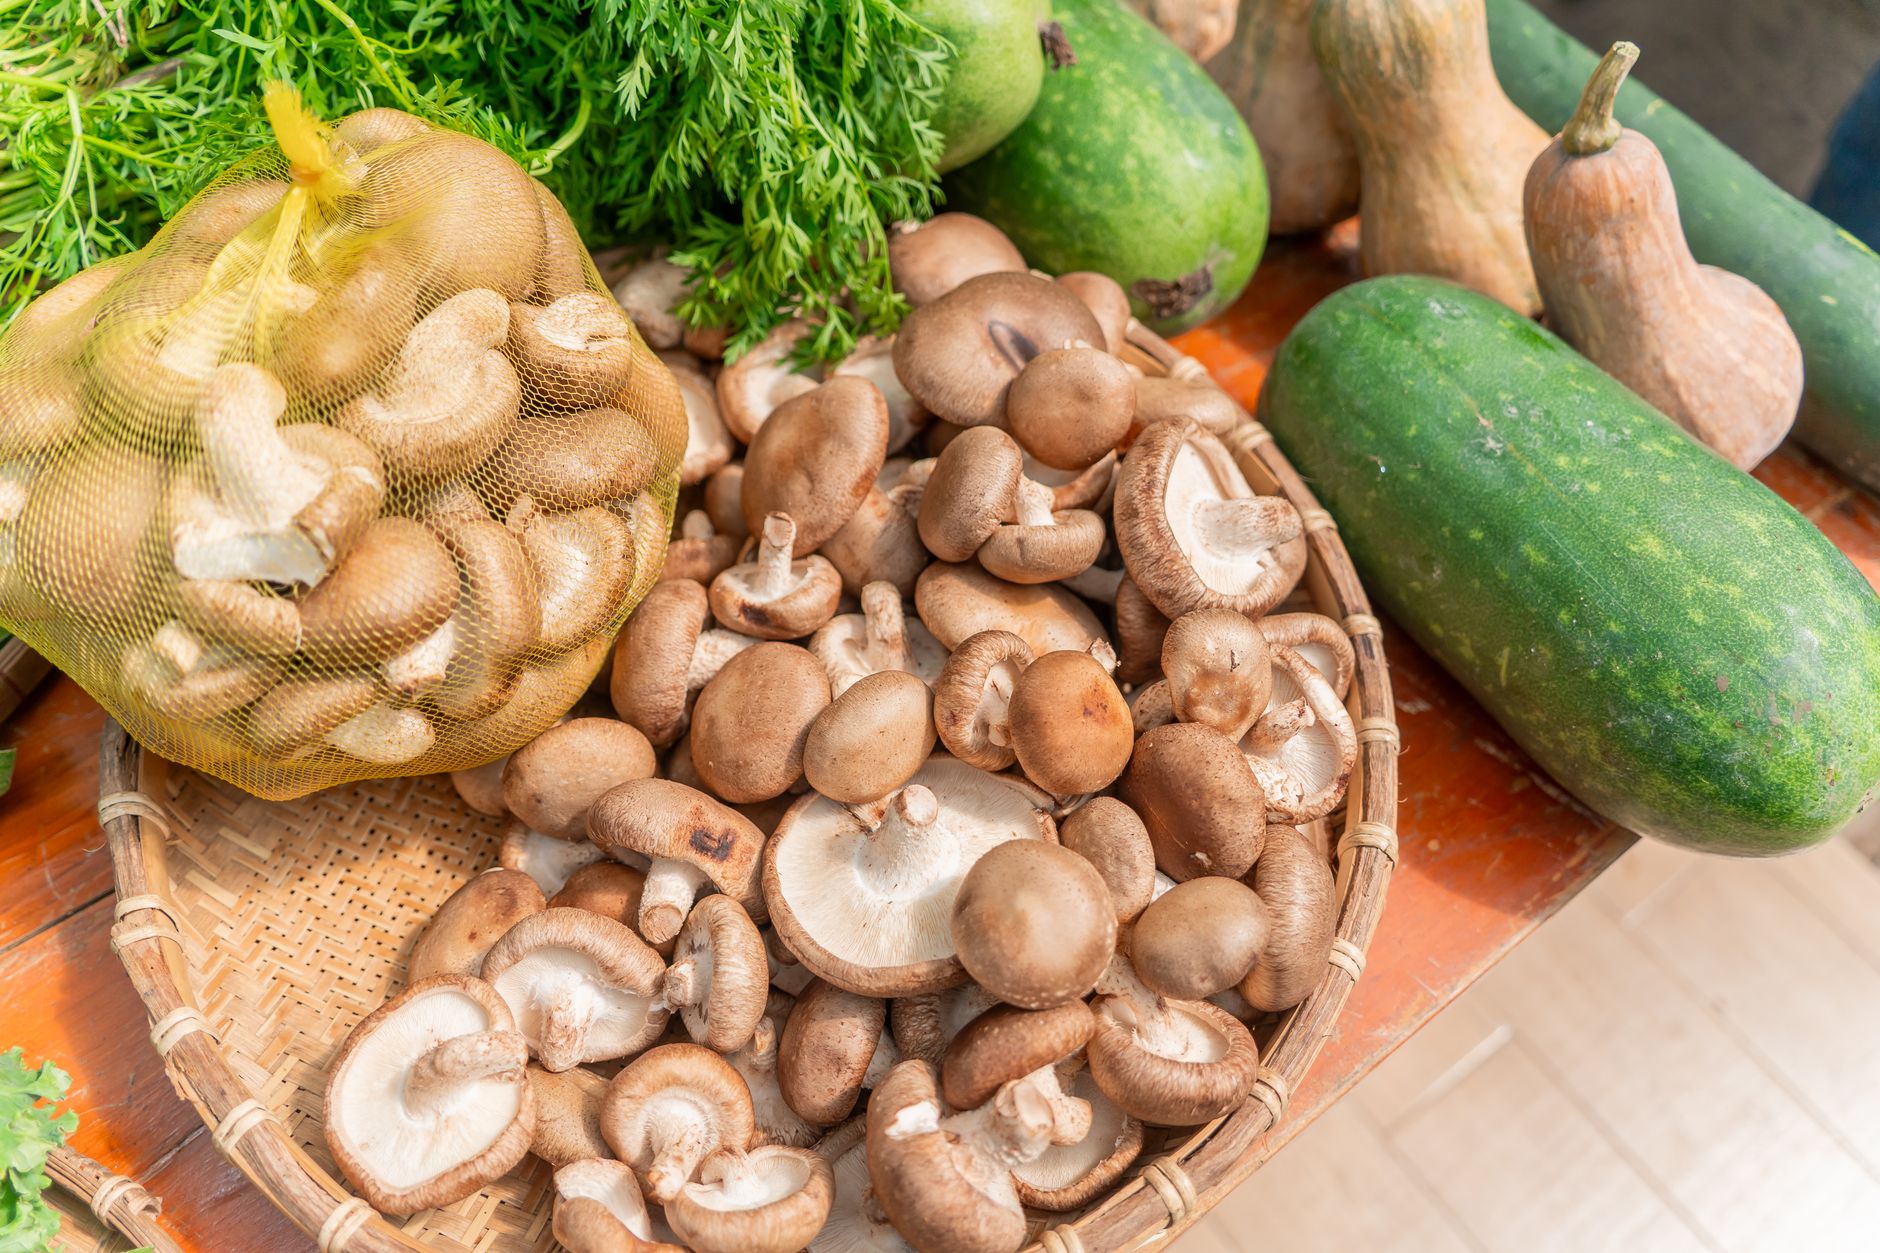
Cremini mushrooms are the brown-capped immature version of Agaricus bisporus. They sit between white button mushrooms and large portobello caps in that same species. Many growers call them baby bellas or brown buttons. The flavor is deeper and earthier than white buttons, which makes them worth the extra effort at home. If you have grown button mushroom growing guide before, you already understand most of the process. Cremini still need compost-rich substrate, a casing layer, and cool, humid fruiting conditions. The process takes time, but the steps are straightforward for a patient home grower.
The keys to cremini success are consistent temperature and a clean, pasteurized substrate. According to Penn State Extension, Agaricus bisporus grows best on composted manure and straw that has been pasteurized to kill competitors. Home growers often use wheat straw, horse manure, gypsum, and a little lime. You do not need a laboratory, but you do need a clean area and simple tools. A plastic tote, a thermometer, a spray bottle, and a still air box can get you started. This guide uses a small indoor setup that fits in a closet or on a basement shelf.
Cremini growing takes patience. Colonization usually runs 14-21 days at 70-75°F. Then the casing layer goes on, and the mycelium shifts toward pinning. Fruiting happens best at 60-66°F with 85-95% humidity. Light is not a primary trigger for Agaricus, but a little indirect light helps mushrooms form properly. You can expect several flushes over a few weeks if the casing stays moist and the air is fresh. Keep a thermometer nearby so you can adjust conditions quickly. Many first-time growers lose crops to simple mistakes like dry casing or still air.
This guide walks through each stage from substrate prep to harvest. You will see exactly what to do, why it matters, and where home growers often go wrong. Use the best mushroom grow kits 2026 if you want a beginner-friendly entry point, or follow the full method below for more control. Either way, never eat a wild mushroom unless an expert identifies it. Cremini are easy to grow, but the safety rule applies to every mushroom project. A small successful crop is better than a big risky guess.
What You’ll Need
- Clear plastic tote or grow tent
- Spray bottle with fine mist
- Thermometer and hygrometer
- Still air box
- Pressure cooker for grain spawn
- Pasteurized compost substrate ingredients
- Cremini grain spawn
- Casing materials like peat moss, vermiculite, and lime
How Do You Grow Cremini Mushroom at Home?
- Gather supplies and set up a clean workspace.
Start with the right gear. You will need a clear plastic tote or a small mushroom grow tent. A spray bottle with fine mist is important for humidity. A thermometer and hygrometer let you track temperature and relative humidity. A DIY mushroom fruiting chamber guide can help you build a simple chamber from a plastic tote and perlite. If you want to prepare your own spawn, you will also need a pressure cooker.
Cleanliness matters more than most beginners expect. Cremini mycelium is strong, but mold and bacteria grow faster in warm, damp substrate. Wipe down counters with a 10% bleach solution or 70% isopropyl alcohol. Work in a room with still air. A still air box reduces airborne contamination when you open grain spawn or inoculate substrate. If you do not have one, a large clear bin with two arm holes works in a pinch.
Gather substrate ingredients before you start. For a small home batch, you can use a pre-made compost substrate or build your own from wheat straw, horse manure, and gypsum. You also need cremini grain spawn. Buy spawn from a reputable supplier because starting from store mushrooms is unreliable. Check your spawn for any green or black spots before use. Healthy spawn should smell earthy, not sour.
Finally, decide on your fruiting space. A basement shelf, a closet, or a small greenhouse can work. The area must stay between 60-75°F depending on the stage. You will need a way to keep humidity high without soaking the substrate. A simple clear plastic bin with holes is enough for many home growers.
- Prepare and pasteurize a compost-based substrate.
Cremini mushrooms are secondary decomposers. They need a substrate that has already been partially broken down by composting. The classic recipe uses 60% wheat straw, 28% horse manure, 10% gypsum, and 2% lime by dry weight. You can adjust slightly, but the mix must be well-rotted and dark brown. For a full breakdown of options, read the best mushroom substrate guide.
Chop the straw into 2-4 inch pieces and soak it overnight. Mix the straw with the manure and gypsum. Wet the material until it feels like a wrung-out sponge. You need moisture, but standing water will create anaerobic pockets. Let the pile compost for 5-10 days. Turn it every other day to keep temperatures even. Good compost heats to 130-150°F during this phase.
Pasteurization is the next critical step. You can pasteurize small batches in a 5-gallon bucket with hot water at 160-170°F for 1-2 hours. For larger batches, use an insulated cooler or a steam bath. The goal is to kill mold spores, nematodes, and competitor fungi without sterilizing. Complete sterilization is not necessary for compost and can actually hurt by removing helpful microbes. After pasteurization, drain and cool the substrate to below 80°F before you add spawn.
A common mistake is using raw manure or uncomposted straw. Raw manure can contain ammonia and pathogens. Ammonia levels above 0.01% will stop mycelium growth. If you smell a sharp ammonia odor, let the compost air out and turn it for a few more days. Another issue is over-wet substrate. Squeeze a handful firmly. Only a few drops of water should come out. If water streams out, spread the substrate on a tarp to dry.
- Inoculate with grain spawn and colonize for 14-21 days.
Add cremini grain spawn to the cooled substrate using a ratio of about 5-10% spawn by wet weight. For a 10-pound batch of substrate, that is roughly 0.5 to 1 pound of spawn. Break up the spawn with clean hands or a sanitized spoon. Mix it thoroughly through the top 4-6 inches of the substrate. Some growers also layer spawn between substrate layers for faster coverage. If you need to prepare your own grain spawn, a 15 PSI pressure cooker handles the job well. Check the pressure cooker on Amazon. Then see how to make grain spawn for the full process.
Pack the inoculated substrate into a clean tray or plastic bin. Aim for a depth of 6-8 inches. Press it down lightly but do not compact it hard. The mycelium needs small air spaces. Cover the tray with a loose piece of plastic or a lid with a few small holes. Keep the container in a dark, warm spot at 70-75°F. Avoid direct light during colonization. High temperatures above 80°F favor mold and can kill the mycelium.
Colonization usually takes 14-21 days. Check every few days. You should see white, thread-like mycelium spreading through the brown substrate. A faint mushroom smell is normal. If you see green, black, or pink spots, remove the tray from your grow area and discard it. Those are contamination. For help telling contamination from healthy mycelium, see the mushroom contamination identification guide.
Do not case the substrate until it is fully colonized. The surface should look white and cobwebby, with some brown compost still visible underneath. If you rush to casing, the mycelium may not have enough energy to fruit well. Once the substrate is fully colonized, move to the casing step.
- Apply a casing layer to trigger pinning.
Cremini mushrooms usually need a casing layer to produce well. The casing is a non-nutritive layer that holds moisture and creates a microclimate for pins. A reliable recipe is 50% peat moss and 50% vermiculite by volume. Add a little lime to bring the pH to around 7.5. The casing should be about 1 to 1.5 inches deep over the colonized substrate.
Mix the peat and vermiculite dry. Add water slowly until the material is evenly damp but not muddy. Spread it in a loose, even layer over the colonized substrate. Do not pack it down. The casing must stay moist throughout fruiting. Mushrooms form where the mycelium meets the moist casing layer. Uneven casing depth can cause patchy flushes.
After casing, keep the temperature around 70-75°F for 3-5 days. Mist the casing lightly to keep the surface damp. Then drop the temperature to 60-66°F and increase fresh air to trigger pinning. You should see small white knots called primordia within 7-14 days. Those knots will become tiny brown mushrooms.
Some growers skip casing, but yields are often lower. Cremini are prone to overlay when the surface gets too dry or too wet. Overlay looks like a thick mat of mycelium with no pins. If that happens, scratch the surface gently with a clean fork and adjust moisture. Patience here matters more than any other single thing.
- Maintain proper temperature, humidity, and fresh air.
Fruiting conditions for cremini are specific. Keep air temperature between 60-66°F. Relative humidity should stay at 85-95%. The casing layer should glisten slightly but never look soaked. Mist with a fine spray bottle a few times a day. If your home is dry, use a humidifier or a mushroom fruiting conditions guide to fine-tune your setup.
Fresh air exchange matters because cremini produce carbon dioxide. High CO2 makes stems long and caps small. Open the lid of your bin or fan the area two to three times a day. A small clip-on fan pointed away from the mushrooms can help, but avoid direct drafts. Too much airflow dries the casing. The goal is gentle, consistent air movement.
Light is not a strong trigger for Agaricus bisporus, but a little indirect light helps mushrooms orient and brown. Place your container near a north-facing window or give it 4-6 hours of soft LED light per day. Avoid hot direct sunlight. Darkness will still produce mushrooms, but they may be paler and misshapen.
Watch the casing moisture daily. If the surface looks light brown and dry, mist lightly. If it looks shiny and wet, skip misting and increase airflow. Bacterial blotch is a common problem. It shows up as slimy brown spots on caps. It usually comes from wet caps and poor air movement. Prevent it by misting the casing, not the mushrooms, and never let water pool.
- Harvest cremini mushrooms at the right stage.
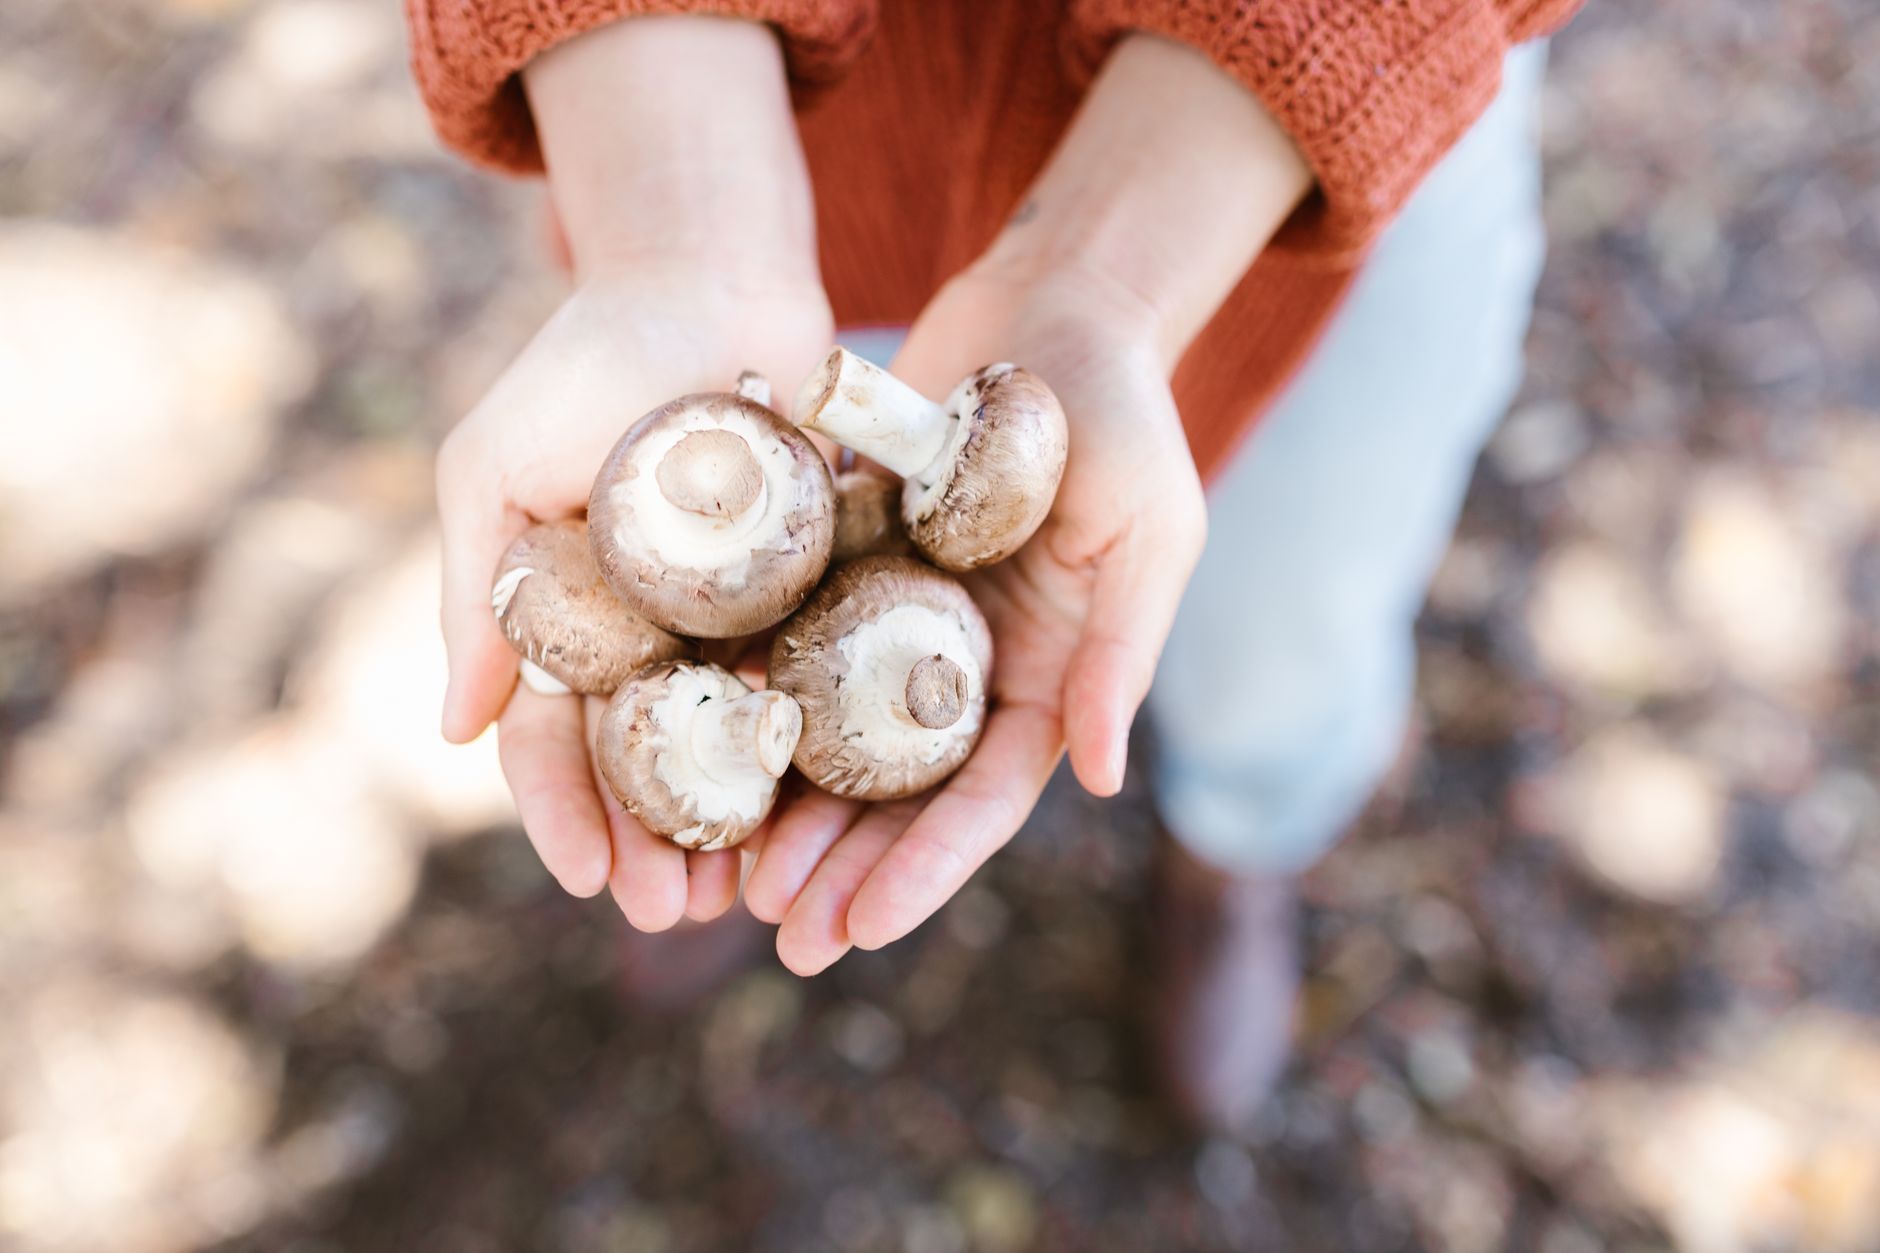
Cremini are ready to harvest when the caps are 1 to 2 inches across and still slightly rounded. The veil under the cap should be intact or just beginning to tear. Once the veil breaks and the gills show, the mushroom is moving toward portobello stage. That is not wrong, but the texture changes. For classic cremini, pick before the veil opens fully.
Harvest by grasping the mushroom at the base and twisting gently. Pull it up and away from the casing. Avoid cutting the stem unless you have trouble with substrate sticking. Twisting helps leave the casing intact for the next flush. Fill small holes with a bit of fresh casing if needed. Harvest all mushrooms at the same stage to keep the bed productive.
After the first flush, most cremini beds produce two more flushes. Remove any aborted pins or decaying mushrooms. These can attract mold and pests. Mist the casing lightly and keep conditions stable. The bed may rest for 7-10 days between flushes. Do not overwater while waiting.
Cremini mushrooms store best in a paper bag in the refrigerator for up to a week. Do not wash them until you are ready to cook. Washing early causes sliminess. Use a soft brush or damp cloth to remove bits of casing before storage. Fresh cremini have a firm cap and a pleasant earthy smell.
- Troubleshoot slow growth, contamination, and low yields.
Many home growers hit snags. The most common issue is mold contamination. Trichoderma looks like green patches and spreads fast. Penicillium is blue-green and powdery. Cobweb mold is gray and grows above the casing. If you see any of these, isolate the container and consider discarding. For detailed photos and fixes, see the mushroom contamination identification guide.
Slow colonization usually comes from low substrate temperature, too much water, or old spawn. Keep the substrate between 70-75°F. Check that the substrate is not soggy. If the spawn did not run after 21 days, it may be dead or contaminated. Sometimes waiting one more week helps, but a sour smell means the batch is lost.
No pins after casing often means the casing is too dry or the temperature is too high. Cremini pin best when you drop the temperature by 10-15 degrees after casing. The casing surface must stay damp. If the mycelium looks dry and matted, mist more and lower the temperature. Fresh air also helps trigger pinning.
Leggy stems and tiny caps point to high CO2 and low light. Increase fresh air exchanges and add a little soft light. Brown blotches on caps point to bacterial infection caused by water sitting on the mushrooms. Treat by improving airflow and misting less. If none of this works, start with fresh pasteurized substrate and new spawn rather than fighting a failing batch.
Red Flags & Warnings
- 🚨 Never eat a wild mushroom unless an expert positively identifies it. The North American Mycological Association offers identification resources and local club links.
- 🚨 Do not skip pasteurization. Raw compost often carries mold spores, nematodes, and weed seeds that will outcompete your cremini mycelium.
- 🚨 Do not let the casing layer dry out. A dry casing stops pin formation and can stall the entire crop.
- 🚨 Watch for green, black, or pink contamination. Remove contaminated trays immediately to protect other projects.
- 🚨 Avoid over-misting. Standing water on caps causes bacterial blotch and invites mold.
- 🚨 Do not use manure that smells strongly of ammonia. High ammonia levels above 0.01% will kill cremini mycelium.
Frequently Asked Questions
Are cremini mushrooms the same as button mushrooms?
Yes. Cremini are a brown strain of Agaricus bisporus, the same species as white button and portobello mushrooms. The difference is the color and the stage at harvest. White buttons are harvested earlier and have a mild flavor. Cremini are slightly older and have a denser texture and earthier taste.
How long does it take to grow cremini mushrooms at home?
Expect about 6-9 weeks from spawn to first harvest. Colonization takes 14-21 days. Casing and pinning take 7-14 days. Then the first mushrooms mature in another 7-10 days. Subsequent flushes appear over several more weeks.
What substrate is best for cremini mushrooms?
A compost-based substrate works best. Use 60% wheat straw, 28% horse manure, 10% gypsum, and 2% lime by dry weight. Pasteurize it at 160-170°F for 1-2 hours. The mix should feel like a wrung-out sponge before you add spawn.
Do I need a casing layer for cremini mushrooms?
Yes, a casing layer strongly improves yields. Use 50% peat moss and 50% vermiculite with a little lime to reach pH 7.5. Apply 1 to 1.5 inches. Keep it moist to trigger pinning.
What temperature and humidity do cremini need to fruit?
Fruiting temperature should stay between 60-66°F. Relative humidity should be 85-95%. High humidity and fresh air exchange are critical. Mist the casing daily and fan the bin two to three times per day.
Can I grow cremini from store-bought mushrooms?
It is possible but unreliable. Store-bought cremini can make spore prints or tissue cultures, but you need sterile technique. Buying certified grain spawn is much easier for beginners. Spawn gives you a clean, vigorous start.
What Should You Remember?
- Cremini basics: Cremini are brown Agaricus bisporus, the same species as white buttons and portobellos.
- Substrate: Use pasteurized compost with wheat straw, horse manure, gypsum, and lime.
- Spawn rate: Add 5-10% grain spawn by wet weight, then colonize at 70-75°F for 14-21 days.
- Casing layer: Apply 1 to 1.5 inches of peat and vermiculite to trigger pinning.
- Fruiting conditions: Keep 60-66°F, 85-95% humidity, and gentle fresh air.
- Harvest timing: Pick cremini when caps are 1 to 2 inches and the veil is intact.
- Troubleshooting: Address contamination, dry casing, and high CO2 quickly to save the crop.
This article is for general information only. Mushroom identification and consumption carry health and safety risks , never eat a wild mushroom unless positively identified by an expert, and follow sterile technique and food-safety guidance for home grows.