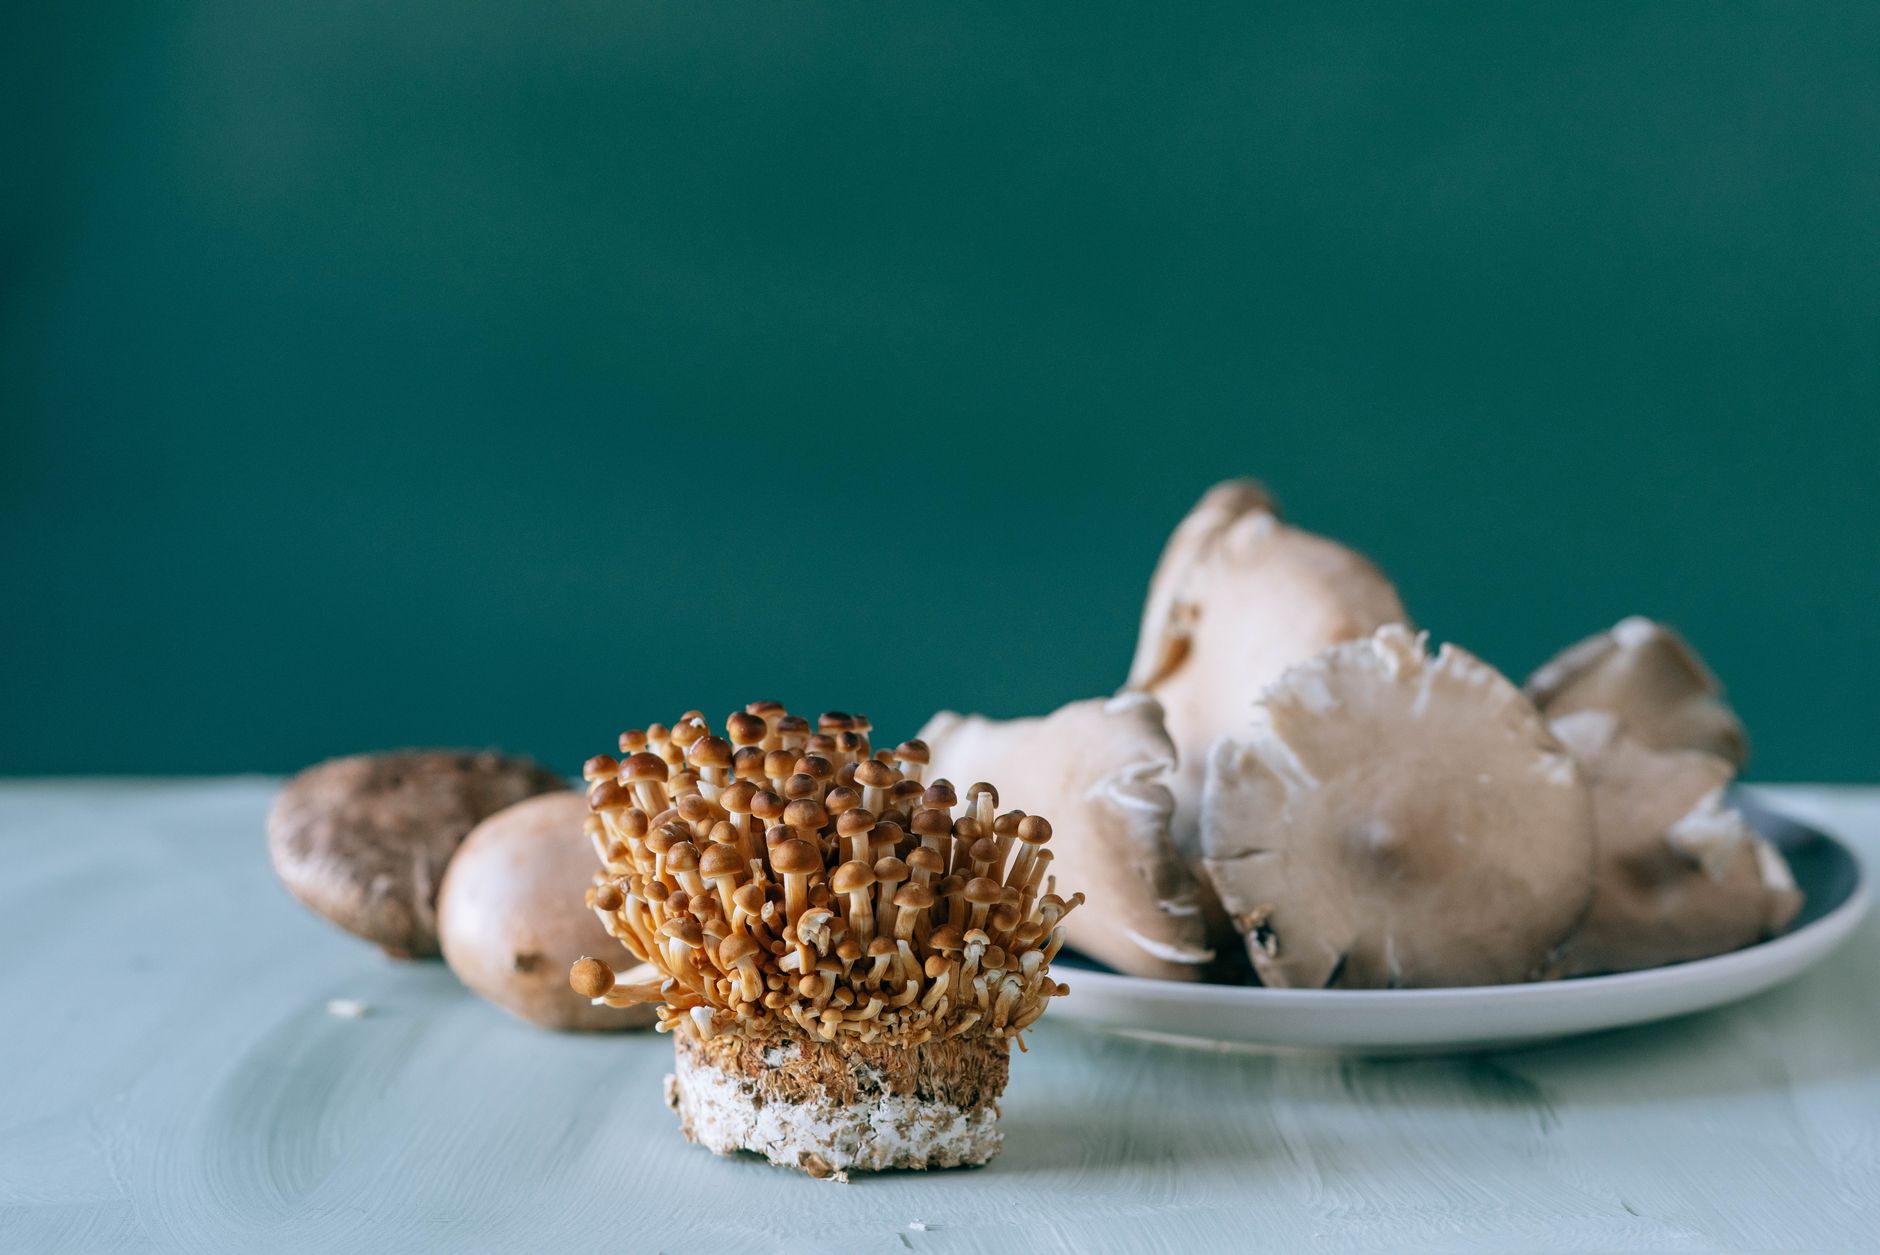
Nameko (Pholiota nameko) is a small amber mushroom with a glossy, gelatinous cap. It is popular in Japanese cooking, especially miso soup and nabemono. The mushroom has a rich, earthy flavor and a unique slippery texture. Many home growers avoid nameko because it needs cooler fruiting temperatures and higher humidity than oyster mushrooms. But with the right setup, you can produce consistent flushes indoors. This guide shows you exactly how to grow nameko at home, from spawn to harvest.
Nameko is a hardwood lover. It grows naturally on fallen beech and oak logs in northern Japan. That means your indoor substrate should mimic that woody environment. A standard mix is 80% hardwood sawdust, 20% wheat bran, and 60-65% water content. You can also use a best mushroom substrate guide to understand alternative mixes. The Penn State Extension offers detailed research on mushroom substrates and supplementation, which supports this recipe. Following tested ratios reduces contamination and improves yields.
The biggest challenge with nameko is temperature control. Unlike oyster mushrooms that fruit at room temperature, nameko needs a cold shock and a fruiting space that stays between 10 and 15°C. A cool basement, wine fridge, or dedicated fruiting chamber works well. If you have never built a fruiting space, check our diy mushroom fruiting chamber guide. Getting the environment right is more than half the battle.
This article walks through each stage of the process. You will learn how to prepare substrate, sterilize it, inoculate with grain spawn, incubate, cold shock, fruit, and harvest. We also cover troubleshooting common problems. Whether you are new to mushroom cultivation or have grown shiitake, nameko offers a rewarding challenge. Let’s get started.
What You’ll Need
- Pressure cooker
- Polypropylene grow bags
- Grain spawn
- Hardwood sawdust and wheat bran
- Still air box or laminar flow hood
- Humidity controller and humidifier
- Thermometer and hygrometer
- Spray bottle
How Do You Grow Nameko Mushrooms at Home?
- Prepare your growing space and tools
Start with a clean work area. Nameko is sensitive to contamination. Wipe surfaces with 70% isopropyl alcohol. Use a still air box or laminar flow hood for inoculation. This reduces mold spores. A basic mushroom contamination identification guide helps you spot problems early. Gather your tools: mushroom grow bags, pressure cooker, thermometer, hygrometer, spray bottle.
The substrate will need sterilization, not just pasteurization. A pressure cooker that reaches 15 PSI is essential. I use a 23-quart model. Check the pressure cooker on Amazon if you need one. Sterilization kills competing molds and bacteria. Without it, your blocks will likely fail. The next step covers the exact recipe.
You also need a fruiting area that stays cool and humid. A small grow tent with a humidifier works. Or a modified mini fridge with a humidity controller. I use a humidity controller plugged into a humidifier and an exhaust fan. This keeps relative humidity steady at 90-95%.
Keep in mind that nameko is not a beginner mushroom. If you want a faster, more forgiving grow, start with oyster mushrooms. But if you are ready, prepare your space before ordering spawn. That way you can move quickly once materials arrive.
- Prepare and sterilize the substrate
Use a hardwood sawdust blend. I recommend 80% oak or maple sawdust and 20% wheat bran. Add water until the mix reaches 60-65% moisture content. Squeeze a handful. It should hold shape but not drip. This is the same base recipe used for many wood-loving species. You can learn more about best mushroom substrate guide to adjust for other supplements.
Load the moist substrate into grow bags. I use polypropylene bags with filter patches. Fill each bag with 2-3 kg of substrate. Fold the top over and place in the pressure cooker. Sterilize at 15 PSI for 2.5 hours. Let it cool inside the cooker overnight. This step is critical because nameko spawn cannot outcompete contaminants.
If you do not have a pressure cooker, you can try pasteurization, but results are less reliable. Some growers use hydrated lime cold pasteurization for straw, but that suits oyster mushrooms better. For nameko, stick with sterilization. The high nutrient wheat bran invites mold. Only sterile substrate keeps it safe.
After cooling, the bags are ready for inoculation. In the next step, you will add grain spawn in a clean environment. Make sure the bags are at room temperature before you open them. Hot substrate kills the spawn.
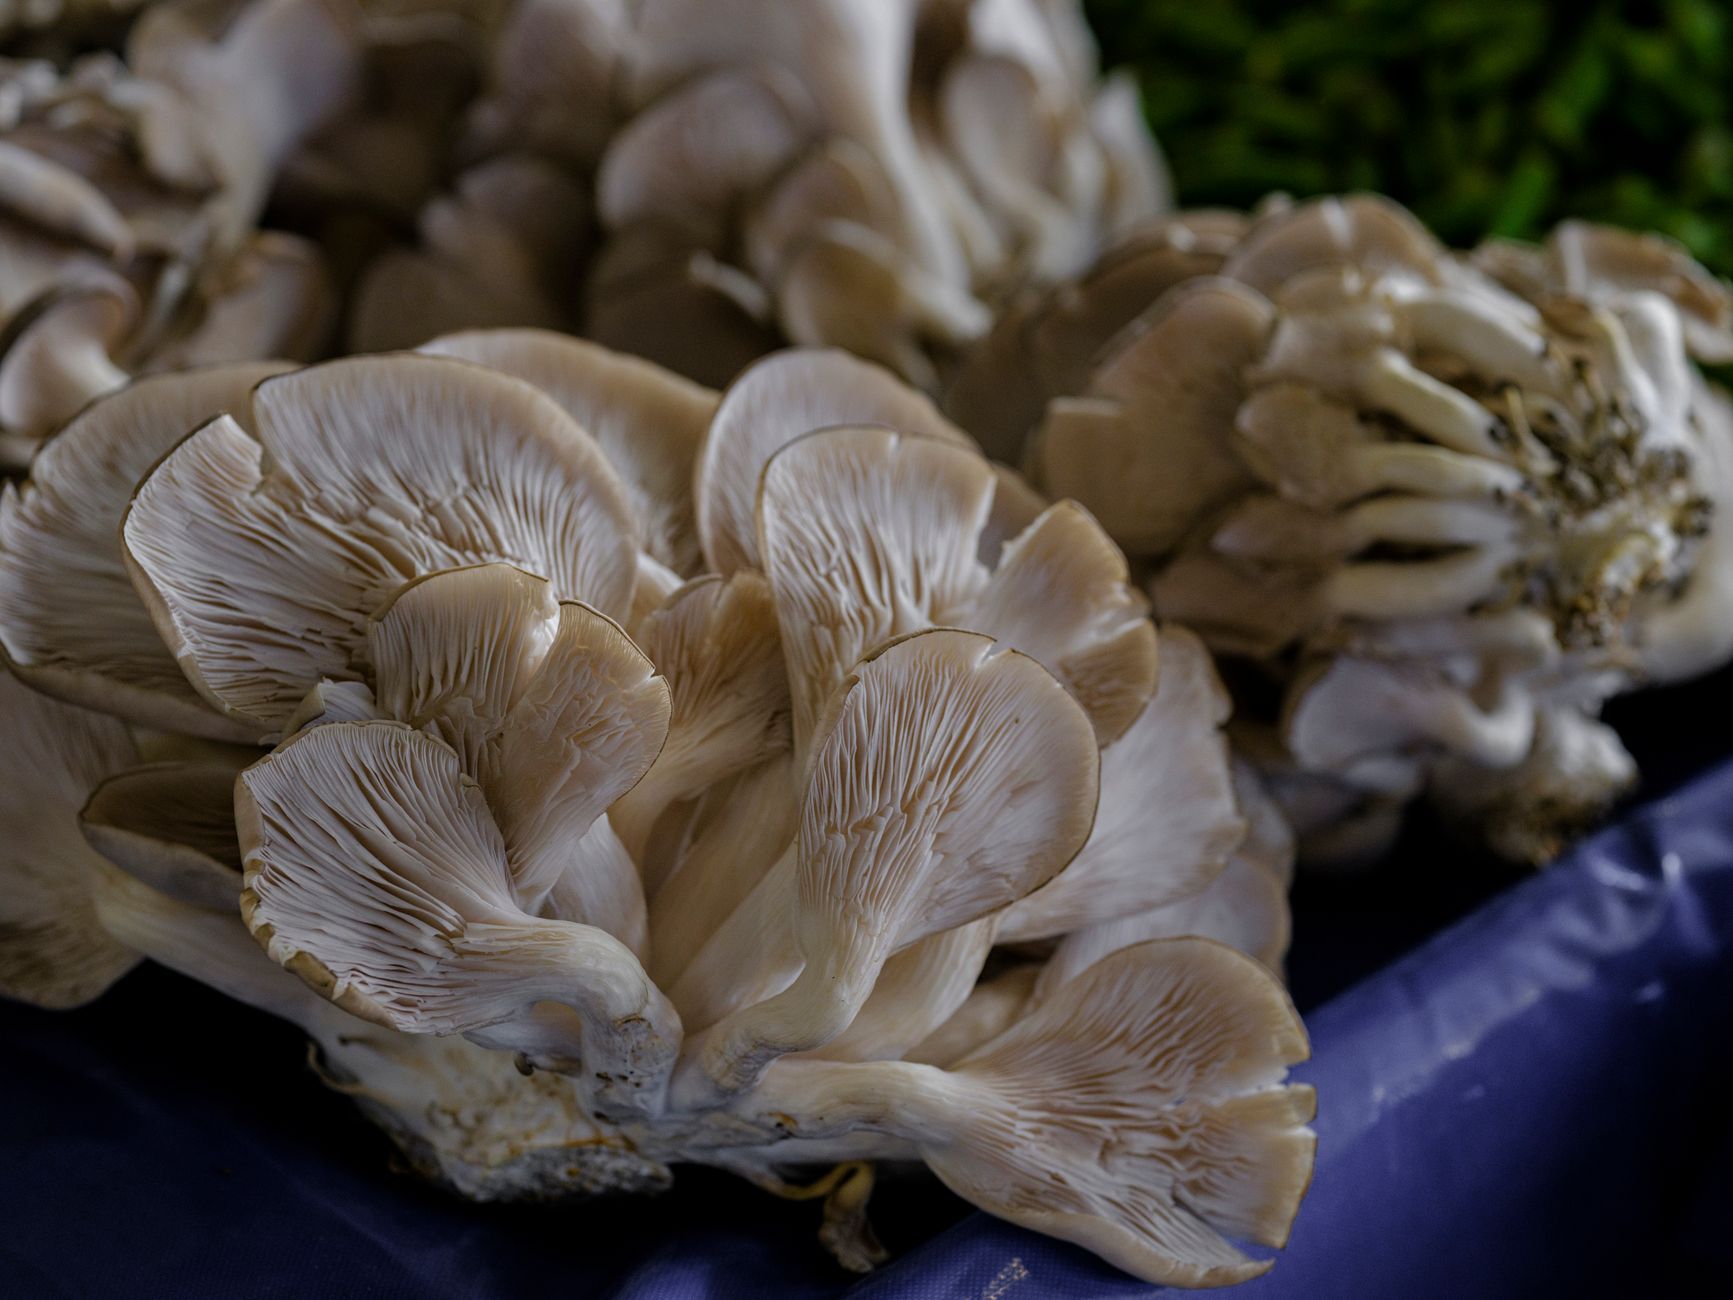
- Inoculate with grain spawn
Nameko grain spawn is typically rye berries or millet colonized with nameko mycelium. You can buy spawn from a reputable supplier or make your own with our how to make grain spawn guide. Using fresh, healthy spawn is key. Old spawn that has started to pin or dry out will perform poorly.
In a still air box or in front of a laminar flow hood, open the cooled substrate bag. Add about 5-10% spawn by weight. For a 3 kg bag, use 150-300 grams of spawn. Mix the spawn into the top few inches of the substrate. Then seal the bag with an impulse sealer or fold and clip.
Work quickly but carefully. Every second the bag is open, mold spores can enter. If you see green, black, or pink spots later, that is contamination. Our mushroom contamination identification guide explains what to look for and how to prevent spread. One contaminated bag can ruin a batch if not removed early.
After sealing, label each bag with the date and strain. Gently shake the bag to distribute spawn more evenly. Some growers prefer to mix spawn throughout the substrate. Others layer it. Both work. The mycelium will grow from each spawn point.
- Incubate until fully colonized
Place the inoculated bags in a dark, warm spot. The ideal incubation temperature is 21-24°C (70-75°F). Nameko mycelium is slower than oyster mycelium. Expect full colonization in 30-45 days. Check the bags weekly. White mycelium should spread from the spawn points.
Keep the bags away from direct sunlight. Light during incubation can trigger early pinning. You also want stable temperature. A simple shelf in a closet works. If your home runs cooler, use a seedling heat mat set to 22°C. Do not let the bags overheat. Above 28°C slows growth and invites thermophilic molds.
As the mycelium grows, you may see amber droplets or a yellow tinge. That is normal for nameko. It is often called metabolite exudate. Healthy nameko mycelium can look slightly creamy. If you see green or black, that is contamination. Remove that bag immediately.
Once the bag is completely white and feels rubbery, it is ready for fruiting. This takes about four to six weeks. Patience matters. Opening a partially colonized bag exposes uncolonized substrate to contaminants. Wait until the entire block is solid.
- Cold shock and set up fruiting conditions
Nameko needs a cold shock to start fruiting. Move the colonized blocks to a cool area at 10-15°C (50-59°F). Keep them in the dark for 24-48 hours. This temperature drop mimics autumn in their native habitat. It tells the mycelium to switch from vegetative growth to mushroom production.
After the cold shock, introduce fresh air and light. Cut a small X in the bag above the most colonized area. Place the block in your fruiting chamber. Set humidity to 90-95%. Provide indirect light for 8-12 hours per day. A simple LED or fluorescent light works. Use our mushroom fruiting conditions guide for detailed parameters for other species.
A common setup is a small grow tent with a humidifier and a fan. If you do not have a tent, a clear plastic tote with perlite at the bottom works. Mist the inside walls, not the block directly. Direct misting can damage young pins and cause bacterial blotch. Use a hygrometer to monitor humidity. The humidity controller automates this.
Air exchange is important. Stale air causes long stems and small caps. Run an exhaust fan for a few minutes every hour, or open the chamber and fan it manually. But keep humidity high. In the first week after cold shock, you should see small orange pins forming.
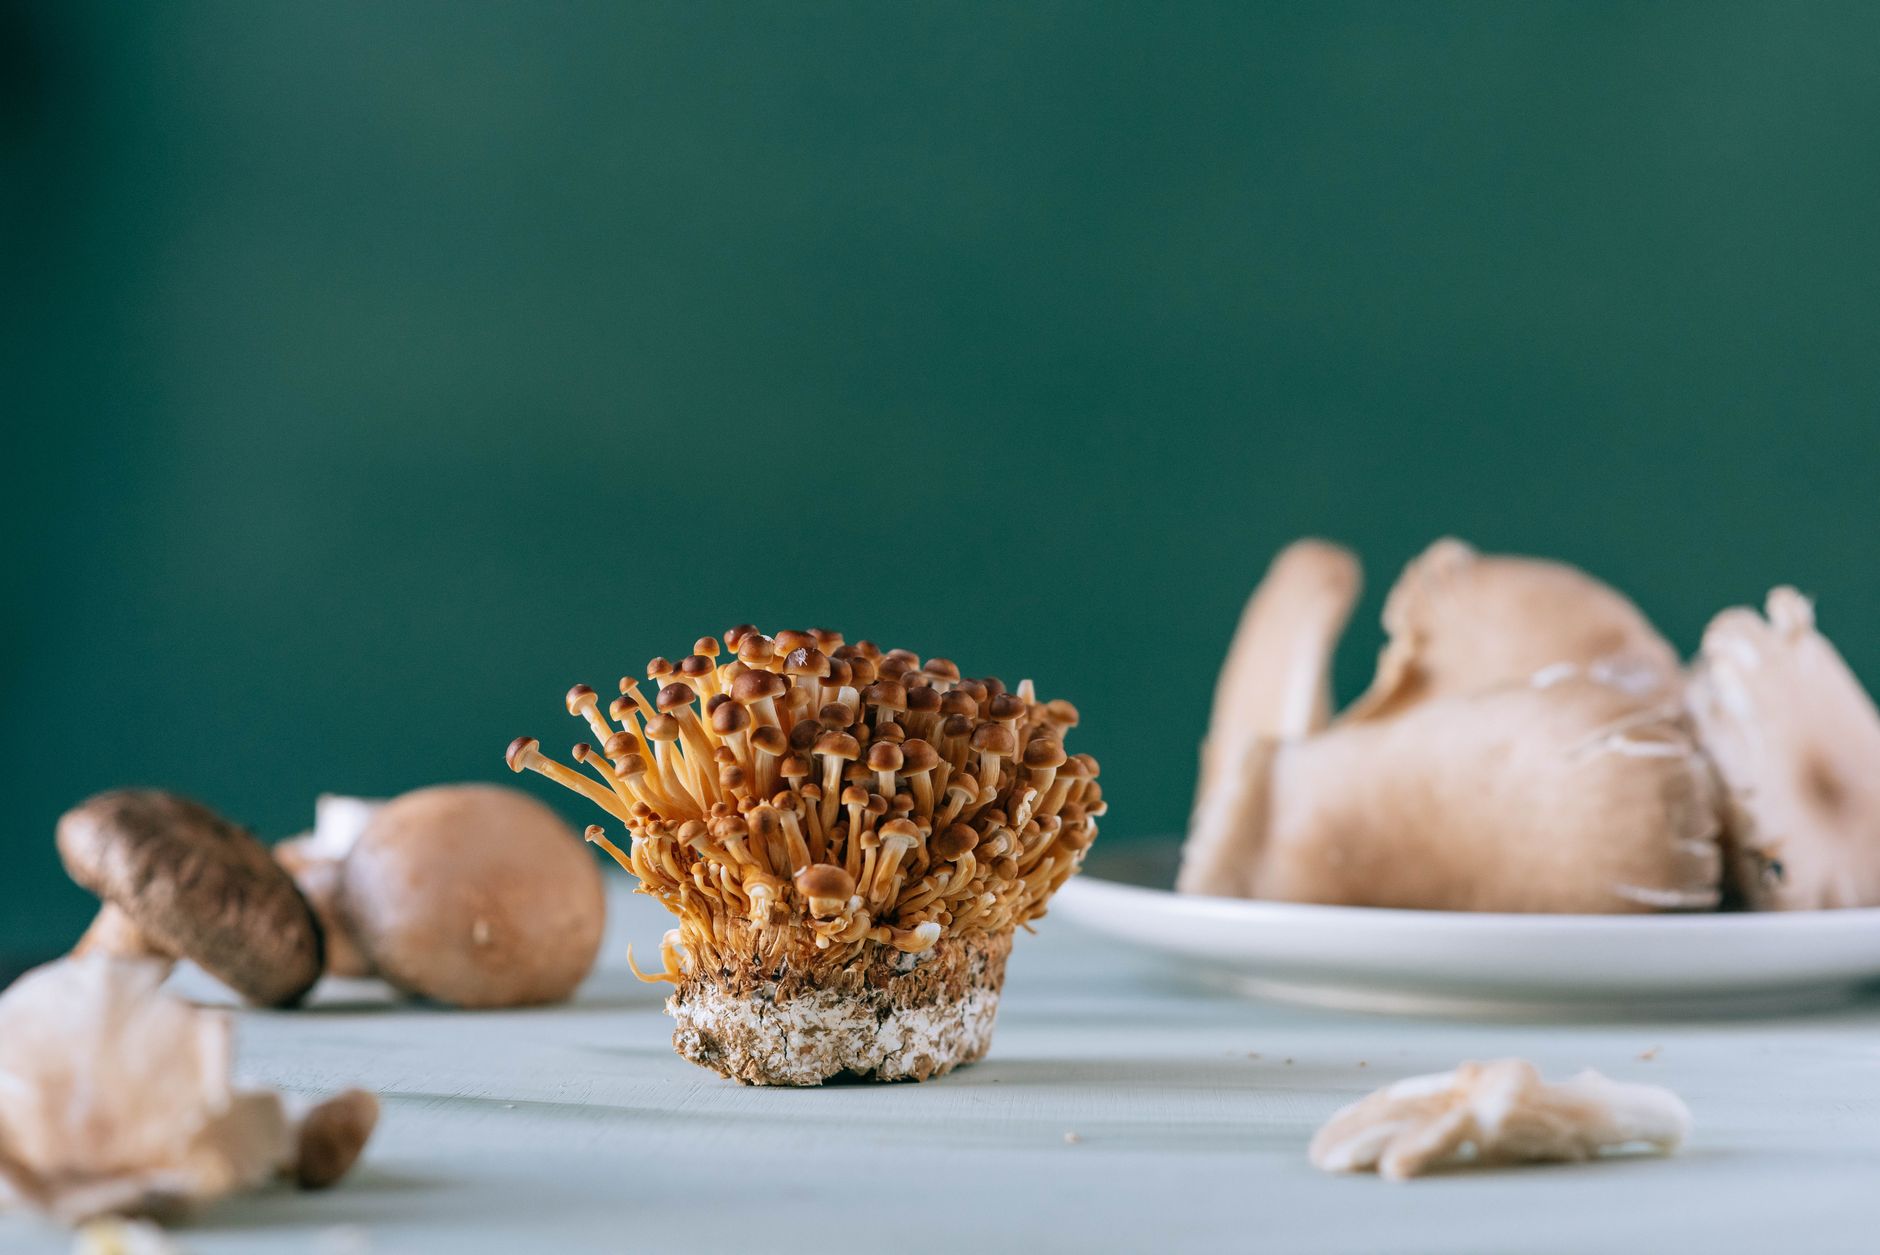
- Maintain fruiting conditions and watch pins develop
Once pins appear, keep temperature steady at 10-15°C. Fluctuations can cause aborts. Humidity must stay above 90%. If the air is too dry, the caps lose their slime coat and crack. If it is too wet, bacteria can grow. A fine mist from a humidifier is better than heavy droplets.
Nameko pins are tiny and dark orange. Over the next 5-7 days, they grow into clusters of mushrooms. The caps expand and develop a thick, jelly-like layer. That slime is natural. It protects the mushroom from drying out. Some people rinse it off before cooking if they find it too slippery.
Make sure there is enough fresh air. Carbon dioxide levels above 1000 ppm cause leggy mushrooms. You can achieve this by opening the fruiting chamber twice a day for a few minutes. Or use a small computer fan on a timer. Combine this with high humidity. A diy mushroom fruiting chamber guide shows how to balance these factors.
Check the blocks daily. Remove any dead pins or aborted mushrooms. These can rot and attract fungus gnats. Also watch for signs of contamination. Healthy nameko blocks smell earthy, not sour. If you notice off smells, isolate the block.
- Harvest nameko mushrooms
Harvest when the caps are 2-3 cm in diameter and still rounded. The veil under the cap may be just starting to break. Do not wait until the caps flatten completely. Overly mature nameko lose flavor and texture. Use clean hands or a knife to twist or cut the cluster at the base.
The mushrooms often grow in tight clusters. You can harvest the whole cluster at once. If only a few are ready, twist off individual mushrooms. Be gentle to avoid disturbing nearby pins. After harvesting, trim any substrate from the base. Store fresh nameko in a paper bag in the fridge for up to a week. Do not store in plastic, which traps moisture and speeds spoilage.
Nameko has a short shelf life. If you have a large flush, consider drying or freezing. To freeze, slice and saute first. Dried nameko rehydrates well in soups. But the fresh, slippery texture is lost. Many growers prefer to cook and eat them within a day or two.
The first flush is usually the largest. Each 3 kg block can produce 300-600 grams of fresh mushrooms. After harvest, the block rests and then produces a second flush.
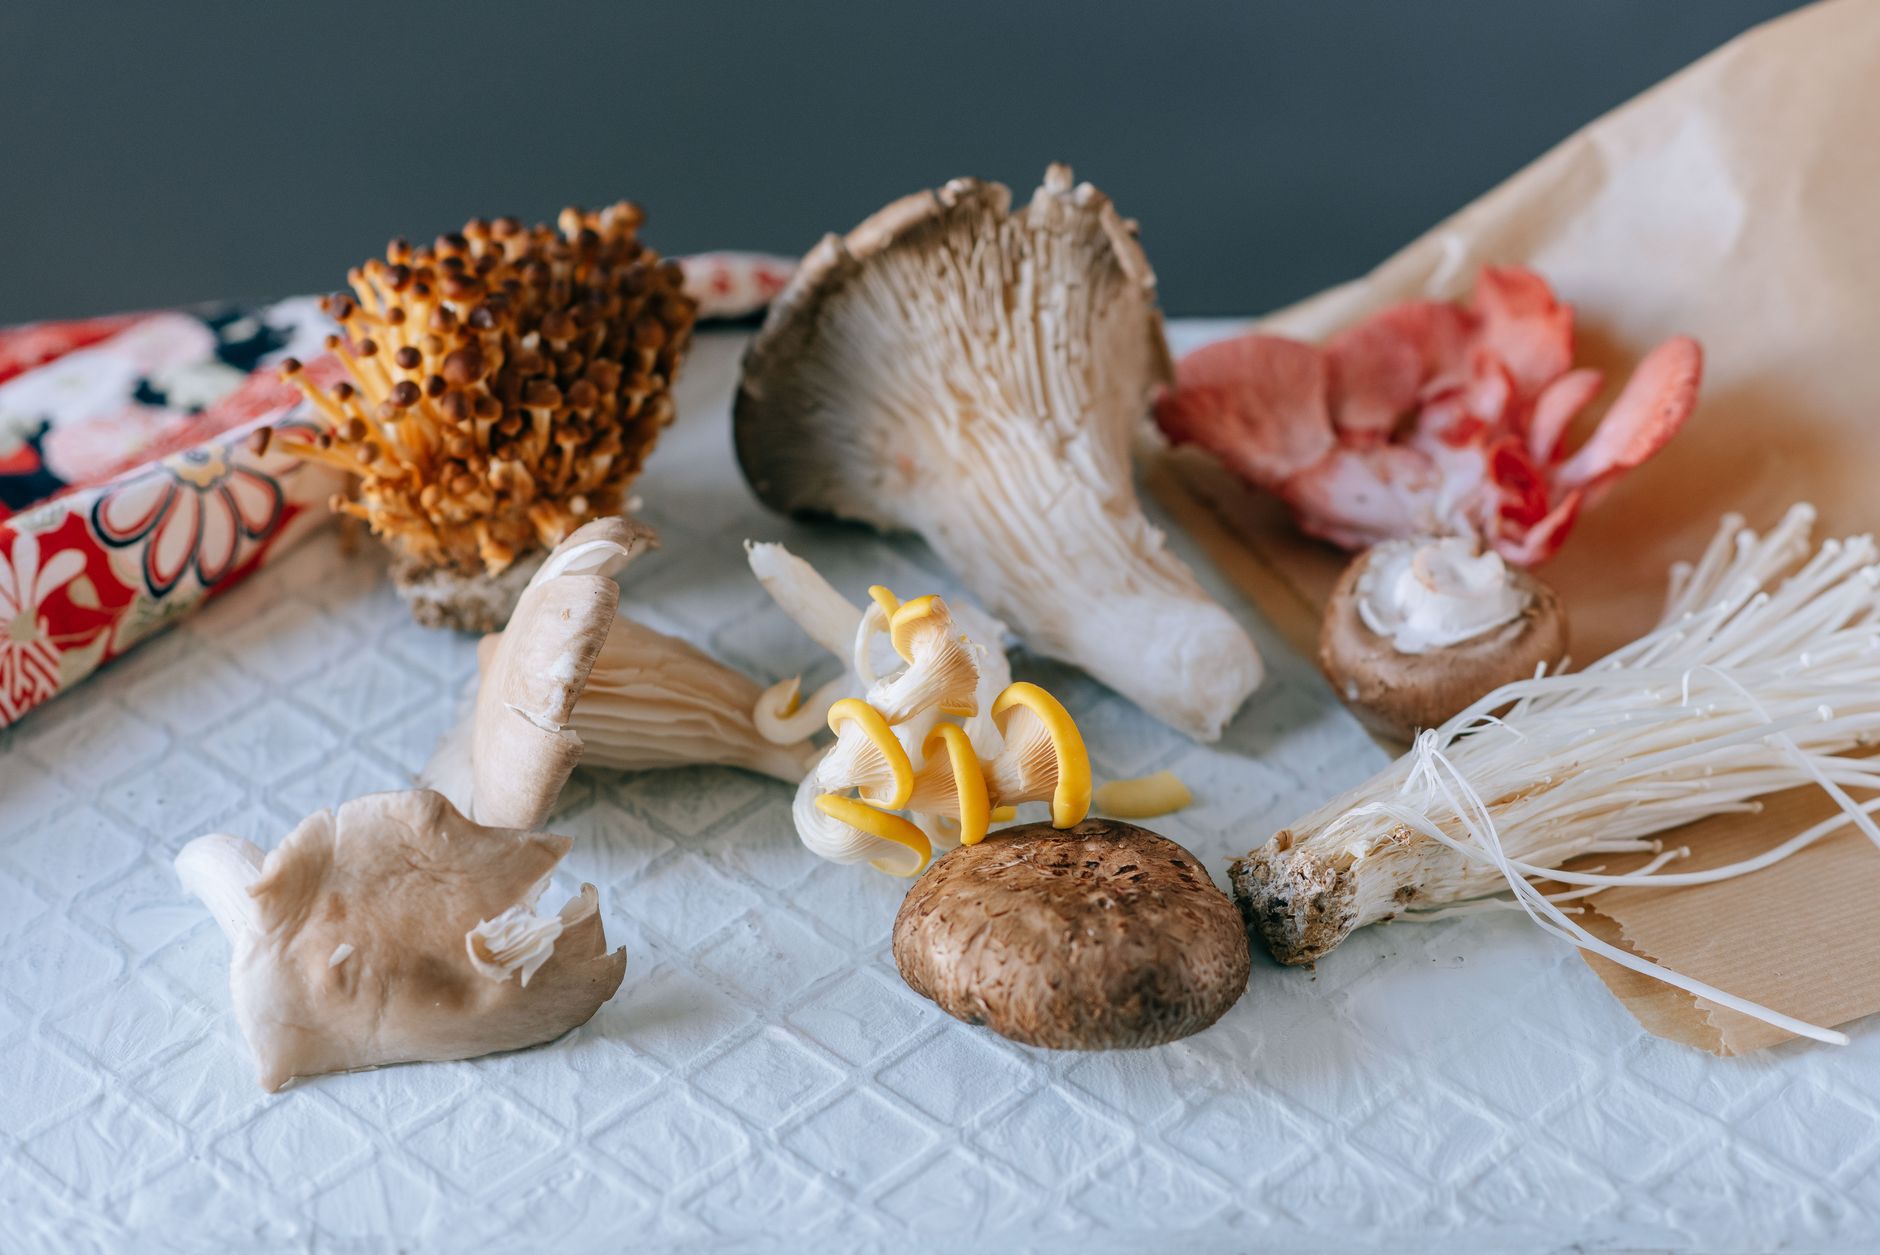
- Second flush and block maintenance
After the first harvest, you can get a second and sometimes a third flush. Let the block rest for 5-7 days. Keep it in the fruiting chamber with high humidity but no new cold shock. The mycelium will recover. Then soak the block in cold water for 4-6 hours. This rehydrates the substrate.
Drain the excess water and place the block back in fruiting conditions. You may need to cut a new X or remove the old dried surface. The second flush often has fewer but larger mushrooms. Expect total yield across flushes to reach 25-45% biological efficiency. That means 0.25-0.45 kg fresh mushrooms per 1 kg dry substrate.
If the block shrinks significantly or starts to smell, it may be spent or contaminated. You can compost spent blocks. Never reuse contaminated material indoors. For more on diagnosing problems, see our mushroom contamination identification guide. Good record keeping helps you improve each grow.
Between flushes, monitor humidity and temperature. Nameko blocks are resilient but not invincible. After two or three good flushes, yields decline sharply. At that point, start a new batch. Rotation keeps you in fresh mushrooms.
Red Flags & Warnings
- 🚨 Always cook nameko mushrooms before eating. Raw nameko can cause stomach upset. The slime layer is edible but may be an acquired taste.
- 🚨 Never eat a wild mushroom unless an expert from the North American Mycological Association (NAMA) positively identifies it. Many toxic lookalikes exist. Use the NAMA website for identification resources.
- 🚨 Do not let the fruiting temperature exceed 18°C. High heat causes poor pinning and aborted mushrooms. Nameko is a cold-weather species.
- 🚨 Watch for contamination, especially green mold. If you see any green, black, or pink spots, seal the bag and discard it outside. Do not open it indoors.
- 🚨 Avoid over-misting the mushrooms directly. Heavy water droplets cause bacterial blotch and slimy caps that rot. Fine mist or humidifier output only.
- 🚨 Be patient during colonization. Opening bags early or checking too often introduces contaminants. Let the mycelium fully colonize.
Frequently Asked Questions
What is the ideal temperature for nameko fruiting?
Nameko fruits best at 10-15°C (50-59°F). A cold shock of 24-48 hours at this range triggers pinning. Keep temperatures steady during fruiting.
How long does nameko take to colonize?
Full colonization takes 30-45 days at 21-24°C (70-75°F). The mycelium is slower than oyster mushroom. Patience is key.
Can I grow nameko on straw?
Nameko does not fruit well on straw. It prefers supplemented hardwood sawdust. Use an 80% sawdust and 20% wheat bran mix.
Why are my nameko caps so slimy?
The thick gelatinous layer is natural for nameko. It protects the mushroom from drying out. Rinse it off before cooking if you prefer a less slippery texture.
How many flushes can I get from one block?
You can expect two to three flushes. Soak the block in cold water for 4-6 hours between flushes to rehydrate it.
Do I need a pressure cooker to grow nameko?
Yes, a pressure cooker is strongly recommended. The high-nutrient substrate needs sterilization at 15 PSI for 2.5 hours to prevent contamination.
What Should You Remember?
- Substrate: Use 80% hardwood sawdust and 20% wheat bran with 60-65% water content.
- Sterilization: Pressure cook at 15 PSI for 2.5 hours to kill contaminants.
- Colonization: Incubate at 21-24°C for 30-45 days until fully white.
- Cold Shock: Move to 10-15°C for 24-48 hours to trigger pinning.
- Humidity: Maintain 90-95% relative humidity during fruiting.
- Harvest: Pick when caps are 2-3 cm wide and still glossy. Store in paper bag.
- Flushes: Soak block between flushes for multiple harvests.
This article is for general information only. Mushroom identification and consumption carry health and safety risks , never eat a wild mushroom unless positively identified by an expert, and follow sterile technique and food-safety guidance for home grows.