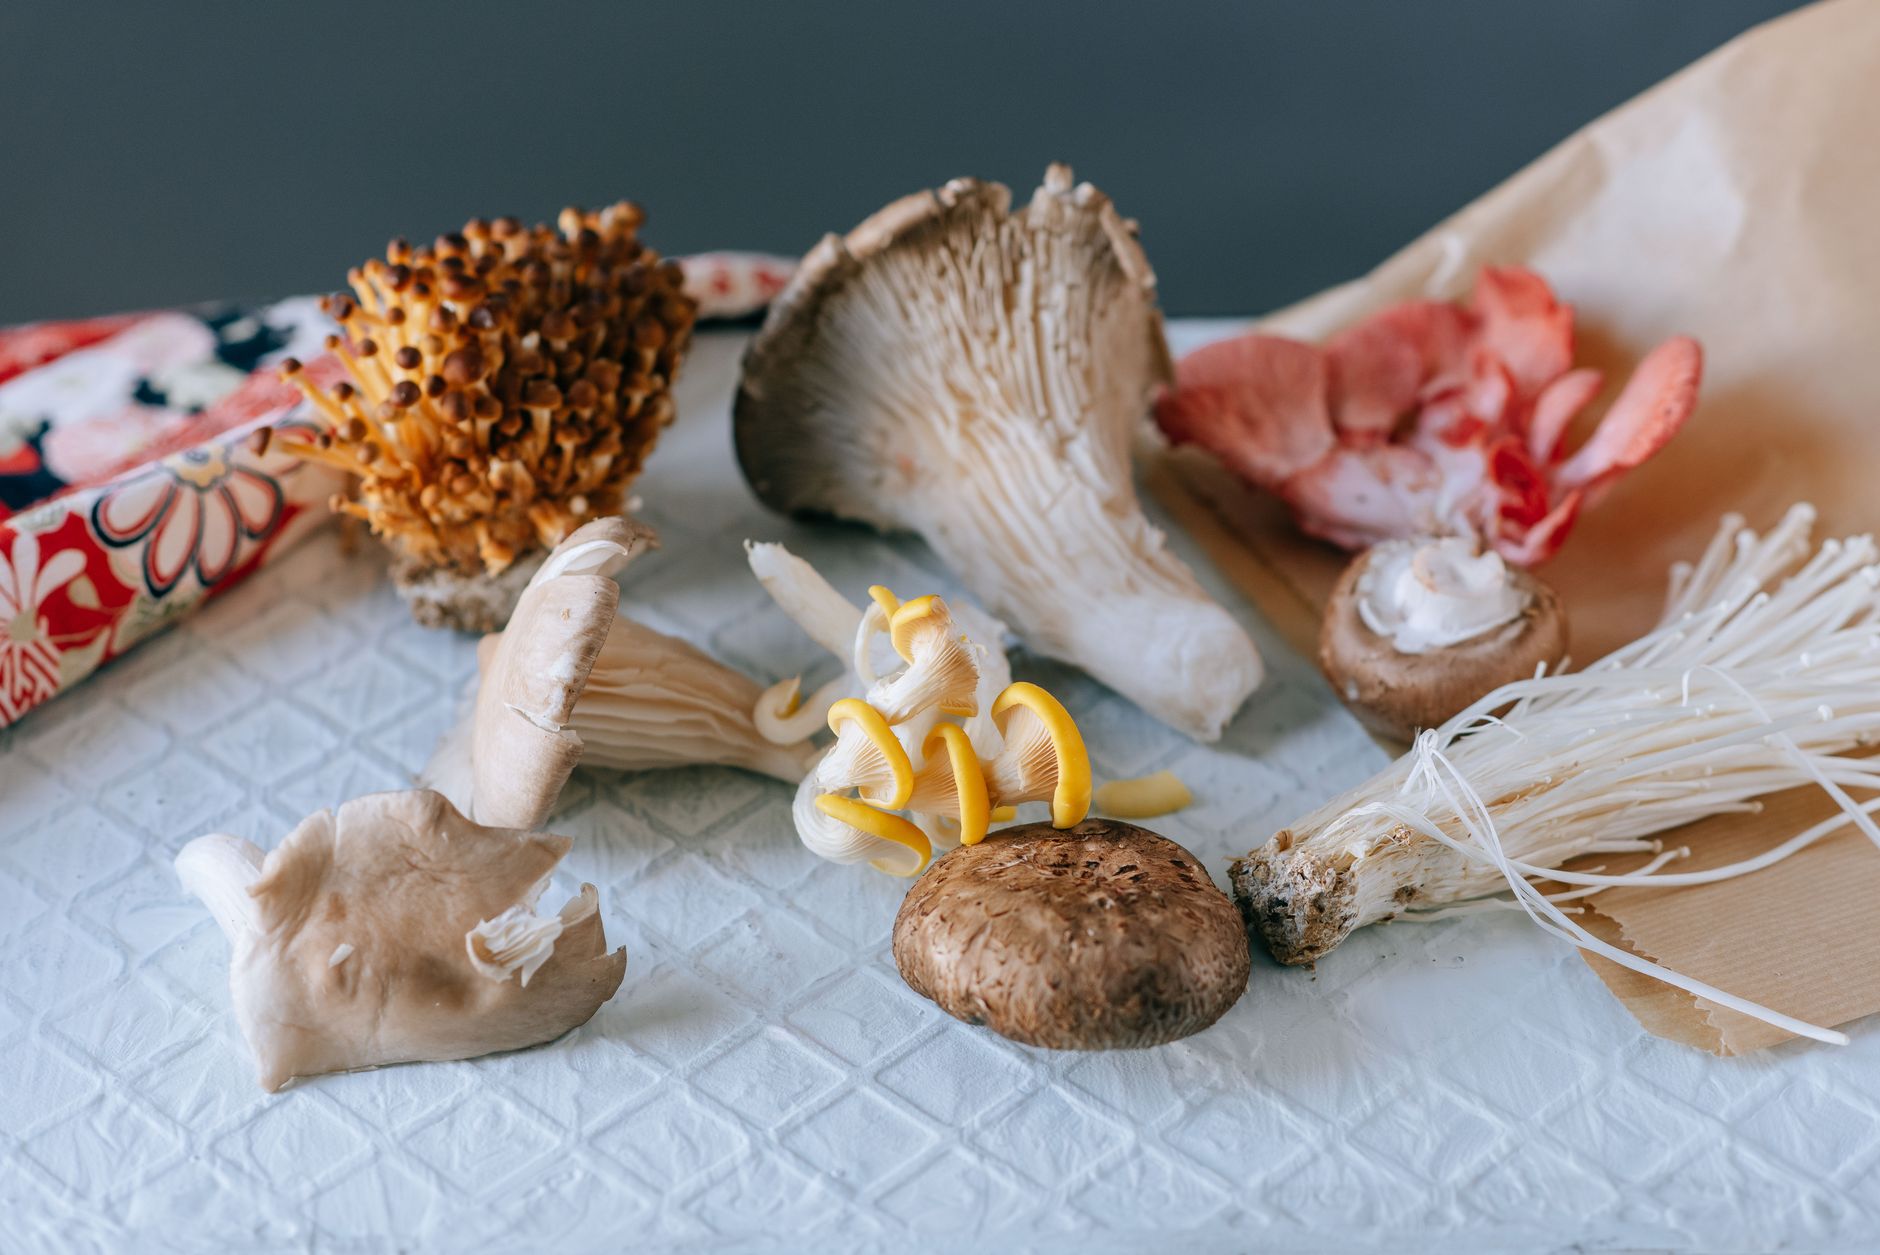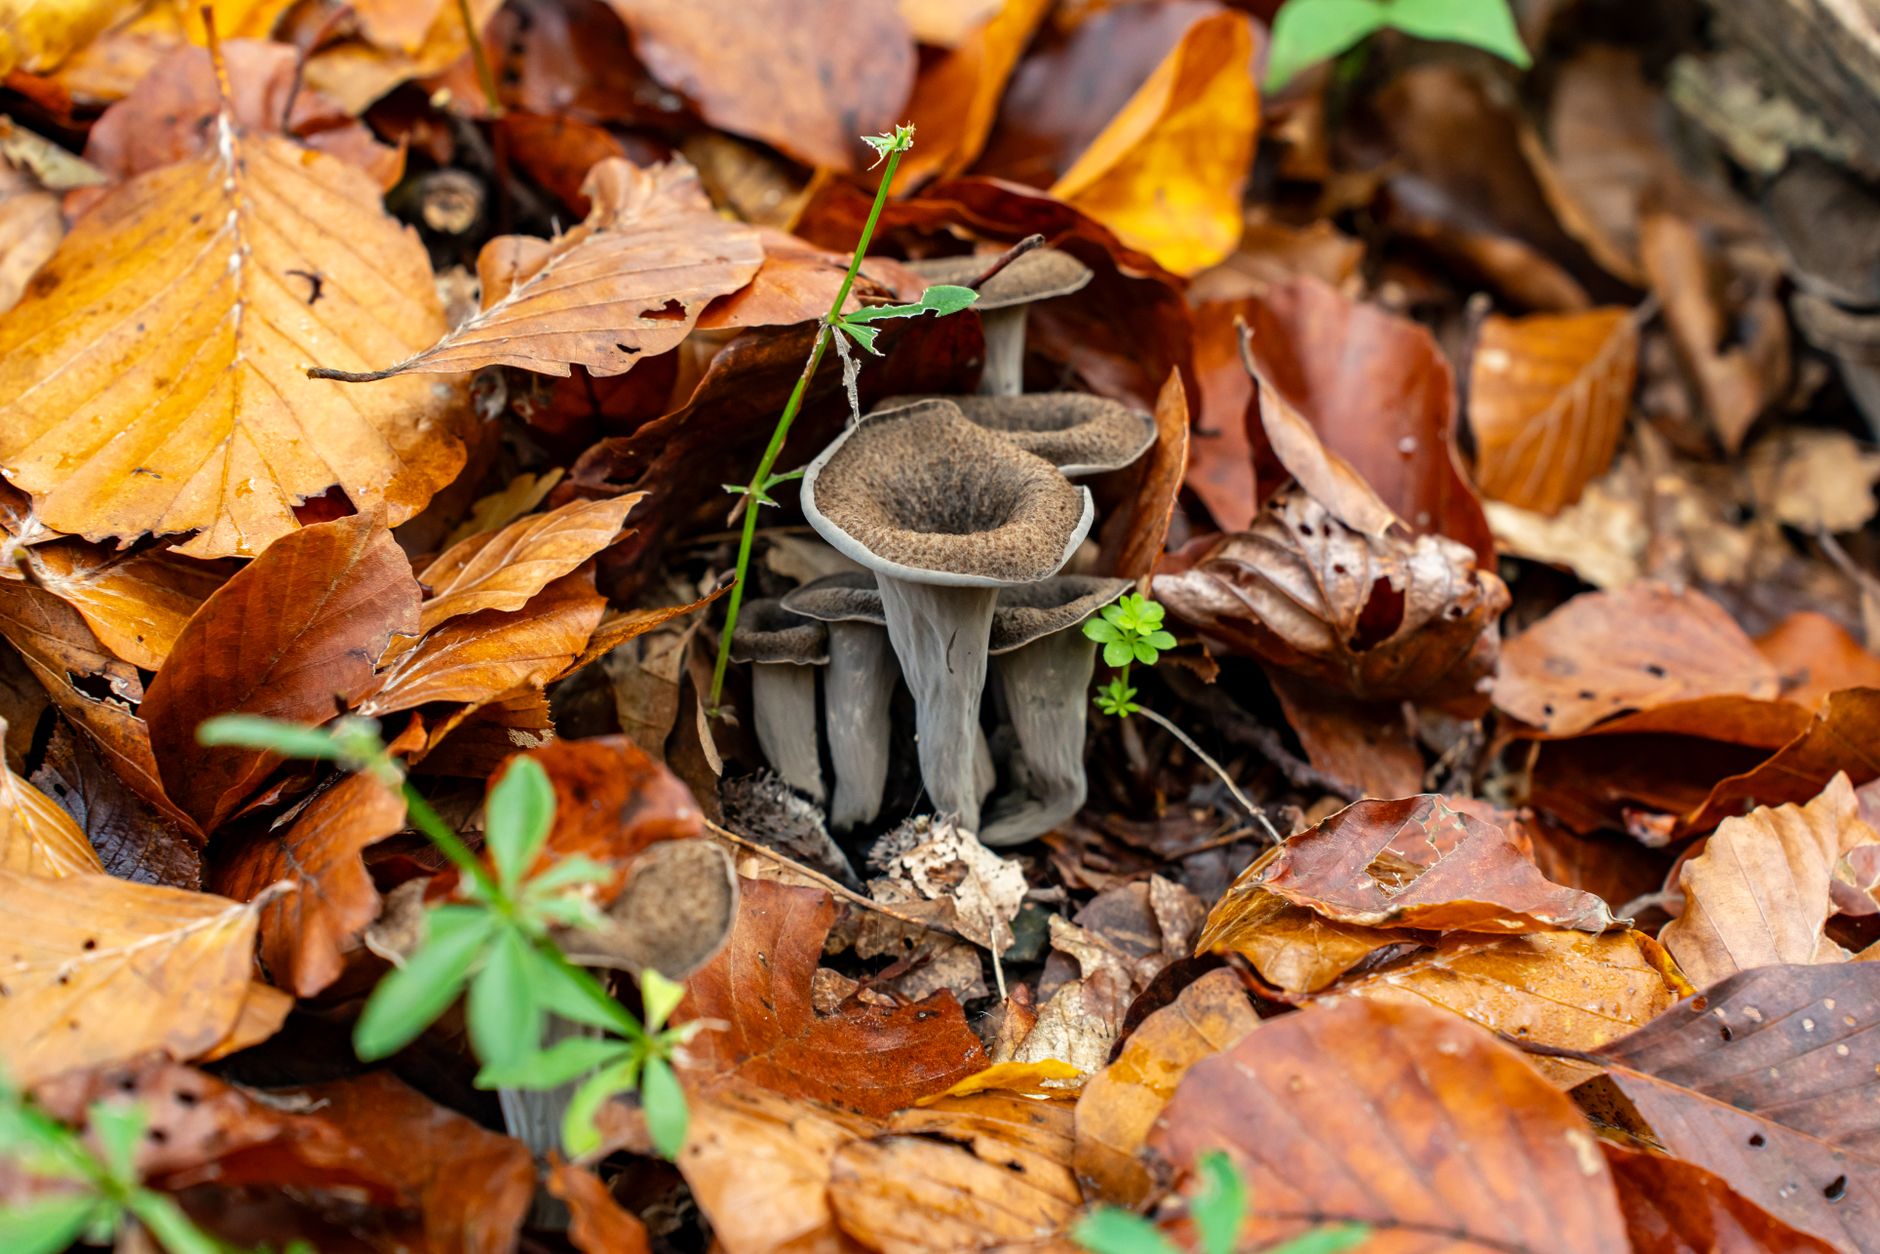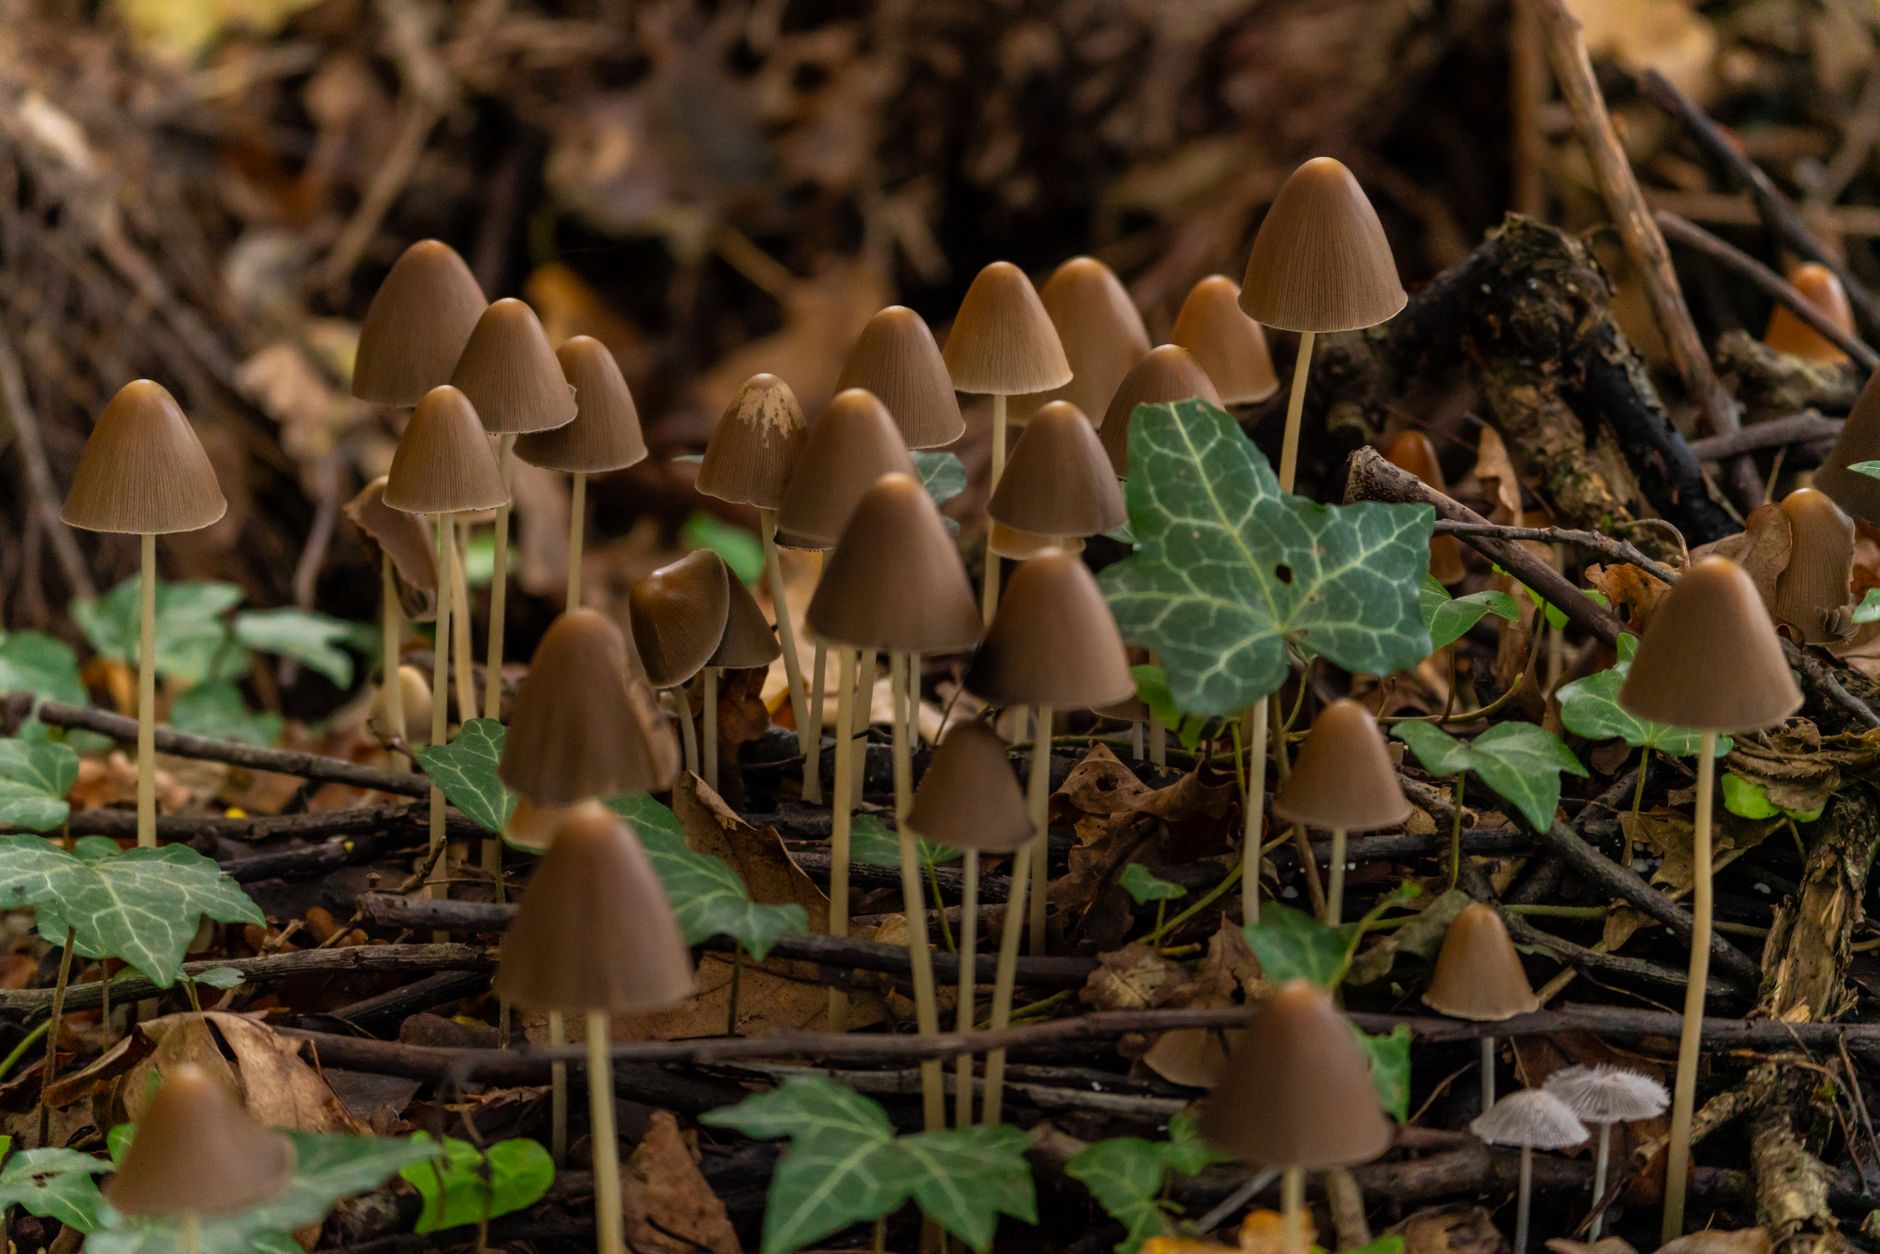
Velvet pioppino (Agrocybe aegerita) is one of the most rewarding mushrooms for home growers who want something beyond oyster mushrooms. It produces tight clusters of brown-capped, long-stemmed mushrooms with a firm texture and a nutty, earthy flavor. Because it thrives on supplemented hardwood sawdust, it fits well into any home cultivation setup that already handles species like chestnut mushrooms. The mushroom is also called black poplar mushroom, and it has a long history in Mediterranean and Asian cooking. It stores well in the refrigerator and holds its shape during sautéing, making it a favorite for soups, pasta, and stir-fries.
Home cultivation of velvet pioppino gives you full control over freshness and growing conditions. The process is easier than many growers expect, but it does require patience. Colonization is slower than pink oyster or lion’s mane, often taking 14 to 21 days before the block is ready for fruiting. Still, if you have already made grain spawn or prepared a hardwood substrate, you are more than halfway there. You can use a ready-made grow kit for your first attempt, or you can follow a full grain-to-fruit workflow. This guide walks through both the substrate recipe and the environmental conditions needed for reliable flushes.
The most important numbers to remember are 70-75°F for colonization, 50-65°F for fruiting, and 85-95% humidity once pins form. Those specific ranges, along with a supplemented hardwood substrate, separate successful velvet pioppino grows from disappointing ones. Penn State Extension notes that wood-loving mushrooms like pioppino respond well to a mixture of hardwood sawdust and nitrogen-rich supplements such as wheat bran. The rest of this guide explains each stage in detail.
Before you start, know that velvet pioppino is not a beginner mushroom you can ignore for weeks. It needs steady humidity and cooler fruiting temperatures. If your home runs warm, you may need a small fruiting chamber or a cool basement. The good news is that once you dial in the environment, the mushrooms are reliable and productive. Use clean spawn, keep the substrate properly hydrated, and watch for signs of contamination. With those basics covered, you can grow beautiful clusters at home year-round.
What You’ll Need
- Pressure cooker or large steamer
- Hardwood sawdust or hardwood fuel pellets
- Wheat bran
- Mushroom grow bags with filter patches
- Grain spawn
- Spray bottle or humidity controller
- Fruiting chamber or monotub
- Thermometer and hygrometer
- Isopropyl alcohol, gloves, and face mask
How Do You Grow Velvet Pioppino Mushrooms at Home Successfully?
- Choose vigorous grain spawn and know your fruiting space
Start by selecting a vigorous grain spawn culture. Velvet pioppino grows well from rye, millet, or sorghum grain spawn. If you already know how to make grain spawn, you can expand a liquid culture or agar wedge into sterile grain jars. Otherwise, buy ready-to-use spawn from a reputable mushroom supplier. Healthy spawn should be white, uniform, and smell clean. Avoid jars with yellow liquid, green patches, or a sour odor.
Next, decide whether you will fruit in a bag or a dedicated fruiting chamber. Pioppino does not fruit well in open room air, because it needs high humidity and moderate fresh air exchange. A small monotub, a storage tote with holes, or a small grow tent works well. If you plan to use a ready-made kit, check the instructions on the package, but the environmental needs remain the same.
Also confirm that you have a cool space. Fruiting temperatures need to stay between 50-65°F. This is lower than most homes in summer. A basement, garage, or cool closet can work. If you do not have a cool spot, consider using a temperature-controlled fruiting tent or waiting for cooler weather. Planning this before you spawn saves you from a fully colonized block with nowhere to fruit.
- Mix hardwood sawdust, wheat bran, and water to 60-65% moisture
Velvet pioppino needs a supplemented hardwood substrate to fruit well. A dependable recipe is 80% hardwood sawdust or hardwood fuel pellets, 20% wheat bran, and 2-5% gypsum by dry weight. For a 5-pound fruiting block, use about 4 cups of dry hardwood sawdust pellets, 1 cup of wheat bran, and 1 tablespoon of gypsum. Add water slowly until the substrate reaches 60-65% moisture. The squeeze test is reliable: when you squeeze a handful, only a few drops of water should come out.
Load the substrate into mushroom grow bags with filter patches. Fold the bag top correctly so the filter patch can breathe during pressure cooking. Sterilize the bags in a pressure cooker at 15 PSI for 90 minutes. If you do not have a pressure cooker, you can steam sterilize at 212°F for 8-10 hours, but pressure cooking is far more reliable. A Check the pressure cooker on Amazon is a worthwhile investment for any home mushroom grower. Penn State Extension recommends sterile technique for supplemented substrates, because the wheat bran makes them prone to contamination.
Let the bags cool to room temperature before you open them. Hot substrate will kill mushroom mycelium on contact. This step is where most new growers rush. Be patient. Once the bags are cool, you are ready to inoculate. For more options on substrate, see our best mushroom substrate guide.
- Inoculate the substrate in a clean area
Inoculate in the cleanest area you can create. A still air box or a laminar flow hood works best. If you do not have either, turn off fans and air conditioners, close windows, and wipe all surfaces with 70% isopropyl alcohol. Wear clean gloves and a face mask. Flame-sterilize any metal tools such as scalpels or spoons before use.
Use a spawn rate of 10-15% of the wet substrate weight. For a 5-pound block, this means about 0.5 to 0.75 pounds of grain spawn. Break up the colonized grain in the bag before opening it, then mix it evenly into the cooled substrate. Work quickly but carefully. The longer the substrate is open, the more likely contamination spores will land on it.
Seal the bag with an impulse sealer, or fold the top and clip it closed. Label the bag with the date and strain name. Place the inoculated bags in a warm, dark area. If you want to know what contamination looks like at this stage, review our mushroom contamination identification guide before you begin, so you can catch problems early.
- Incubate colonizing blocks in the dark at 70-75°F
During incubation, keep the temperature steady at 70-75°F. Velvet pioppino colonizes best in this range. Use a digital thermometer inside the incubation space, not just the room thermostat. If the temperature drops below 65°F, colonization slows significantly. If it rises above 80°F, you invite thermophilic molds and bacteria.
Colonization usually takes 14-21 days on supplemented sawdust. Some slower strains may take up to 28 days. Do not open the bags during this time. Pioppino does not need light or fresh air to colonize. In fact, opening the bag for air can introduce contamination.
Check the bags every few days through the plastic. White mycelium should spread from the inoculation points and eventually cover the entire block. A fully colonized block looks uniformly white or cream and may have a pleasant mushroom smell if the filter patch is sniffed. Brown liquid metabolites are normal and not a sign of contamination. But green, black, or pink patches, or a sour smell, mean the block should be discarded outside.
- Drop temperatures to 50-65°F and keep humidity 85-95%
Once the blocks are fully colonized, move them to fruiting conditions. First, lower the temperature to 50-65°F. A 12-24 hour cold shock can help trigger pinning, but a simple drop into that range usually works. During this stage, humidity is the most critical factor. Keep relative humidity between 85-95% at all times.
You can fruit in a diy mushroom fruiting chamber guide made from a plastic tote with perlite or a small grow tent with a humidifier. If you use a humidifier, a Check the humidity controller on Amazon can automate the on/off cycle and prevent wild swings. Mist the walls of the chamber, not the block directly, to avoid water pooling on developing pins.
Provide 12 hours of indirect light per day. A simple LED or fluorescent shop light works. Pioppino also needs fresh air exchange. Fan the chamber two to four times daily, or set up a small exhaust fan on low. Without enough fresh air, the stems become long and the caps stay small.
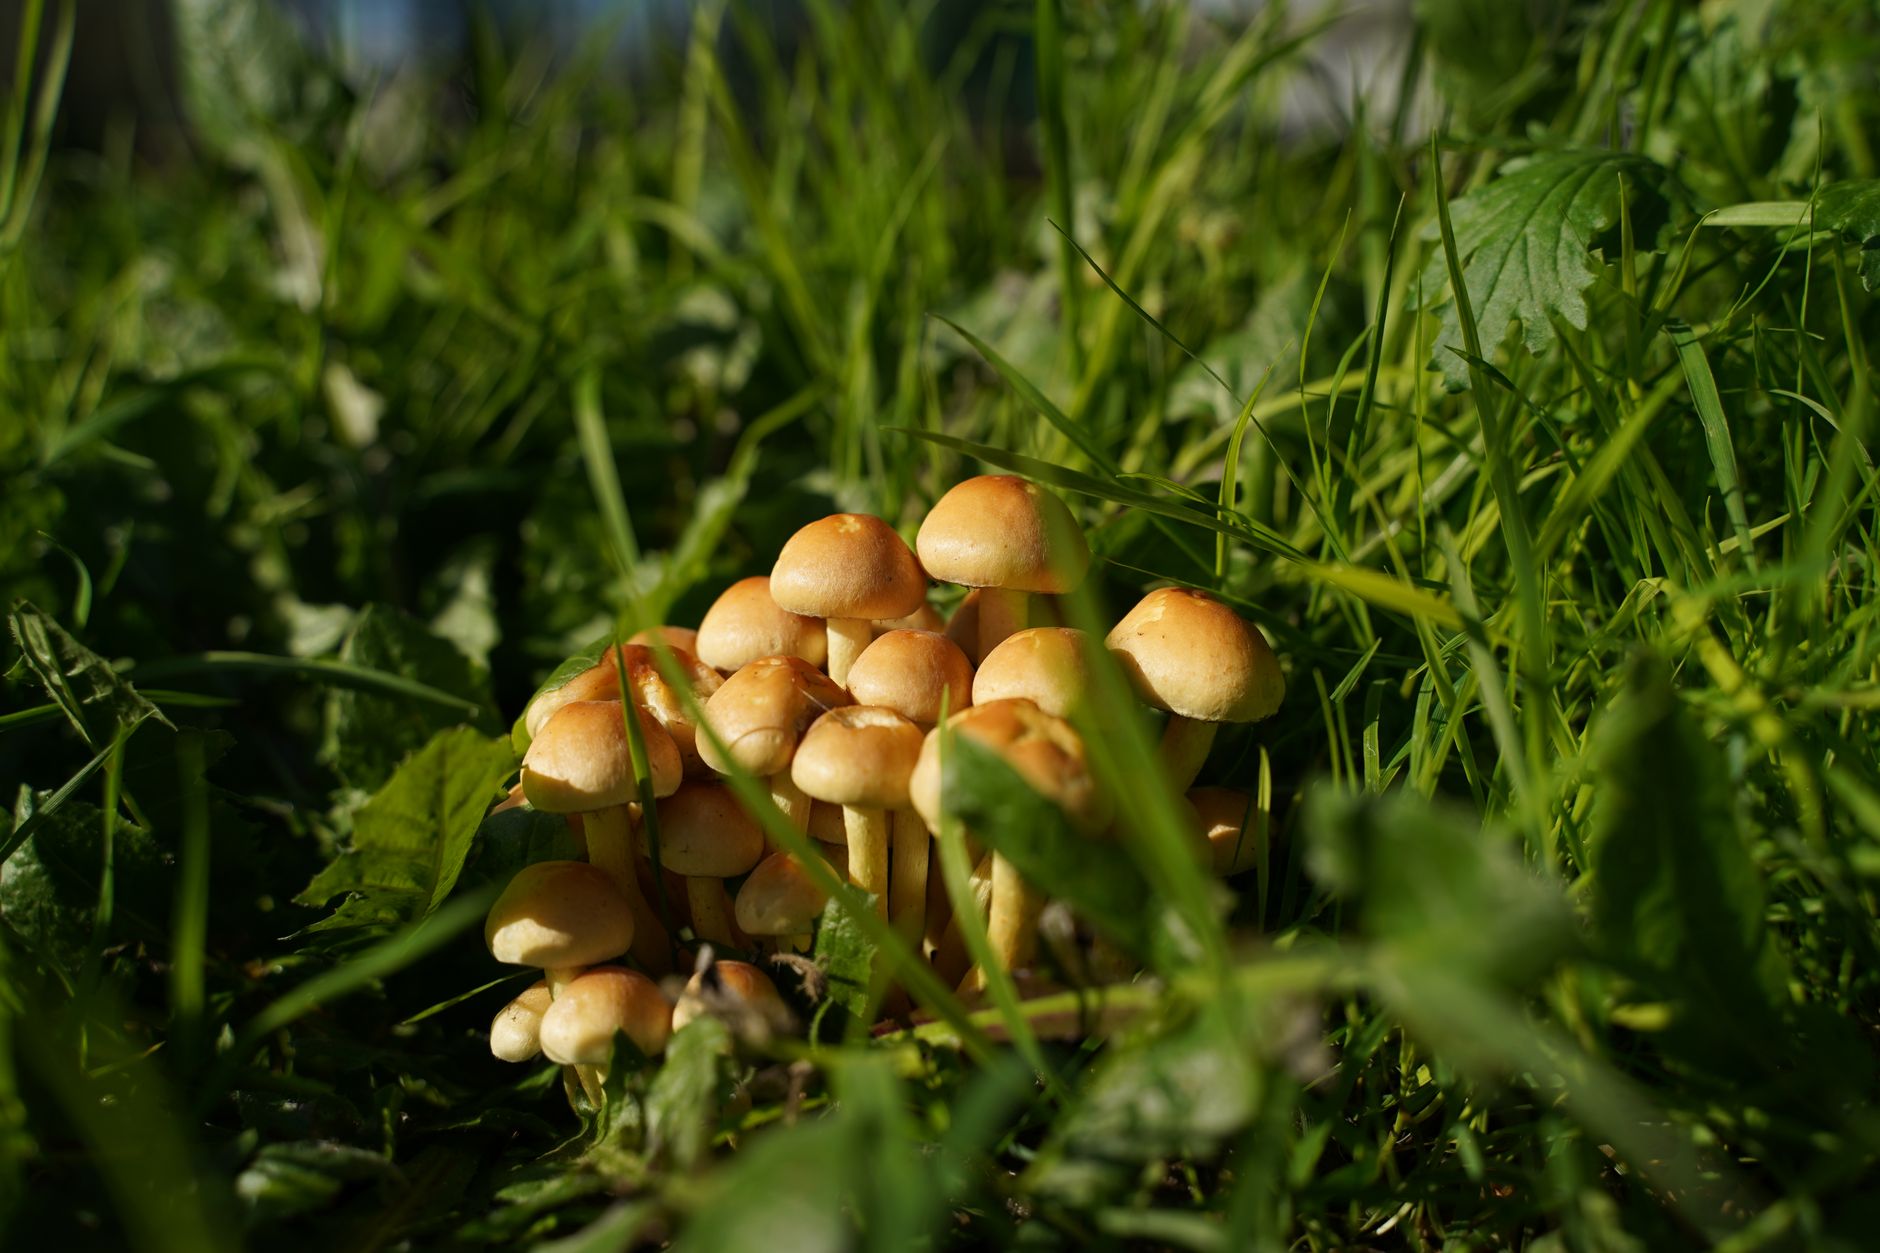
- Watch for pins and maintain steady conditions for 7-14 days
After 7-14 days in fruiting conditions, you should see tiny brown pins forming on the surface of the block. Velvet pioppino pins often appear in clusters. At this point, do not let the block dry out. Even a few hours below 80% humidity can cause pins to abort. Check your hygrometer morning and evening.
Maintain the same temperature and humidity settings as the pins grow. Reduce direct misting on the pins. Instead, mist the air above the block or the chamber walls. Fresh air exchange becomes even more important now, because developing mushrooms produce carbon dioxide. High CO2 causes thin stems and small caps. Fan gently two to three times a day.
Young mushrooms will double in size every day or two under good conditions. Most clusters are ready to harvest 5-10 days after pins appear. If you want to dive deeper into the environmental variables, see our mushroom fruiting conditions guide. The goal is to keep conditions as steady as possible, because pioppino responds poorly to sudden changes.
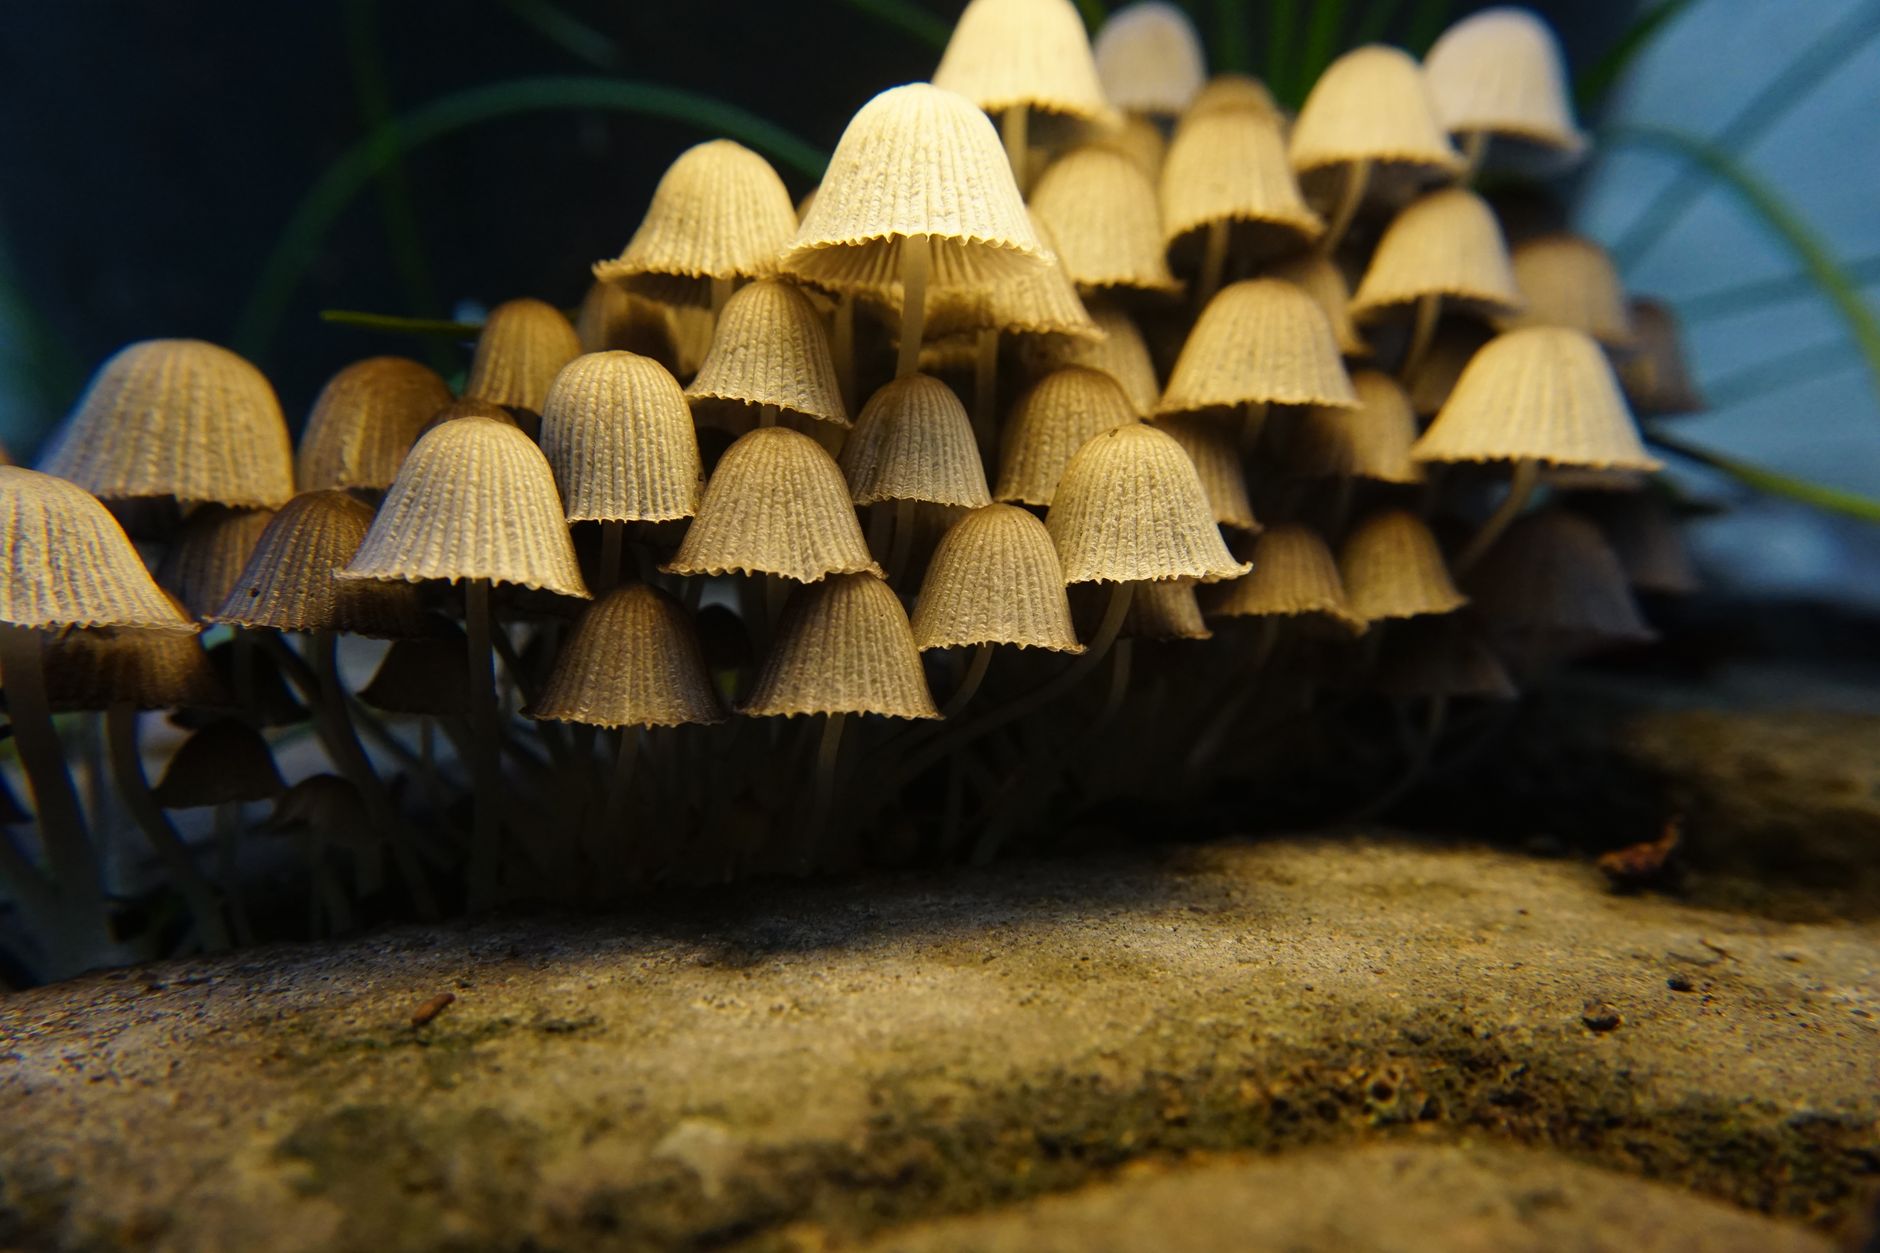
- Harvest clusters before caps flatten, then rehydrate the block
Harvest velvet pioppino when the caps are still slightly curled at the edges. If you wait until the caps flatten completely, the mushrooms will drop their brown spore load and lose firmness. Grasp a cluster at the base and twist gently, or cut it with a clean knife. Harvest the entire cluster at once to keep the block tidy for the next flush.
After harvesting, the block is often dehydrated and light. Soak the block in cold, clean water for 8-12 hours. Weigh it down with a plate so it stays submerged. Then drain the excess water and return the block to fruiting conditions. You can typically get 2-3 flushes from a supplemented sawdust block, though later flushes are smaller.
If the block stops producing or begins to smell sour, it is spent. Compost it outdoors. Remember that velvet pioppino is a cultivated mushroom, but if you ever forage or grow on outdoor logs, never eat a mushroom unless an expert has positively identified it. The North American Mycological Association (NAMA) offers identification resources.
Red Flags & Warnings
- 🚨 Never eat a mushroom you cannot positively identify. If you forage or use outdoor logs, confirm identity with an expert or the North American Mycological Association (NAMA).
- 🚨 Do not open your pressure cooker until the pressure drops to zero. Hot steam and glass jars can cause severe burns.
- 🚨 Green, black, or pink mold means contamination. Seal the bag and throw it away. Do not try to fruit a contaminated block indoors.
- 🚨 Low humidity below 80% will abort pins or crack caps. Keep a hygrometer in the fruiting chamber and check it daily.
- 🚨 Fruiting temperatures above 70°F often stall pinning. Use a cool basement, wine fridge, or temperature-controlled tent.
- 🚨 Harvest before heavy spore drop. Pioppino spores can trigger allergies and make surfaces messy. Wear a mask if you are sensitive.
Frequently Asked Questions
How long does it take to grow velvet pioppino at home?
The full cycle usually takes 6-8 weeks. Colonization on supplemented sawdust lasts 14-21 days, pinning takes another 7-14 days after fruiting conditions, and mushrooms mature over 5-10 days. A second flush can extend the block for several more weeks.
Can I grow velvet pioppino on straw or outdoor logs?
Yes, but sawdust blocks are more reliable indoors. Pioppino can grow on pasteurized straw or hardwood logs, but indoor supplemented sawdust gives better control of contamination and yields. If using logs, use freshly cut hardwood and spawn heavily.
What does velvet pioppino taste like?
It has a rich, nutty, earthy flavor with a firm, meaty texture. The stems are edible and stay tender when cooked. Many people compare it to porcini or shiitake, though it is milder and sweeter.
What if my block turns green before fruiting?
Green growth is usually Trichoderma mold. It spreads quickly and means the block is contaminated. Throw the sealed bag away outdoors and sanitize your grow area before starting again.
What is the best temperature and humidity for fruiting?
Keep temperatures between 50-65°F and humidity at 85-95%. If you can hold those two numbers steady, you will see reliable pinning and larger clusters.
Is velvet pioppino the same as regular pioppino?
They are closely related, and the names are often used interchangeably. Velvet pioppino usually refers to Agrocybe aegerita with a slightly darker, velvety cap. Growing requirements are essentially the same.
What Should You Remember?
- Colonization temp: Keep colonizing blocks at 70-75°F for 14-21 days until fully white.
- Fruiting temp: Drop temperatures to 50-65°F to trigger pinning and prevent weak growth.
- Humidity: Maintain 85-95% relative humidity from pinning through harvest.
- Substrate: Use 80% hardwood sawdust, 20% wheat bran, and hydrate to 60-65% moisture.
- Spawn rate: Mix in grain spawn at 10-15% of wet substrate weight for fast, even colonization.
- Harvest timing: Cut clusters before caps flatten to avoid heavy spore drop and softer texture.
This article is for general information only. Mushroom identification and consumption carry health and safety risks , never eat a wild mushroom unless positively identified by an expert, and follow sterile technique and food-safety guidance for home grows.