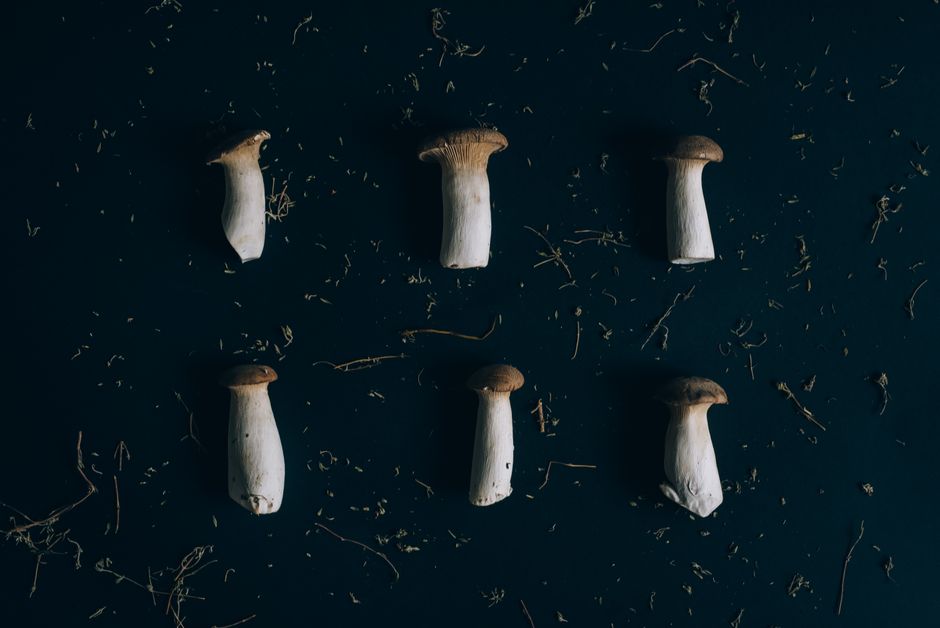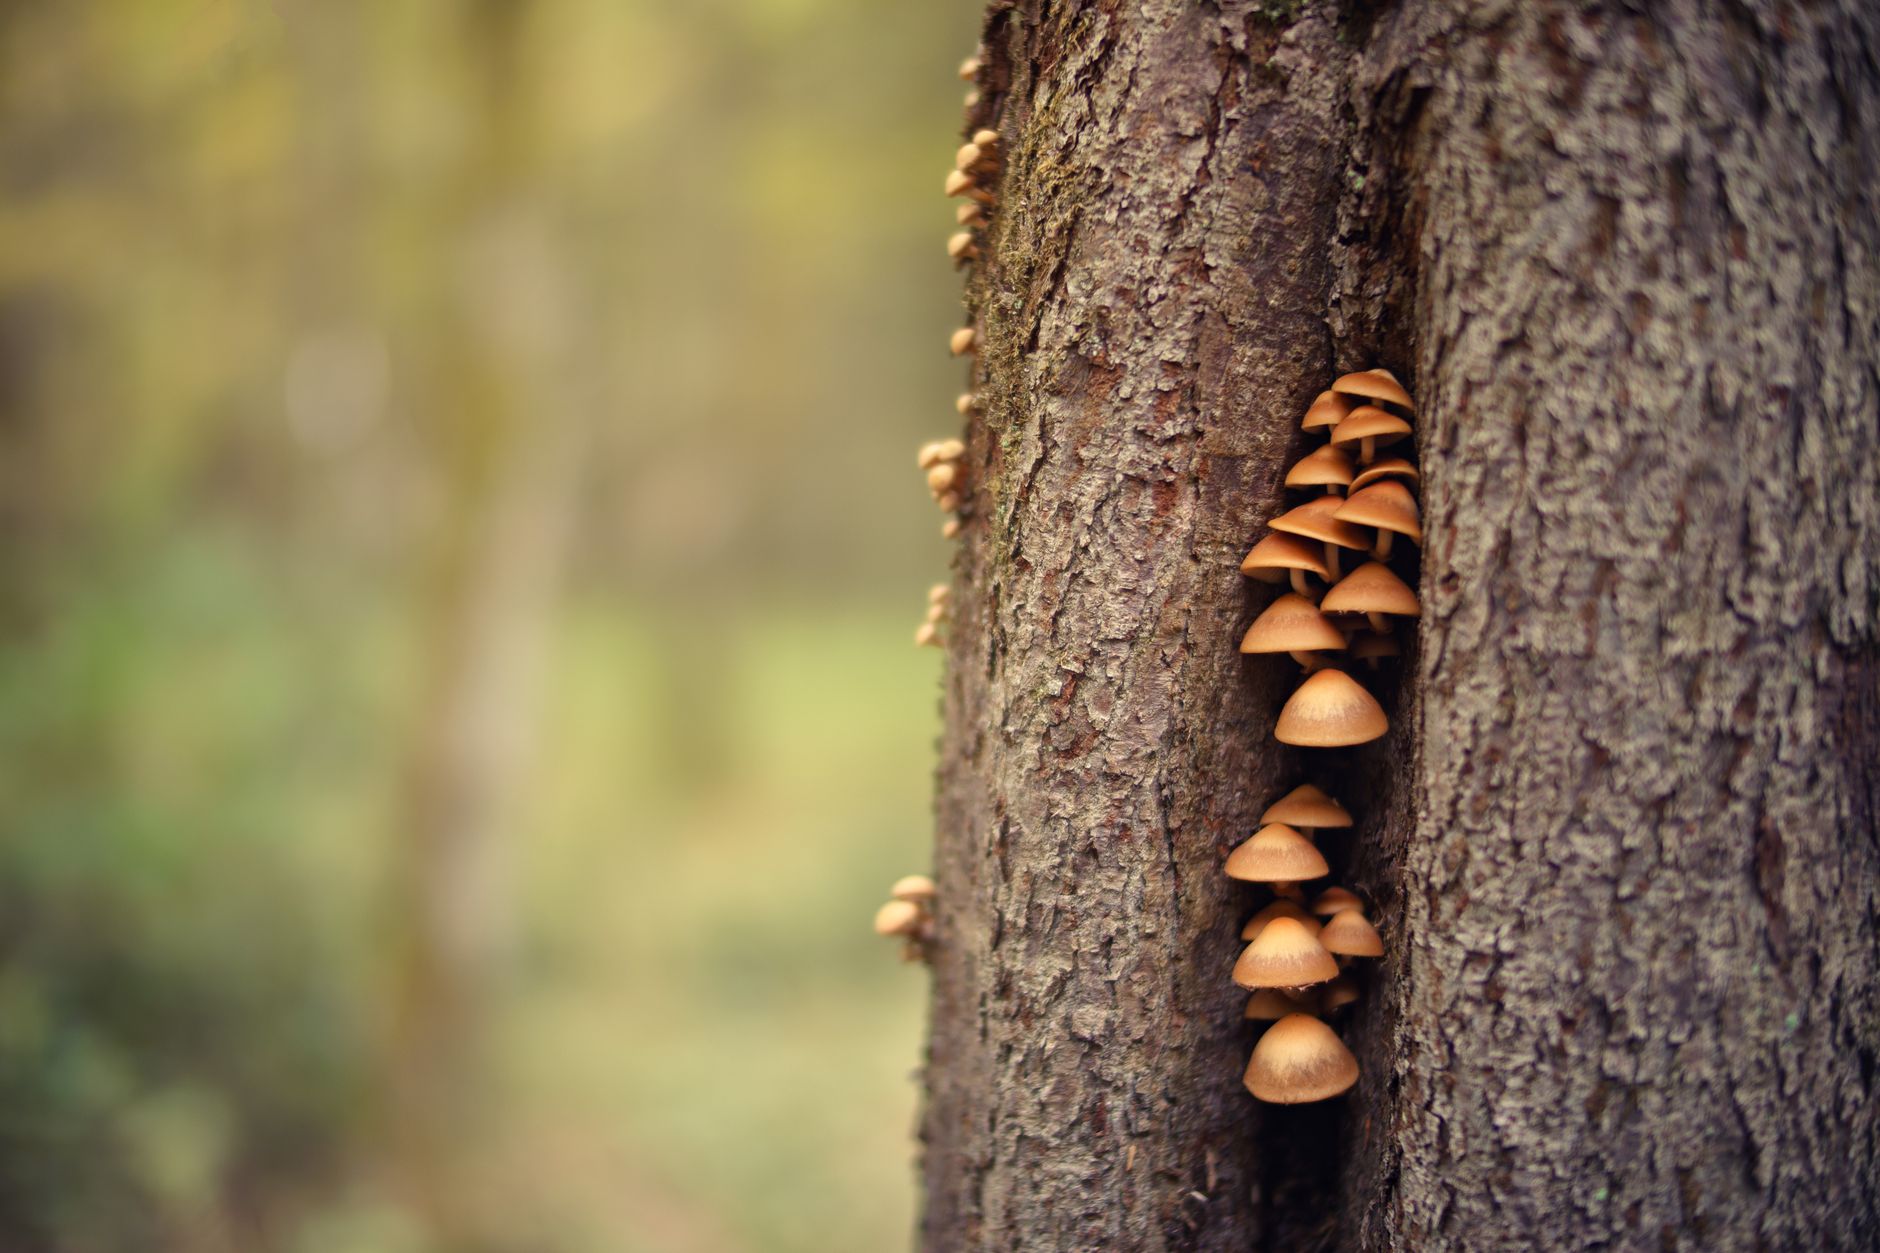
Gourmet mushrooms bring intense flavor to a home kitchen. Chestnut mushrooms, also called cinnamon caps or Pholiota adiposa, produce dense clusters of golden-brown caps. Their texture stays firm when cooked. Many growers compare them to shiitake but with a nuttier finish. They grow well on supplemented hardwood sawdust, which makes them a natural first project for home cultivators. If you are new to substrate recipes, review the best mushroom substrate guide before mixing anything. This guide covers every stage from spawn to harvest.
You can grow chestnut mushrooms without a dedicated grow room. A clear plastic tote, a small humidifier, and a cool corner often work. The process follows the same flow as other wood-loving species: spawn, substrate, incubation, fruiting, and harvest. Chestnut mycelium colonizes fast and tolerates minor temperature swings. Still, the fruiting stage asks for cooler air than oyster mushrooms. You need steady fresh air exchange or the caps stay small and the stems stretch. We include specific numbers for temperature, humidity, and time so you can repeat the results.
Safety matters when growing any mushroom. Cultivated chestnut mushrooms from a trusted supplier are safe to eat. Never eat a wild mushroom unless an expert positively identifies it. The North American Mycological Association offers identification help and local club listings. This guide uses clean spawn and sterilized sawdust to keep contamination risk low. Follow the steps in order. Do not skip sterile technique. The reward is a heavy cluster of brown, nutty mushrooms from your own fruiting chamber.
What You’ll Need
- 23-quart pressure cooker
- Mushroom grow bags with filter patches
- Hardwood sawdust pellets
- Wheat bran
- Chestnut mushroom grain spawn or ready-to-fruit kit
- Clear plastic tote or fruiting chamber
- Digital humidity controller
- Thermometer and hygrometer
- Spray bottle and 70 percent isopropyl alcohol
How Do You Grow Chestnut Mushrooms at Home?
- Choose chestnut mushroom spawn or a ready-to-fruit kit
Start with high-quality chestnut mushroom grain spawn or sawdust spawn from a reputable supplier. Look for spawn that smells like fresh mushrooms and shows no green, black, or slimy spots. Chestnut mushrooms are also sold as cinnamon caps, so check for the scientific name Pholiota adiposa on the label. If you want to skip spawn expansion, buy a ready-to-fruit chestnut mushroom grow kit. Many kits already contain fully colonized sawdust. Compare options in the best mushroom grow kits 2026 roundup.
Making your own grain spawn adds two to three weeks to the timeline. You can learn that method in the how to make grain spawn guide. Purchased spawn is easier for beginners. One pound of grain spawn can inoculate about 5 pounds of supplemented sawdust. Keep spawn in the refrigerator if you cannot use it within a few days. Cold storage slows mycelium growth but does not kill it. Let it warm to room temperature before opening the bag.
Do not buy chestnut mushroom spawn from unknown sellers without reviews. Weak or old spawn colonizes slowly and invites mold. A good spawn bag feels firm and white inside. Shake it gently and watch how quickly it recovers. If the mycelium looks yellow or weeps liquid, choose a different supplier. This step matters because every later stage depends on clean, vigorous mycelium.
- Prepare supplemented hardwood sawdust substrate
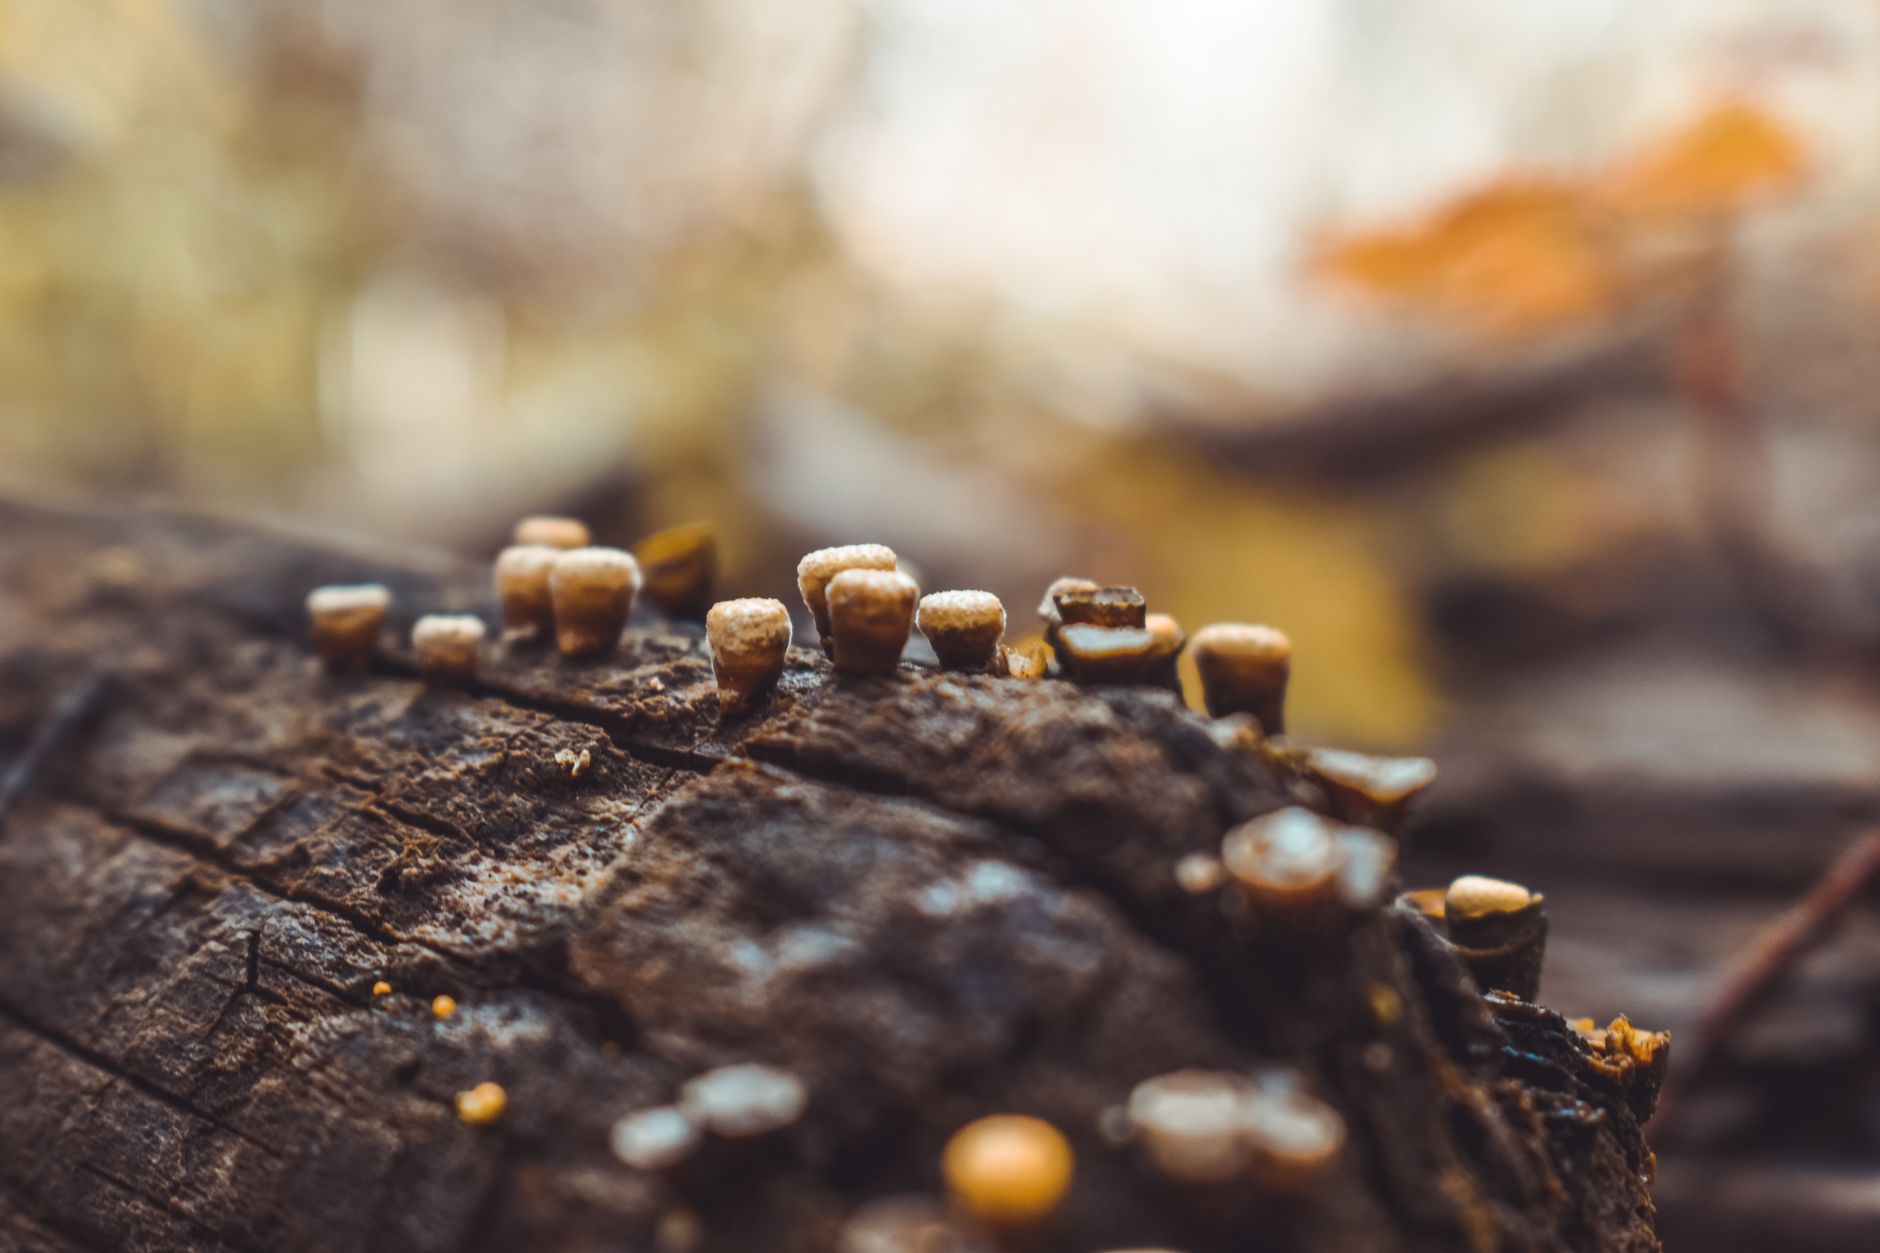
Chestnut mushrooms fruit best on hardwood sawdust supplemented with wheat bran. Use oak, maple, or beech sawdust pellets. Avoid pine and cedar because resins inhibit mycelium. A reliable recipe is 5 cups hardwood sawdust pellets, 1.25 cups wheat bran, and 1.5 liters of water. That gives roughly 20 percent bran by dry weight. Mix the dry ingredients in a clean bucket, then add water slowly. The final substrate should feel like a wrung-out sponge. Squeeze a handful hard; only a few drops should escape.
Load the hydrated substrate into filter patch grow bags. Check the mushroom grow bags on Amazon. Fill each bag only two-thirds full to leave room for mixing after inoculation. Fold the bag top over and place it in a pressure cooker. Sterilize at 15 PSI for 90 minutes. The Penn State Extension notes that supplemented sawdust needs full sterilization because bran raises contamination risk. Do not shorten the sterilization time. A 23-quart pressure cooker works well for home batches. Check the 23-quart pressure cooker on Amazon.
Let the bags cool to room temperature inside the pressure cooker or in a clean, closed space. Do not open the bags until you are ready to inoculate. Moving hot bags stirs air and pulls contaminants through the filter patch. Plan to inoculate the same day the bags cool. For more substrate options, see the best mushroom substrate guide.
- Inoculate the substrate in a clean area
Use a still air box or a laminar flow hood if you have one. Wipe all surfaces with 70 percent isopropyl alcohol. Flame-sterilize any metal tools and let them cool. Open the cooled sawdust bag and quickly add grain spawn at a rate of 10 to 15 percent by wet weight. For a 5-pound substrate bag, use about half to three-quarters of a pound of spawn. Work fast but do not rush carelessly. Close the bag and seal it with the filter patch folded over.
Massage the bag from the outside to distribute spawn evenly. Even mixing speeds colonization and prevents uncolonized pockets. If the bag has an injection port, you can inject liquid culture instead, but grain spawn is easier for beginners. Seal the bag with a zip tie or tape above the filter patch. Label the bag with the date and strain name. Clean your work area again after sealing. Contamination often enters during inoculation, so do not skip this step.
Tiny colonies of green mold can appear within 48 hours if your technique was sloppy. Watch for blue-green spots or a sour smell. If you see contamination, remove the bag from your grow space immediately. The mushroom contamination identification guide shows photos and explains what to do. One contaminated bag can spread spores to others.
- Incubate the bags at 70-75°F
Place the inoculated bags in a dark, warm spot around 70 to 75°F. Closets, cabinets, or a shelf in a warm room work well. Chestnut mycelium colonizes faster than shiitake but slower than some oyster strains. Expect full colonization in 14 to 21 days. You do not need light during this stage. Light can trigger early pinning before the block is ready.
Check the bags every two or three days. Look for white mycelium spreading from the spawn points. A healthy block turns white or cream-colored and smells like mushrooms. Do not open the bags to smell them; sniff through the filter patch. If the bag shows wet, yellow liquid or dark patches, isolate it. Some condensation inside the bag is normal. Too much pooling water on the bottom means the substrate was too wet.
Resist the urge to move or shake the bags after the first week. Disturbing the mycelium can slow growth. After about 16 days, the block should feel firm and solid. If colonization stalls, the temperature may be too low or the spawn rate too low. Move the bag to a slightly warmer spot and give it more time. Once the block is fully white, it is ready to fruit.
- Set up a fruiting chamber with high humidity
A chestnut mushroom block needs a change in conditions to fruit. Build a simple fruiting chamber from a clear plastic tote with a lid. Drill a few small holes for air exchange and place the block on a wire rack above a layer of wet perlite. This setup keeps humidity high without soaking the block. A DIY mushroom fruiting chamber guide shows several designs. You can also use a martha tent if you want to automate things.
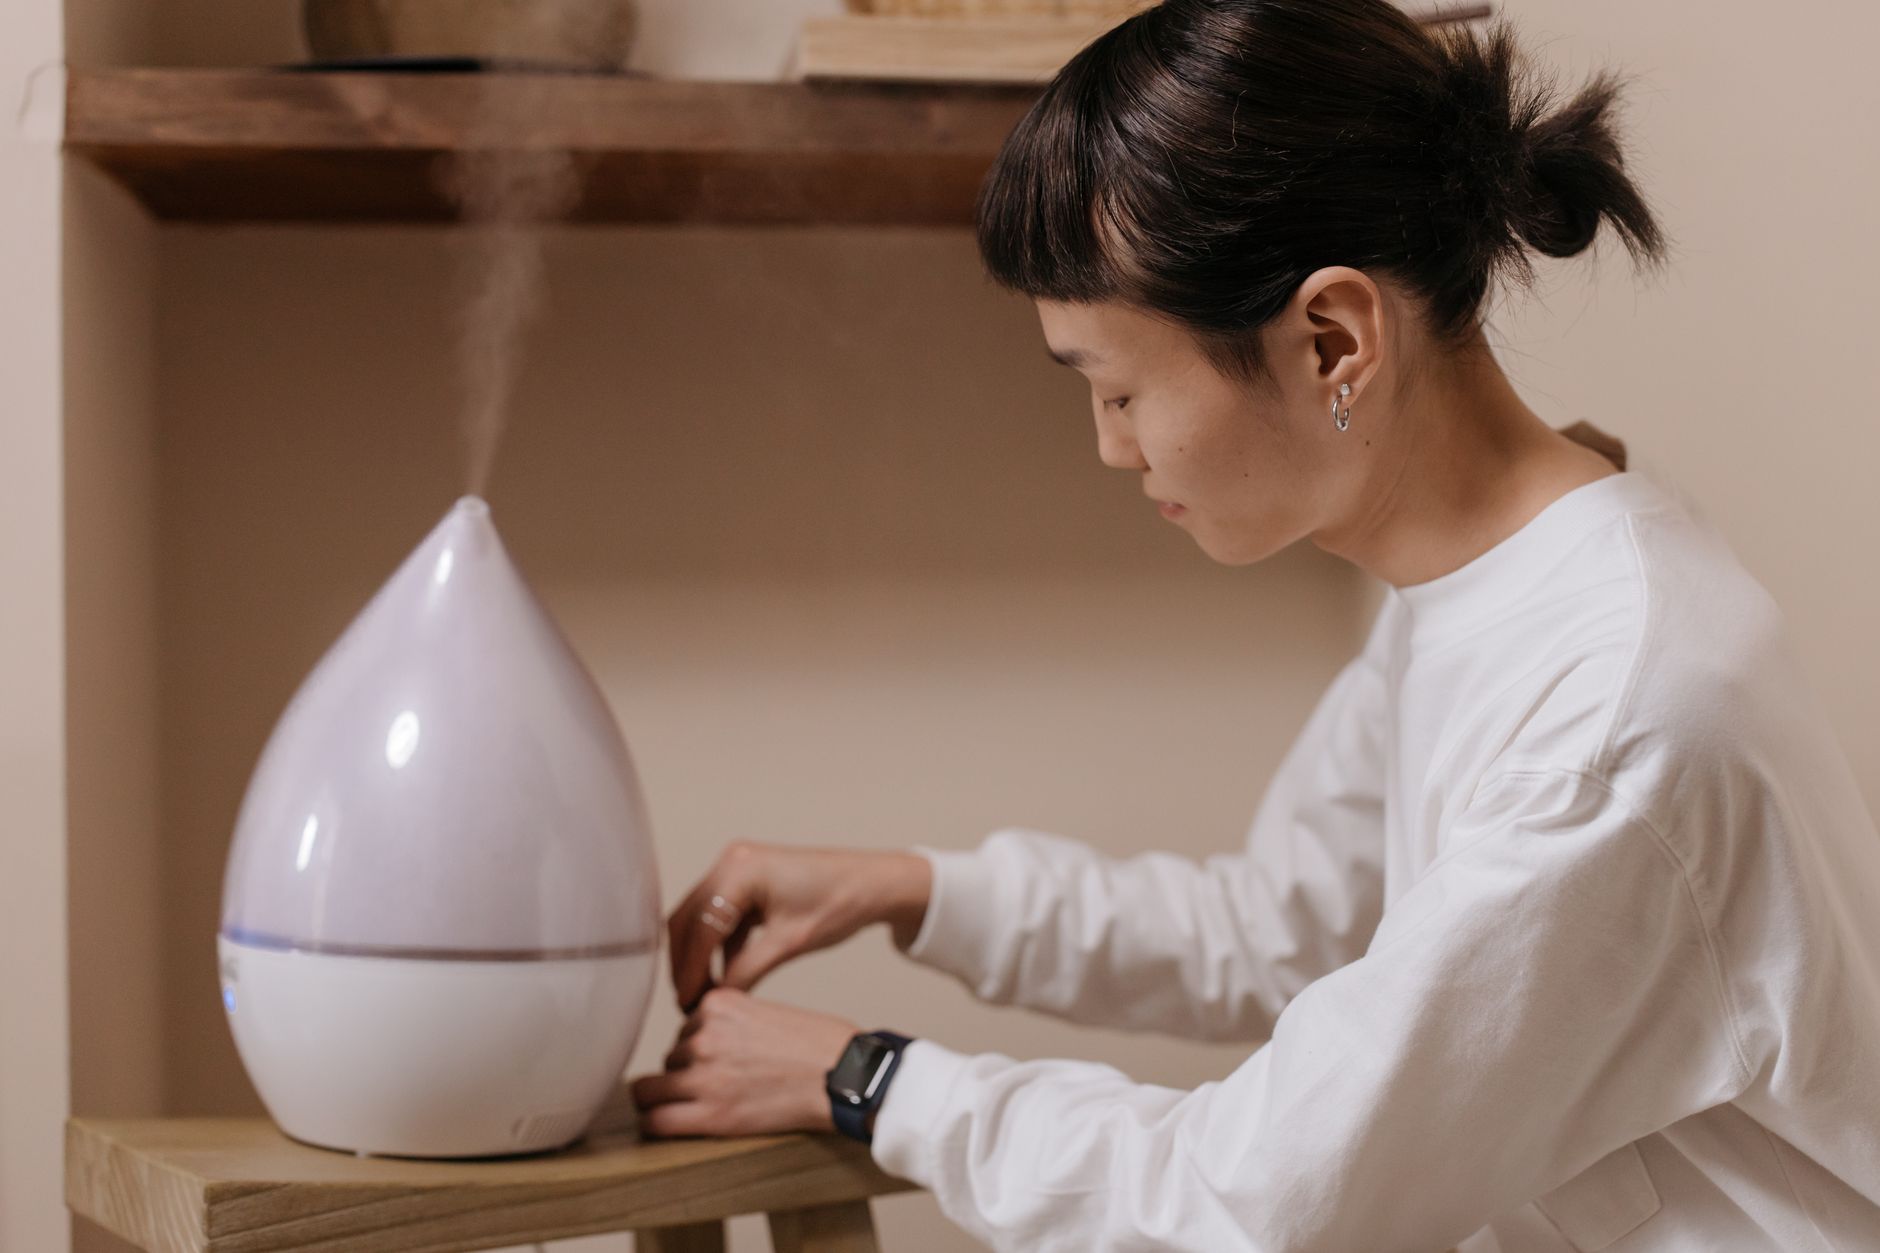
Chestnut mushrooms prefer fruiting temperatures between 55 and 65°F. That is cooler than many homes in summer. A basement or spare room works well. Keep relative humidity at 85 to 95 percent. A digital humidity controller attached to a humidifier makes this easier. Check the humidity controller on Amazon. If you run a humidifier without a controller, monitor often to avoid condensation dripping onto caps.
Fresh air exchange is critical for chestnut mushrooms. They form long, skinny stems and small caps when carbon dioxide builds up. Run a small fan in the room but do not point it directly at the blocks. Open the chamber lid once or twice a day for a minute. The air should feel fresh and slightly cool. See the mushroom fruiting conditions guide for more detail on dialing in each variable.
- Trigger pinning with light and cool air
Move the fully colonized block into the fruiting chamber and lower the temperature to 55 to 60°F. Provide 12 hours of indirect light per day. A simple LED or fluorescent light on a timer works. Light does not feed the mushroom but signals it to form pins. Avoid direct sunlight, which can dry out the block and overheat the chamber.
Mist the inside of the chamber walls once or twice daily. Do not spray the block directly with heavy water. Tiny droplets on the surface encourage pinning. You should see small brown bumps within 7 to 14 days. Chestnut mushrooms often pin in tight clusters. If the block has not pinned after three weeks, try a cold shock. Place the block in the refrigerator at 40°F for 12 to 24 hours, then return it to the chamber.
Once pins form, keep conditions stable. Sudden temperature swings or dry air cause pins to abort. Continue fanning the chamber or running the exhaust fan. Increase humidity slightly to 90 to 95 percent. But avoid standing water. The pins will double in size every day or two. They grow quickly from this point, so check the chamber morning and evening.
- Harvest chestnut mushrooms at the right time
Chestnut mushrooms are ready to harvest when the caps are still slightly curled downward. The cap edges flatten and then turn upward as they age. Pick them before the caps flatten fully. Young mushrooms have a firmer texture and better flavor. Mature mushrooms drop rusty-brown spores. Spore drop is messy and can reduce shelf life.
Grasp the cluster at the base and twist gently. The whole cluster usually separates from the block. You can also cut the cluster with a clean knife or scissors. Leave a small stump behind. Avoid pulling chunks of substrate off with the mushrooms. Harvest all mushrooms in a cluster at once so stragglers do not rot.
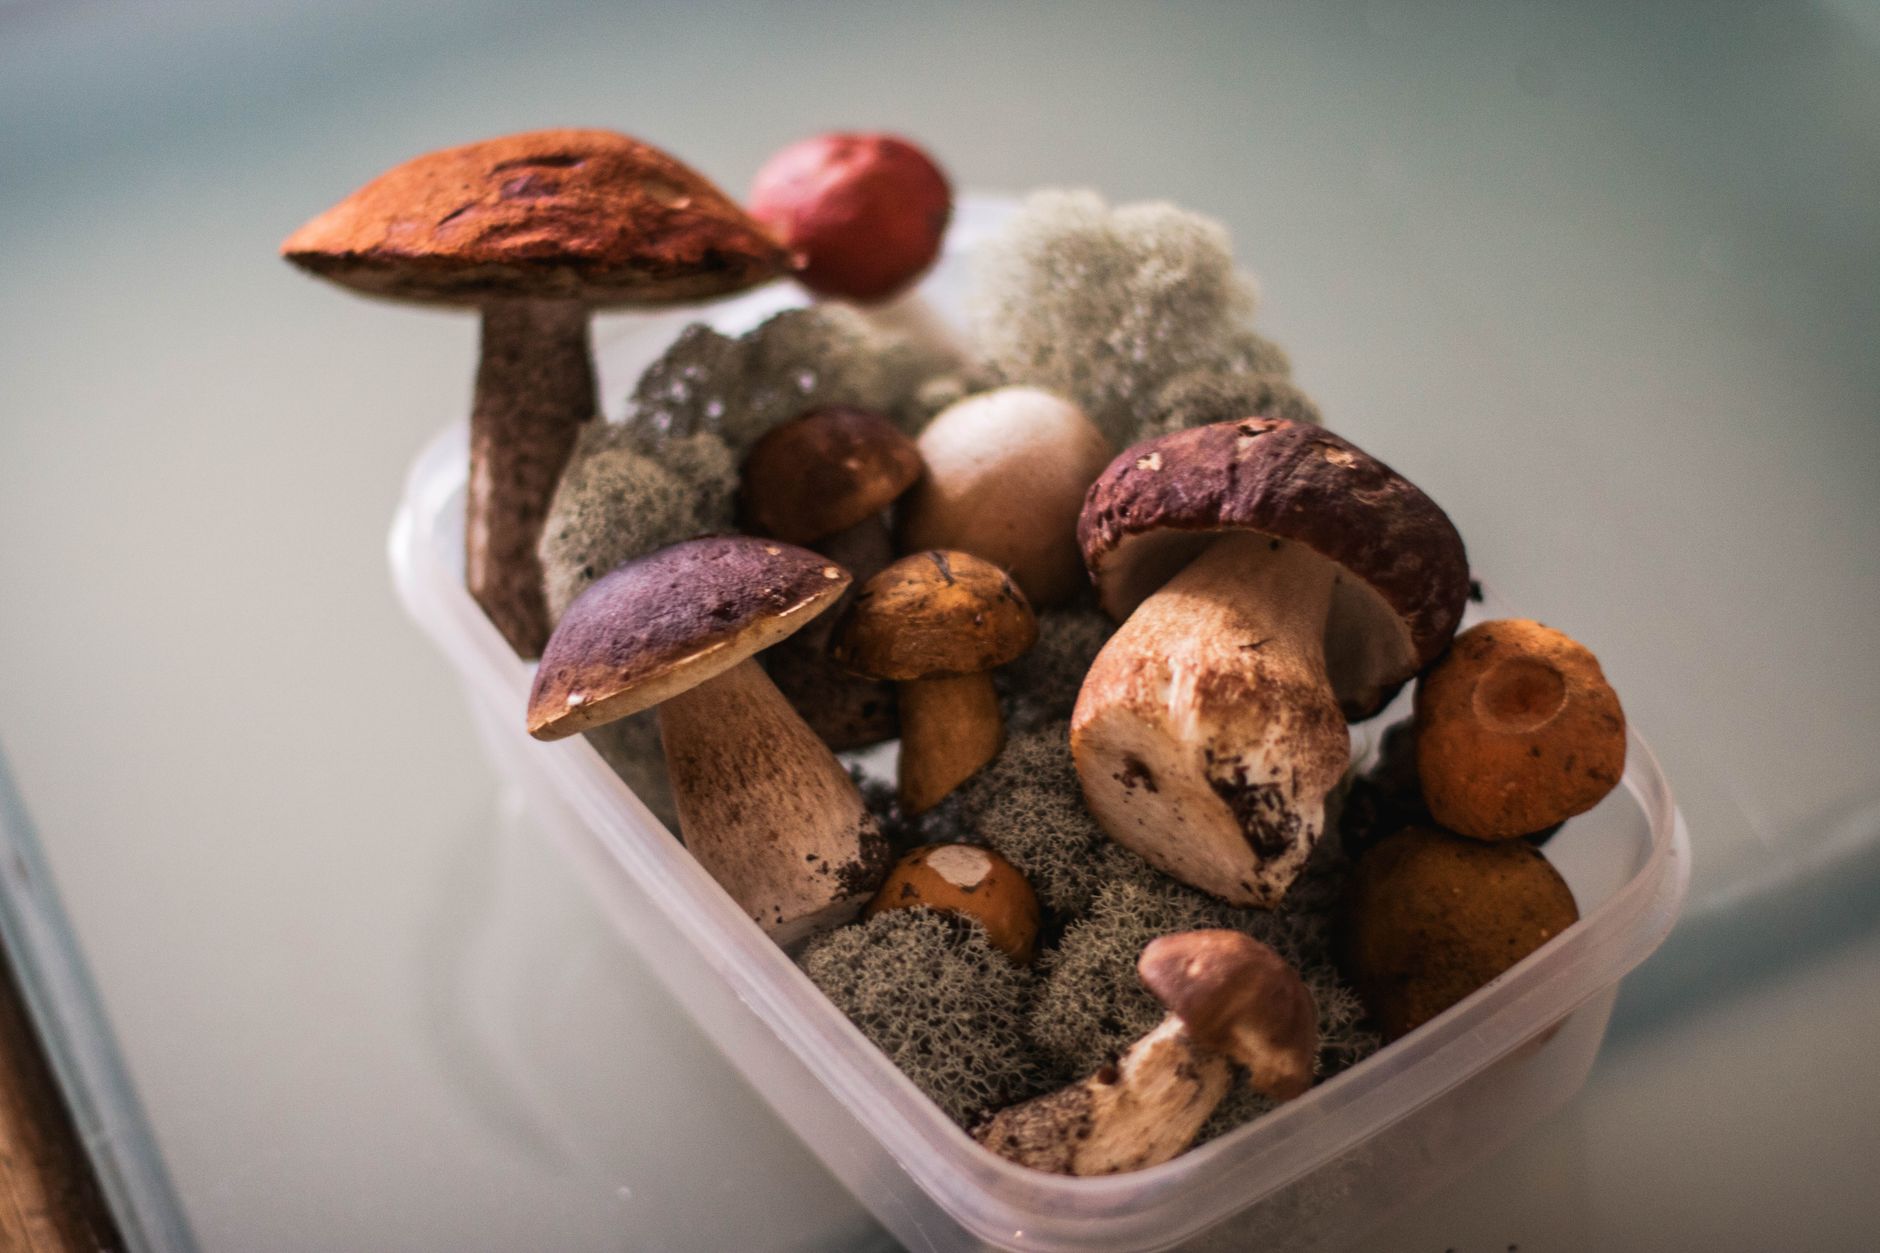
Use harvested chestnut mushrooms within a week. Store them in a paper bag in the refrigerator. Do not store in plastic because trapped moisture speeds spoilage. Chestnut mushrooms are excellent sautéed, roasted, or added to soups. Their flavor is earthy and nutty with a slight peppery finish. After harvest, move the block back into fruiting conditions for another flush.
- Soak the block for a second and third flush
After the first harvest, the block is dehydrated and needs rehydration. Submerge the sawdust block in clean water for 6 to 12 hours. Use a weight to keep it under water. Cold tap water works fine. For a 5-pound block, a 6-hour soak usually restores enough moisture. Remove the block and let excess water drain for 15 minutes.
Return the soaked block to the fruiting chamber. Keep temperature and humidity in the same ranges. You can expect a second flush within 14 to 21 days. Second flushes often produce fewer but larger clusters. Do not expect the same yield as the first flush. A healthy block may produce three flushes. After that, the sawdust becomes spent and can go to compost.
If the block shows signs of contamination between flushes, discard it. Green mold, black pin mold, or a foul smell means the block is done. Do not try to cut out the contaminated section indoors. The spores spread easily. Chestnut mushrooms are productive enough that two or three flushes make the effort worthwhile.
Red Flags & Warnings
- 🚨 Never eat a wild mushroom unless an expert positively identifies it. Cultivated chestnut mushrooms are safe, but wild lookalikes exist. Contact a local NAMA club for identification help.
- 🚨 Do not open a contaminated spawn or substrate bag indoors. Green, black, or orange spots can release spores into your grow space. Seal the bag and move it outside, then clean the area with dilute bleach.
- 🚨 Keep fruiting humidity above 85 percent but avoid standing water on caps. Excess water causes bacterial blotch, which appears as slimy brown spots. Mist the chamber walls, not the mushrooms.
- 🚨 Sterilize supplemented sawdust at 15 PSI for at least 90 minutes. Bran increases contamination risk. Shorter steam times or boiling will not kill mold spores. Use a pressure cooker, not a slow cooker.
- 🚨 Watch for weak, stretchy stems and tiny caps. This means carbon dioxide is building up. Increase fresh air exchange by fanning more often or adding a small exhaust fan.
- 🚨 Do not use pine or cedar sawdust. Softwood resins slow chestnut mycelium and can inhibit fruiting. Stick to hardwood pellets labeled for barbecue or mushroom growing.
Frequently Asked Questions
How long do chestnut mushrooms take to grow?
From grain spawn inoculation to first harvest usually takes 5 to 7 weeks. Colonization takes 14 to 21 days. Pinning begins 7 to 14 days after moving to fruiting conditions. The exact time depends on temperature and spawn rate.
What temperature do chestnut mushrooms need to fruit?
Chestnut mushrooms fruit best between 55 and 65°F. Keep incubation warmer at 70 to 75°F. A cool basement or spare room works well for fruiting. Avoid temperatures above 70°F, which lead to thin mushrooms.
Can I grow chestnut mushrooms on straw?
Chestnut mushrooms strongly prefer hardwood sawdust. Straw can work but yields are lower and contamination risk rises. Supplemented sawdust with 20 percent wheat bran gives the best results.
What does a chestnut mushroom taste like?
Chestnut mushrooms have an earthy, nutty flavor and a firm, meaty texture. The caps are slightly peppery when raw but mellow with cooking. They hold their shape well in soups and stir-fries.
Why are my chestnut mushroom caps small and stems long?
Small caps and stretched stems mean high carbon dioxide or low light. Increase fresh air exchange and provide 12 hours of indirect light daily. Check that your fruiting chamber is not sealed too tightly.
Can I grow chestnut mushrooms from a kit?
Yes. Ready-to-fruit chestnut mushroom kits contain fully colonized sawdust. Cut open the bag, mist daily, and keep it cool and humid. Kits are a good way to learn before making your own substrate.
What Should You Remember?
- Use supplemented hardwood sawdust: Chestnut mushrooms fruit best on hardwood sawdust with about 20 percent wheat bran.
- Colonize warm: Keep inoculated bags at 70-75°F for 14-21 days until fully white.
- Fruit cool and humid: Move blocks to 55-65°F with 85-95 percent humidity to trigger pins.
- Provide fresh air: High CO2 causes long stems and tiny caps, so fan the chamber daily.
- Harvest young clusters: Pick chestnut mushrooms when caps are still curled downward for the best flavor.
- Soak for extra flushes: Rehydrate the block for 6-12 hours after each harvest to get two or three flushes.
This article is for general information only. Mushroom identification and consumption carry health and safety risks , never eat a wild mushroom unless positively identified by an expert, and follow sterile technique and food-safety guidance for home grows.