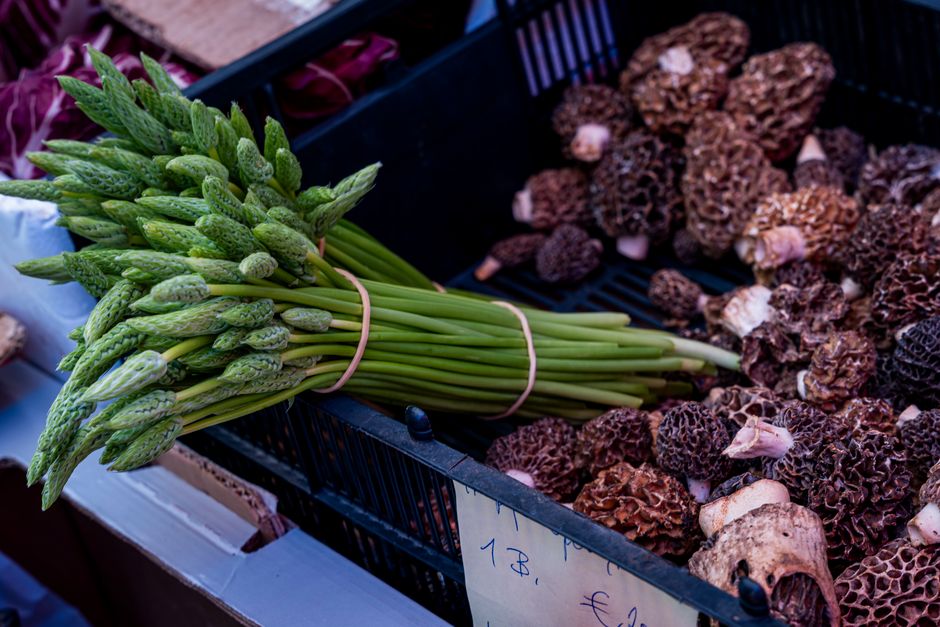
Morel mushrooms are one of the most sought-after wild edibles. Their honeycomb caps and nutty flavor drive foragers into the woods each spring. Many home growers wonder if they can cultivate these prized fungi at home. The answer is yes, but with major caveats. Unlike oyster mushrooms, morels resist easy indoor cultivation. This guide explains the most realistic home methods. We include research from Penn State Extension and safety guidance from the North American Mycological Association. You will learn substrate recipes, temperature targets, and harvest tips.
Morel cultivation is not a weekend project. It often takes one to three years before you see your first mushroom. The fungus must colonize a large volume of soil and wood debris. That process is slow and unpredictable. Still, outdoor beds have produced morels for patient growers. You need to build the right environment and then wait. This article focuses on the outdoor bed method because it works more often than indoor setups. We will also compare morels to other difficult species like chanterelles. Both require patience and realistic expectations.
The substrate recipe matters more than almost anything else. Morels prefer a well-drained, alkaline mix with wood ash and compost. The bed must stay moist but never soggy. When spring arrives, soil temperatures between 50 and 60 degrees Fahrenheit trigger fruiting. You will need a reliable soil thermometer and a way to maintain humidity. We will cover all of that below. For deeper background on substrates, see our best mushroom substrate guide. A simple mix can make the difference between failure and a full morel bed.
One warning before you begin. Never eat any wild mushroom unless an expert positively identifies it. False morels like Gyromitra esculenta contain toxic compounds. The North American Mycological Association offers identification resources and local clubs. Cultivation does not replace careful foraging safety. Use this guide to grow your own, and always confirm any wild finds with an expert. Now let’s get your morel bed started.
What You’ll Need
- Shovel
- Wheelbarrow
- Garden fork
- Soil pH meter
- Compost thermometer
- Hardwood sawdust
- Wood ash
- Compost
- Coarse sand
- Morel spawn (sawdust or grain)
- Leaf mulch
- Drip irrigation or watering can
- Soil thermometer
- Humidity controller (for indoor setups)
How Do You Grow Morel Mushrooms at Home?
- Understand Morel Biology and Choose Your Method
Morel mushrooms belong to the genus Morchella. Their life cycle is unlike most cultivated mushrooms. The fungus first forms a dense mass called a sclerotium. This sclerotium stores energy and survives harsh conditions. When soil temperatures and moisture align, it produces the honeycomb cap you recognize. Morels can grow as saprobes on dead organic matter or as mycorrhizal partners with living tree roots. That dual nature makes them challenging. Penn State Extension reports that morel cultivation remains experimental, with variable yields even for researchers.
For home growers, the outdoor bed method offers the best odds. You build a dedicated patch using a soil and wood mix. Then you introduce spawn and maintain the bed for a full year or more. The outdoor method uses natural seasonal changes to trigger fruiting. Indoor cultivation is possible but less forgiving. It demands precise control of temperature, light, and humidity. If you plan to try indoors, be ready for daily monitoring and a high failure rate.
The choice between outdoor and indoor depends on your climate and patience. Outdoor beds work well in regions with cold winters and wet springs. The bed receives a natural cold shock that morels often need. Indoor setups can work anywhere but require daily attention. I recommend starting outdoors if you have a small yard or even a shaded corner. You will not need a greenhouse or grow tent. That said, if you want an easier first mushroom project, try oyster mushrooms before tackling morels.
Another factor is time. Morel beds may take two to three years to produce. If you want mushrooms this season, morels are not the right choice. But if you enjoy long-term projects, the wait is part of the appeal. Some growers compare morels to chanterelles, another difficult species. Both require patience and realistic expectations.
- Gather Supplies and Prepare the Substrate Mix
The substrate mix is the foundation of your morel bed. Morels prefer a well-drained, alkaline soil with plenty of organic matter. A common recipe is 50% hardwood sawdust, 20% wood ash, 20% compost, and 10% coarse sand. The wood ash raises pH, which morels like. The sand improves drainage. You can adjust the ratios slightly, but keep the mix loose and airy. For a deeper look at substrates, see our best mushroom substrate guide.
Gather your tools before you start. You need a shovel, wheelbarrow, garden fork, and a soil pH meter. A pH meter helps you confirm the mix is between 7.0 and 8.0. Morels rarely fruit in acidic soil. If your native soil is acidic, add extra wood ash. I also recommend a compost thermometer to monitor the bed’s internal temperature. You can find a reliable Check the pH meter on Amazon for under twenty dollars.
Mix the ingredients in a large wheelbarrow or on a tarp. Break up any clumps of sawdust or compost. The final mix should feel like a damp sponge when squeezed. It should not drip water. If it is too wet, add more sawdust. If too dry, mist with water. This physical consistency matters because morel mycelium needs oxygen as much as moisture. Compacted soil will suffocate the fungus.
Prepare the bed site at the same time. Choose a shaded area under deciduous trees if possible. Morels often associate with elm, ash, apple, or tulip poplar. If you have none, a spot with dappled shade works. Remove existing weeds and loosen the soil to a depth of 6 to 8 inches. Then incorporate your substrate mix into the top 4 inches. The bed should be slightly raised to improve drainage. This step sets the stage for inoculation in step 4.
- Source Quality Morel Spawn
Morel spawn is the living culture you introduce into your bed. You can buy sawdust spawn or grain spawn from specialty suppliers. Sawdust spawn is easiest for outdoor beds. Grain spawn works better for indoor containers. Avoid using wild-collected morel tissue, as it often fails to colonize. Instead, purchase spawn from a reputable mushroom company. Look for spawn that is fresh and fully colonized with white mycelium. This reduces contamination risk.
If you want to make your own spawn, you need a sterile technique. Our guide on how to make grain spawn covers the process. You would start with a morel culture on agar, then expand it. This is advanced work and requires a pressure cooker and a clean workspace. Most beginners should buy ready-to-use spawn. It saves time and frustration.
When your spawn arrives, store it in the refrigerator until use. Do not freeze it. Use it within a few weeks for best viability. Before inoculation, break up the spawn bag gently. The mycelium should smell earthy, not sour. If you see green or black spots, do not use that spawn. Contaminated spawn will ruin your entire bed. For a visual reference, consult our mushroom contamination identification guide.
The amount of spawn depends on your bed size. A good rule is one pound of sawdust spawn per 10 square feet of bed. For grain spawn, use one pound per 8 square feet. More spawn speeds up colonization, but more than double the rate is wasteful. You will also need a clean bucket and gloves for handling. Some growers use a Check the mushroom spawn bag on Amazon to hold the spawn while working. That keeps contamination down.
- Inoculate Your Outdoor Bed
Pick a cool, overcast day for inoculation. Direct sun and heat can stress the spawn. Start by raking the top of your prepared bed to loosen the surface. Then spread the spawn evenly over the area. Use your hands or a small trowel. Do not bury the spawn too deep. Morel mycelium grows best near the soil surface where oxygen is available.
After spreading the spawn, mix it lightly into the top 2 inches of substrate. Then cover the bed with a thin layer of the same substrate mix, about half an inch thick. This protects the spawn from drying out. Water the bed gently with a fine mist. You want the soil moist but not puddled. If you have a drip irrigation line, set it to run for 5 minutes twice a day.
You can also layer the bed instead of mixing. Some growers alternate layers of spawn and substrate like a lasagna. Start with 2 inches of substrate, then sprinkle spawn, then another inch of substrate, then more spawn. Finish with a final inch of substrate on top. This layering mimics how morels colonize leaf litter in the wild. It works well but uses more spawn. Choose the method you prefer.
After inoculation, mark the bed with stakes or a label. Morel beds look like nothing for the first few months. You do not want to accidentally dig them up. If you have pets or children, consider a low fence. The bed should be left undisturbed for the rest of the season. Now comes the hardest part: waiting. The spawn run begins invisibly under the soil.
- Maintain Moisture and Temperature During Spawn Run
The spawn run is the period when mycelium grows through the substrate. For morels, this can take 6 to 12 months or longer. During this time, your job is to keep the bed from drying out or becoming waterlogged. Morel mycelium needs consistent moisture. Water the bed whenever the top inch of soil feels dry. In hot summers, that might mean daily watering. In cooler months, less often.
Soil temperature should stay between 45 and 70 degrees Fahrenheit during the spawn run. Higher temperatures slow growth or kill the mycelium. A thick layer of leaf mulch helps insulate the bed. Spread 2 to 3 inches of hardwood leaves over the surface in fall. The mulch also feeds the mycelium as it breaks down. Avoid using pine needles, which make the soil too acidic.
Ambient humidity is less critical during spawn run because the mycelium lives underground. That said, if you are growing in an indoor container, maintain 80 to 90 percent humidity. Use a humidity controller or a simple misting schedule. Our mushroom fruiting conditions guide explains how to measure and adjust humidity. For outdoor beds, natural rainfall usually suffices. Supplement with irrigation during dry spells.
Check the bed monthly for signs of colonization. Gently pull back a small section of mulch. You may see white, web-like threads running through the soil. That is the mycelium. If you see nothing, that is normal early on. Do not disturb the bed too often. Every inspection disrupts the mycelial network. A monthly peek is enough. If the bed smells foul, see the warning section on contamination.
- Trigger Fruiting Conditions in Spring
Morels fruit in spring when soil temperatures rise to 50 to 60 degrees Fahrenheit. This is the key data point to track. Use a soil thermometer inserted 2 inches deep. When the soil reaches that range for several consecutive days, fruiting may begin. The exact timing varies by region. In the Midwest, that is often late April to early May. In colder zones, it can be late May.
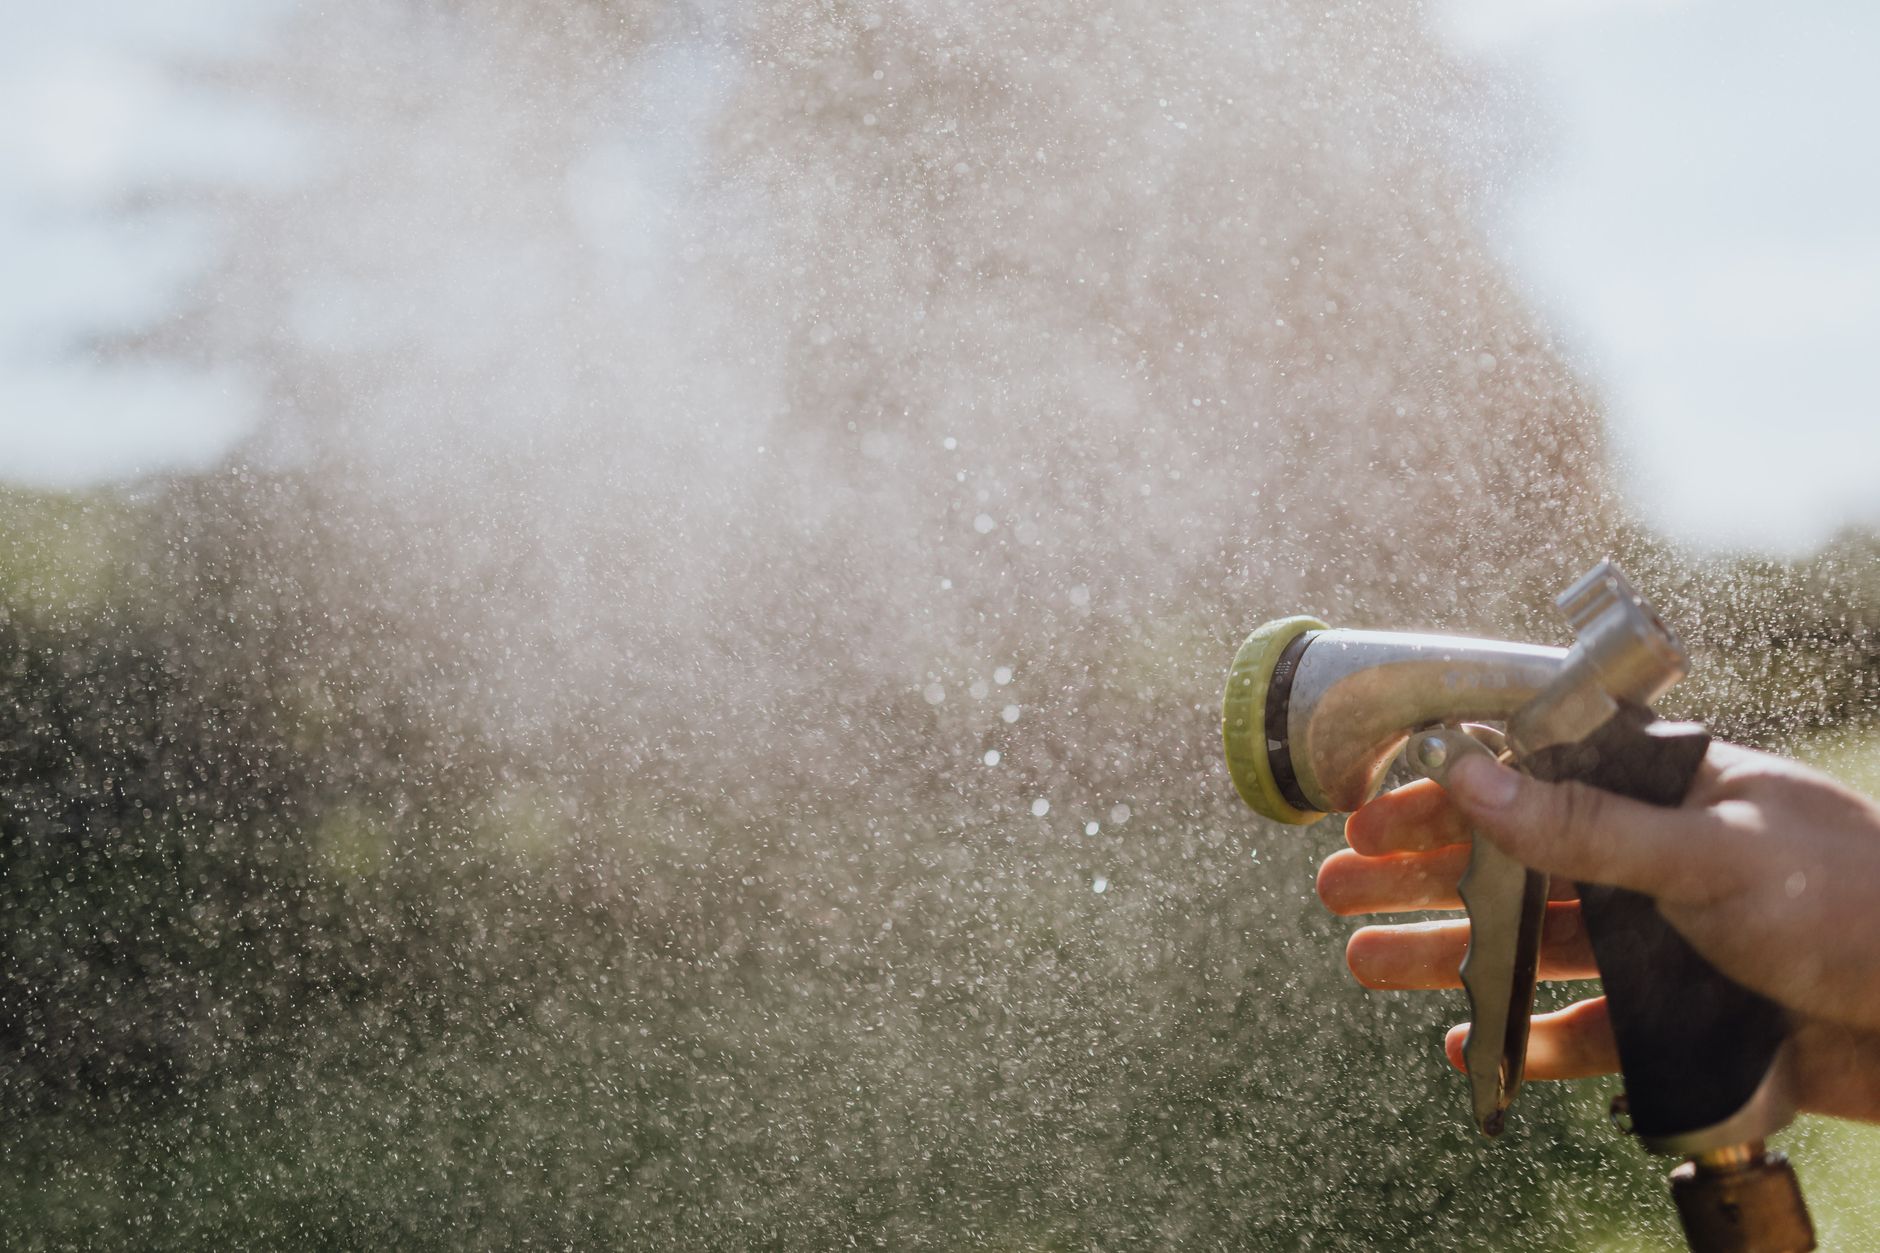
To encourage fruiting, increase soil moisture slightly. The bed should be damp but not saturated. Morels also need high humidity at the soil surface. A light layer of fresh leaf mulch holds moisture. If you are growing indoors, raise air humidity to 85 to 95 percent. You can use a Check the humidity controller on Amazon to automate a humidifier.
Light is not a major trigger for morels, but they do respond to it. Outdoor beds receive natural spring light. Indoor setups need indirect light for 10 to 12 hours per day. Do not use direct sunlight, which dries the bed. A bright windowsill or a grow light works. If nothing happens the first spring, do not give up. Morel beds often skip a year. The mycelium may still be building strength.
Some growers report success by adding a cold shock before spring. If your winter was mild, you can simulate one by covering the bed with ice for a week in late winter. This mimics a hard freeze. After the ice melts, the sudden warming can stimulate fruiting. This technique is experimental. It does not always work, but it costs little to try. Just do not use ice if your bed already experienced a normal winter.
- Monitor for Contamination and Pests
Morel beds face the same contamination risks as any mushroom project. Green mold (Trichoderma) is the most common. It appears as bright green patches on the soil surface. If you see it, remove the affected area immediately with a trowel. Discard the material away from your bed. Then dust the spot with wood ash to raise pH. Our mushroom contamination identification guide shows photos of common molds.
Other molds include cobweb mold, which looks like gray fuzz, and black pin mold. These usually appear when the bed is too wet or too dense. Improve drainage by adding sand or sawdust. Reduce watering for a few days. If contamination covers more than a third of the bed, you may need to start over. That is frustrating but better than letting the bad fungi spread.
Pests are another issue. Slugs and snails love morel beds. They will eat young morels before you see them. Set out beer traps or diatomaceous earth around the bed. Squirrels and chipmunks may dig in the soil looking for grubs. A wire mesh cover can deter them. Avoid chemical pesticides, which harm the mycelium. Physical barriers are safest.
Weeds can also compete with your morels. Pull weeds by hand when they are small. Do not use herbicides. The morel mycelium is sensitive to many chemicals. A 2-inch layer of leaf mulch suppresses most weeds. Check the bed weekly during spring and summer. Early intervention prevents most problems.
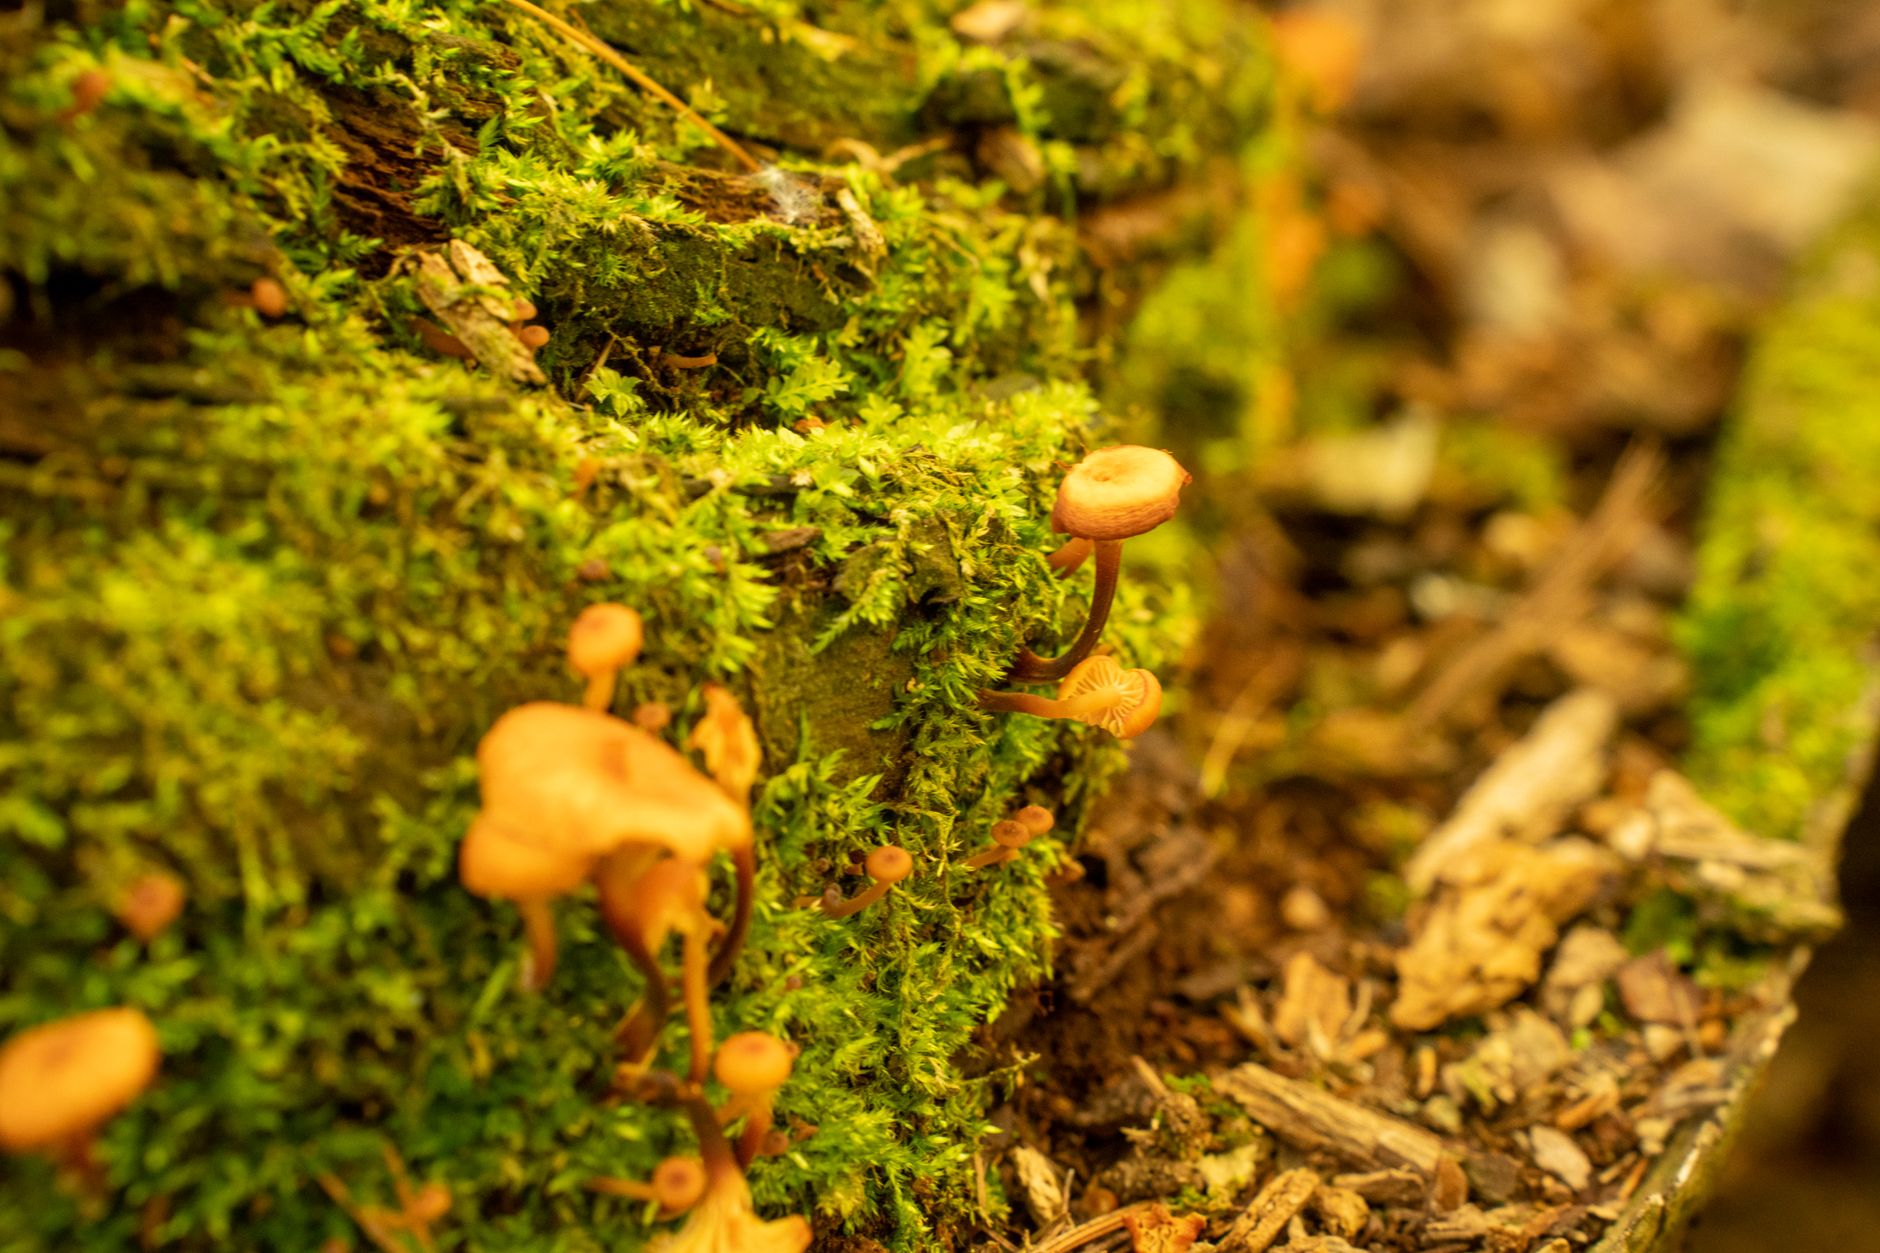
- Harvest, Clean, and Preserve Morels
When morels finally appear, do not rush to pick them. Let the cap fully expand and darken slightly. Mature morels have a honeycomb pattern with distinct ridges. Use a sharp knife to cut the stem at soil level. Avoid pulling, which disturbs the mycelium. Harvest every day or two during the fruiting window. Morels can pop up overnight.
Cleaning morels is simple but important. Brush off dirt with a soft brush or cloth. Do not soak them in water. Morels are hollow and will absorb water, ruining their texture. If necessary, rinse quickly and pat dry. Check the hollow interior for insects. Cut larger morels in half lengthwise to clean inside.
Fresh morels last only a few days in the refrigerator. For long-term storage, drying is best. Thread morels onto a string and hang them in a warm, dry place. Or use a food dehydrator at 110 degrees Fahrenheit until brittle. Dried morels rehydrate well in warm water. You can also sauté fresh morels in butter and freeze them. That preserves their flavor nicely.
After harvest, the bed may produce again the following year if you leave some morels to drop spores. You can also supplement the bed with fresh substrate each fall. Add a thin layer of wood ash and compost. Do not disturb the established mycelium. With luck and patience, your morel bed can produce for several seasons. For another rewarding project, consider lion’s mane, which is much easier to fruit indoors.
Red Flags & Warnings
- 🚨 Never eat any wild mushroom unless an expert positively identifies it. False morels like Gyromitra esculenta contain toxic compounds that can cause severe illness. Always check with a local mycological society.
- 🚨 Do not use contaminated spawn. Green or black mold in your spawn will spread to the entire bed. Inspect spawn before use and discard anything that looks off.
- 🚨 Avoid overwatering. Waterlogged soil suffocates morel mycelium and invites bacterial rot. Let the top inch of soil dry slightly between waterings.
- 🚨 Patience is required. Morel beds often take two to three years to fruit. If nothing appears the first spring, that is not failure. Keep maintaining the bed.
- 🚨 Do not apply chemical fertilizers or pesticides to your morel bed. These products can kill the mycelium. Use organic amendments and physical pest controls only.
- 🚨 Be cautious with indoor setups. Morels need a cold shock and precise humidity. Without these, indoor cultivation almost always fails. Stick with outdoor beds unless you have experience.
Frequently Asked Questions
Can you grow morels indoors?
Yes, but it is very difficult. Indoor morels require a cold shock period, high humidity between 85 and 95 percent, and soil temperatures around 55 degrees Fahrenheit for fruiting. Most home growers have better success with outdoor beds.
How long does it take to grow morels at home?
From inoculation to first harvest, expect 1 to 3 years. The spawn run alone can take 6 to 12 months. Some beds fruit after one winter, but many skip a year or two.
What is the best substrate for morels?
A common recipe is 50% hardwood sawdust, 20% wood ash, 20% compost, and 10% coarse sand. The mix should have a pH between 7.0 and 8.0 and drain well.
Do morels need a host tree?
Not always. Morels can grow as saprobes on dead wood and compost. While they often associate with trees like elm and apple, a wood-chip-rich bed can produce without a living tree.
Why are morels so hard to grow?
Morels have a complex life cycle involving sclerotia formation and specific environmental triggers. They also demand alkaline soil and consistent moisture. Unlike oyster mushrooms, they cannot be forced to fruit quickly.
Can I use wild morels to start a bed?
It is possible but unreliable. Wild morel tissue may not colonize a new substrate. Purchasing spawn from a reputable supplier is the better approach. If you do try wild tissue, never eat any mushroom from the resulting bed without expert identification.
What Should You Remember?
- Patience is essential. Morel beds often take 2-3 years to fruit. Do not give up after one spring.
- Substrate matters. Use a well-drained mix of 50% sawdust, 20% wood ash, 20% compost, and 10% sand with pH 7-8.
- Temperature triggers fruiting. Soil temperatures between 50-60°F signal morels to emerge. Track with a soil thermometer.
- Moisture must be consistent. Keep the bed damp but never soggy. Humidity during fruiting should be 85-95%.
- Use quality spawn. Purchase fresh, contaminant-free spawn from a reputable supplier. Inspect before use.
- Avoid chemicals. Never use pesticides or herbicides on your morel bed. They harm mycelium.
- Identify safely. Never eat any wild mushroom without expert positive identification. False morels are toxic.
This article is for general information only. Mushroom identification and consumption carry health and safety risks , never eat a wild mushroom unless positively identified by an expert, and follow sterile technique and food-safety guidance for home grows.